Oh boy! One of the most anticipated projects of the year is under way. And one of my biggest logistical challenges is under way as well.
The 5th graders are making plaster wrap masks.
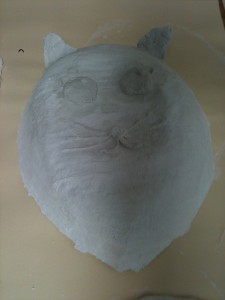
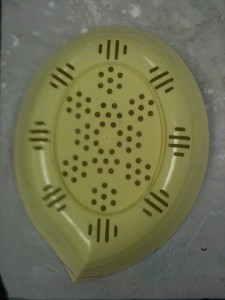
We are using Pacon plaster wrap in the 20 lb. box. We started with a dollar store bowl as the armature, and wrapped it in foil. Next, we applied four layers of wet plaster wrap. Now we are adding the facial features.
I used to make papier-mache masks on a balloon armature, but this year a student has a latex allergy so balloons are out. A blessing in disguise! Plaster wrap dries quickly. It is only week 3 and most students have a good start on their faces.
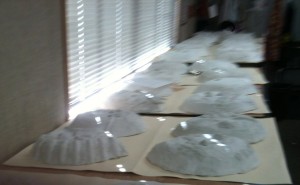
We have 75 students in three 5th grade classes. We are using up every free inch of my horizontal drying space to accommodate the masks week to week!
Here are some logistical tips:
*Use pre-cut foil to cover the armature. Don’t waste your time cutting foil! I get mine at Costco.
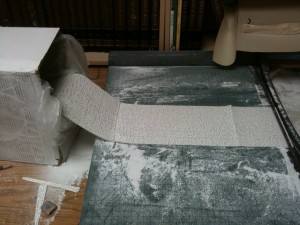
*Cut the plaster strips on the paper cutter. Double up the thickness and go twice as fast.
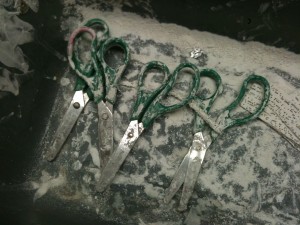
*Use a dedicated set of ‘plaster scissors’. Don’t bother scraping off the plaster. Use same set every year.
*Use a different color armature for each class.
*Tape off a dedicated drying area for each class.
*Use a big pitcher or watering can to refill the dipping bowls (we use old Cool Whip tubs for dipping bowls).
*Don’t you dare let the kids dump the dipping bowls down the sink at the end of class! Use a 5 gallon bucket and let the sediment settle before pouring off water.
Update: The plaster mask project continues in part two of this series.

Pingback: » 5th Grade Plaster Masks Update » K - 6 Art K – 6 Art
Me again… you seriously use your paper cutter for plaster wrap?! I love plaster bandage, and I do have a set of separate scissors, water bowls, etc, JUST for the plaster, but I cannot imagine trying to clean the blade or the bed of the paper cutter. I’d be afraid I’d ruin my cutter.
Years ago I used we used to make plaster masks by casting directly on my 7th graders’ faces with plaster bandage. Too much fun!
The paper cutter cuts the bandage really quickly, especially if you double up the thickness of the wrap.
The secret for clean up: never get the cutter wet! I have to brush off every particle of plaster dust with a house paint brush, then wipe down the blade and board with a damp cloth (and then dry right away!).
My cutter is still pretty sharp, but it could use some WD40 🙂
These plaster tips are BRILLIANT! It’s my students’ favourite medium by far, and these tips will definitely help me in the future. I especially like the 5 gallon bucket idea.
Julie –
My students love plaster too. They can get a recognizable sculpture FAST. So glad you are enjoying blog. I read your blog as well.
Rina
Pingback: Plaster Masks 2013 - K - 6 ArtK – 6 Art