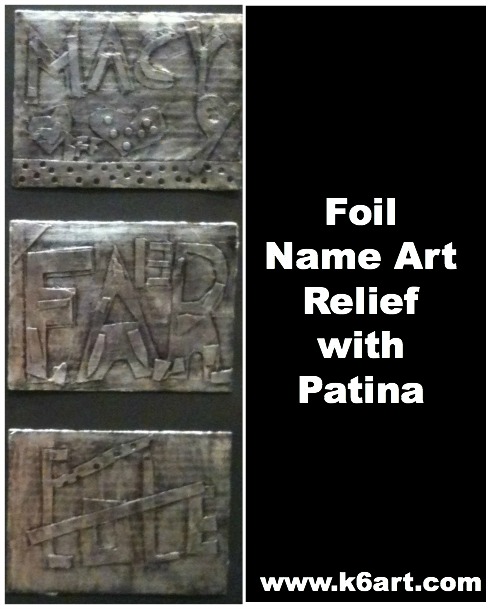
 Name art: what a great idea for the first art project of the school year. The sixth grade recently finished their foil name art reliefs. You can download my foil relief Powerpoint here.
Materials:
- sturdy cardboard for background
- foil (I used pre-cut foil Pop-up Sheets and cut my background cardboard a bit smaller than the foil)
- light cardboard or tagboard in two colors (I used red and gold)
- pencils and erasers
- scissors
- hole punch
- glue stick
- spray glue
- permanent black marker (I use Marks-A-Lot Large Chisel Tip Permanent Marker)
- fine steel wool
Days 1-2: Design a two-color relief
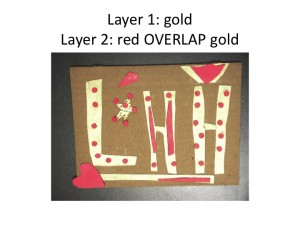
We started by layering two colors of light cardboard to create a name art collage. Students could use their name, initials, or nickname. Students used hole punches to add interest to their designs.
Day 3: Cover relief with foil and black marker, buff with steel wool
I had students bring their reliefs outside. I sprayed the cardboard with spray glue, then slapped on a sheet of pre-cut foil. Alternately, you could glue foil to a whole stack of reliefs during your prep time. Or you could let kids cover the relief with glue stick and lay on the foil themselves.
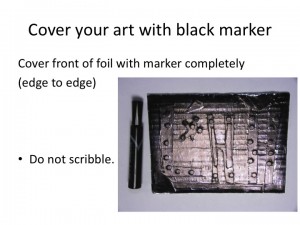
Next, we covered the foil completely with black permanent marker.
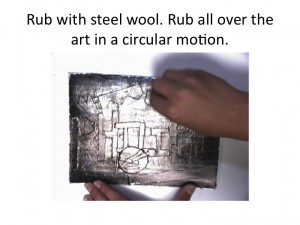
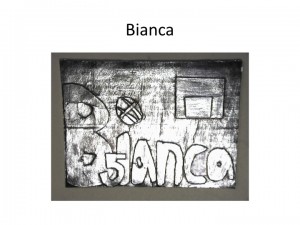
Finally we rubbed off the marker with steel wool to create an attractive patina.
All the students loved this project! They felt the resulting patina looked like old metal.
Sixth grade examples:
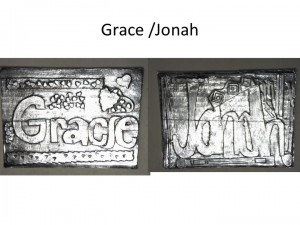
Grace used a heart shape hole punch to add interest to her design. Jonah added layered geometric shapes.
Extensions:
After their reliefs were complete, students did crayon rubbings of their name art. Some did rubbings of their friends’ art on large tag board and used it to create their portfolios.
Want more name art ideas? Check out my other name art posts:
Enjoy!
Do you have a favorite name art project for the beginning of the year?
NOTE: Post update 1/3/14
This post contains affiliate links.


Pingback: Art Room Organization: The Best Things I Ever Bought - K - 6 Art K – 6 Art
Pingback: NAEA Goodie Bag!!! - K - 6 ArtK – 6 Art