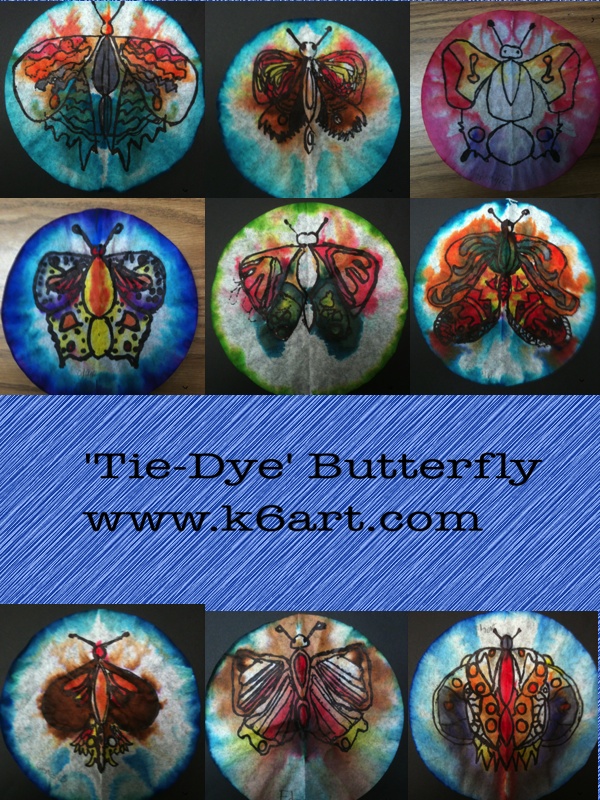
 It’s spring! Time for a butterfly art project. How about a lesson that delivers perfect symmetry, color and fun in only one 40-minute session?
Materials:
- round (basket) coffee filter paper, white (available at the dollar store)
- Sharpies
- watercolor markers (we used Crayolas)
- pencils
- spray bottle of water
Instructions:
- flatten coffee filter
- fold filter in half.
- use sharpie to draw 1/2 a butterfly on the folded paper.
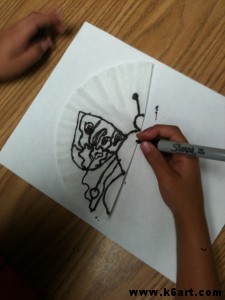
- Trace over all the Sharpie lines again (this helps transfer ink to the other half of the filter paper).
- Open the paper.
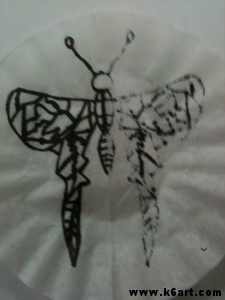
- Retrace all the faint lines with Sharpie.
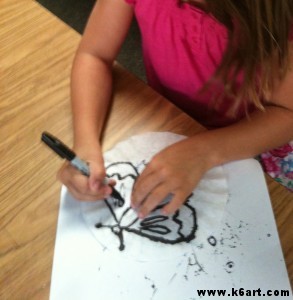
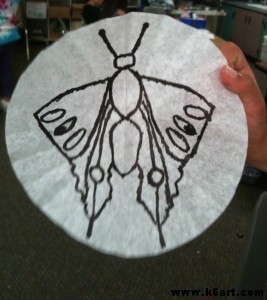
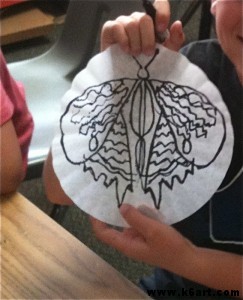
- Re-fold the paper into its original position.
- Color the folded paper using watercolor markers. We used warm and neutral colors for the butterfly, and cool colors for a band around the edge of the paper.
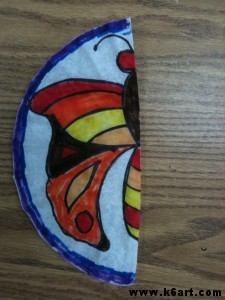
- Place folded filter paper on drying rack, colored side facing up.
- Spray with water. I try to saturate the paper (note: put some newspaper on the floor under your drying rack to catch the colored drips).
- Let dry before removing from rack.
I love the faux tie-dye effect created by the diffused color. I also love the round format. Bonus: coffee filters are available at the dollar store! So this project costs a couple of cents.
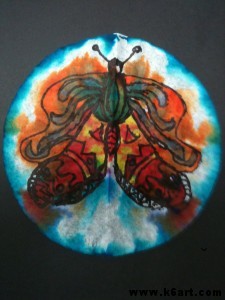
Second graders use Sharpie and crayola marker to make symmetric butterflies. Allow one 40 minute session.
Inspiration for the Sharpie/coffee filter/watercolor marker method goes to Kati Oetken at ARTASTIC!
More coffee filter art experiments on this post.

Wow! This is really beautiful, very impressive creation…
Coool! I love art projects using coffee filters because they are soooo cheap!! Love the tie-dye effect- thanks for sharing!
Miss recently posted..Rouault Clowns Tempera Batik
Hi Miss
This is the year of the coffee filter! I still have two more projects to post. Stay tuned!