Paul Klee Cats

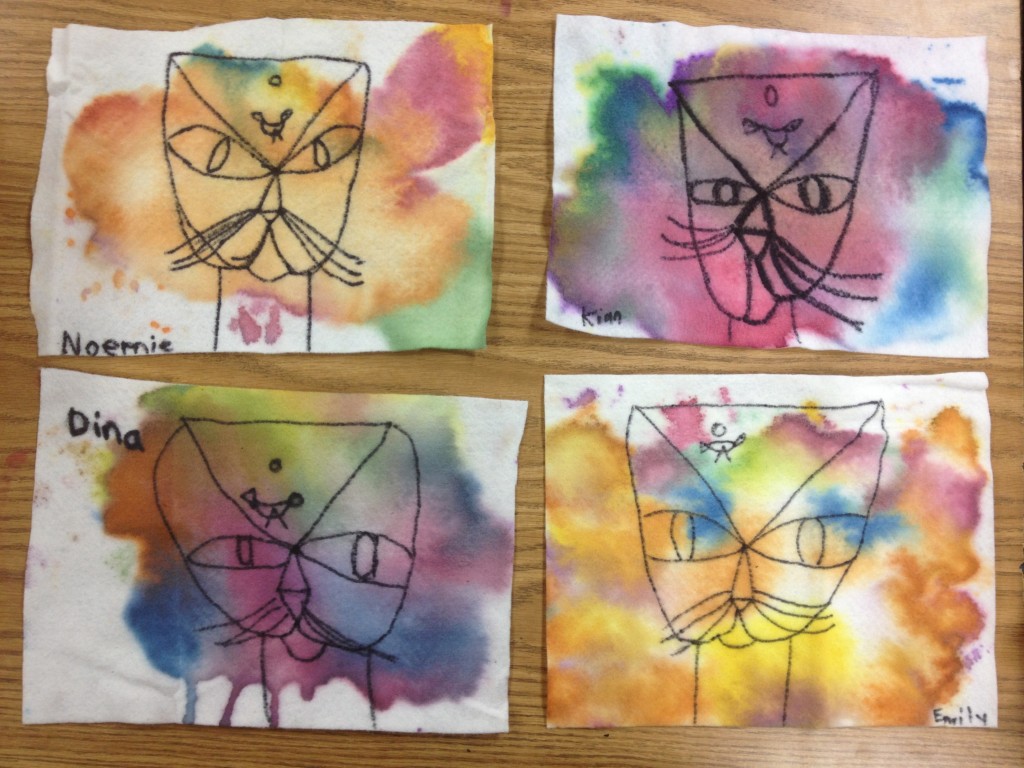
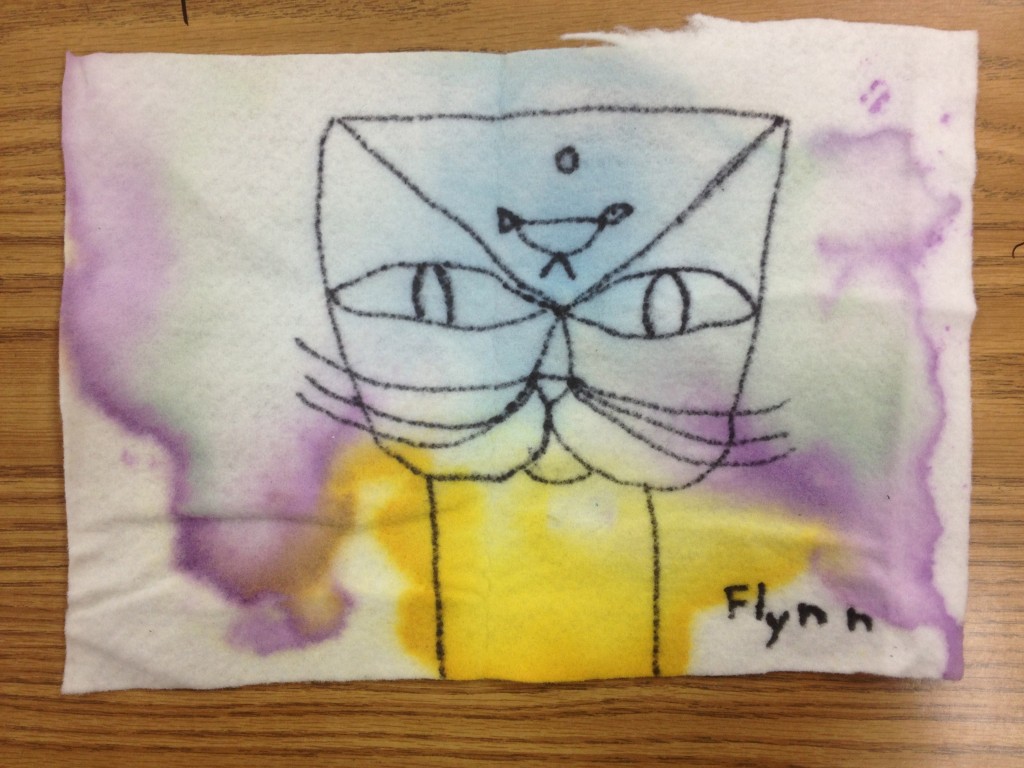
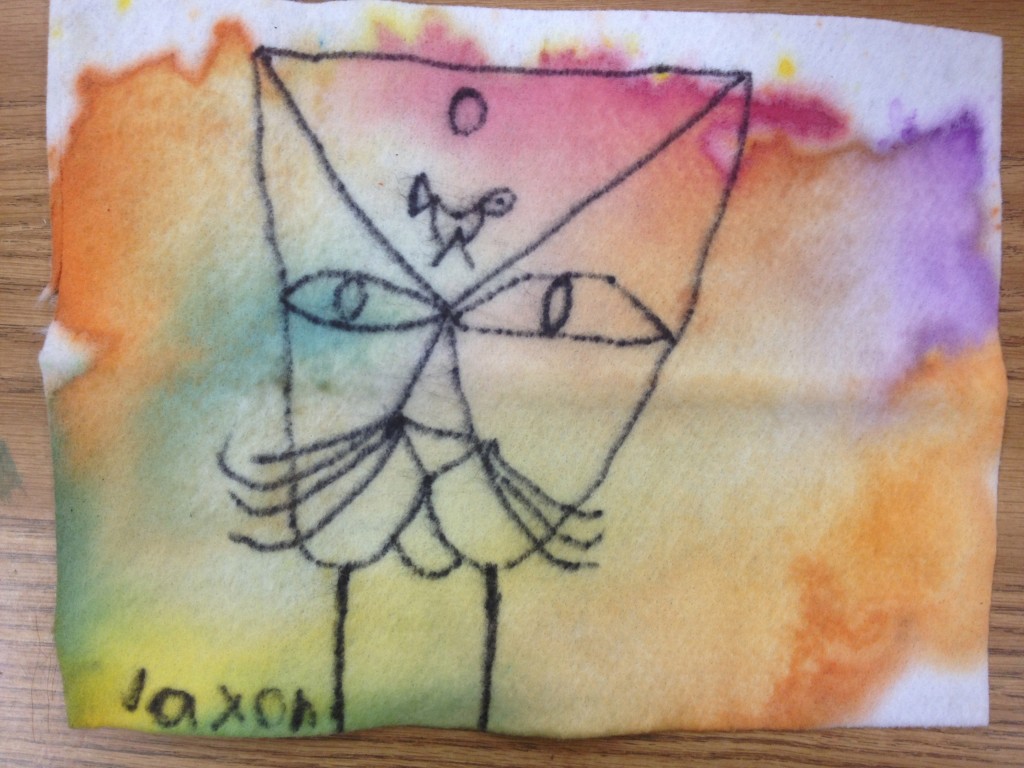
This week the second grade made Paul Klee cat paintings ON FELT!!
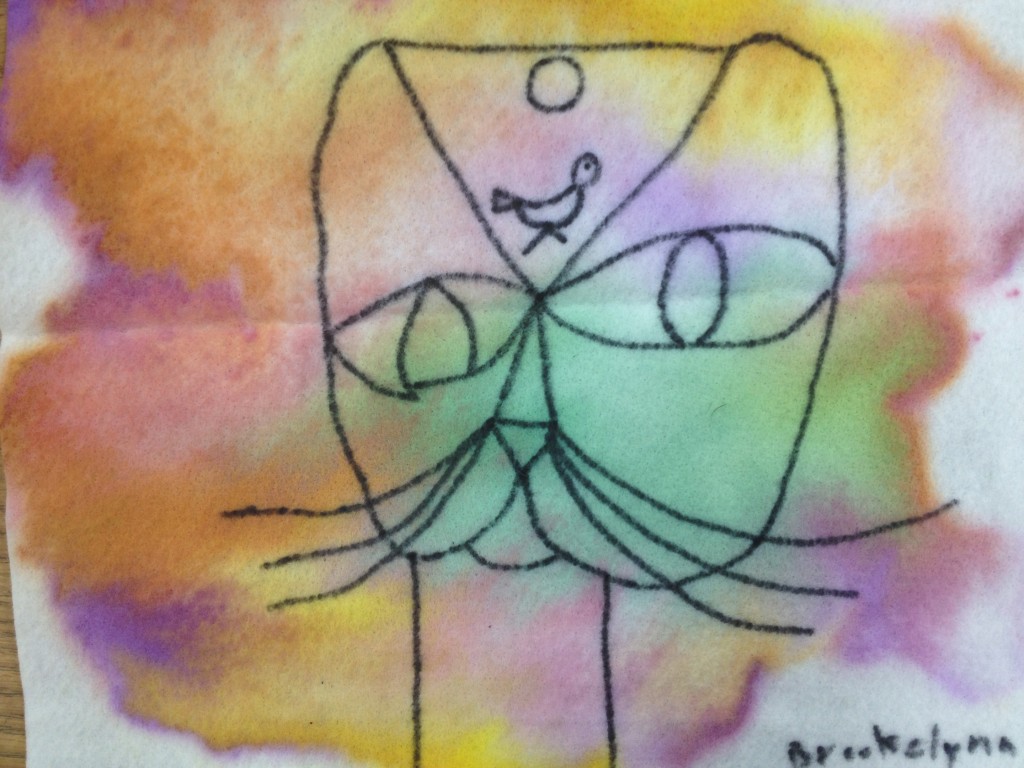
Second graders made Paul Klee cat paintings using white felt and liquid watercolors. Allow one hour.

The lesson plan is adapted from this post on The Art Annex blog.

We started out by watching this brief video on YouTube:

We used only three materials: white felt (9″x12″), black Sharpie and liquid watercolor, plus spray bottles of water.

I did a directed draw of the cat, focusing its lines and simple shapes. Students drew directly on the felt with their sharpies. Then we painted the cat by dabbing on liquid watercolor. The final step: spraying the felt with water so the colors could bleed and blend.

I dried the art on large sheets of cardboard.

Just in case you are wondering….I did this with just 12 students AND a volunteer. Students got to spray their own art. If I did this with a large class, I would probably assign the spraying to s few responsible students.

This is the second project in our Paul Klee unit. You might also like our Paul Klee abstract name art lesson, inspired by Klee’s Castle and Sun.

 Do you have a favorite Paul Klee lesson plan?

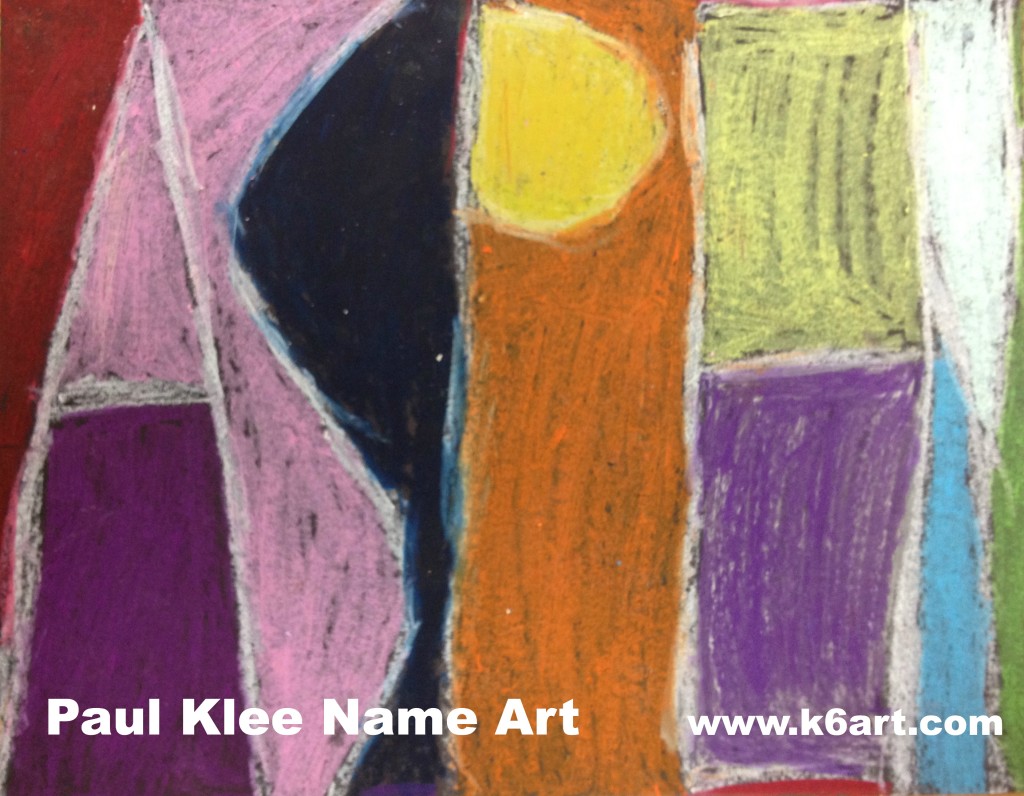
Paul Klee Name Art

Looking for an exciting name art project? How about introducing a famous artist at the same time? Try this Paul Klee-inspired graphic name art project.

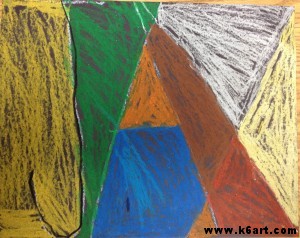
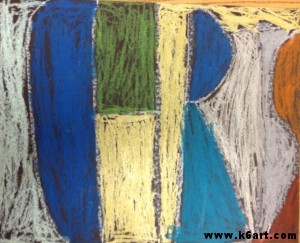
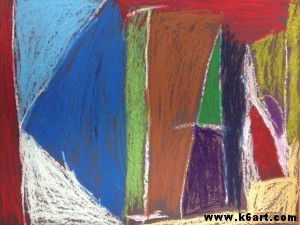
Second graders create name art in the style of Paul Klee. Allow 1-2 40 minute classes. Artwork by Tyler.

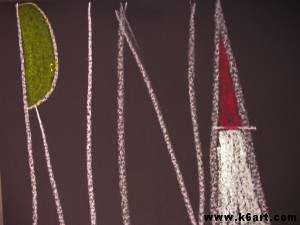
Start out by introducing artworks by Paul Klee. This project is inspired by his graphic works such as Castle and SunWikiPaintings has lots of images of his art. Click here,  herehere, and here to see some of Klee’s other graphic artworks. This is a good time to talk about abstract art.

Materials:

  • Black construction paper, 11″x14″
  • pencils and erasers
  • Oil Pastels (including white)

Students should turn their paper horizontally. They write their names in pencil, using all capital letters. Encourage students to S-T-R-E-T-C-H their letters from the bottom to the top of the paper (note: students with long names may need to draw extra skinny letters, use longer paper, or perhaps use their nicknames).  The letters can touch the left and right sides of the paper AND touch each other: letters such as ‘E’, ‘F’ and ‘K’ look more abstract when drawn in this manner.

After they are pleased with the layout, they trace over their pencil lines in white oil pastel.

Students write their name in white oil pastel, then fill in the spaces with colored pastels.

Next they color in the spaces in their name. Encourage them to use a variety of colors, although it is fine to repeat colors. Students must not color in with black pastels.

Completed second grade art:

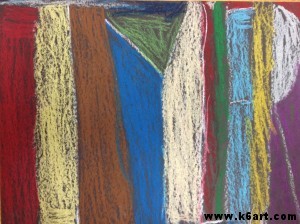
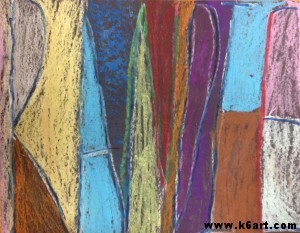
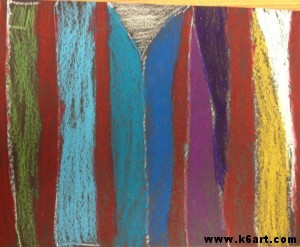
Randie

Flynn

Jax


Chris

Kian

Show students the completed projects and ask if they can read the artist’s name. Successful artworks are often abstracted to the point it is challenging to see the artist’s name! How does this compare to Klee’s graphic artworks?

This lesson plan was inspired by (or abstracted from!) this fabulous post on the Kids Artists blog.

Enjoy!

Do you have a favorite name art lesson plan for the beginning of the year?


Playground Name Art

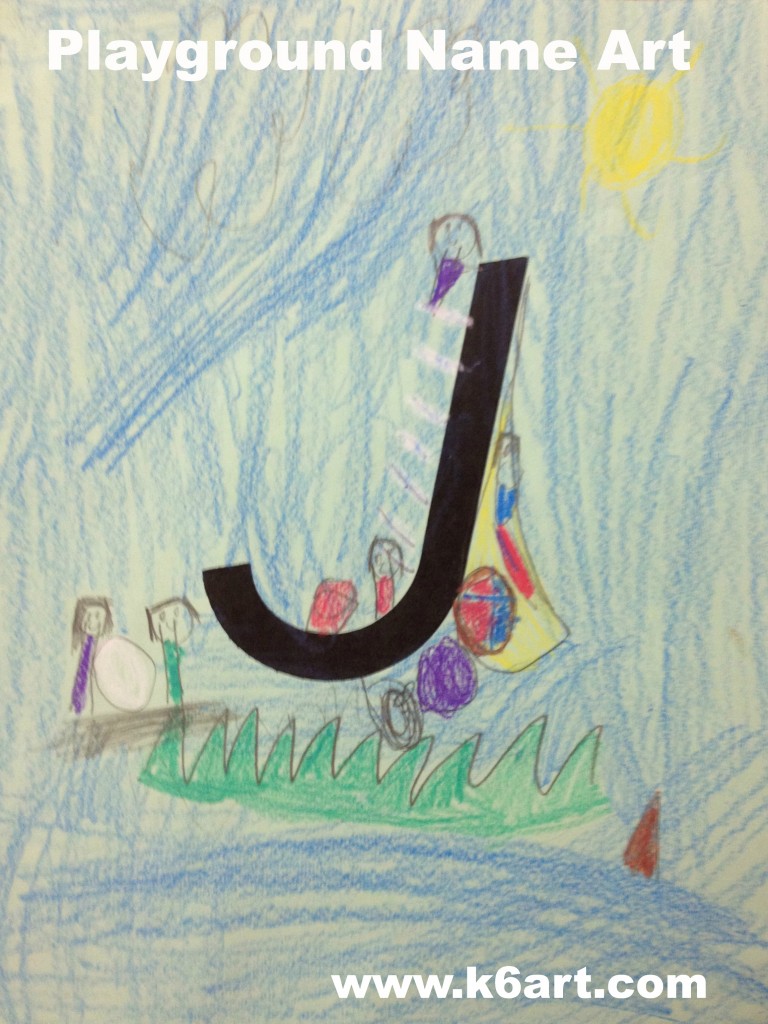
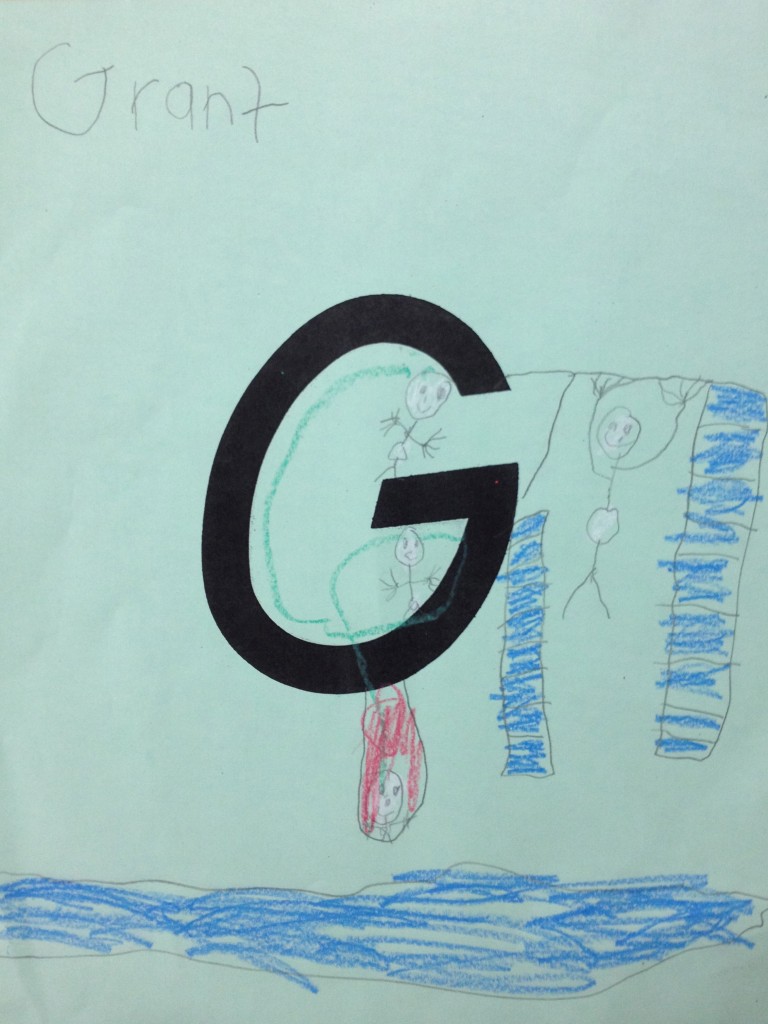
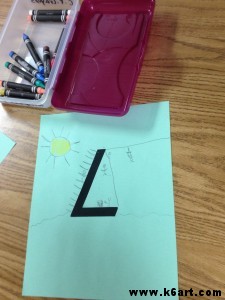
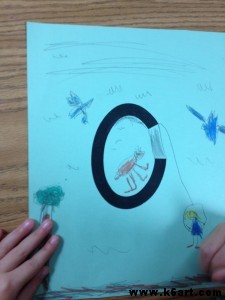
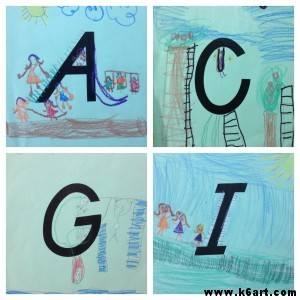
Looking for a fun kindergarten project? Try this simple but engaging playground name art project based on the student’s first initial.

Kindergarteners make playground drawings incorporating their first initial. Allow one 40-minute period.

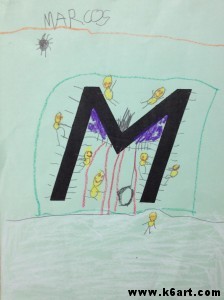
Students turned their first initials into playground equipment.

We talked about all the things we see on the kindergarten playground: ladders, swings, slides, sand, balls, jump ropes, hula hoops, monkey bars etc.

Then we talked about all the extra things we might see on the best playground in the world. Students wanted zip lines, trampolines, water slides, forts and mini trains.

Each child received a paper with a photocopied initial (letters were made on school die-cut machine). They drew with pencil and colored with construction paper crayons.

This kindergartener has a horse in her playground.


M for Marcos

This project was inspired by this post on the Art Cart blog.

This would be a nice kindergarten sub plan.

Do you have a favorite name art project for the beginning of the year?

Art Room Opening Day Photos

First day of art.


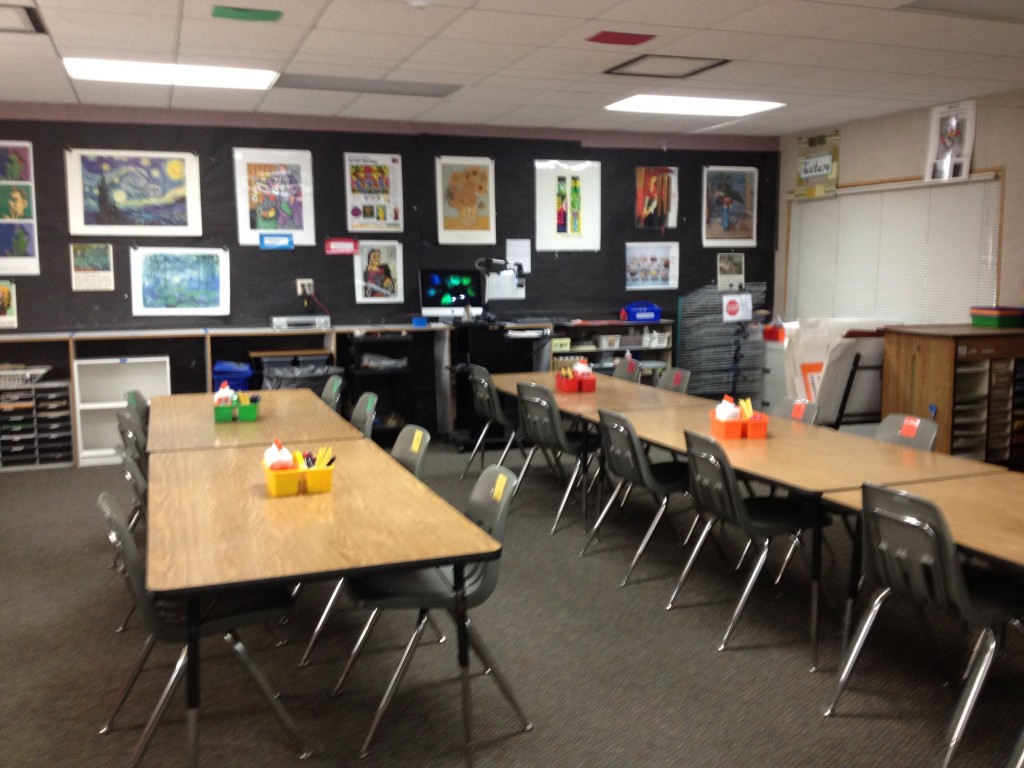
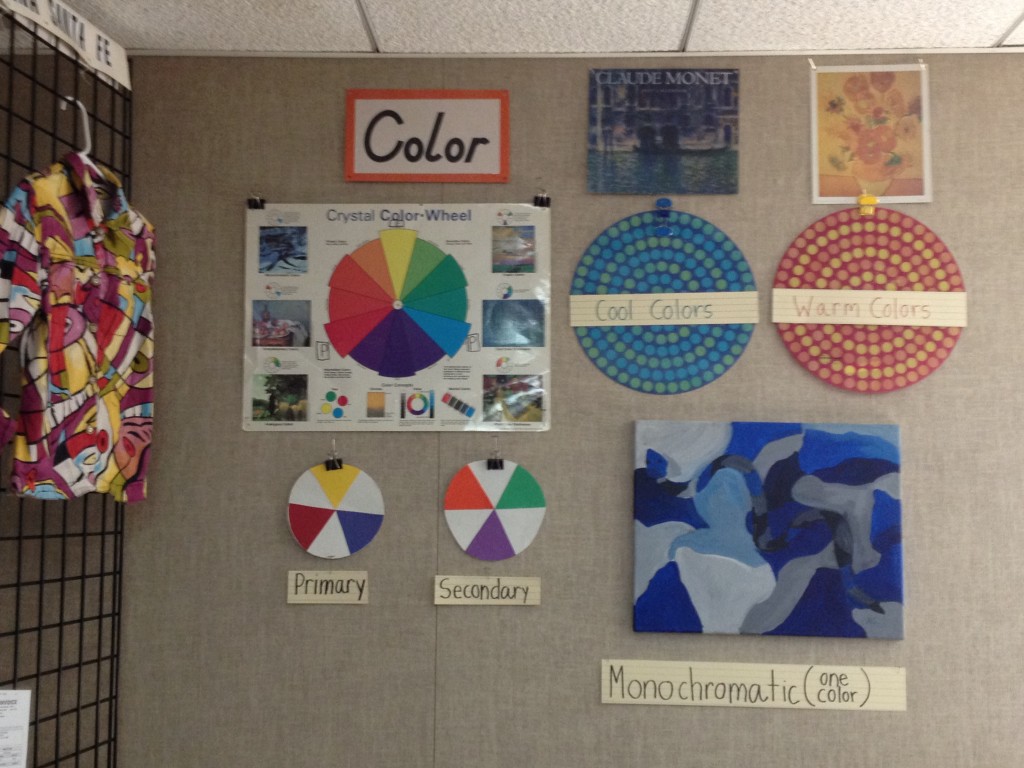
Welcome to a new year in the art room. This year my room looks completely different, from layout to bulletin boards to organization, thanks to all my fellow art teacher bloggers and my dear friend Pinterest.

Now every table, supply bucket, and chair is colored coded.  Chairs are numbered as well (more art room organization photos on this post).

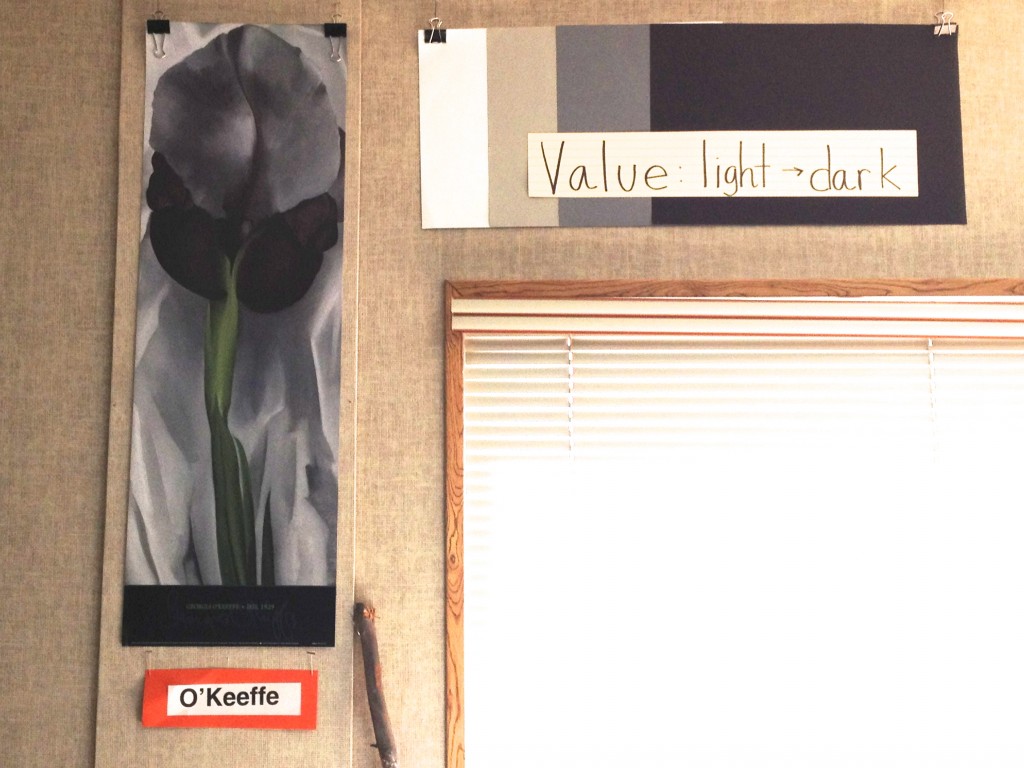
My value poster is made from construction paper in black, white and gray shades. Luckily, I had an O’Keeffe that matched!

Thanks to my colleague Nancy R. for the value poster idea.

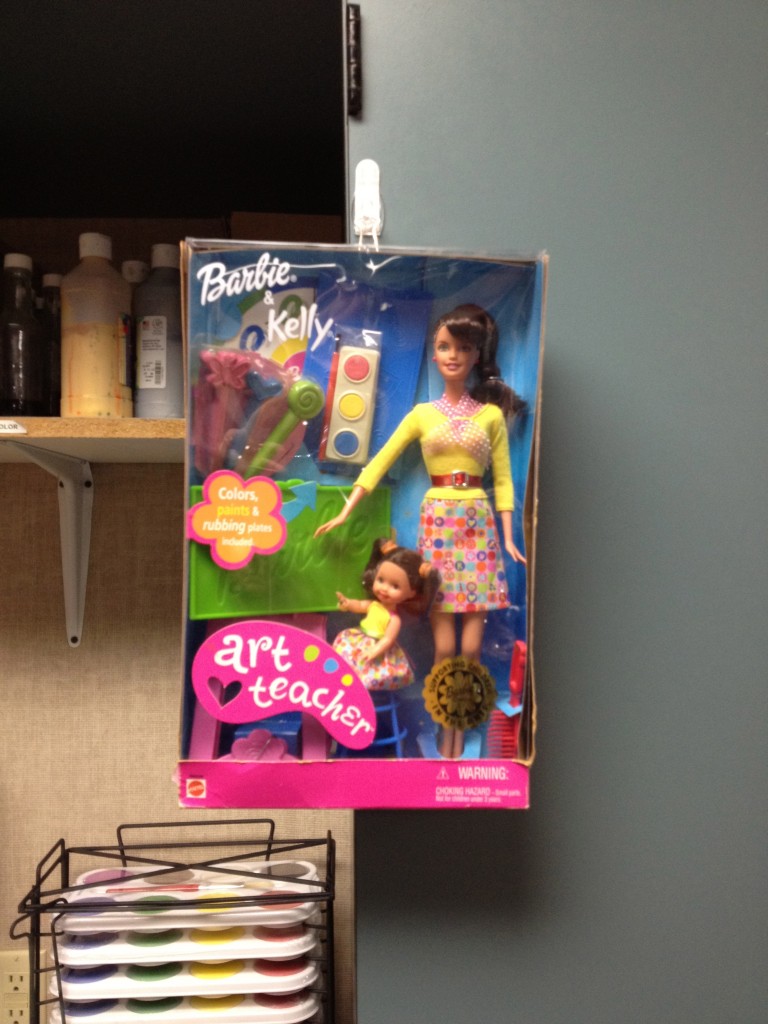
Art Teacher Barbie again reigns supreme over the art room.

Every year I tell my students my dad banned Barbie dolls from our house. He felt his three daughters would turn into ‘clothes horses’ if Barbies made it through the door. So Art Teacher Barbie is my very first Barbie doll. She called my name from the toy department at Wal-Mart my first year teaching, and since then we have never been apart.

p.s. In the background you can see my new tempera cake rack (from Blick or Amazon). Hoping that will seriously reduce my clean up time.

Best wishes for a successful school year! May your kiln never explode, and may your messes be manageable.

Rina

Peek Inside The Art Room

Art classes start Monday and I just put the finishing touches on my art room. I love all the art room photos everyone is putting online. Here are a few shots from room 13!

Organizing samples:

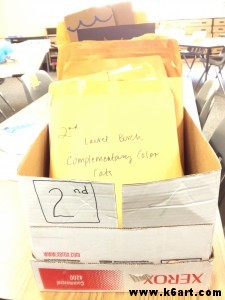
I don’t use my filing cabinet for all my sample art projects. I store samples in boxes, one per grade level. The boxes fit perfectly in my cubbies.

Within each box, I store samples in individual manilla envelopes (I got this idea from Deep Space Sparkle).

Although I label everything, I do not have sets of beautiful full-color labels. I don’t have plastic tubs for everything (yet) – I am reusing old copy paper boxes and used manila envelopes.

Storing bulky work in progress:

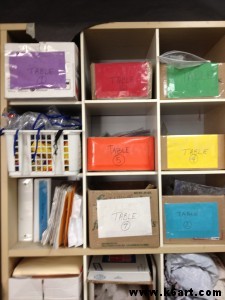
Our weavings and sculptures in progress are just too bulky for table folders and flat files. Projects are stored individually in labeled gallon size Ziploc bags, clipped together by table and stored in a color-coded table box.

Color-coded table boxes store bulky projects in progress.

Organizing student work:

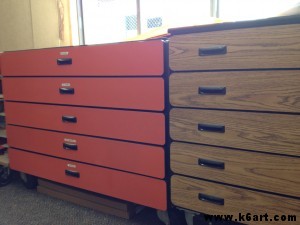
I have a ‘roly polies’ with one (labeled) flat drawer per class. They hold ALL the 2-D student art all school year until our spring art show. I store big boxes of watercolor paper underneath. I use the top of the cabinets as a place to dry our plaster masks and plaster sculptures.

We store student portfolios in the flat files. The are labeled with the name, grade, teacher. The student’s first initial goes in the upper right corner. This helps me find portfolios quickly.

Decorating cabinets:

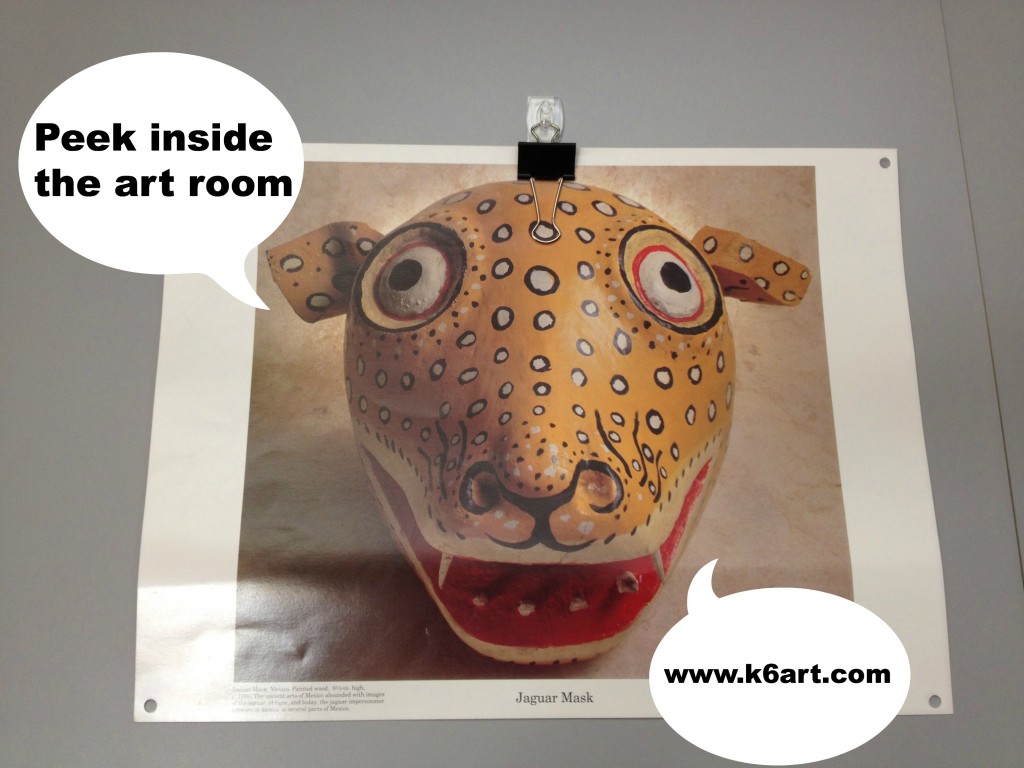
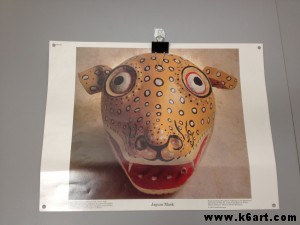
Do you want to hang art on your slick laminate cabinets? I use a system of medium clear Command hooks and binder clips. It is really easy to change out art.

Tiny, clear Command hook and binder clip allows you to hang posters on laminate.

 Scrap paper:

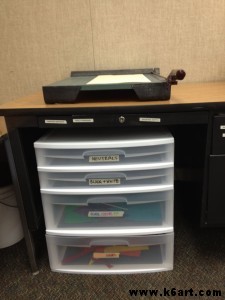
I store scrap paper under the paper cutter, sorted by color (thanks to The Art of Ed for this tip).

Scrap paper is sorted by color and stored under the paper cutter.


Encyclopedia:

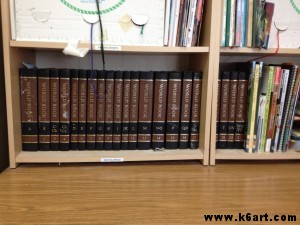
Even though my 1975 (!) childhood encyclopedia set is out of date, it has TONS of photos and illustrations perfect for reference. As a bonus, it teaches kids how to use reference books.

My childhood encyclopedia set has tons of reference photos.

More art room photos next time!

More art room organization tips on this post.

Related Posts Plugin for WordPress, Blogger...