About Rina Vinetz

Hi there! I'm Rina. I teach K-6 art to 400 students at a public school near San Diego, California. I love teaching art and sharing with other art teachers. Thanks for visiting!

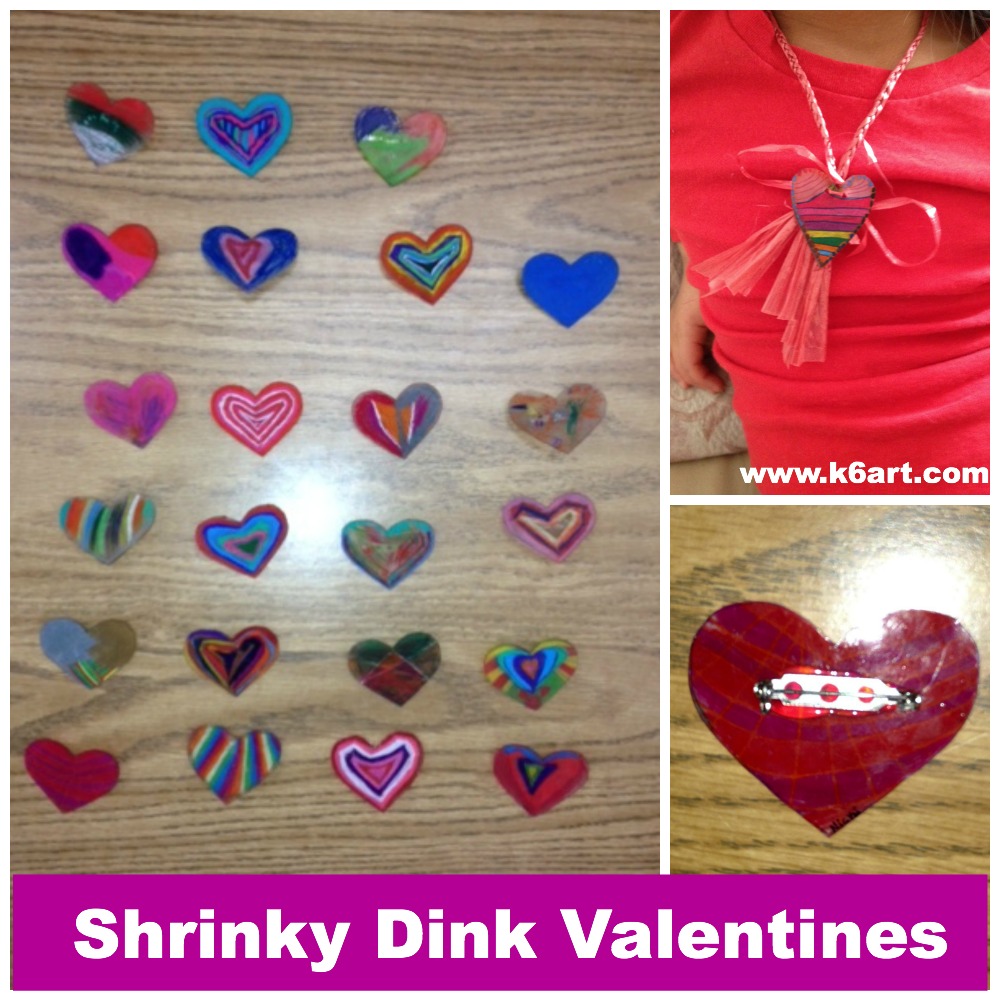
Shrinky Dink Valentines


shrinky dink valentines

If you want a fun, colorful Valentines day craft project, try Shrinky Dinks!

What? You’ve never tried Shrinky Dinks? They are sheets of thin plastic. You color, cut and bake them. When baked, they shrink to 1/3 the size! They have been popular since the 1970s and kids LOVE them. Watch this brief video to see how they work.

Materials:

Cut and Color

Option 1) Cut each sheet of plastic into quarters (I do this on the paper cutter) and distribute. Students draw a heart, color it on the frosted side with colored pencils, and cut it out themselves. The heart necklace above was made this way.

Option 2) Adult pre-cuts the hearts and distributes. Students color with colored pencils. All the heart pins in the photo above were made this way (with the help of a parent volunteer).

Bake at 325F

Then bake in a toaster oven or regular oven at 325 degrees F for about three minutes. Tip: watch the shrinky dinks through the oven window. They need to curl up and then flatten.  Don’t take them out before they’ve flattened! We let them flatten, count to 30 and then remove from the oven.

For this project, one of our teachers brought her toaster oven to school and called her students two by two to watch their valentines shrink. THEY LOVED IT!

Necklace, Pin or Magnet

For a necklace, punch with a hole punch BEFORE baking. For a pin, hot glue on a pin back after baking. You can use magnetic tape or hot glue on a magnet.

Happy Valentines Day!

Enjoy!

Happy Throwback Thursday! Stop by on Thursdays to see ‘old school’ art projects!


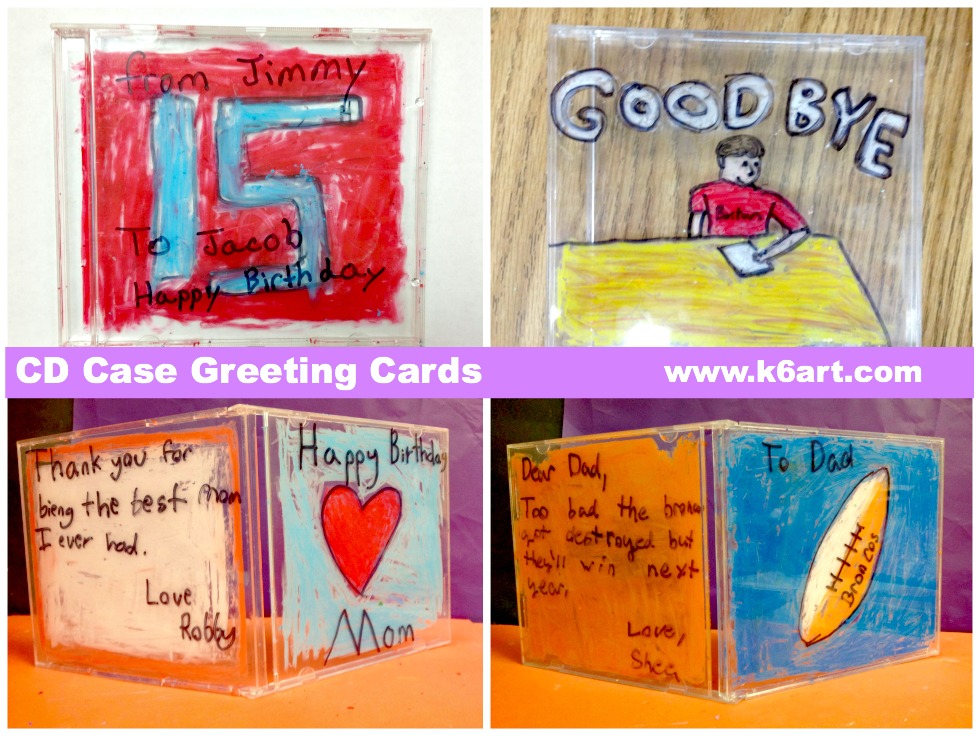
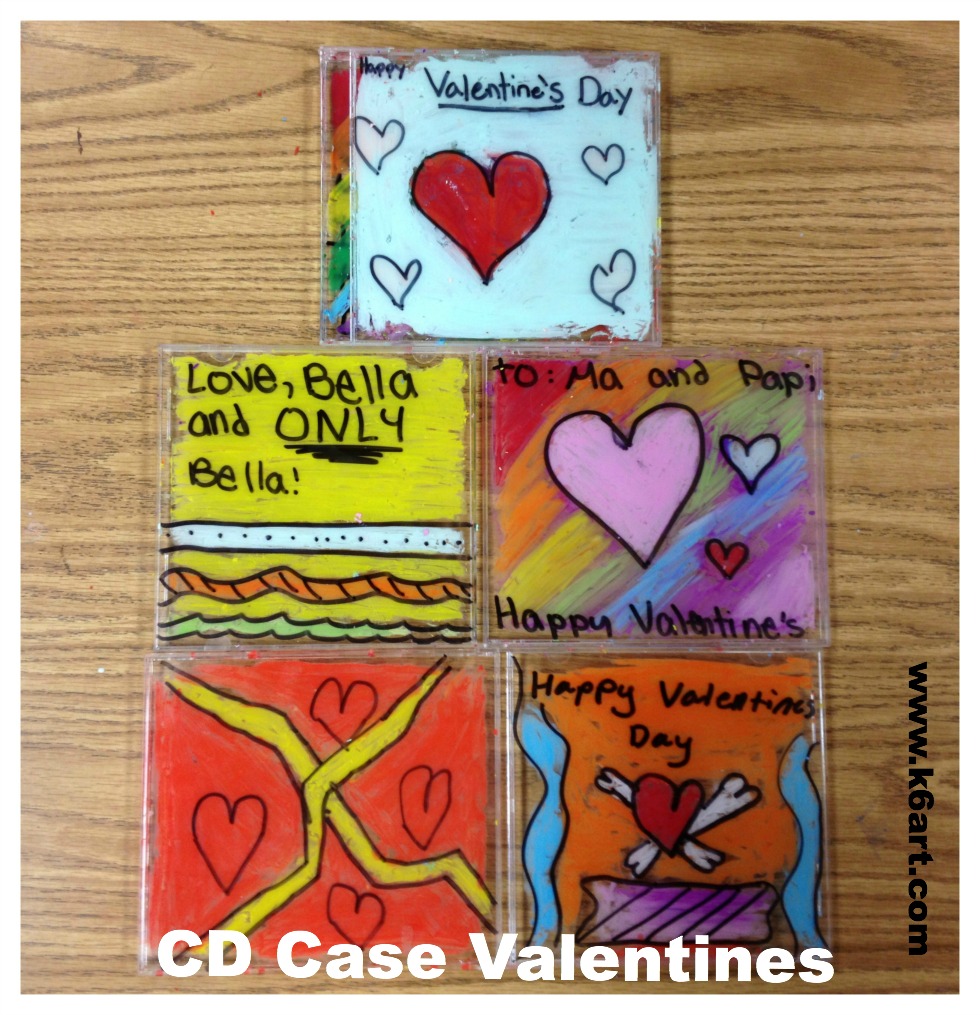
CD Case Greeting Cards

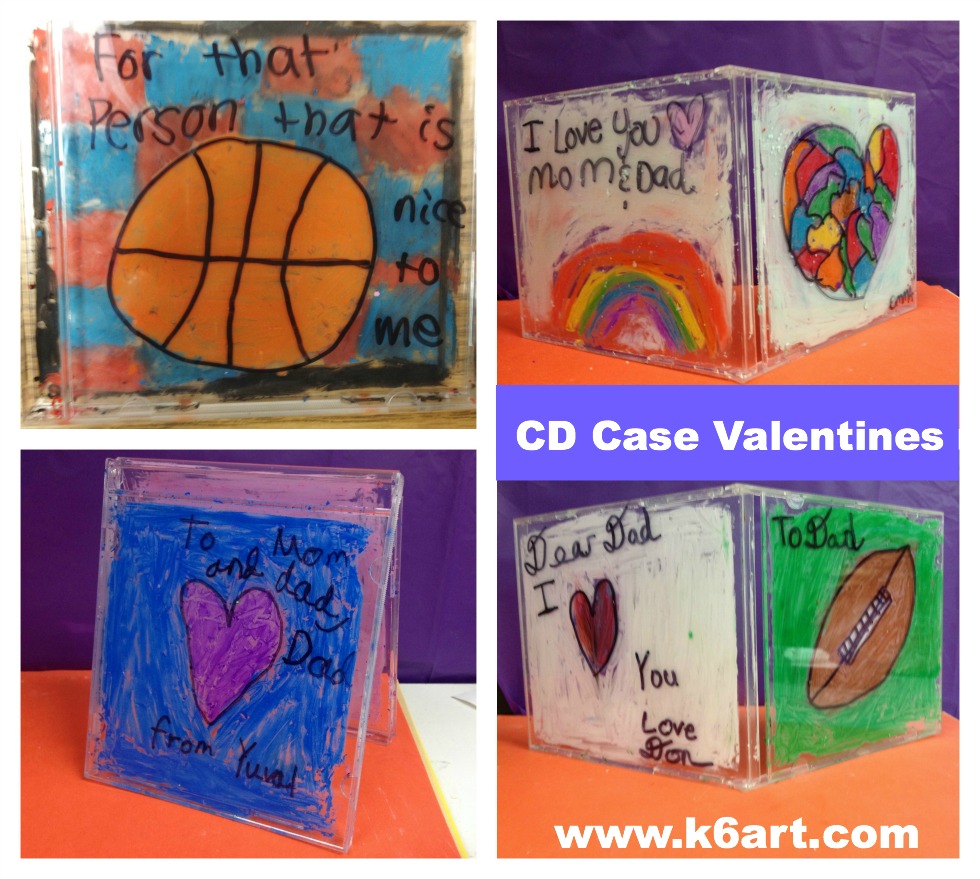
CD case valentines

Got old CD cases? Here’s a great way to use them: create greeting cards using oil pastels and Sharpie. Our 5th and 6th graders made Valentines, birthday cards and more during a single 40-minute class.

Materials:

  • CD jewel cases (trays removed)
  • oil pastels
  • Sharpies
  • rubbing alcohol
  • baby oil
  • baby wipes for clean up
CD case greeting cards

Several students made birthday cards. One made a farewell card. Another made a card consoling his father on the Bronco’s loss in the Superbowl.

Sharpie on the Outside, Oil Pastel on the inside

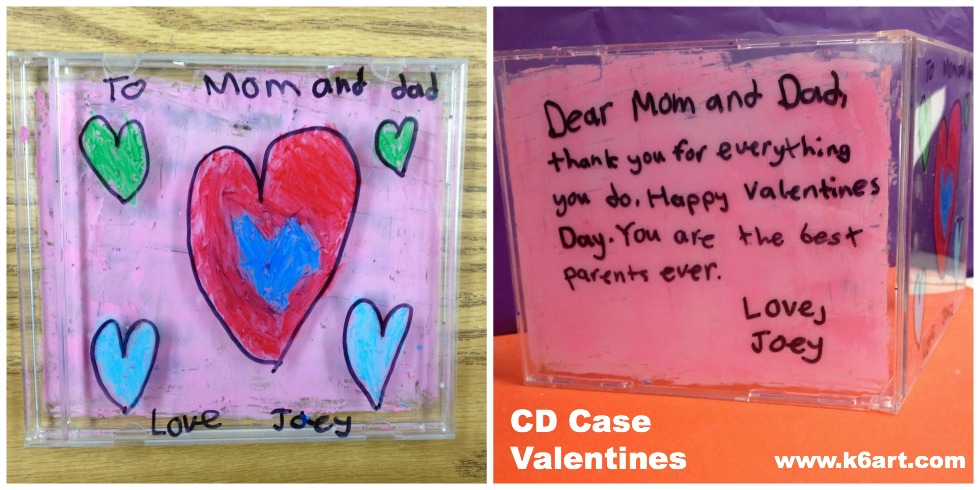
Students start by drawing a design on the front of the CD case using a black Sharpie. Then they open up the case and color the inside with oil pastel. The process is repeated on the back of the case. A lot of students wrote personal messages on the back of the case.

CD case valentine Joey

CD case valentines open

 Correcting Mistakes:

It’s easy to fix mistakes. Rubbing alcohol will remove Sharpie. Baby oil will remove oil pastel. Our 5th and 6th graders fixed their own mistakes.

Keep it neat:

CD cases trap the oil pastel-mess on the inside of the case. These greeting cards can travel home without making a mess in the backpack.

At clean up time, wipe down the tables with baby wipes.

EASY! Plus you are keeping those old CD cases out of the dump!

Enjoy!


iPad Love Stamps

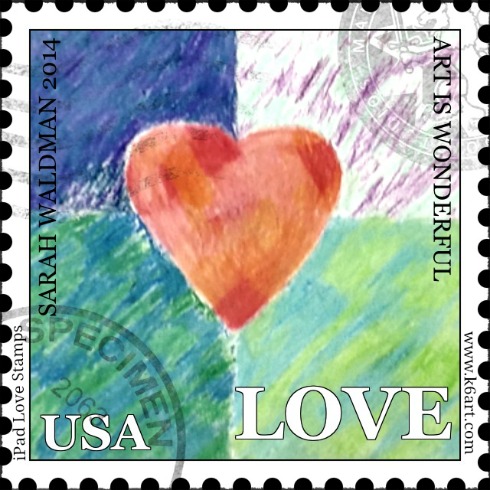
iPad Love Stamp

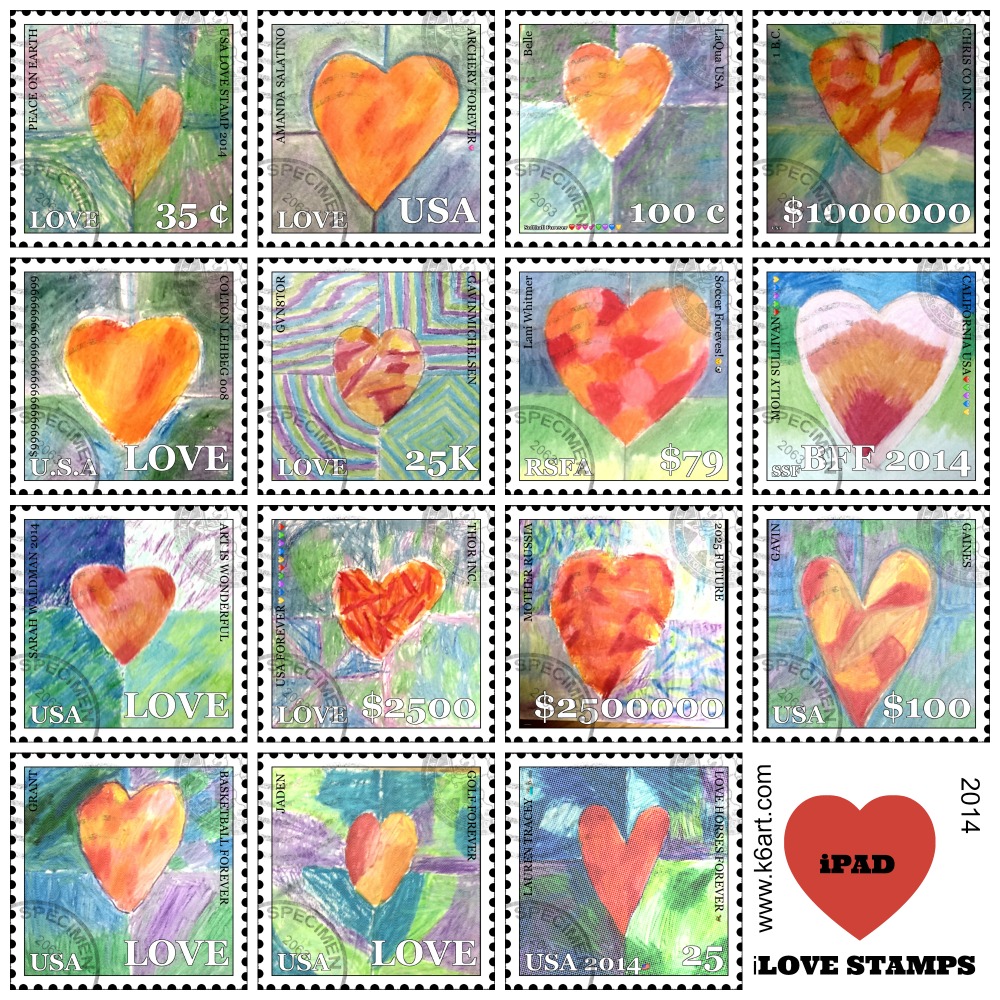
In honor of Valentine’s Day, our fourth graders created iPad LOVE stamps using the free Face on Stamp Booth app.

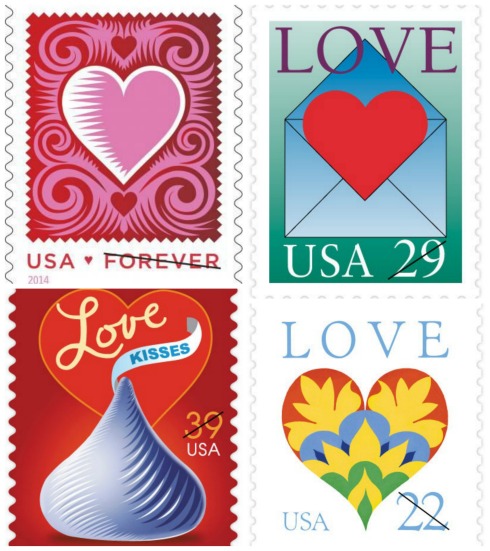
What are Love Stamps?

For 40 years, the U.S.Postal Service LOVE stamp series has featured a wide range of subjects, including flowers, Victorian lace, cherubs, swans, candy hearts, and abstract designs. I showed our students the U.S. Postal Service love stamp slide show. Then I told them we would be creating our own LOVE stamps!

The U.S. Postal Service issues an annual Love Stamp. The program began in 1973.

The U.S. Postal Service issues an annual Love Stamp. The program began in 1973.

Step 1: Create heart art

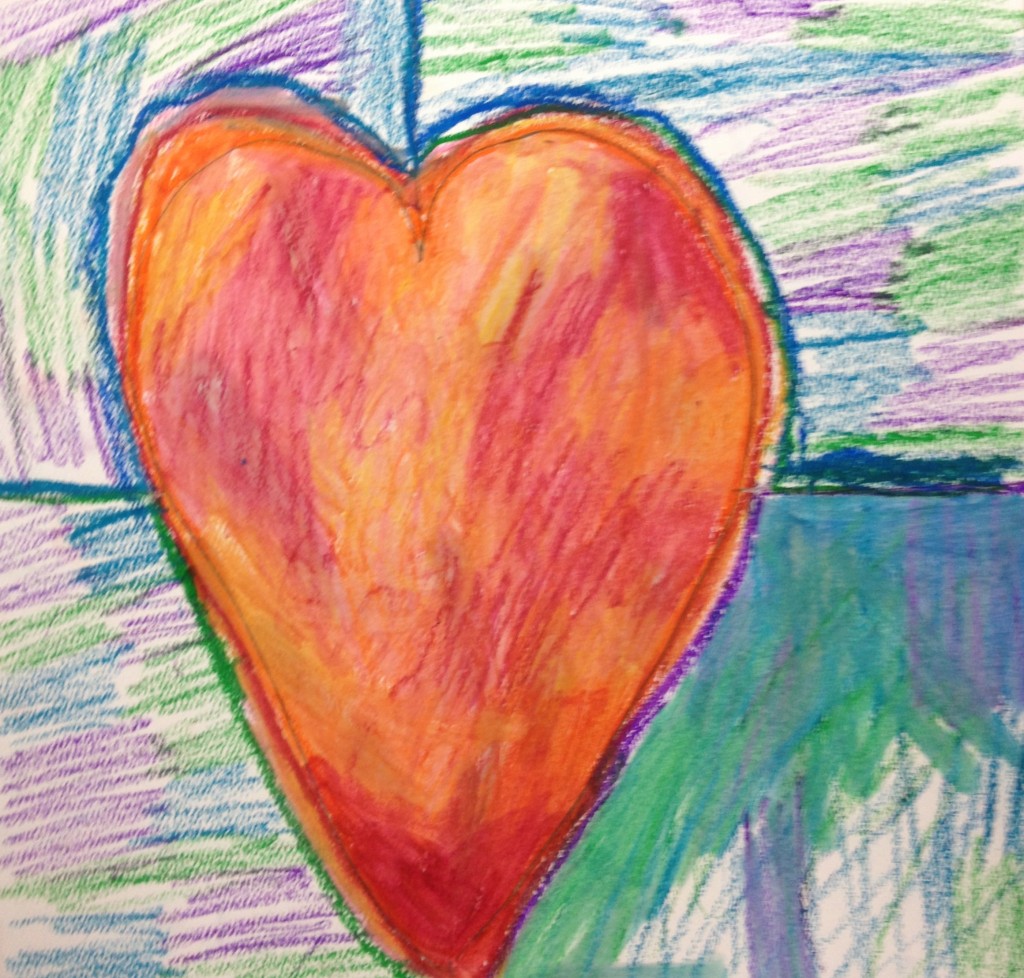
Fourth graders used oil pastels to create these hearts.

Fourth graders used oil pastels to create these hearts.

We started with a fine art project. We used oil pastels to create these hearts.  Instructions in my free Jim Dine heart art Keynote. This step took two 40-minute sessions.

Step 2: Use iPads and Face on Stamp app

After the students finished their heart drawings, they photographed their art using the Face on Stamp Booth app. Next they added text. I encouraged students to add text found on real postage stamps, such as USA, Forever, Love, date, and stamp price. A lot of kids added their favorite activities (soccer, archery, golf, cheer, basketball etc.) Click here to see even more iPad Love Stamps in our Artsonia gallery.

Step 3: Create a collage (‘sheet of stamps’)

After completing their iPad love stamps, students emailed them to me. I created a grid of the photos using my computer and the free Pic Monkey collage maker. You could also use an iPad and the free Pic Collage app.

Students uses fine art, free Face on Stamp Booth app plus iPads to create individual 'Love Stamps'.

Students uses fine art, free Face on Stamp Booth app plus iPads to create individual ‘Love Stamps’.

End result: wow! Students were very pleased both with their heart art and with their iPad love stamps.

Happy Valentine’s Day!

Enjoy!

  Do you have a favorite art project for Valentine’s Day project?

Pet Valentines

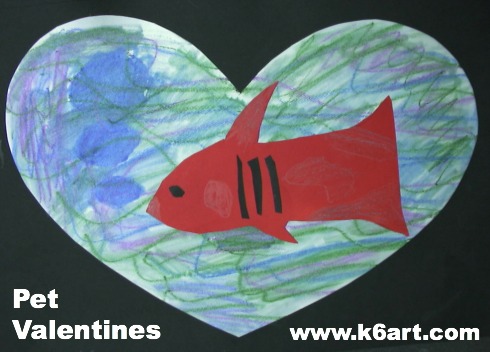
Pet ValentinesWho do children love? Ask them – they will tell you they love their family and their pets. Why not make a valentine for your pet? Our second graders did just that – they created colorful pet valentine collages.

Materials:

  • red construction paper or watercolor paper, 12″x18″
  • oil pastels
  • construction paper or painted paper, assorted colors, 6″x6″
  • pencils and erasers
  • scissors
  • glue sticks
  • black construction paper, 12″x18″, for mounting

Day 1:

Talk about pets. Tally up how many students have dogs, cats, snakes, hamsters, etc. Some students have a lot of pets and want to put them all on the valentine! Some students don’t have any pets. I told them to make a valentine for a ‘dream’ pet, or for a pet that belongs to a friend, neighbor or relative.

I passed out large hearts cut from red construction paper and and watercolor paper. Students colored the hearts with oil pastels, then used glue sticks to attach the hearts to black construction paper.

Day 2:

Students drew their animals on 6″x6″ colored construction paper or on the back of painted paper. I encouraged them to use large simple shapes. They cut out their animals and glued them to their hearts. They added details with scraps of colored paper and/or with oil pastel.

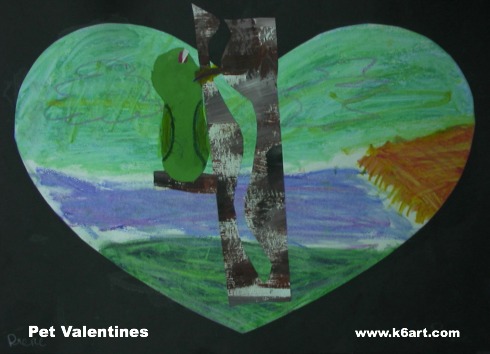
bird valentine

One student didn’t have a pet. He created a pet valentine for the bird in his backyard.

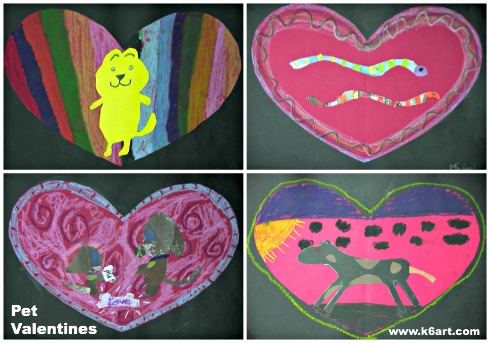
Second grade results:

Second grader pet valentine collages. Allow two 40-minute classes.

Second grader pet valentine collages. Allow two 40-minute classes.

Our second graders had a great time and were very proud of their artworks.

p.s. This can be a nice Eric Carle-inspired project if you use painted papers for the collage.

Enjoy!

Do you have a favorite Valentine’s Day art project?

How to Make Clay Human Figures


war veterans art center

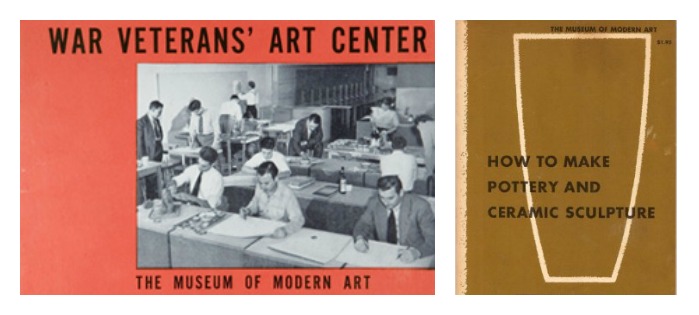
MoMA’s ‘How to Make Pottery and Ceramic Sculpture’ was initially published in 1947. Photo source: moma.org

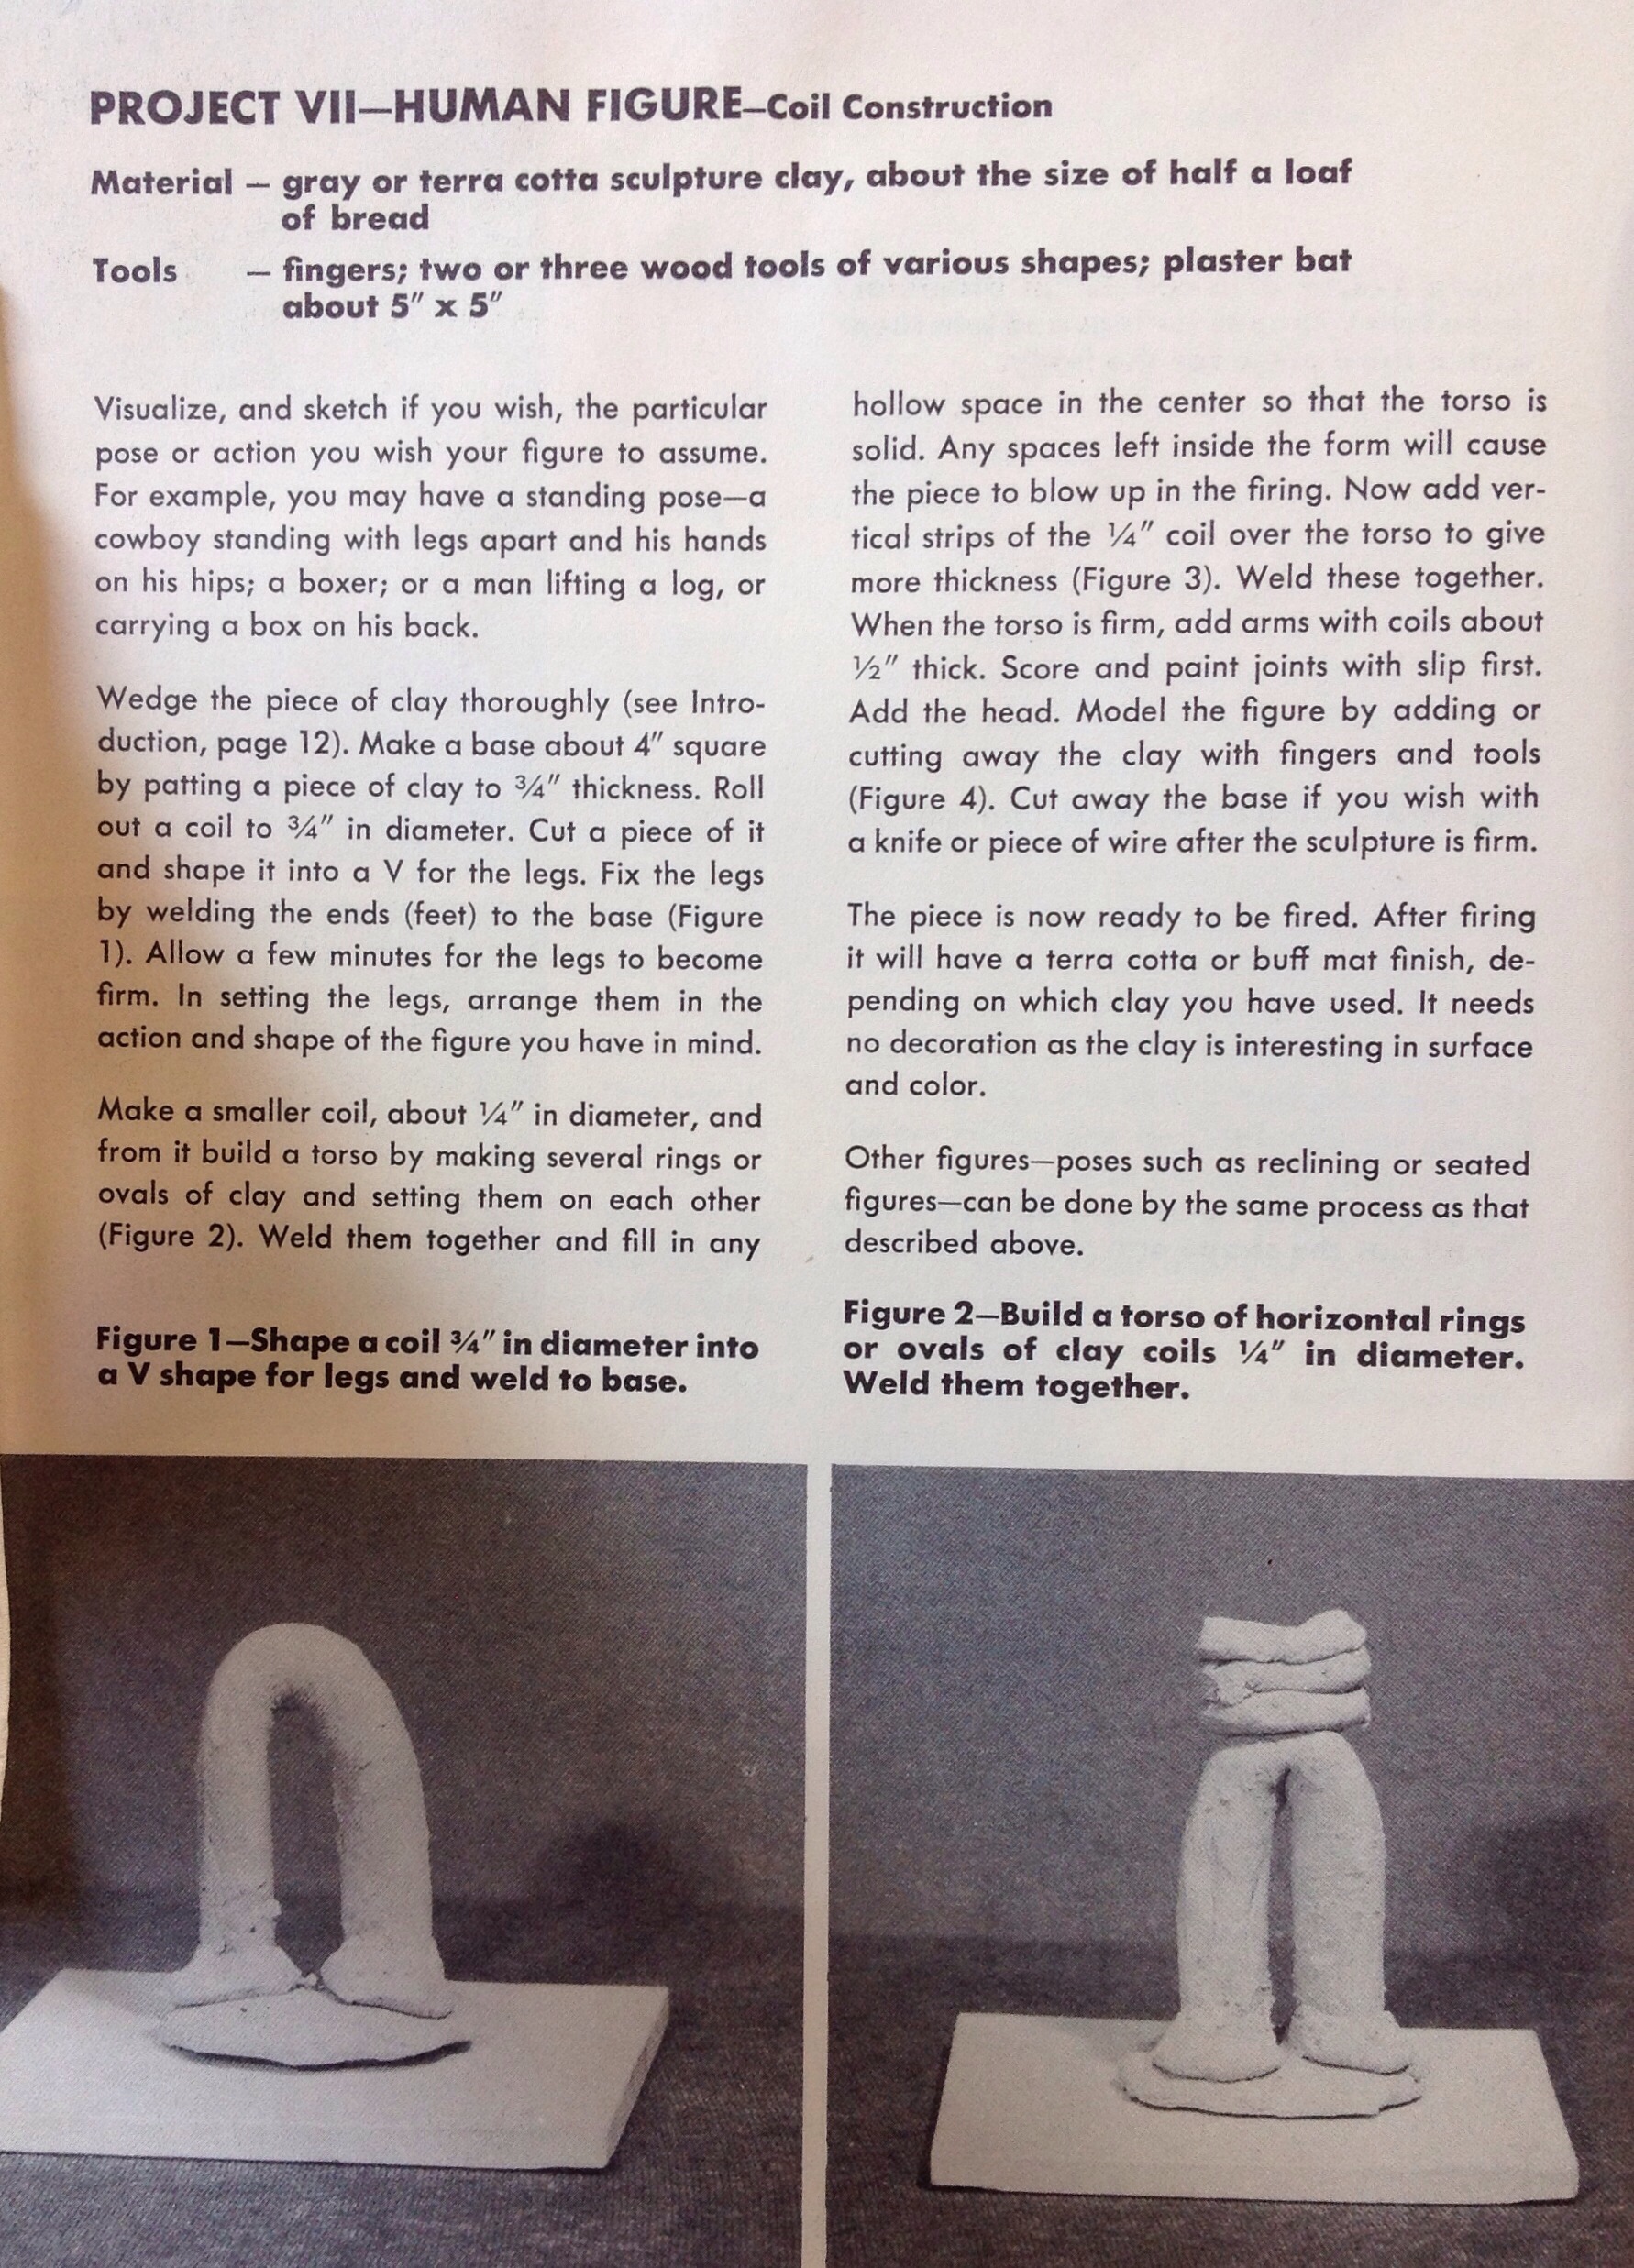
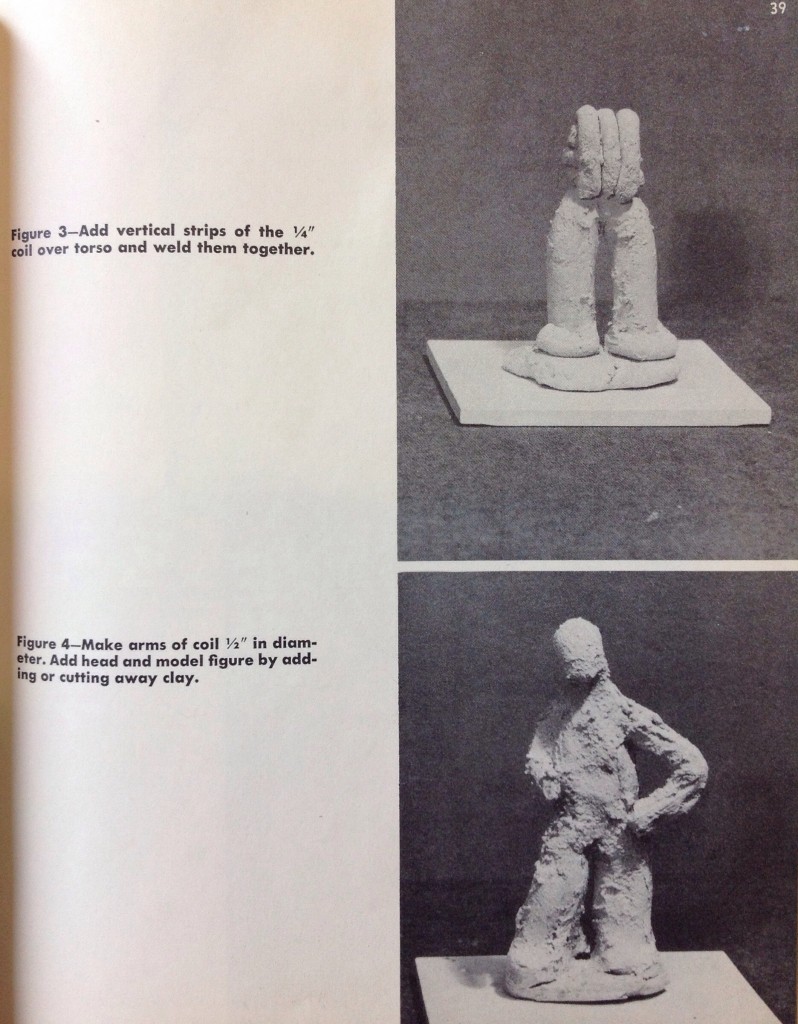
MoMA’s 1947 publication, How To Make Pottery and Ceramic Sculpture, by Julia Duncan and Victor D’Amico, contains 20 hand-built ceramic projects, from pinch and coil pots to slip casting. Here is Project VII – The Human Figure.

20140129-081215.jpgMoMA clay figure step by step

The projects in How to Make Pottery and Ceramic Sculpture were taught at MoMA’s War Veterans’ Art Center. Did you know that from 1944-1948, MoMA operated an art center just for WWII war veterans?

The War Veterans’ Art Center was devoted to the rehabilitation of veterans. Its goal was “to discover the best and the most effective ways of bringing about, through the arts, the readjustment of the veteran to civilian life.” The work of the War Veteran Art Center was considered progressive within the field of art therapy in the United States (source: moma.org).

Over 1000 vets took classes in painting, sculpture and ceramics, jewelry, design, illustration and more. The War Veteran’s Art Center couldn’t accommodate all the vets on the waiting list, so MoMA put out a series of art manuals that could be used for self-instruction or as an aid to any teacher of large groups.

The 20 hand-built projects in the ceramics manual are well-written and well-photographed. Stay tuned – I may feature more later this year.

Enjoy!

Happy Throwback Thursday! Stop by on Thursdays to see what I’ve found in my vintage art education collection.

Related Posts Plugin for WordPress, Blogger...