Clay and Pasta Portraits


clay and pasta faces

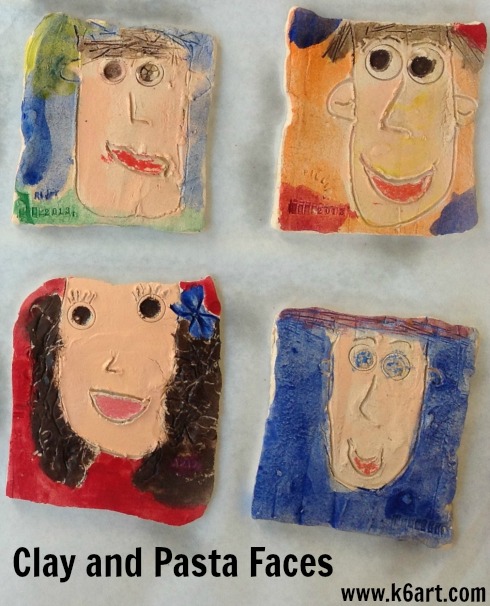
The first graders made these clay self-portraits earlier this year. They were fun to make, required a single firing, and surely will be treasured by the students and their parents for years to com.

Materials:

  • clay
  • marker or glue stick caps
  • dull pencils
  • alphabet pasta (available in the Hispanic foods section of Walmart, and through Amazon)
  • wagon wheel pasta
  • spaghetti
  • bow-tie pasta
  • ramen or egg noodles
  • optional: date stamps
  • tempera cakes (including peach)
  • Crayola multicultural paint
  • crayons
  • optional: ceramic spray gloss

Prep:

I used a multi-slab cutter to easily cut the clay block into identical clay tiles.

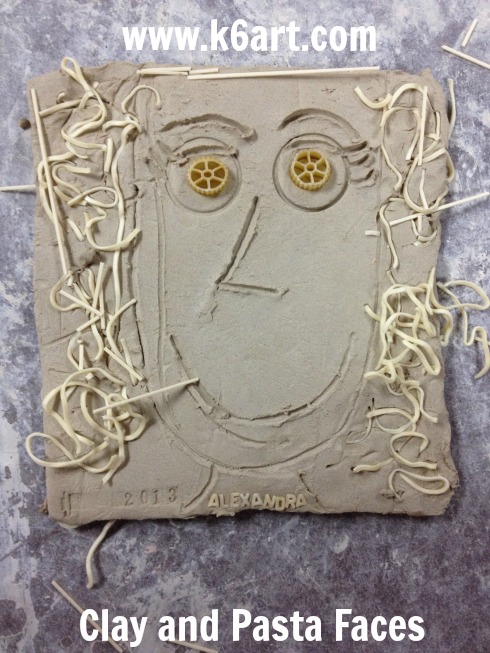
Alexandra's clay and pasta face

Making the face:

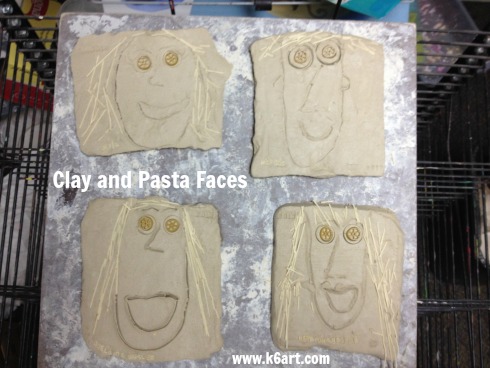
Students first used a dull pencil to draw the face, nose, smile, and neck. We stamped eyes with the glue stick caps. Then we added wagon wheel pasta for eyes. Curly-haired students pressed in Chinese egg noodles for hair; kids with straight hair pressed in broken lengths of spaghetti.  Some kids added bow tie pasta.

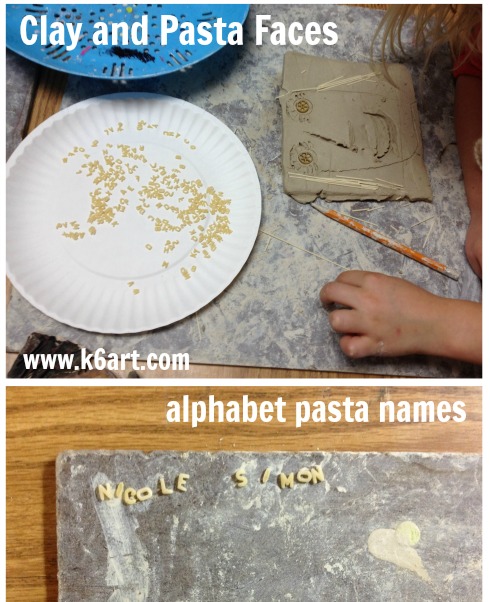
Next I passed out plates of alphabet pasta. The kids spelled out their names and pressed the letters into the clay.

Finally, I added the date with an old-school rubber date stamp from an office supply store.

Allow clay to dry, then bisque fire.

Note: we did not remove ANY of the pasta before firing – we just let it burn out in the kiln.

clay and pasta faces alphabet pasta

clay and pasta faces 3

Painting the clay:

After bisque firing, we painted them with tempera cakes. For the skin tones, I offered multicultural tempera as well as peach tempera cake. The first graders painted their faces in a snap.

Within a few minutes, the tempera settled into the porous bisque. Then the kids added mouths with crayon (or construction paper crayon). Some kids used crayon for the eye color and even for make up.

As a last step, I sprayed the clay portraits with glossy ceramic sealer.

Tips:

Live and learn – here’s what I found out:

  • don’t press to hard with the pencil when drawing the portraits. Some students cut right through the slab (but came away with nice face-shaped clay portraits!)
  • the pasta may attract rodents.
  • egg pasta leaves a yellow tint on the clay even after firing.
  • don’t press extremely hard with the wagon wheel pasta. If you do, the fired clay eyes will end up as a shallow well.

For more examples and ideas, see this post on last year’s clay self-portraits.

Enjoy!


Decorated Clay Cupcakes

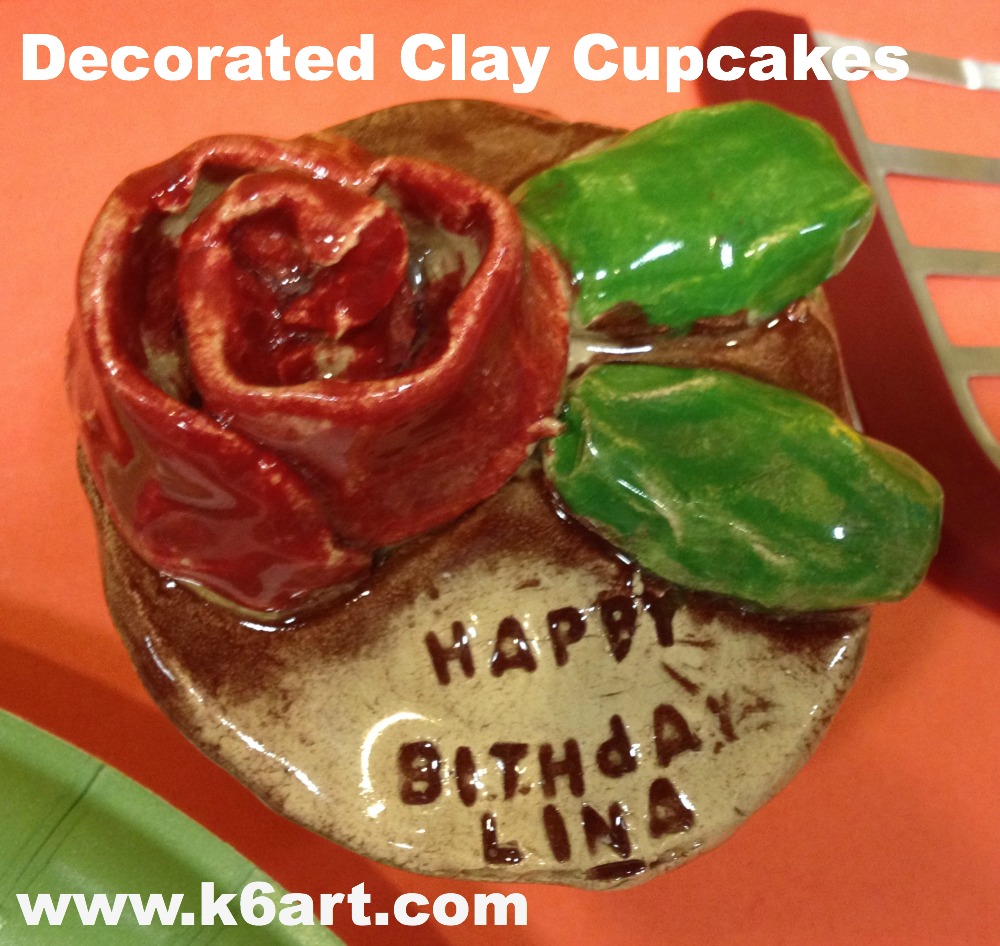
decorated clay cupcakes feature lettering and clay roses and

These lidded clay cupcake boxes are extra-special: they feature lettering and clay roses!

decorated clay cupcakes feature lettering and roses

Materials:

  • clay (we used low-fire white)
  • individual silicone cupcake molds (such as Wilton Silicone Baking Cups
    )
  • pin tool or plastic knife.
  • white vinegar
  • q-tips
  • alphabet pasta (I use La Moderna brand from the Hispanic food section at Wal Mart).
  • underglaze
  • clear glaze

Make the cupcake base

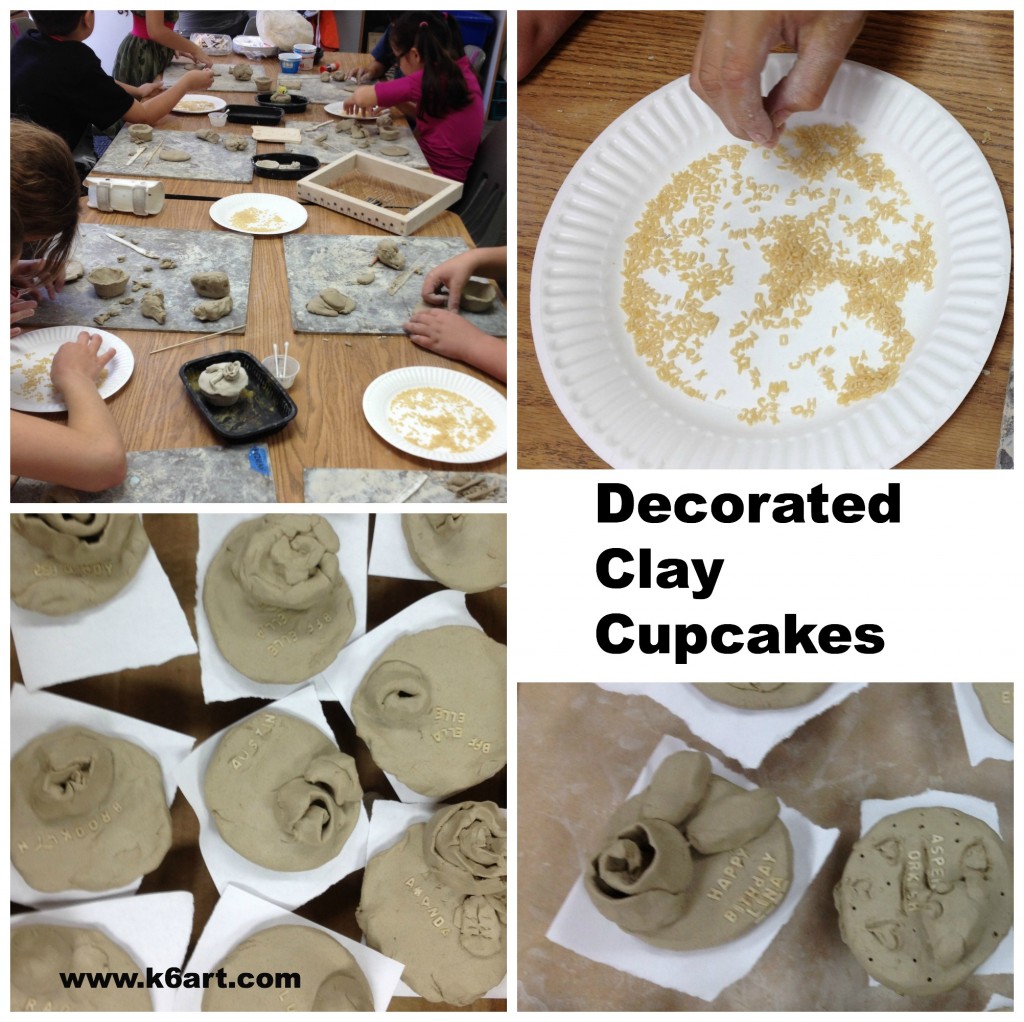
Give each student a lump of clay and a silicone cupcake form. Create a pinch pot, place it in the silicone form and press the clay all around against the textured sides of the form. If the clay pot is higher than the form, trim the clay with a pin tool or plastic knife.  Turn form inside out and remove from clay. Students should write their name on the bottom at this time.

Make the cupcake lid

Take some more clay and roll into a ball. Flatten the ball. Invert the top of the cupcake form and place onto of the flattened clay. Trim clay to fit cupcake form. Write student name on one side of the lid.

Want more tips? Check out this clay cupcake post from The Art of Ed.

Adding roses

I saw this great post on making simple clay roses on the smART Class blog. Essentially, you create a coil (rope) of clay, lay it on the table, pinch the top (‘spine’) along the length of the coil, and spiral into a rose.  Please see the smART Class blog post for a full photo tutorial.

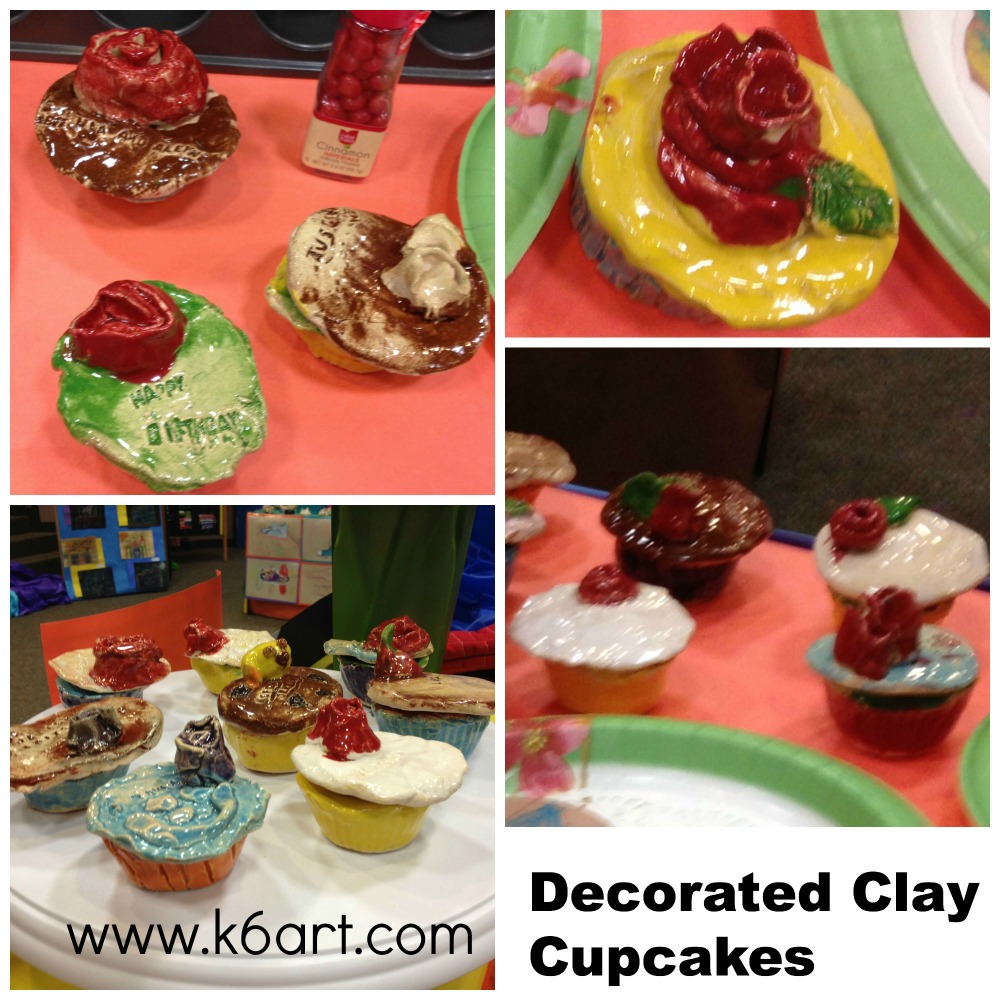
We attached our roses (and optional leaves) to the lid using vinegar applied with a q-tip. Some students skipped the roses and added other decorations. Variations included a sun, animal, wrapped present, and cherry.

(Note: vinegar is our glue. We use it instead of slip when attaching small clay objects).

Adding text

Pour some alphabet pasta into a plate. Press alphabet pasta into wet clay. Write a birthday message or anything else. Do not remove (the pasta will burn out in the kiln).

Fire to cone 04.

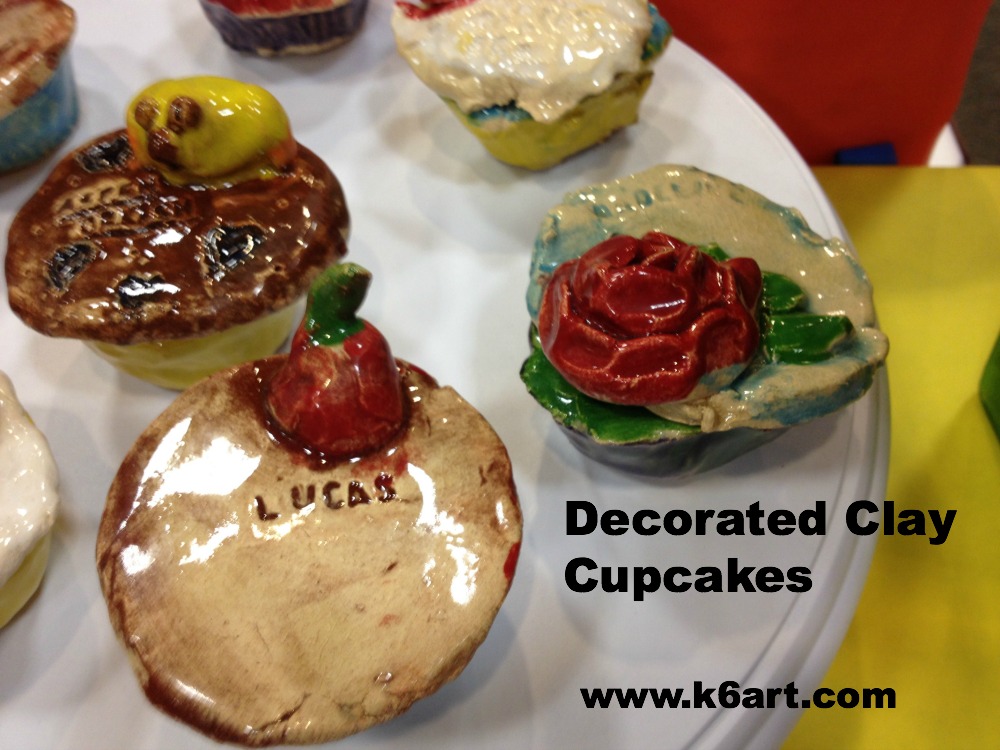
decorated clay cupcakes feature text and roses.

Glaze the cupcake

Glaze the base with three coats of underglaze.

If the lid has text, use a stiff brush to press a dark color of underglaze into text indentations. Wipe off the underglaze. The text should now be legible. Carefully glaze the roses/leaves/decorations with three coats of underglaze. When dry, add 2-3 coats of clear glaze. Fire to cone 06.

decorated clay cupcakes at the art show.

Enjoy!

p.s. This would be a nice Wayne Thiebaud lesson!

Rainbow Footprint Tile Mural

rainbow footprint tile mural

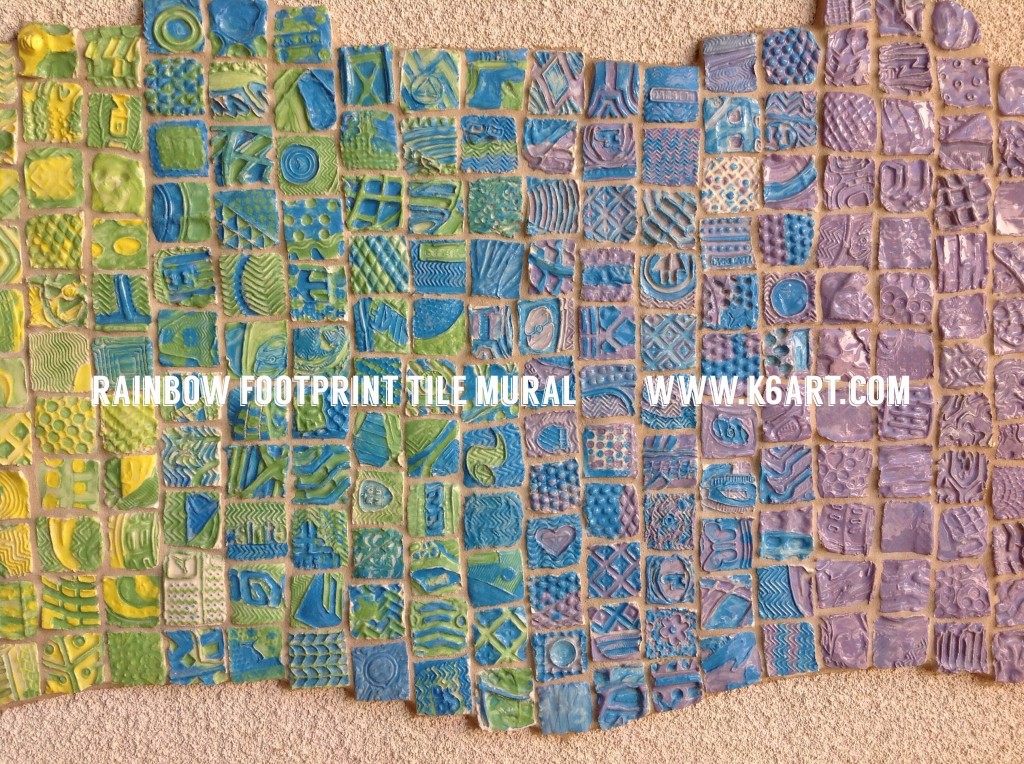
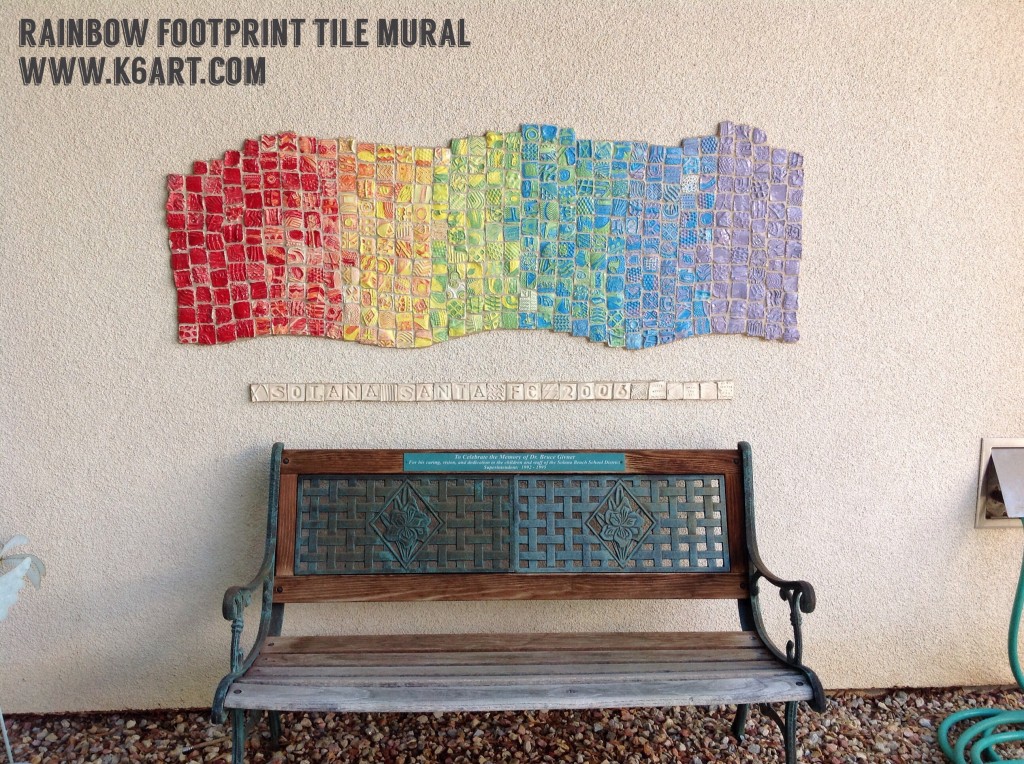
Thinking about a mural project? If you want a mural that is engaging, beautiful and enduring, consider this rainbow footprint tile mural. I used Craig Hinshaw’s Rainbow Footprint Mural lesson from Pottery Making Illustrated July/August 2004.

Whole school mural project made from individual clay tiles, each imprinted with a shoe sole.

Whole school mural project made from individual clay tiles, each imprinted with a shoe sole.

Materials for the tiles:

  • Low fire white clay
  • square viewfinders
  • pin tool or opened paperclip
  • underglaze in colors of the rainbow
  • small brushes
  • clear glaze
  • your shoes!
  • optional – for lettering: magnetic letters (refrigerator magnets), alphabet pasta

Creating the footprint tiles

We followed all the directions in the magazine article. The students were THRILLED to stomp their foot down onto a ball of clay.

Cutting the tile though the viewfinder opening was a bit of the challenge for the younger students. Instead of neat squares, we had a lot of irregular shapes. These tiles had to be remade, but it only took a few extra minutes. I had extra sixth grade volunteers on hand to help cut out the tiles for the kindergarteners.

 Creating Text

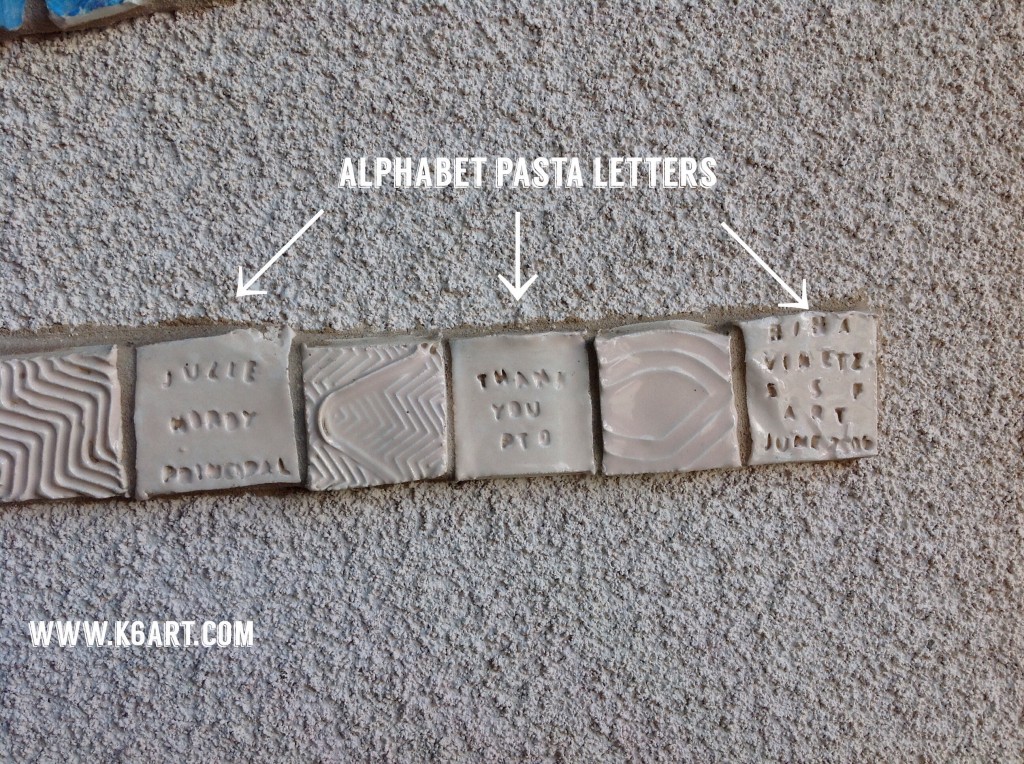
We created text two ways: 1) large text was created by pressing magnetic letters into clay, and 2) small text was created by pressing alphabet pasta into clay.  (Don’t worry – the pasta burns out in firing).

For the large letters, we pressed magnetic letters into the clay tiles.

For the large letters, we pressed magnetic letters into the clay tiles.

For the small text, we pressed alphabet pasta into the clay tiles.

For the small text, we pressed alphabet pasta into the clay tiles.

I did this mural with the students of Solana Santa Fe School. We prepared all the tiles and had them professionally installed on an exterior stucco wall.  Eight years later, it is still standing and looking great!

Another school in our district did a twist on the same mural project. Artist (and parent) Christie Beniston create a rainbow footprint mural with the students of Skyline School. Click here to see this mural. Note the rectangular and circular tiles.

If you are planning a whole-school mural, consider this project. The kids LOVED making the tiles. Each tile is uniques, just like our students. They mural is beautiful to look it and fun to touch. After it is installed, kids will look for their shoe prints. It is a permanent reminder of unity in the school community.

Enjoy!

How to Make Clay Human Figures


war veterans art center

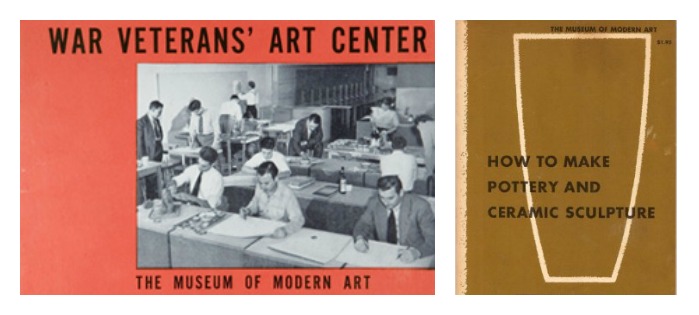
MoMA’s ‘How to Make Pottery and Ceramic Sculpture’ was initially published in 1947. Photo source: moma.org

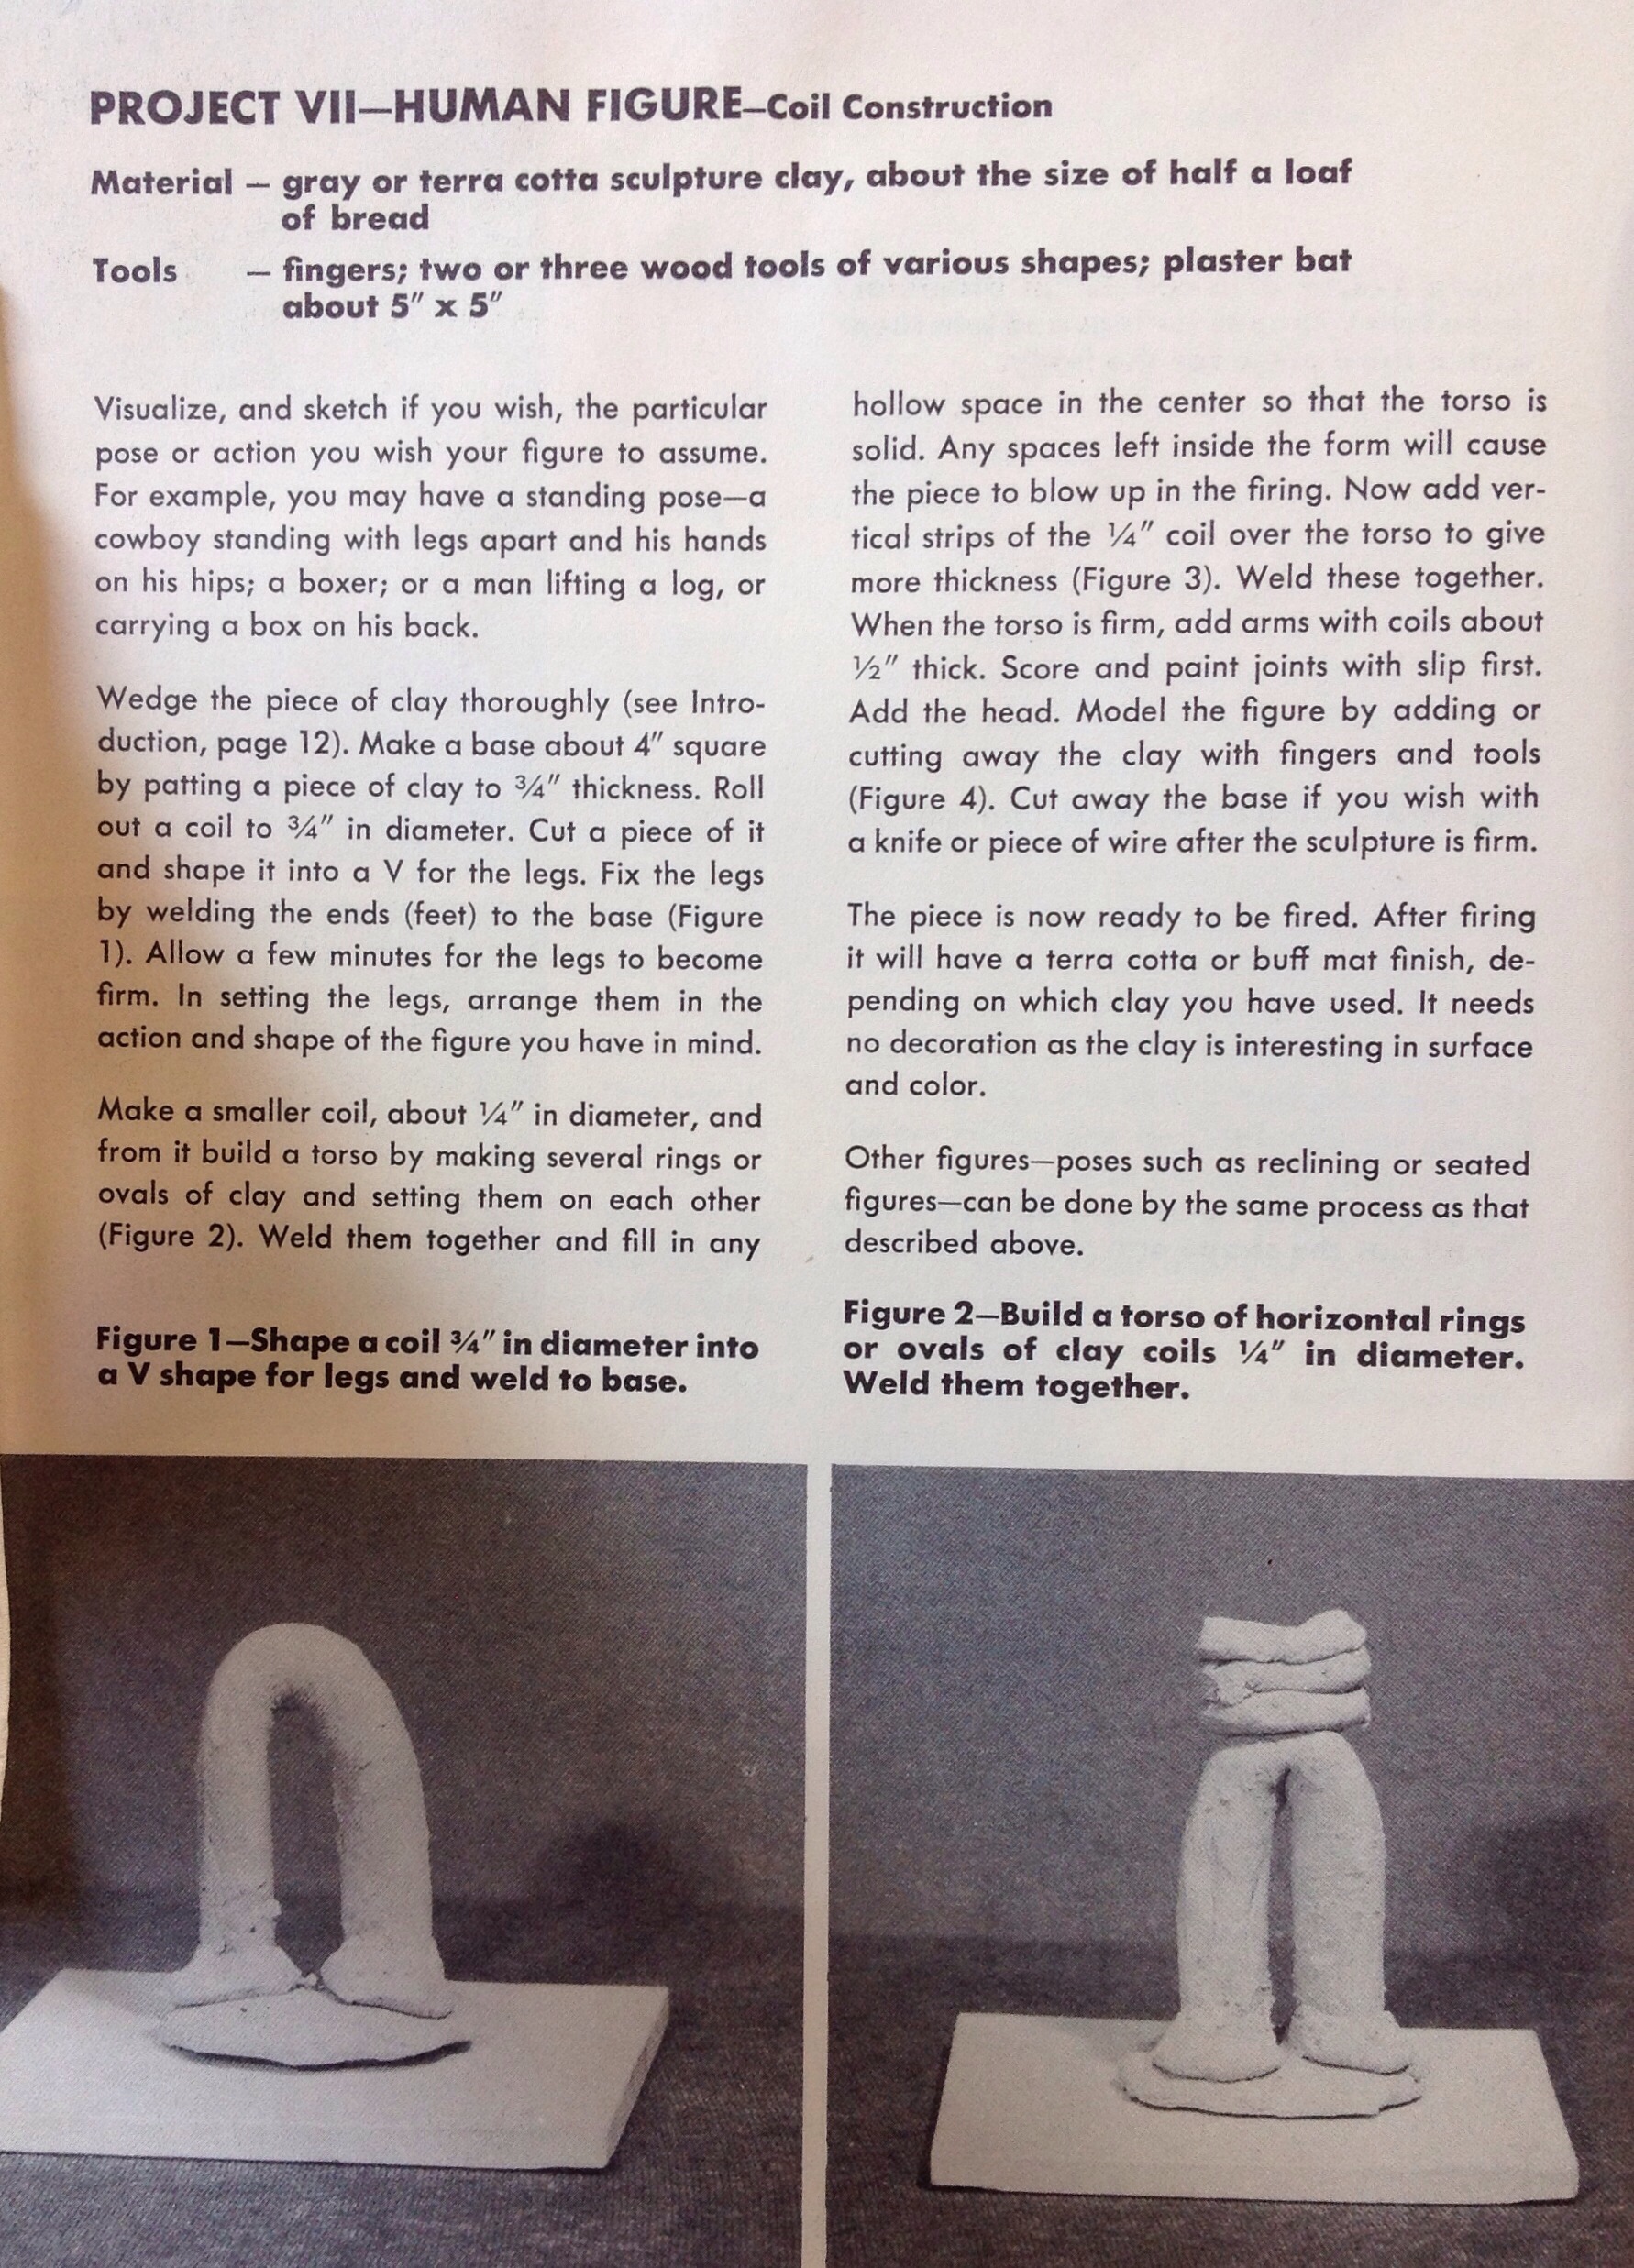
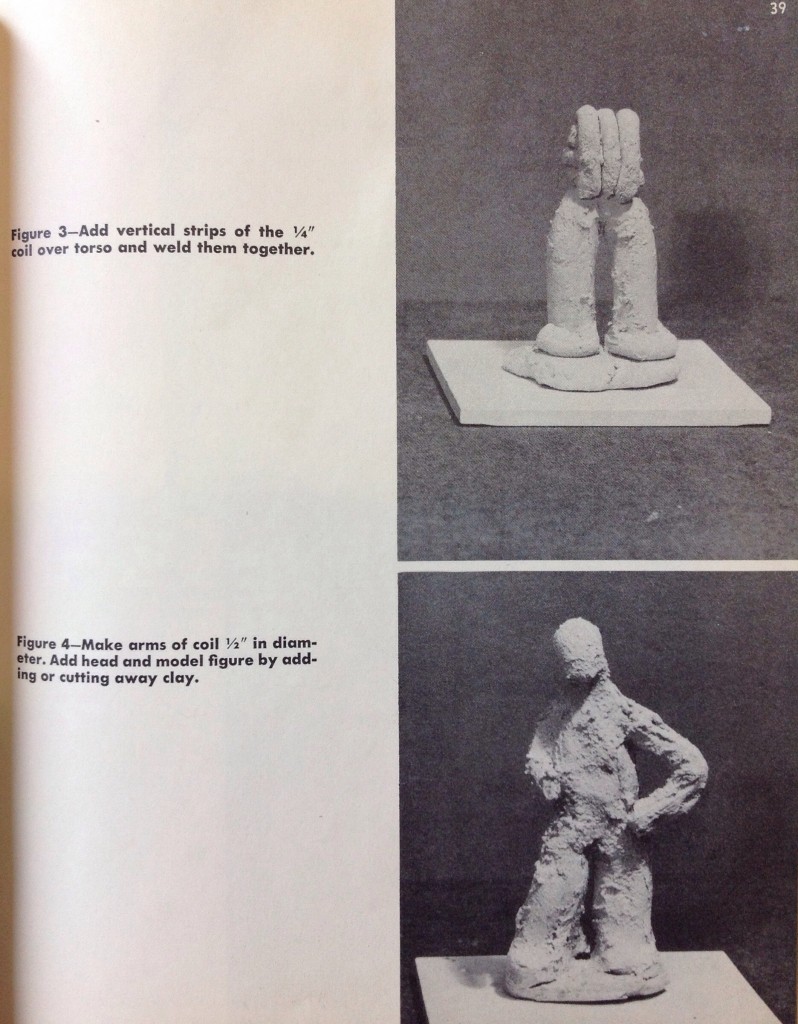
MoMA’s 1947 publication, How To Make Pottery and Ceramic Sculpture, by Julia Duncan and Victor D’Amico, contains 20 hand-built ceramic projects, from pinch and coil pots to slip casting. Here is Project VII – The Human Figure.

20140129-081215.jpgMoMA clay figure step by step

The projects in How to Make Pottery and Ceramic Sculpture were taught at MoMA’s War Veterans’ Art Center. Did you know that from 1944-1948, MoMA operated an art center just for WWII war veterans?

The War Veterans’ Art Center was devoted to the rehabilitation of veterans. Its goal was “to discover the best and the most effective ways of bringing about, through the arts, the readjustment of the veteran to civilian life.” The work of the War Veteran Art Center was considered progressive within the field of art therapy in the United States (source: moma.org).

Over 1000 vets took classes in painting, sculpture and ceramics, jewelry, design, illustration and more. The War Veteran’s Art Center couldn’t accommodate all the vets on the waiting list, so MoMA put out a series of art manuals that could be used for self-instruction or as an aid to any teacher of large groups.

The 20 hand-built projects in the ceramics manual are well-written and well-photographed. Stay tuned – I may feature more later this year.

Enjoy!

Happy Throwback Thursday! Stop by on Thursdays to see what I’ve found in my vintage art education collection.

Creative Self-Portraits at Young Art Show


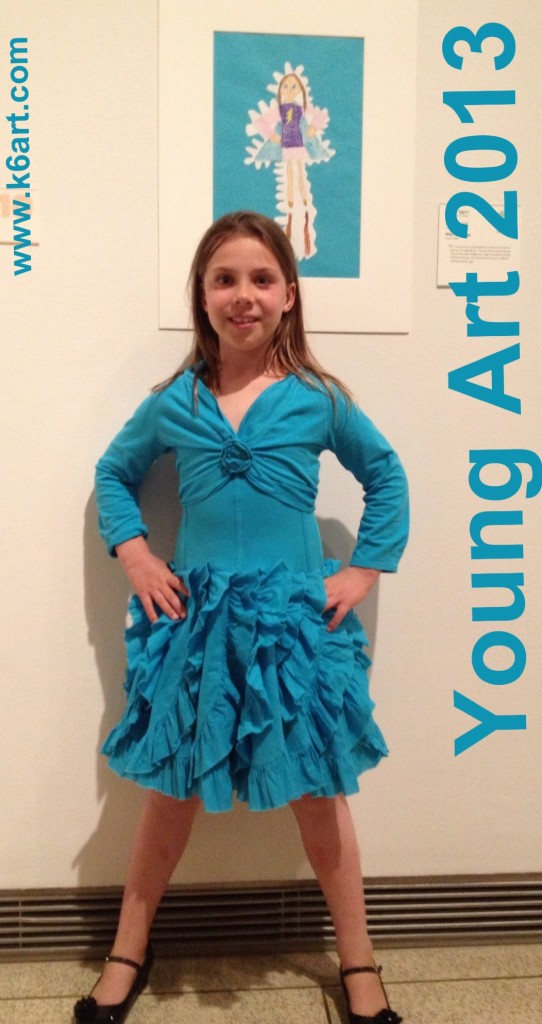
Young Art 2013 at San Diego Museum of Art

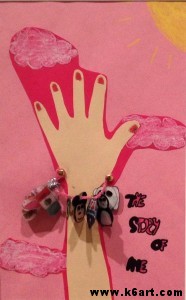
For over 80 years, the San Diego Museum of Art has held a juried exhibition of student art. This year’s show is all about identity. Young Art ‘The Story of Me’ is on display right now at the Museum at the Center for Community and Cultural Art. Learn more in this article.

Our school had a record 12 pieces in this year’s show. Congratulations to all our young artists! Here are all their fabulous projects, arranged by grade:

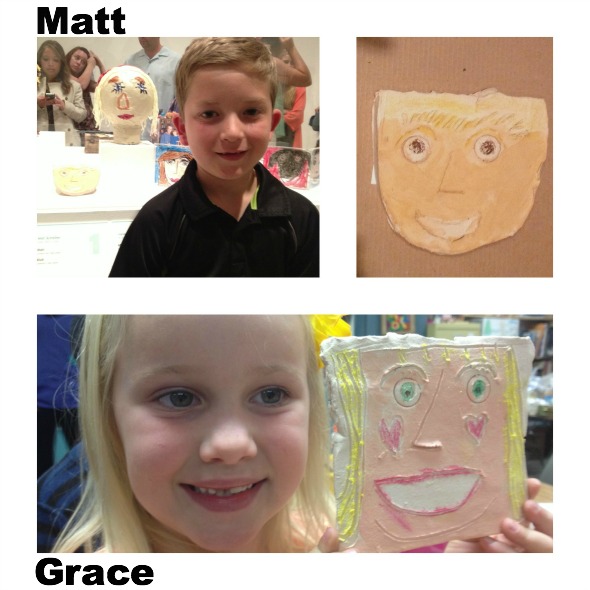
First Grade: Clay Self-Portraits

matt and grace

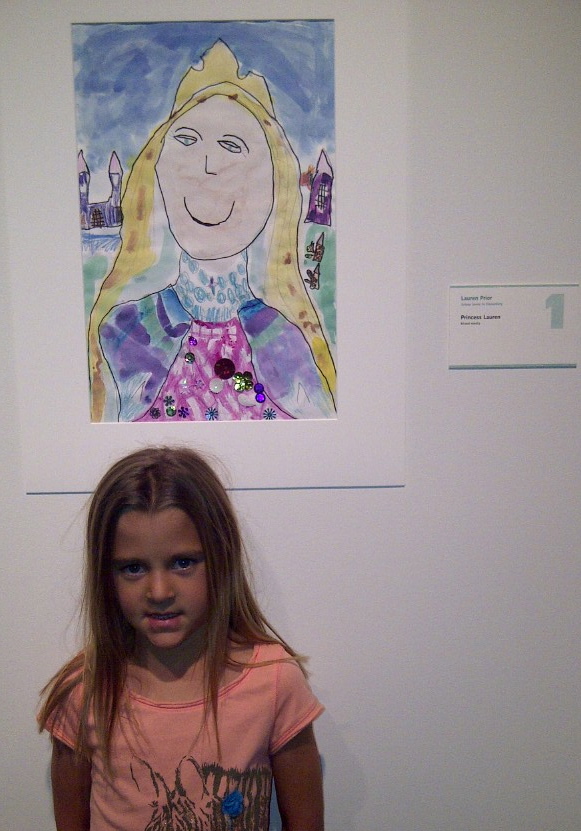
 First Grade: Royal Self Portrait

L. and her royal self-portrait

L. and her royal self-portrait


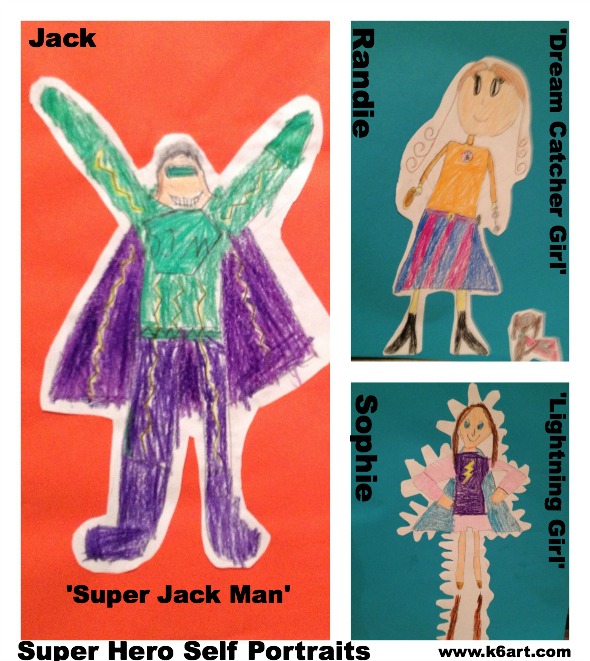
Second Grade: Super Hero Self Portraits

super hero collage young art

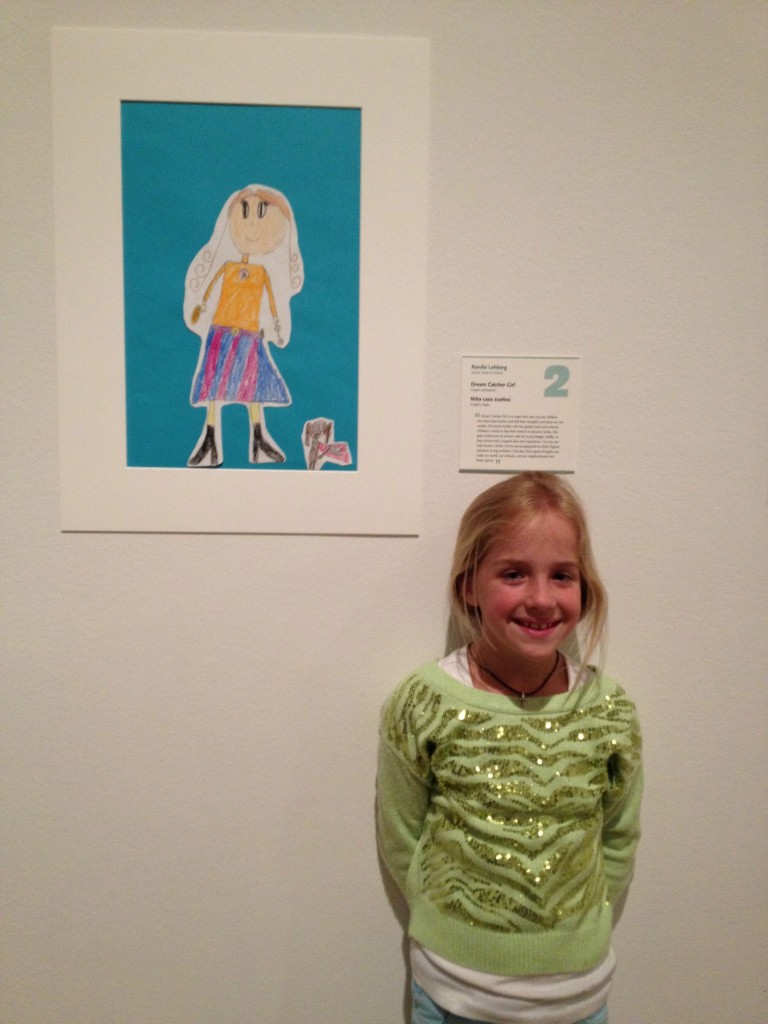
Dream Catcher Girl

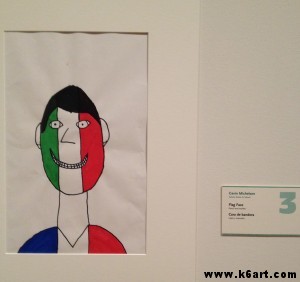
Third Grade: Heritage Self Portrait

Gavin’s heritage self-portrait, ‘Flag Face’, incorporates the flags of France and Italy.

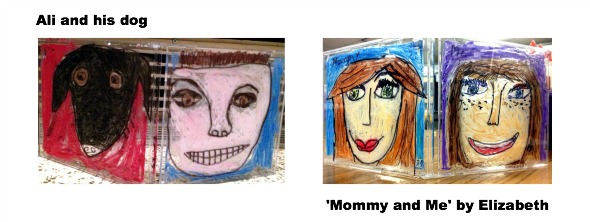
Fourth Grade: CD Case Double Portraits

cd case portrait collage


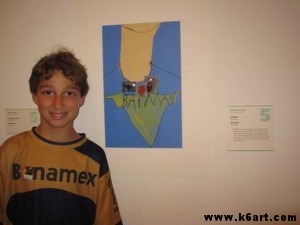
 Fifth Grade: Charm bracelets and dog tags

Mo and his charm necklace

Mo’s self-portrait is a T-shirt and neck chain, with charms for skiing and Spiderman.


Bella's charm bracelet has charms for Mexico, swimming, Disneyland and more.

Bella’s self-portrait charm bracelet includes charms for Mexico, swimming, and Disneyland.

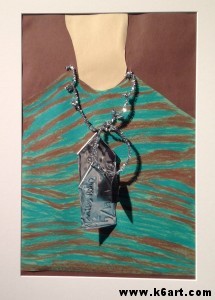
Jacob's salute to his family's military background includes a camouflage shirt and individual dog tags for family members in the service.

Jacob’s salute to his family’s military background includes a camouflage shirt and individual dog tags for family members in the service.


Well done artists!!!! The show is up until May 26, 2013. Hope you can visit!

Thanks to the fabulous art education team at SDMART for making Young Art happen. Our community truly appreciates all your hard work.

Enjoy!


Related Posts Plugin for WordPress, Blogger...