Leaf ‘Collage’ + Photography

Want to try a leaf collage project? Want your leaves to stay fresh and bright forever? Skip the glue/wax paper/laminator and try a camera instead!
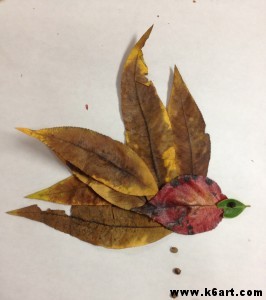
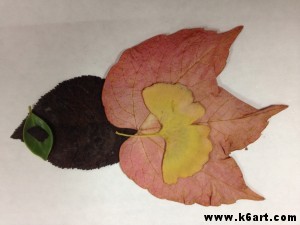
Third graders arranged leaves into animal shapes, then photographed their art. Allow one 40-minute class for this ‘collage’ lesson.

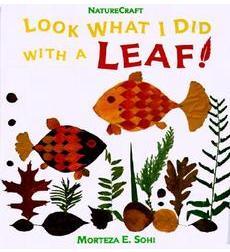
Third graders just completed their leaf collages, inspired by the book Look What I Did with a Leaf! by Morteza E. Sohi.

In the book, M. Sohi arranged leaves on a white background to create fanciful animals, then photographed them. Click here to see more examples.

To prepare for this lesson, you need to gather a variety of leaves and flatten them. I placed the leaves between the pages of an old phone book. Plan to do this at least a couple of days in advance so the leaves will be really flat. You can also ask kids to bring in leaves from home

On the day of class, cover tables with white paper to create a backdrop and spread out the leaves.

Cover tables with white paper to create a unified backdrop for the collages.

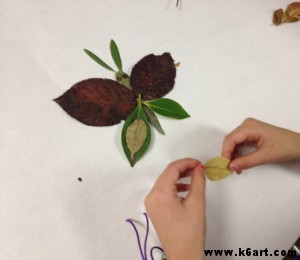
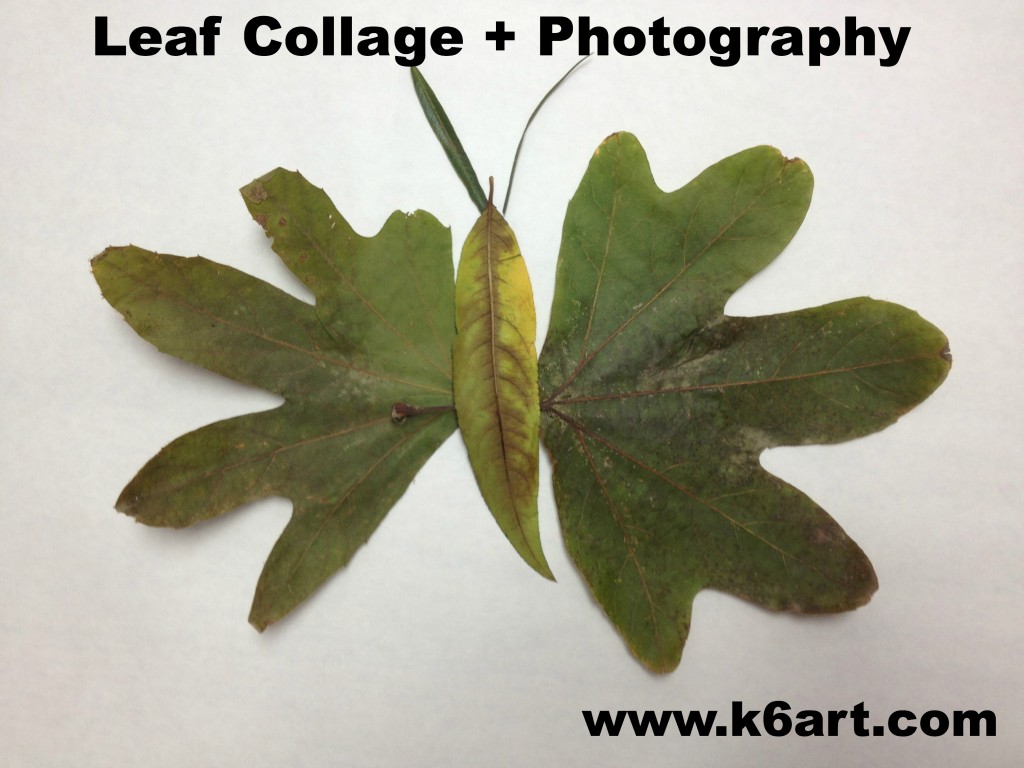
Students arranged the leaves to resemble animals.  Butterflies were very popular!

Student arranges a leaf butterfly.

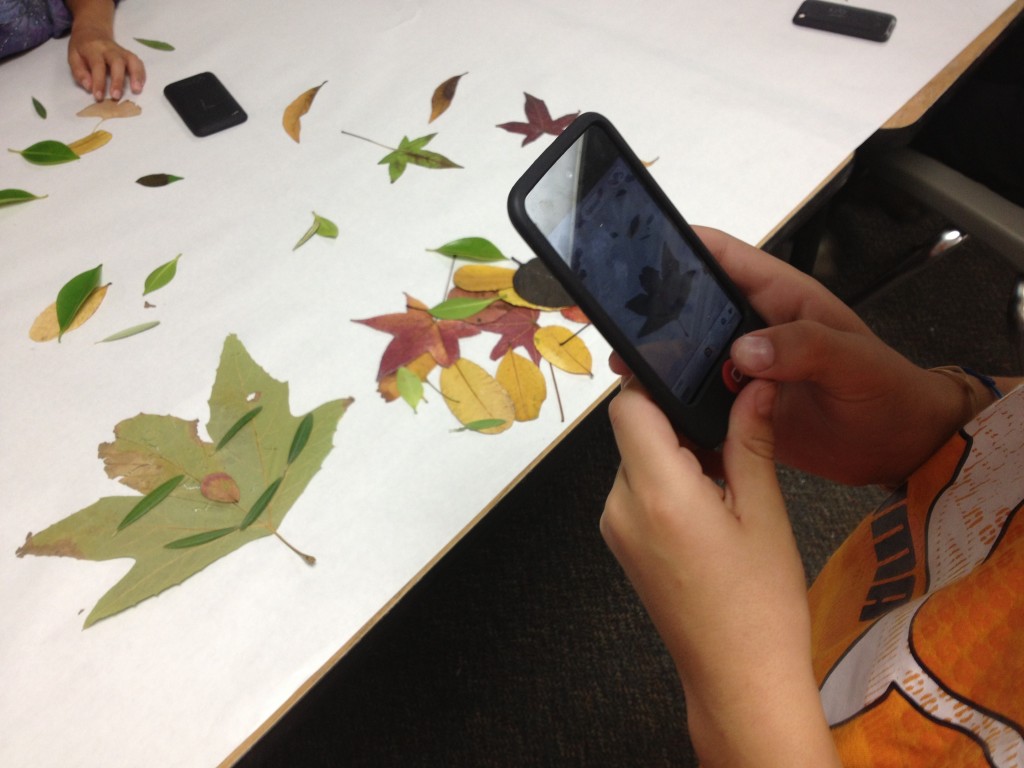
We used camera-equipped iPods to photograph our artworks. Our third grade is 1:1 iPod Touch so each child was able to take photos of their own creations.

Students used camera-equipped iPods to photograph their collages.

Students then rearranged their leaves and repeated the process. Most of our third graders made 3-5 animals during the 40 minute class.

Third Grade Student Work:

Ashley’s alligator


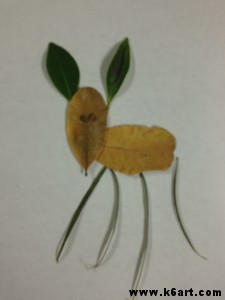
Deer


Mouse

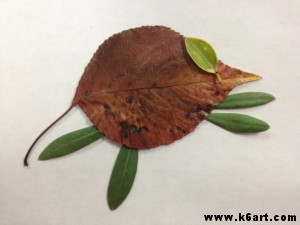
Fish

One of the benefits of this method is that students can re-use and share leaves. Remind your students not to crumble the leaves, and you can reuse them for multiple classes. Students can work alone, in pairs or in groups – there is no argument over who takes the work home because everyone can have a digital copy of the work.

Next class we will learn to rotate and crop our photos, and how to email them.

Display options:

  • Upload to Artsonia
  • Email the images home, or put them up on the class wiki
  • Create a large class poster of all the images for the art show
  • Students can write a paragraph about their animals, or illustrate a story.

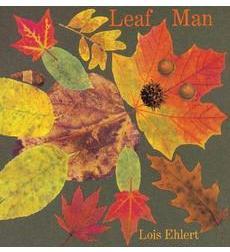
For further inspiration, check out the book Leaf Man by Lois Ehlert. The artist used real fallen leaves to create her illustrations.



Japanese Kimono Collage


Japanese yukata. This cotton garment is worn in summer or during a visit to a traditional Japanese bath. Source: Akiodesigns.com

Formal furisode kimono. Source: http://web-japan.org

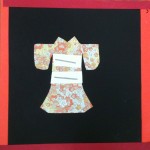
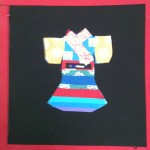
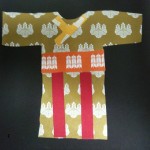
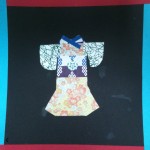
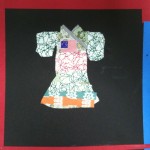
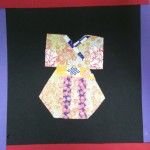
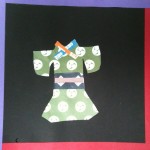
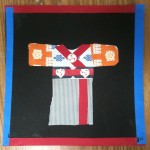
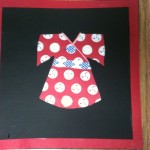
Third grade is doing a Japanese unit. In music class, they are working hard on their school play, a Japanese-themed ‘Emperor’s New Clothes’ (featuring real Taiko drums). I found this great kimono collage lesson plan developed by Renee Collins at My Adventures in Positive Space.  The project was extremely successful – 100% of students made beautiful collages.

My contribution to this fabulous project is a Japanese kimono powerpoint. We also looked at formal kimono on this website and Japanese clothing on this website.

Materials:

  • Patterned origami paper (like this variety pack)
  • Kimono templates (courtesy of Blue Moon Palette blog)
  • Pencils/erasers
  • Scissors
  • Glue sticks
  • Black construction paper for mounting, cut 6″x6″
  • Colored paper scraps

Here are the completed 3rd grade projects:

Princes and Princesses Rule over First Grade

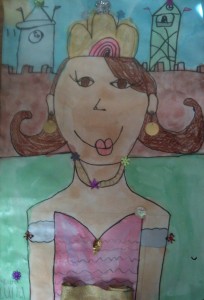
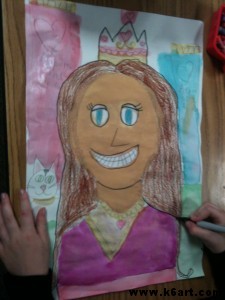
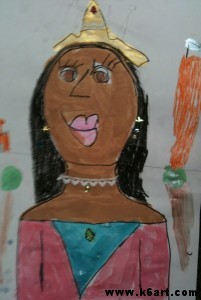
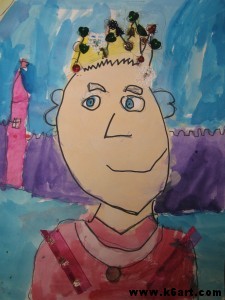
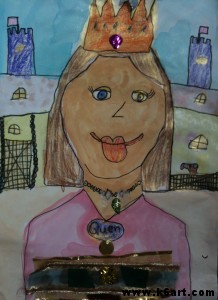
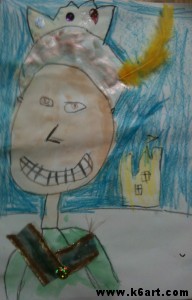
Welcome to the royal art room!  The first grade recently finished their royal self portraits.

First graders create a portrait of themselves as princes or princesses. Allow 3-4 40-minute classes.

Materials:

  • white paper, 12″x18″
  • pencils and erasers
  • self-portrait template (optional)
  • several shades of skin-colored tempera (thinned with water)
  • watercolors
  • Sharpies
  • crayons
  • sequins, ribbons and lace
  • glue

Day 1:

We started out by looking at photos of royal gear: crowns, swords, jewels, and medals. Students began by drawing the face, neck and torso. Then they added crowns and fine clothes. Most drew castles in the background – some even added their ‘royal’ pets!

Day 2:

The skin was painted with thinned tempera. We painted the rest with regular and metallic pan watercolors. Tiny details (such as eyes) were colored in with crayon.

Day 3:

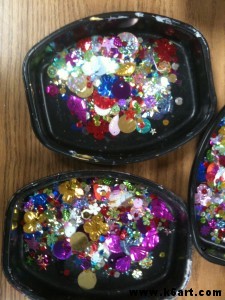
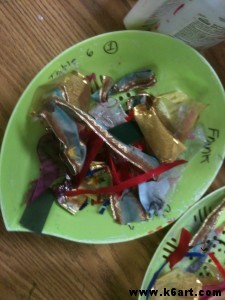
The students outlined the dry art with Sharpies. ‘Jewels’ (sequins), ribbons and lace were glued on for a final touch.


Students outlined their (dry) paintings with Sharpies.

Sequins make fabulous jewels.

Scraps of ribbon and lace make royal clothing extra fancy.

And here are the fabulous results!


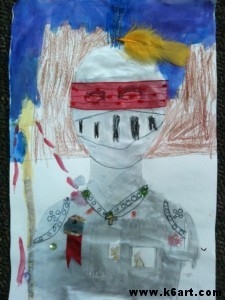
A royal knight.

Some students chose to draw themselves as knights.  I wrote about it in this post.

This completed our royal unit for first grade.  Other projects in this unit are the watercolor resist castle and the clay dragon.

This lesson was inspired by an Arts Attack video.

Chalk Pastel Stencils Part 2: Collage

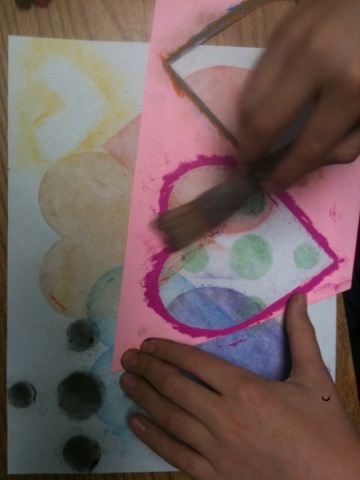
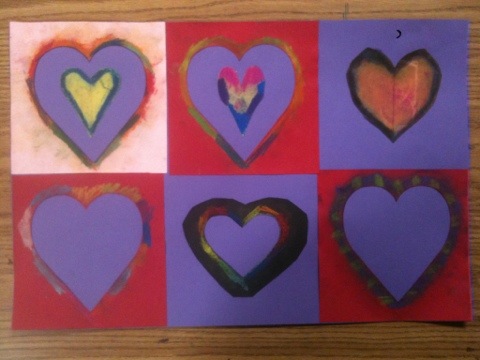
After creating chalk pastel stencil art with multiple classes last week I had a lot of colorful used stencils. I sprayed them with fixative (Aqua Net unscented hairspray) and glued them to construction paper.


20120213-210318.jpg

Students outlines stencil opening with chalk pastel and brushes color inward.

20120213-210401.jpg

Used die-cut and hand-cut stencils make another kind of Valentine.


Which is more beautiful- stencil art or used stencil art? I can’t decide…Happy Valentine’s Day!

Related Posts Plugin for WordPress, Blogger...