Rainbow Fish: Glazed Clay Fish

rainbow glaze clay fish

So many fish in the sea!

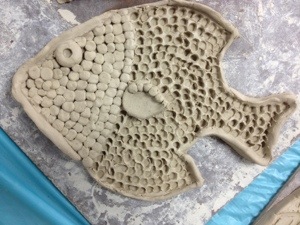
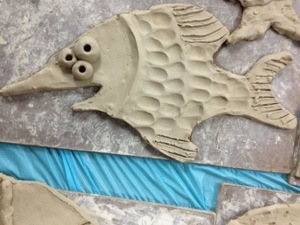
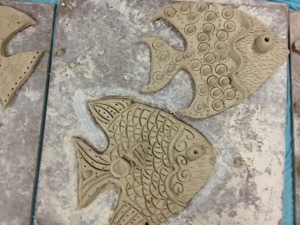
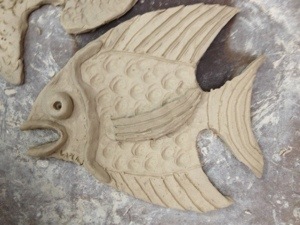
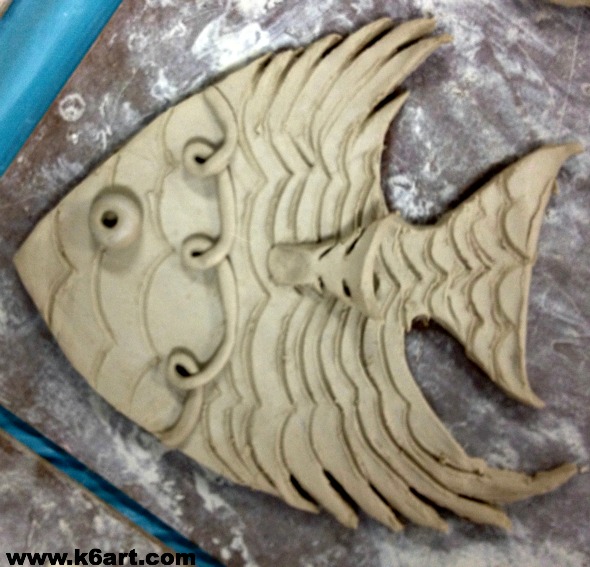
Our sixth grade finished the slab clay fish project. Although I provided a choice of  just three templates, students were able to customize them through re-shaping, texture, and glaze. We ended up with a wide variety of fish.

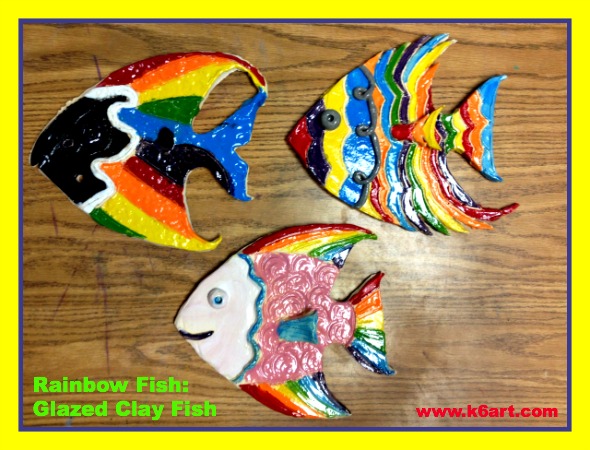
These three rainbow fish started from the same template. Artists scratched lines into the wet clay to make stripes. Later they painted these defined areas. Students who did this technique ended up with neatly glazed fish. Caution: avoid scratching a line across the narrowest part of the tail – it will be more likely to break.
mariel's fish

Want to make a rainbow fish? Make shallow lines in wet clay with a skewer. Glaze fired clay – try to stay inside the lines!


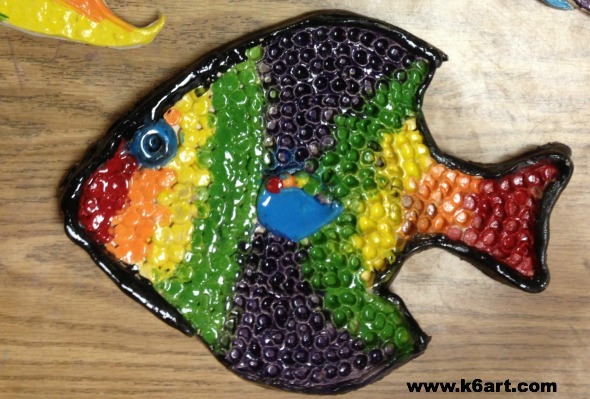
Morgan's fish

Here is a different rainbow fish.  The artist used a different template, then created texture with tiny balls of clay and the eraser tip of pencil. The fish is trimmed with a thin clay coil, which the artist later glazed shiny black.

NICE WORK SIXTH GRADERS!!!

I wrote how to roll and cut the fish here and here. More glazing examples here. More examples next week!

The Jackson ‘Pollocks’: Glazed Clay Fish

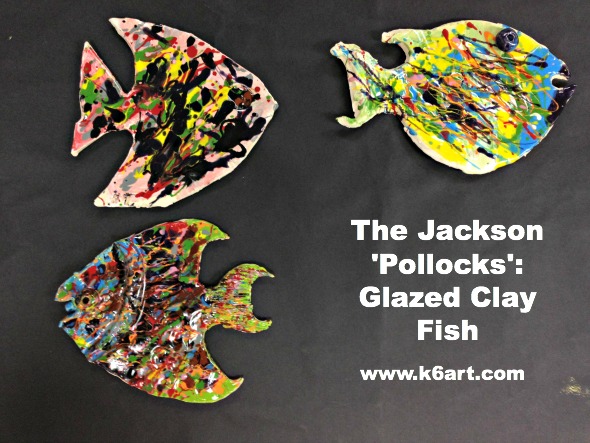
Jackson Pollock glazed clay fishSixth grade just finished the clay fish project. The students had open use of my glazes – some chose to do an ‘Action Jackson’ Pollock-inspired pollock.  The fish were base coated with a solid coat of underglaze, then splattered with a variety of underglazes. No clear top coat necessary.

This technique worked best on untextured clay.

The entire project took three class periods. You can read about the entire clay fish process here and here.

More glazing techniques next week!

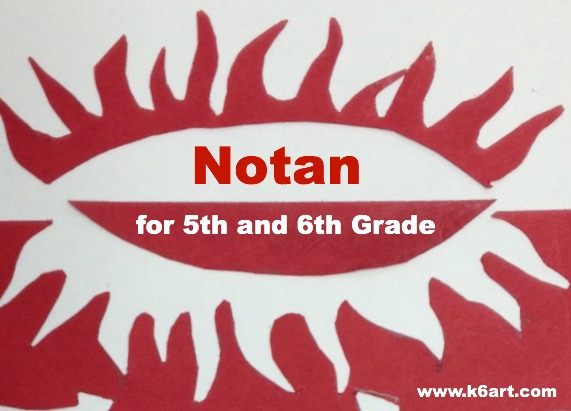
Notan for Fifth and Sixth Grades

notan for 5th and 6th gradesOur 5th and 6th grade students did a quick 40-minute cut paper notan collage project. Our inspiration came from these beautiful notan artworks at the MiniMatisse blog. If you are unfamiliar with notan, it is a Japanese design concept of dark and light. Notan cut paper projects are great for teaching a lot of concepts including contrast, positive and negative space, symmetry, and geometric vs. organic shapes.

This was the very first time I taught notan. I found two really good resources that gave me confidence: 1) a great video that shows the notan process and 2) a great illustration showing single and double cuts.

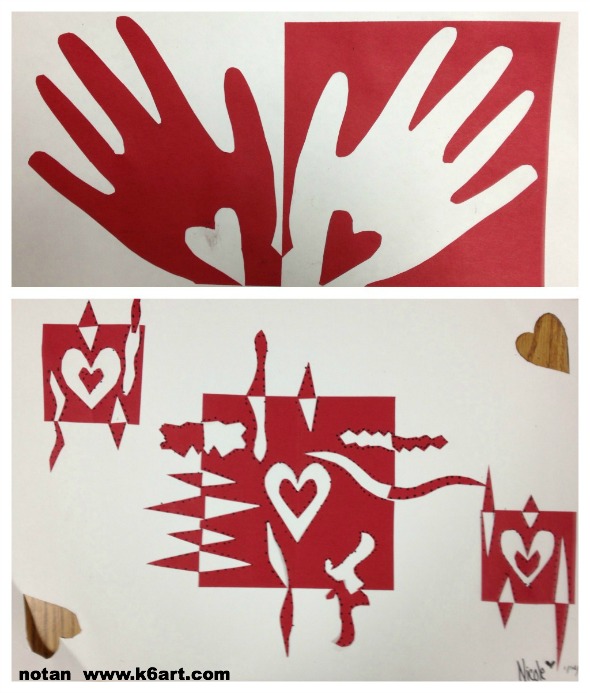
Each student started) with a 6″ square of red construction paper and a white format (background) paper . The minimum assignment was to make four single cuts – one cut from each of the square’s sides. Double cuts were optional (about half the students tried them). Cut pieces could be geometric (hearts were popular) and/or organic shapes.

Our students really liked this project. Some made Valentines and wanted to take them home immediately. I think they turned out great. I also think that their second attempts will be even better. Definitely a project to repeat!

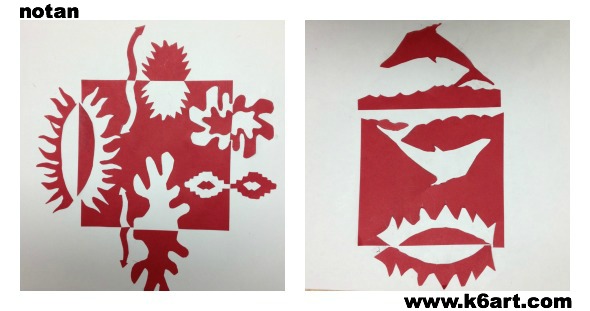
Fifth and Sixth Grade Results:

more notan

notan valentines

notan names

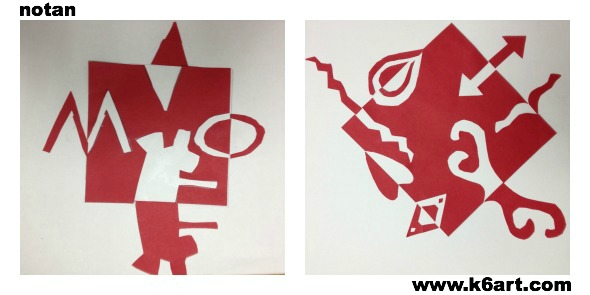
The next two designs contain cut pieces that were rotated incorrectly. But you know what? I consider the artworks successful. They are beautiful designs, even if they don’t fully fulfill the assignment. They still illustrate the concept of positive and negative space although they are in places asymmetric.

not notan

Although we did these red paper notans in honor of Valentine’s Day, they will look great displayed as a group any time of year.

I would LOVE to find an iPad app or interactive website that illustrates notan. If anyone knows of one, please leave a comment!!

Enjoy!

Have you even tried notan with your students?

Do you have any tips to share?


Tie Dye Snowflakes

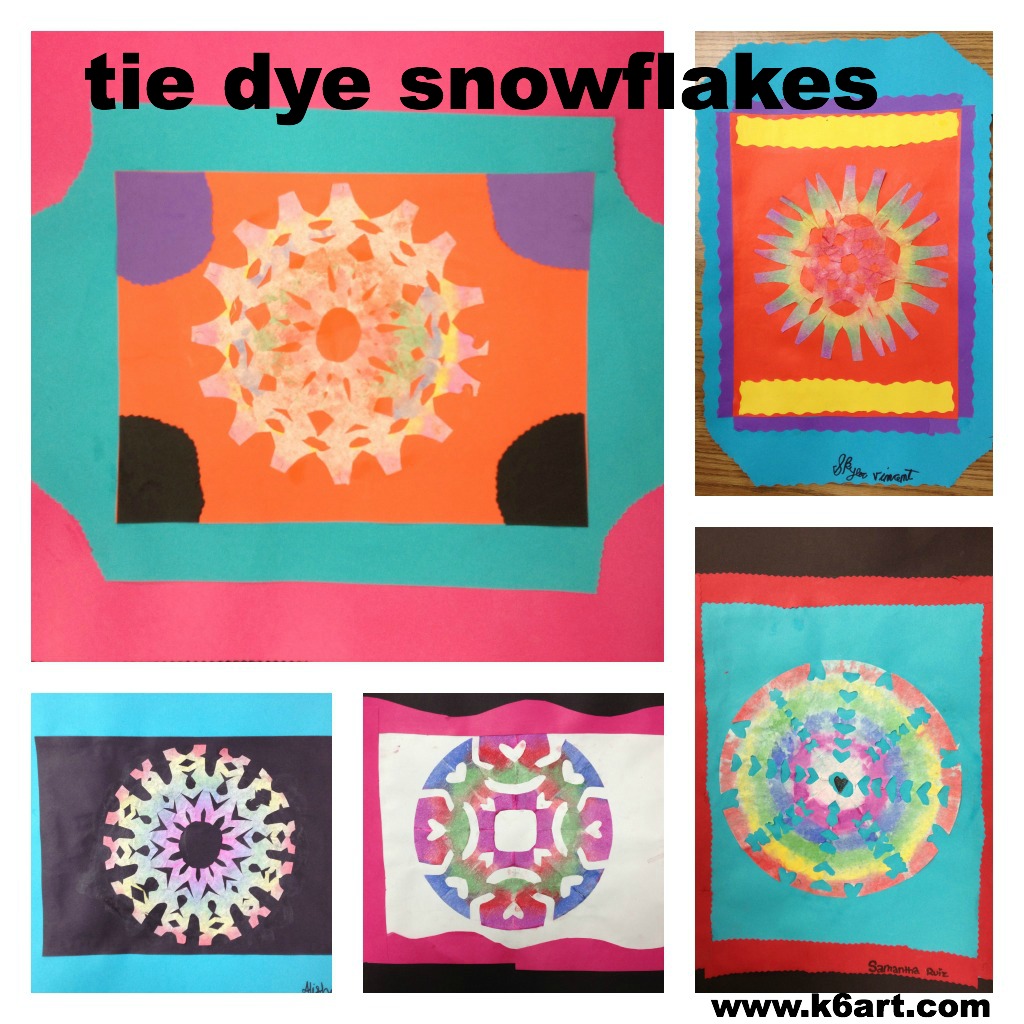
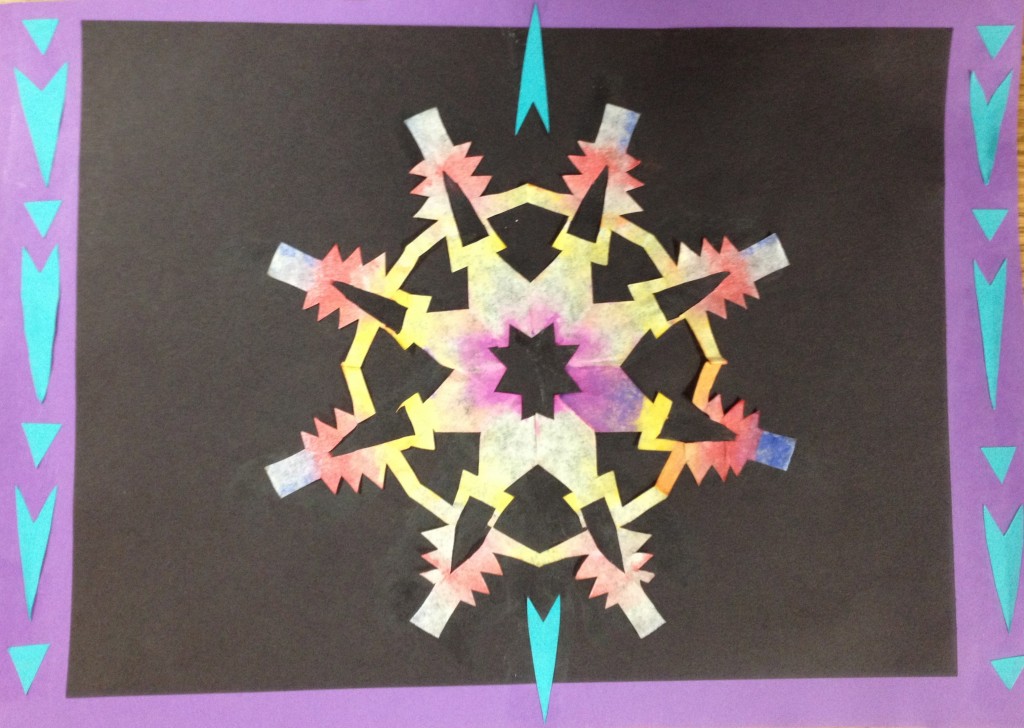
tie dye snowflake collage 3

Give your snowflake project a colorful twist – ‘tie dye’ them! Sixth grade just finished their tie dye snowflake collages, made with coffee filters and painted with tempera cakes. This lesson was inspired by this post at A Faithful Attempt blog.

Sixth graders cut and paint coffee filter snowflakes, then use them in a collage. Allow two 40-minute classes.

Sixth graders cut and paint coffee filter snowflakes, then use them in a collage. Allow two 40-minute classes.

Day 1:

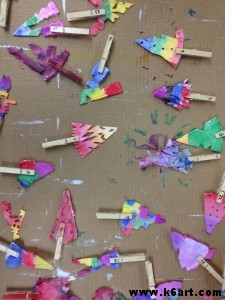
We began by viewing all the excellent student examples on the Faithful Attempt blog. Next, we folded our coffee filter rounds and cut our snowflakes using this method. NOTE: DO NOT OPEN THE PAPERS AT THIS TIME! Students painted their folded snowflakes with tempera cakes, then clipped on a numbered clothespin.

Students were allowed to make multiple snowflakes, so long as the folded flakes could fit stacked up in a single clothespin. One student was able to fit three painted snowflakes in a single clothespin. I let the papers dry on a sheet of cardboard.

Label each snowflake with a numbered clothespin.

Label each snowflake with a numbered clothespin. If you have multiple classes, use a different colored number for each class.

Day 2:

The sixth graders carefully opened their papers. THEY LOVED THE RESULTS! They mounted the snowflakes on construction paper using glue stick (tip – glue down the center first and carefully work your way out to the edges).

I was going to stop the project at that point, when someone asked me if she could double-mat their work. Then someone asked me if he could make a decorative border. I pulled out the ‘fancy’ scissors and the scrap paper bin, and gave them free rein. Our snowflake project turned into a collage project!

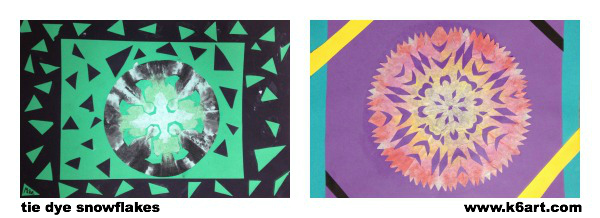
Sixth grade results:

tie dye snowflake collage 1tie dye snowflake collage 2

For more cool snowflake ideas, check out my previous post: Cut Paper Snowflakes Designed on an iPad.

Related Posts Plugin for WordPress, Blogger...