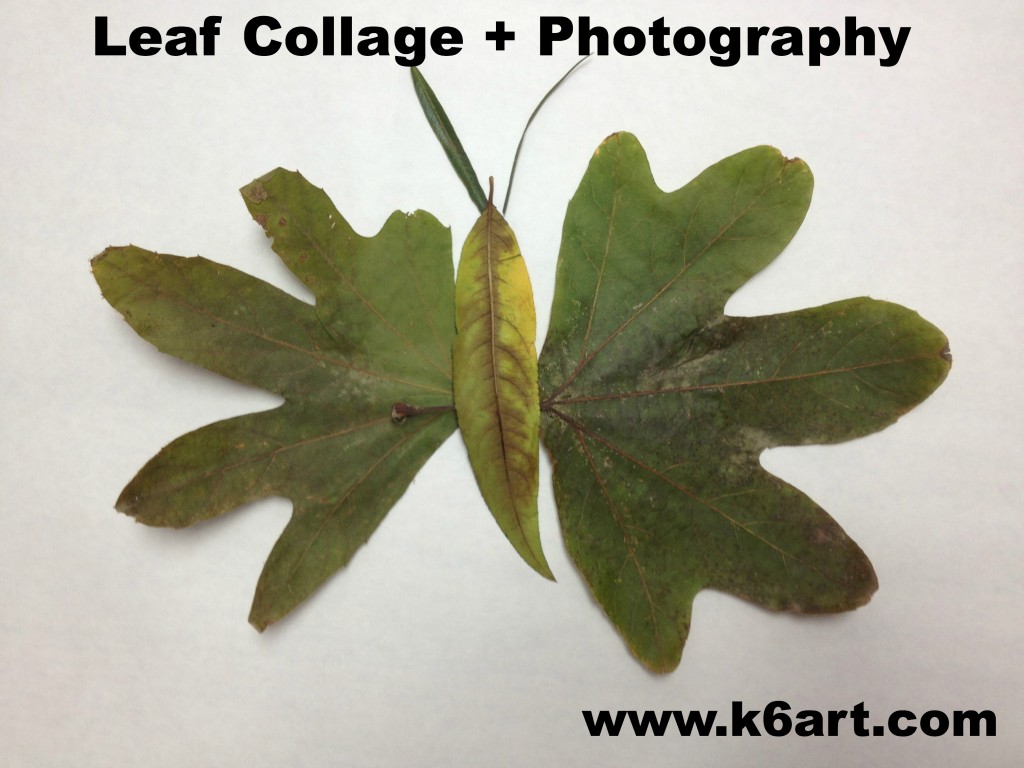
 Want to try a leaf collage project? Want your leaves to stay fresh and bright forever? Skip the glue/wax paper/laminator and try a camera instead!
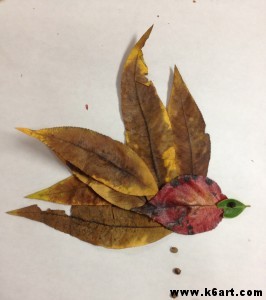
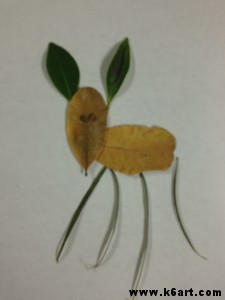
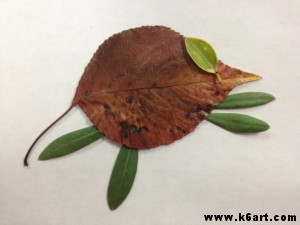
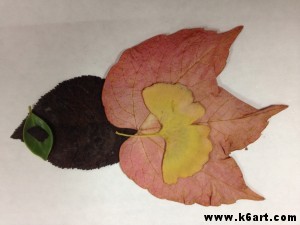
Third graders arranged leaves into animal shapes, then photographed their art. Allow one 40-minute class for this ‘collage’ lesson.
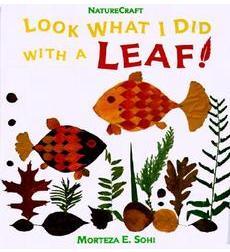
Third graders just completed their leaf collages, inspired by the book Look What I Did with a Leaf! by Morteza E. Sohi.
In the book, M. Sohi arranged leaves on a white background to create fanciful animals, then photographed them. Click here to see more examples.
To prepare for this lesson, you need to gather a variety of leaves and flatten them. I placed the leaves between the pages of an old phone book. Plan to do this at least a couple of days in advance so the leaves will be really flat. You can also ask kids to bring in leaves from home
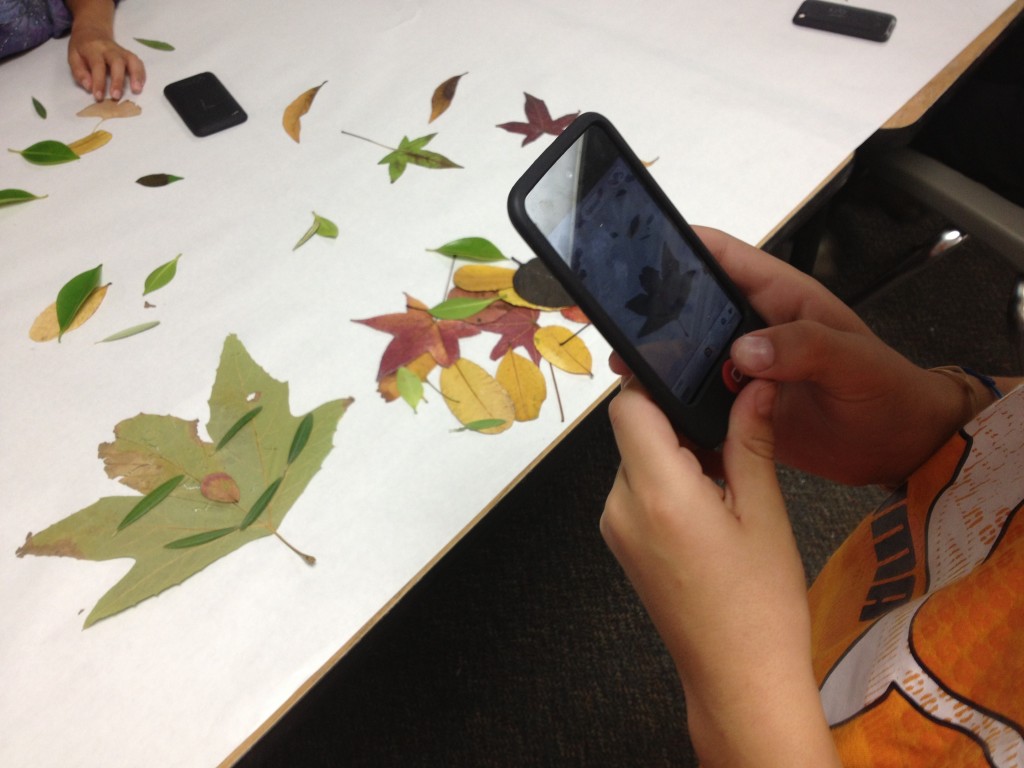
On the day of class, cover tables with white paper to create a backdrop and spread out the leaves.
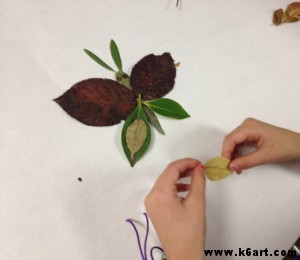
Students arranged the leaves to resemble animals. Butterflies were very popular!
We used camera-equipped iPods to photograph our artworks. Our third grade is 1:1 iPod Touch so each child was able to take photos of their own creations.
Students then rearranged their leaves and repeated the process. Most of our third graders made 3-5 animals during the 40 minute class.
Third Grade Student Work:
One of the benefits of this method is that students can re-use and share leaves. Remind your students not to crumble the leaves, and you can reuse them for multiple classes. Students can work alone, in pairs or in groups – there is no argument over who takes the work home because everyone can have a digital copy of the work.
Next class we will learn to rotate and crop our photos, and how to email them.
Display options:
- Upload to Artsonia
- Email the images home, or put them up on the class wiki
- Create a large class poster of all the images for the art show
- Students can write a paragraph about their animals, or illustrate a story.
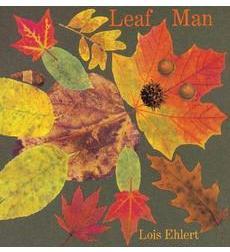
For further inspiration, check out the book Leaf Man by Lois Ehlert. The artist used real fallen leaves to create her illustrations.

