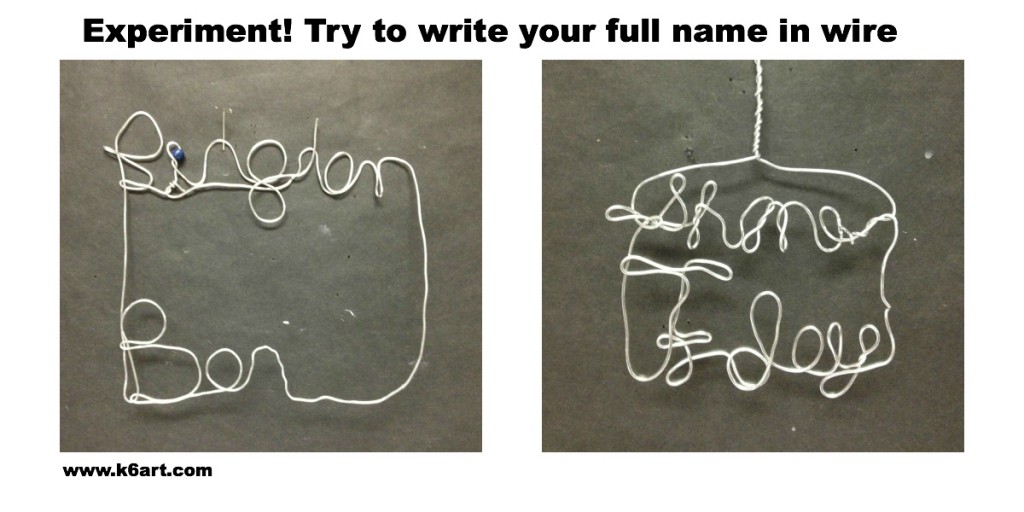
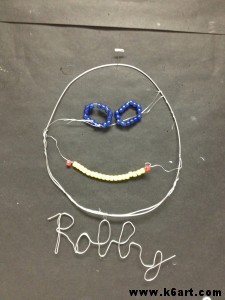
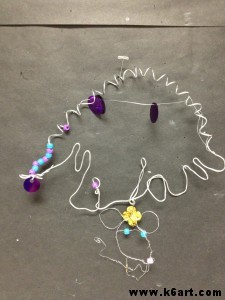
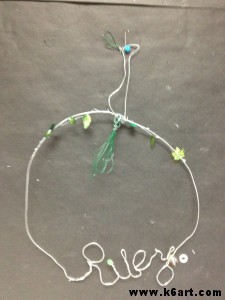
Give your name art lesson a twist – literally! Our fifth grade students had a ball sculpting their names in wire.
Materials:
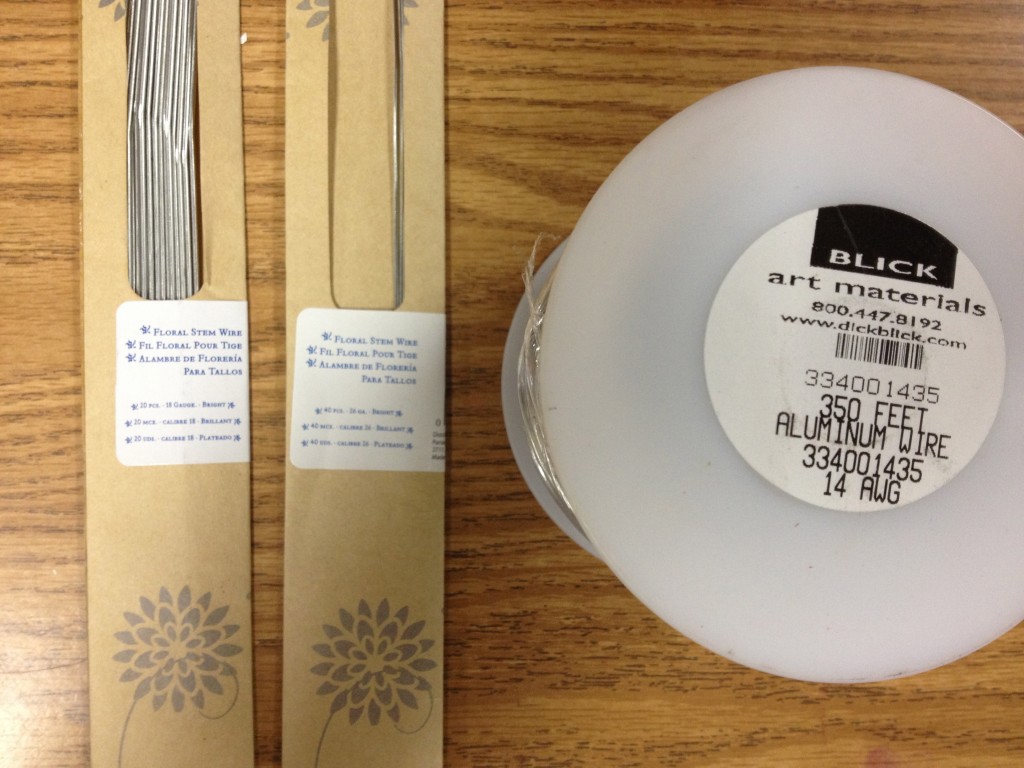
- Blick’s 14 gauge sculpture wire, 6 ft. per child (note: compensated affiliate links)
- paper
- marker
- scissors (blunt tip kindergarten scissors are fine)
- optional embellishments: pre-cut 18″ Stem Wire (I use 20- and 26-gauge), colored wire (such as Twisteez), Pony Beads, sequins
Session one:
To practice, give each child a piece of paper, marker and an 18 inch piece of wire. Kids should write their first initial on the paper. They may print or use cursive. They they trace their written letter in wire.
100% of 10- and 11-year-old students could do this by the end of the first 40 minute session.
Session two:
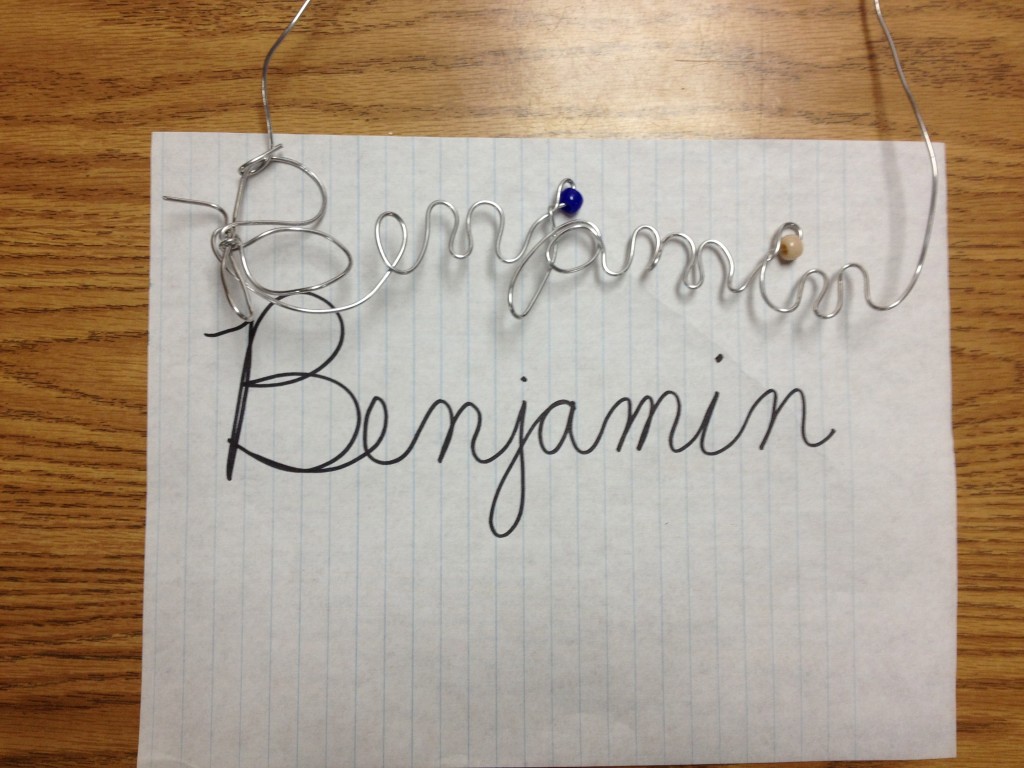
Give each child a piece of paper, marker and a 6 ft. length of sculpture wire. They should write out their first name in marker this time. They may print or use cursive, then trace their name in wire.
Did you notice? I added a single pony bead to dot each lower case ‘i’ and ‘j’.
Approximately 85% of 10 and 11 year olds were able to make their names in wire. I would recommend struggling students create a larger, single initial.
Session three (optional):
Want to take it further? Offer pony beads, sequins, and super-fine wire (I use pre-cut 18 inch 26-gauge stem wire).
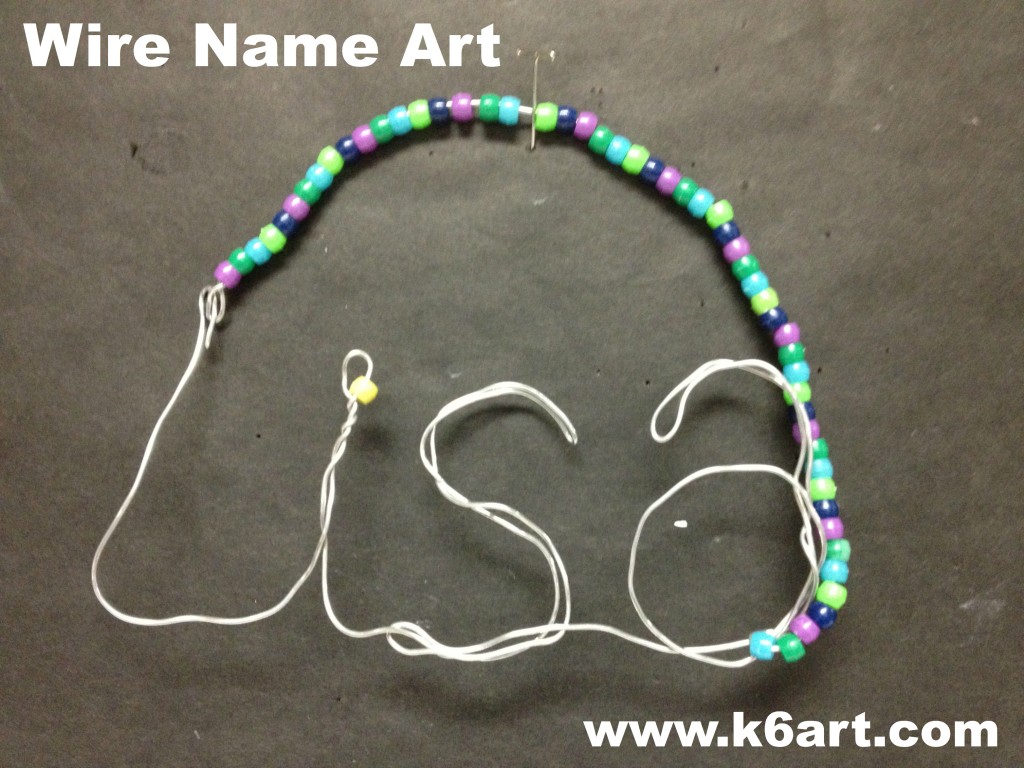
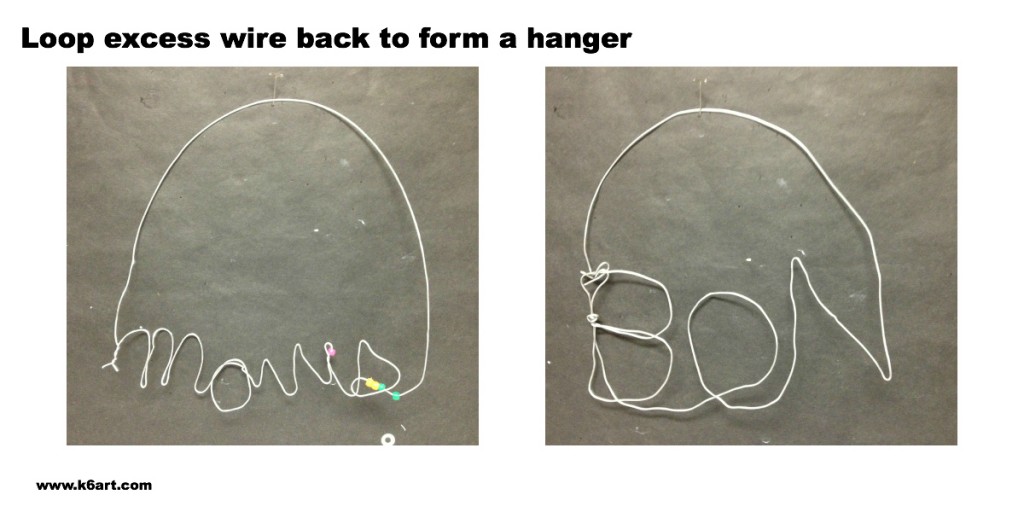
Students can string the hanger wire with pony beads. They can clip the excess wire with (kindergarten!!) scissors. They can thread a bead or sequin onto 26-gauge wire and tie a knot around it.
Some students created small sculptures to embellish their name art.
How nice these will look on the students’ walls at home!
This would be a nice tie in to an Alexander Calder project. Check out my other Calder wire projects: wire sculpture and wire portraits.
Disclosure: I am an affiliate of Amazon and Blick Art Materials. I have been using Blick’s 14 gauge sculpture wire for 9 years and I love it!

