Egyptian Chalk Art: Glue Optional

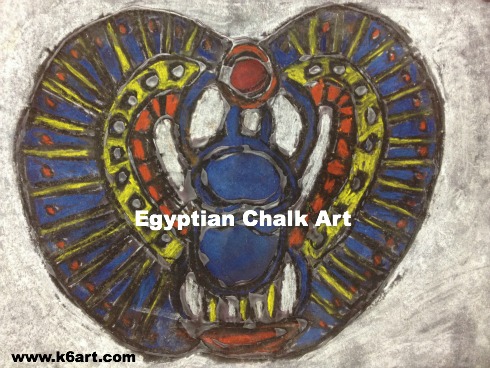
Michael's scarab

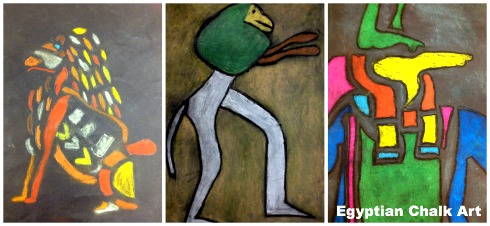
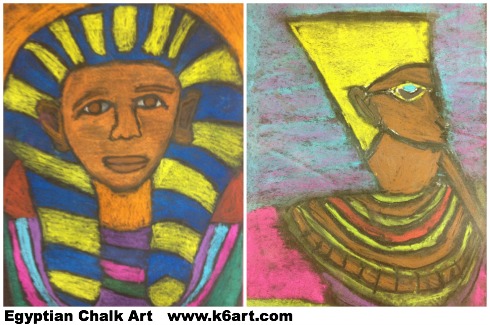
Here are some fine examples of our annual sixth grade Ancient Egyptian chalk art project. Click here to see more examples from last year.

Materials:

ancient egypt 3


ancient egypt portraits 2

Day 1-2

Our sixth grade students study ancient Egypt as part of their ancient civilizations social studies unit. They have a lot of pre-existing knowledge of Egypt. I build on this by showing photos of treasures from King Tut’s tomb, such as scarab jewelry and Tut’s golden sarcophagus. They had heard of the Book of the Dead – now they had the opportunity to look at all the figures in it draw one. We noticed all the figures were stylized: the head drawn in profile, with the eye looking straight ahead.

Students had the option of drawing ancient god/goddess, tomb artifact, or portrait. They (lightly) drew an image using pencil on black paper. Some kids found it easier to use white chalk for the sketch. Then they went over their lines with black oil pastel.

Day 2-3

The students colored in with chalk pastels, and tried to avoid coloring over the black oil pastel lines.

Minimize the mess: encourage kids to tap excess chalk onto newspaper instead of blowing it around.

Day 3

After coloring with chalk pastels, students went over the black lines one more time with oil pastel.

OPTIONAL FOR EARLY FINISHERS: ADD DETAIL WITH WHITE GLUE

I used to teach this as a white glue/chalk pastel project, and had lots of old examples for students to see and touch. A number of kids really liked the glue lines. After completing the project, some students asked if they could add glue lines OVER their artwork as a final step. Surprise! We found out their glue lines dried fairly dark even if they were applied over chalk.

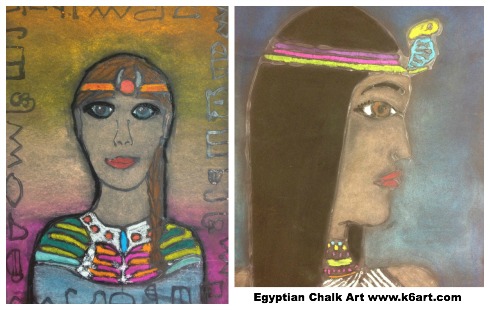
ancient egypt faces

White glue hieroglyphics and outlines.

In the above portraits, one girl added white glue hieroglyphics as a final step. The other outlined her portrait in white glue.

I sprayed the completed chalk art with hairspray to keep the pastels from smearing.

If you do use white glue, don’t make the same mistake I did years ago….

Don’t let them dry on the tables! I tried this once. Some glue blogs seeped through the paper overnight. The next morning I found several artworks glued firmly to the table. I had to pry them off, and repair the rips 🙁  Live and learn!

Enjoy!

Parts of this lesson were adapted from the excellent Arts Attack curriculum.

Block Printing with Art Club

This is the first year I offered art club. It was so much fun! Small group. Motivated kids – sixth grade only. Friday afternoon. Ahh…

We did block printing and the kids who learned this skill were enthralled. They kept popping by the art room every day, hoping to carve a little more. They skipped recess to carve. They hung around Friday after the bell rang.

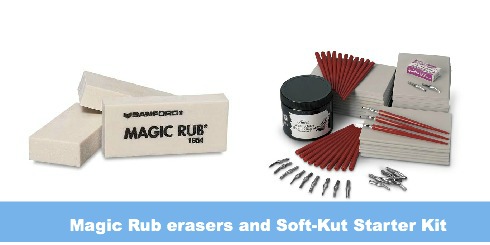
eraser carving materials


Materials:

  • Magic Rub Erasers
  • Soft-Kut Starter Kit (includes Speedball cutters, handles, carving blocks and printer’s ink)
  • copy paper and tracing paper
  • pencils
  • Crayola markers
  • Ink pads
  • Brayer and flat surface for rolling ink

Eraser carving:

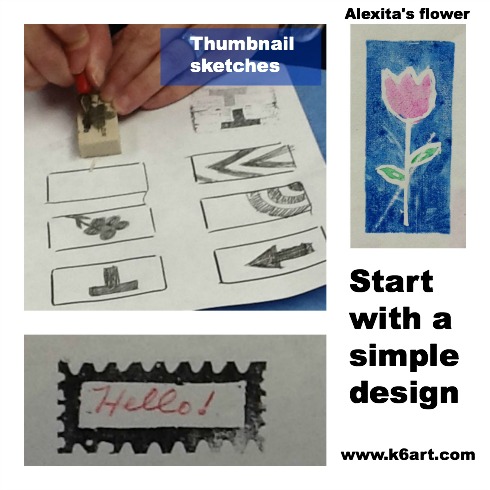
Students started by sketching a variety of simple designs using pencil and copy paper. They traced their favorite design onto tracing paper, then transferred the design to the eraser. Then they carved out the white parts of the design using a lino cutter. CLICK HERE to see an excellent carving video. I did this project with sixth grade last year – read more in this post.

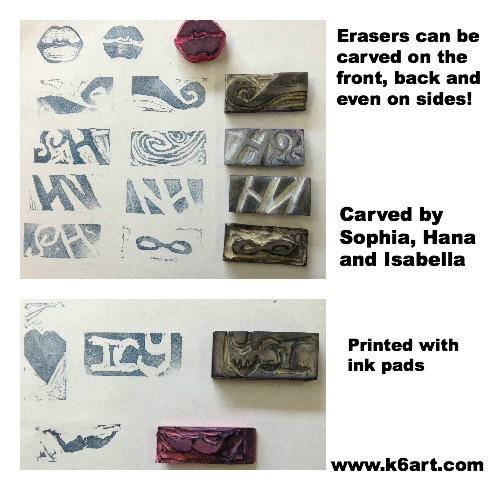
carving erasers

Once students had a little carving experience, they moved on to more complex designs on the back of their erasers.

all the eraser collage

Soft-Kut Blocks

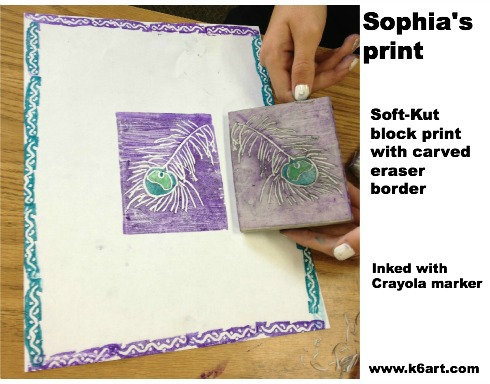
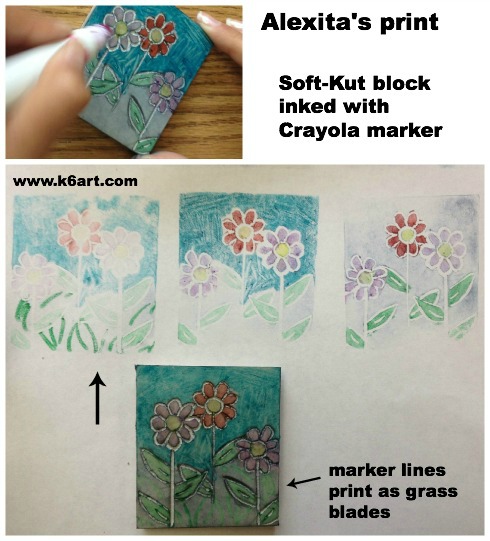
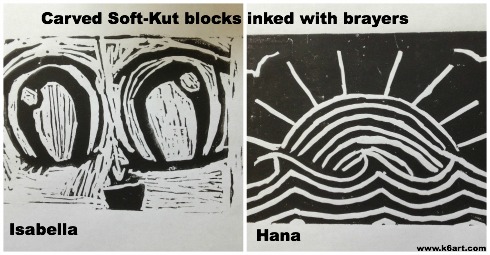
Students used the same techniques to transfer their designs onto the larger blocks. Some students used Crayola markers to ink their blocks (I think the inked blocks are beautiful on their own!).

sophia's block


alexita's block

Others used block print ink applied with a brayer.

big blocks

iPad in the art room:

We used iPads two different ways for this project.

  1. Looked at images of linoleum carvings on Google images
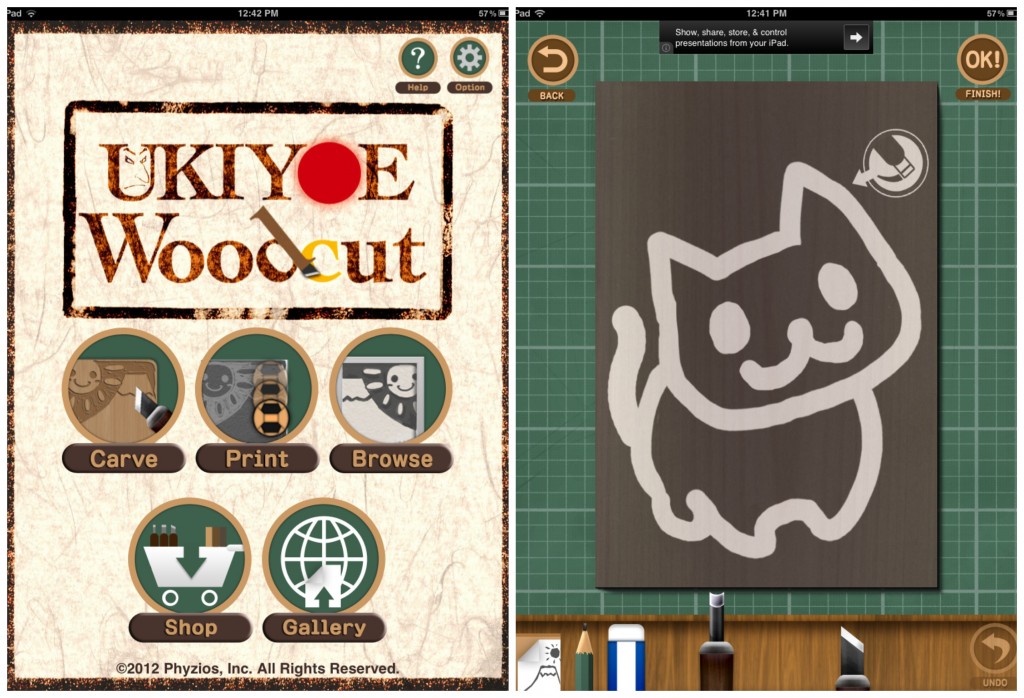
  2. Had fun testing out the carving process using the free Ukiyoe app (available on the app store).

ukiyoe app


Art club was a hit. Carving was a hit. I will definitely offer it to my sixth graders next year.

Do you offer art club at your school? What sort of projects do you do?

Four New Art Project Ideas for Grades K-6

Looking for new art project ideas? Here are four new (to me) art project ideas from my fabulous creative colleagues, Kelly and Nancy.

Kelly’s ‘Stained Glass’

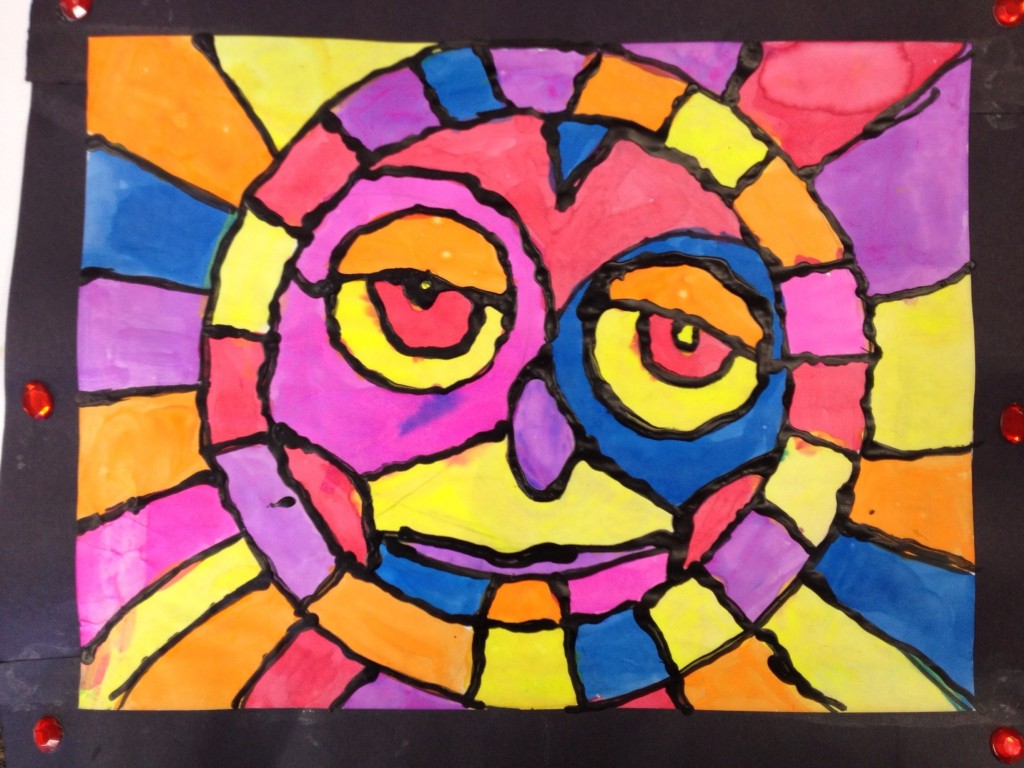
'stained glass' sun

Kelly’s ‘stained glass’ sun made with watercolors and black glue.

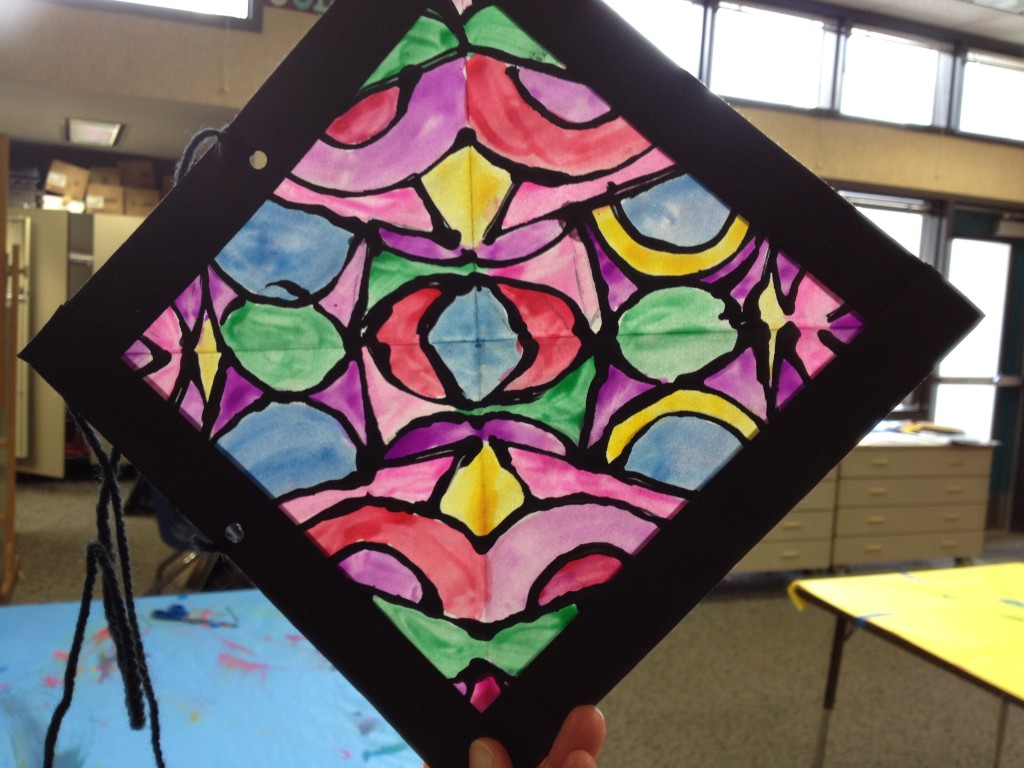
Kelly from Skyline School brought these beautiful ‘stained glass windows’ made with fluorescent liquid watercolor and black glue. As a final step, her students rubbed their artwork with baby oil and a cotton ball to make the paper translucent. Primary grades used a paper plate tracer to make the sun. Upper elementary made the geometric window (note: upper grade students used carbon paper to transfer their symmetric designs).

'Stained Glass' window 2

Kelly’s ‘Stained Glass Window’ made with watercolor and black glue.

A New Twist on Monet

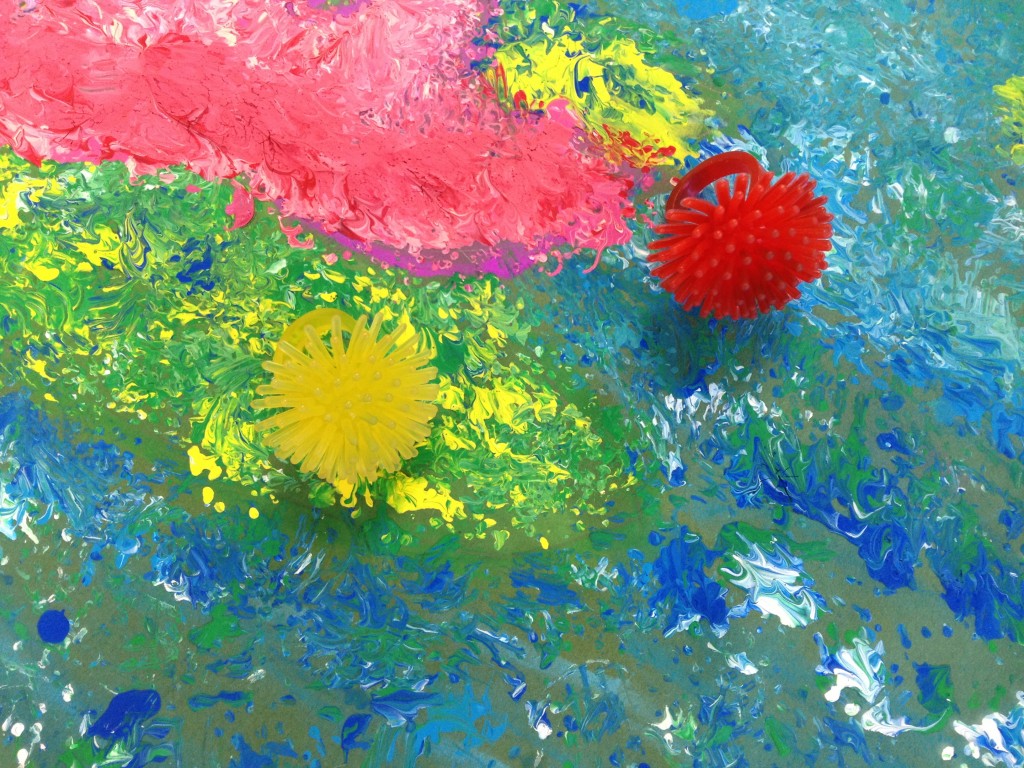
Kelly also brought these Monet water-lily paintings. Please zoom in on this painting – the paint texture is so interesting. Kelly didn’t offer a brush – her students applied paint with novelty rings purchased at Oriental Trading. These rings look like little sea urchins. If you try this, Kelly recommends pinching the ring instead of wearing it on her finger. Needless to say, her students LOVED this project!

Monet water lilies painted with novelty ring

Kelly’ s students painted their Monet-inspired art with a ring from Oriental Trading.

30-Minute Color Mixing

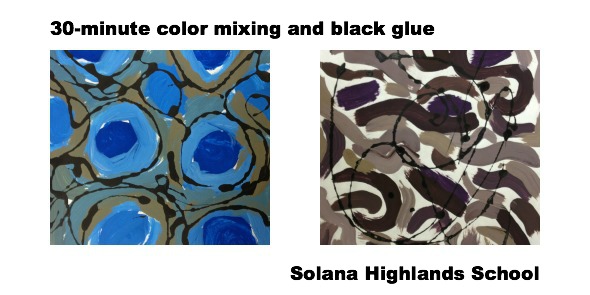
Nancy  teaches art at Solana Highlands School. She brought a color mixing project. Students used two colors plus black and white. After tinting, shading and creating a neutral, they drizzled black glue over the top. I love how much variety her students achieved. Some of these abstract compositions look like animal patterns. LOVE! Even more impressive: Nancy only has 30 minutes with her students. She does a lot of stations and table rotations to fit her projects in the tight time frame.

30-minute color mixing and black glue

Kindergarten Paper Quilts

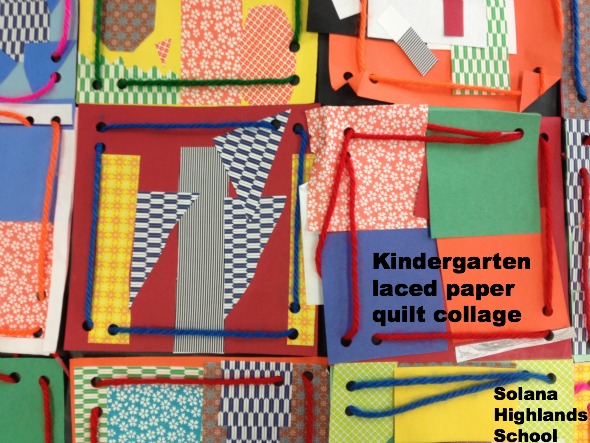
Nancy did these paper quilt squares with the kindergarten. The kindergarteners start with a 6″ square of paper. They collage first, then Nancy adds holes with a three-hole punch. Next class, the kindergartener lace the holes. Nancy glues the squares together into a quilt.

kindergarten laced paper quilt collage


As always, I am FLOORED by my colleagues creativity. They always have interesting, challenging, beautiful projects – and they teach them so well. Thanks to Nancy and Kelly for sharing your ideas.


Enjoy!


Clay Project Ideas from Prague

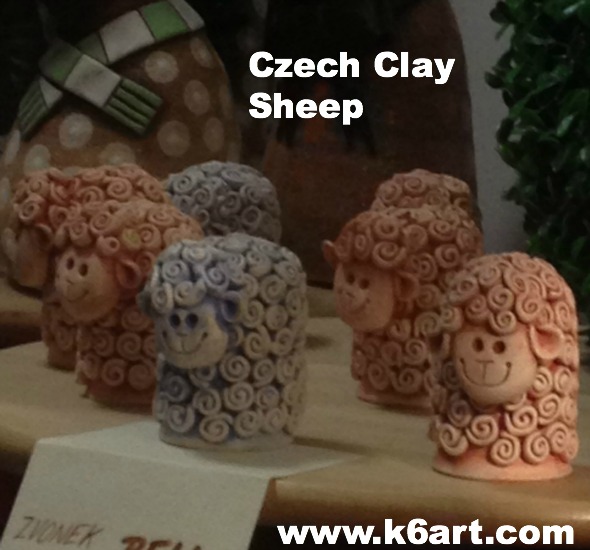
I just came back from Prague. WOW. In addition to castles, cathedrals and pastry, I had the joy of checking out hand-made crafts in small shops throughout the city. These clay sheep and owls were so adorable I just had to try them myself!!!

czech clay sheep

I saw these charming clay sheep tiny gift shop on the Charles Bridge. The shop was so tiny only two people could enter at a time! The ceramic sheep are wheel-thrown clay bells, covered in clay spiral ‘wool’. They are unglazed.

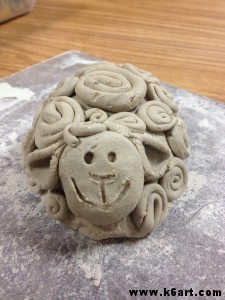
My version of the Czech sheep:

spiral clay sheep

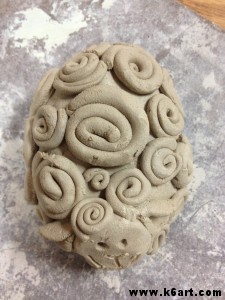
Top view

Top view

I started with an inverted pinch pot, stuffed it with newspaper, and added face, ears, and spirals. I will let them dry, bisque fire, then do a cold finish by painting with tempera or watercolors, then rinsing off in the sink.

I think this would work for grades 4-6, and take around 45 minutes -1 hour to teach.

Verdict: I showed my sample to my 6th grade helpers: they LOVED it.


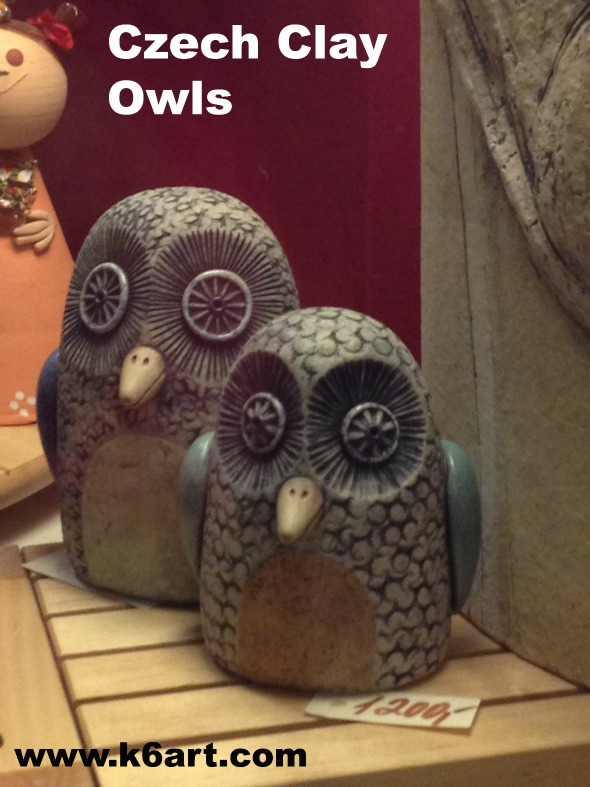
czech clay owls

The Czech Owls:

These beautiful, textured clay owls were hollow clay cylinders with closed bases. A hole was poked in the base to keep the owl from exploding in the kiln.

My version of the Czech owl:

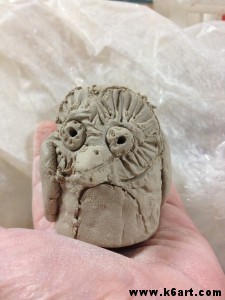
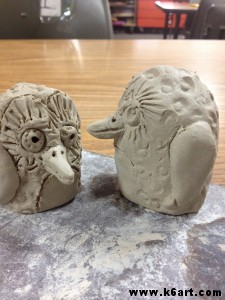
I started with two pinch pots, stuffed them with newspaper, and sealed together to form a cylinder. I smoothed the cylinder by rolling it back and forth on a board. Next I tapped the bottom on the board to flatten. Finally I wiped the cylinder with a damp sponge to smooth it out.

I textured the clay, and added wings and a beak. I would have liked to have some different texture stamps for the eyes….still, they turned out OK.

I poked a skewer through the bottom to let air escape when firing.

I will let dry, and bisque fire. These owls could be glazed, or just painted with watercolor and sprayed with clear gloss.

clay owl 1

IMG_3517

These would take about an hour to make. Sixth grade and middle school.

You could also simplify this by using a single inverted pinch pot for the owl body. Be sure to stuff with crumpled newspaper before adding texture. This could work for grades 4-6.

Verdict: my 6th grade helpers thought my owls looked like penguins!!! They recommended making smaller eyes and bigger wings. They definitely preferred the sheep.

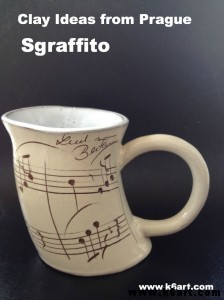
Although I did not bring home the Czech clay sheep or owls, I couldn’t leave that awesome gift shop empty-handed! I left with this fabulous Beethoven sgraffito mug as a gift for my husband.

sgraffito mug


Well, spring break was awesome but it’s over. Back to work!

Enjoy!


Related Posts Plugin for WordPress, Blogger...