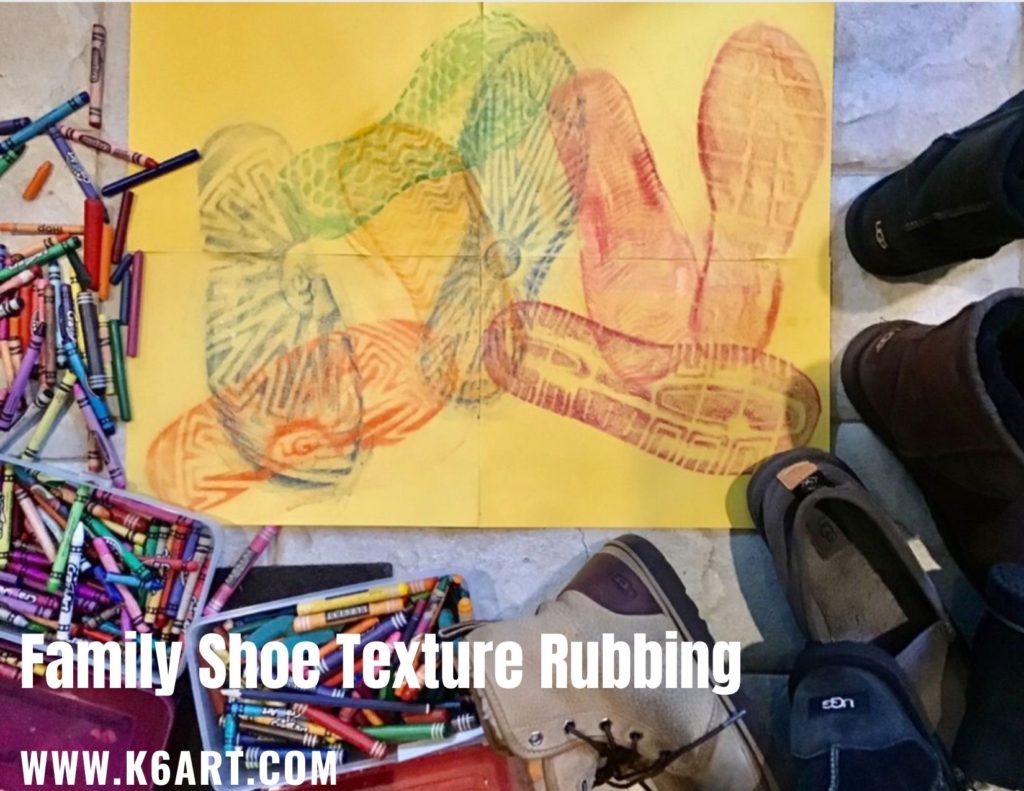
Here is an art project that teaches students about texture, is lots of fun and is perfect for both distance learning and the classroom.
Enjoy!
-Rina

Our first graders just completed an Andy Warhol-inspired project in their general ed classroom. After reading Getting to Know Andy Warhol, they drew a single common object. In past years, their teacher would take the drawings to the copy machine, reduce them and make four images of each child’s art. The children would then color the copies. This year I consulted with the first grade teacher about how to use iPads to simplify the process. We ended up with two options using the iPad camera and two free apps: PicCollage and Pop Art Lite.
Pop Art Lite does only one thing: turn artwork into 4-part Warhol grids. I like Pop Art lite because you can change the color scheme. Warm, cool, complementary, analogous are choices you can make.
For PicCollage, kids take a photo of their drawing with the iPad, then put that photo in each quadrant of a grid. You can adjust the filter color, or print out the PicCollage and then hand color it.  Getting To Know DVDs – $29.95 from: Blick Art Materials (compensated affiliate link)
We used this Warhol soup can template from the E is for Explore blog during our art show. I read that Warhol used a ‘semi-mechanized’ method for creating his soup cans – I figure a copy machine is also semi mechanized. Here are the results.
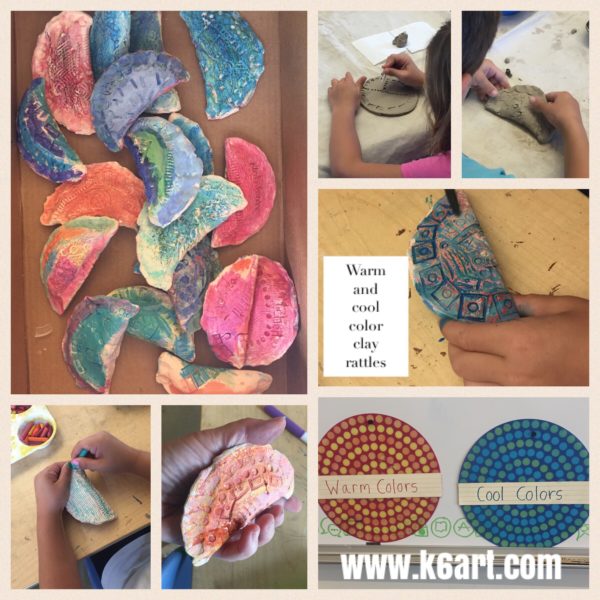
If you are looking for a super-successful clay lesson for Kindergarteners-second grade, you’ve come to the right place. These functional clay rattles only requires a single bisque firing, and are finished with a fast and easy warm and cool color process. Students, parents and teachers loved them. I’ve included an instructional video at the end of this post – all my kindergarten students watched it and created the rattles independently.
Materials:
To create the rattles:
Prep:
Roll the slab and cut the circles. Cover the tables. Each table should have a tray of LEGO, one toothbrush for every two students, and small water dish. They also need a couple of squares of toilet paper and a little scrap clay.
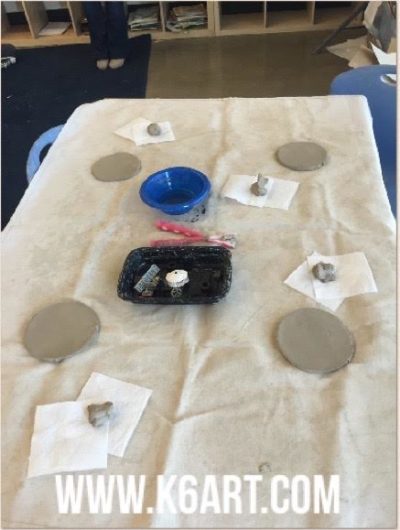
Process is in my instructional video. This was a very effective video: 100% of KINDERGARTENERS did this project correctly and independently the first time. I strongly recommend showing this.
Coloring the rattles:
Materials:
Process:
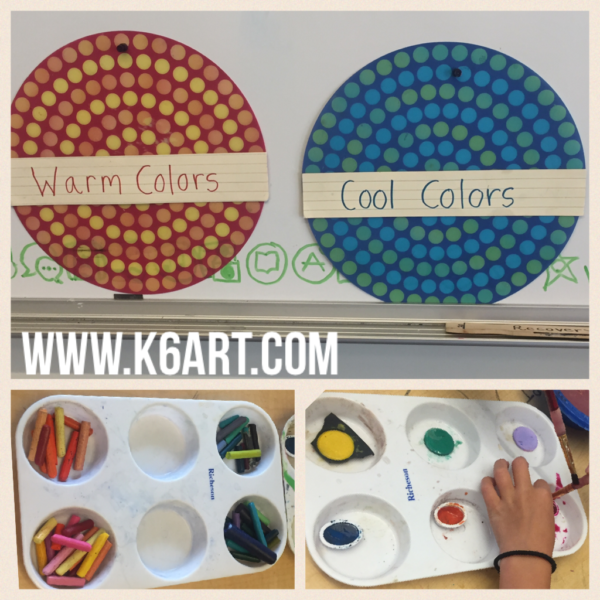
Students scribble on the textured ceramic with their crayons. Ideally, one side could be cool color crayons and the other warm. Then they paint over the crayons with (ideally), the opposite color scheme. This was kindergarten….some did it, some didn’t, but they all looked great.
This was a great end of year project: all my water colors had just about run out. Yet we had enough for this project. I sure look tired in this video, though. Typical for end of year…
Enjoy!
Do you have a sure-fire clay project for kindergarten?
Have you tried creating instructional videos?
Our second graders are studying healthy foods. We created this mural as part of the project. It was also an extension of our warm and cool color lesson.
Materials:
watercolor paper, 7″x7″
oil pastels
baby oil
q-tips
reference photos of fruits and vegetables (we used the weekly grocery store ads from the newspaper)
Directions
Draw one type of fruit or vegetable on the paper using oil pastel. Fill the square. Use and warm and cool color scheme – if you draw a warm color fruit, use a cool color background, and vice versa.
After drawing, blend the oil pastels with a q-tip dipped in a BIT of baby oil. Be sure to use two q-tips – one for blending warms, and one for blending cools.
Place completed artworks on a drying rack for a day or two so excess oil can absorb into the paper.
Mounting:
I laid out the artwork face down in a grid, and taped all the seams together with masking tape. If you use enough tape on the back you can hang it as a single piece.
If you ever decide to take down your masterpiece, you have the option of cutting on the seams and returning individual artworks to students.
Enjoy!
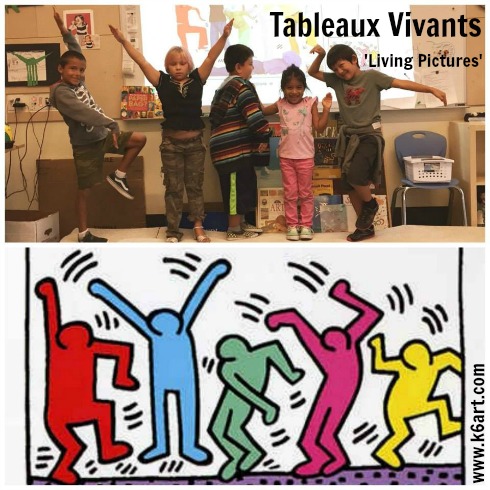
First grade tableau vivant: Keith Haring, “Five Figures Dancing”.
Our first and second graders acted out a series of tableaux vivants (‘living pictures’ ) last week. In traditional tableaux, people dress up as the characters in an artwork. They hold a minutes-long pose in front of an elaborately painted background. We skipped the costumes and backdrops, but still had a great time interacting with the artworks.
We began with a Powerpoint and video (see below). For a warm up, we practiced posing like the Mona Lisa. After students understood the basic concept, they acted out artworks with progressively larger groups of characters.
After a few group activities, I put a bunch of art books on the tables and let students act out whatever they liked.
I love the second grade interpretation of Roy Lichtenstein’s Wham!. The little girl in the photo is acting out the explosion.
‘Pagent of the Masters’ is an elaborate tableaux vivants production staged each summer here in Southern California. It has been going on since 1933, and features tableaux based on painting, sculpture, prints and more. Check out this video from CBS Sunday Morning .
Here is the Google Presentation (it’s just like a Powerpoint) I created for our lesson. It includes some fun ‘sculpture game’ activities at the end.
Tableaux vivants are a great way to interact with artworks at the museum. Check out this article from Art Museum Teaching.
Can you imagine the students staging their own Pagent of the Masters? They could select their own artworks, dress up, paint their own background, gather props, have a student director, an iPad photographer….how cool would that be? Maybe next term….
Enjoy!