Princes and Princesses Rule over First Grade

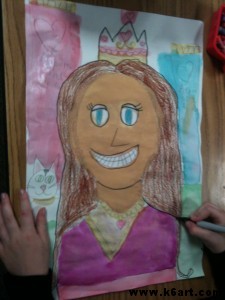
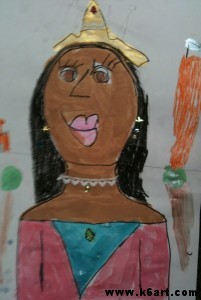
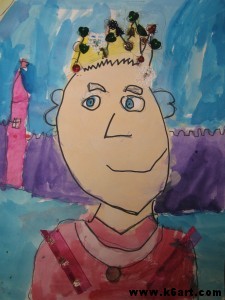
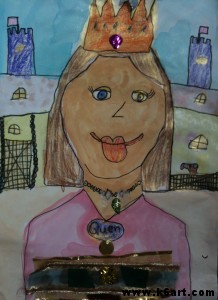
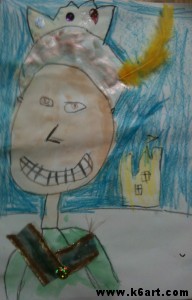
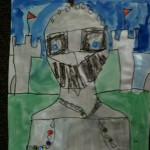
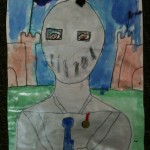
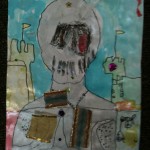
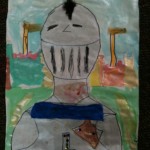
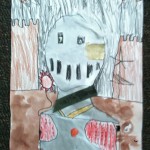
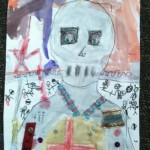
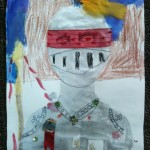
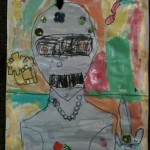
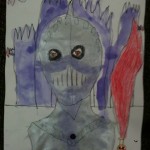
Welcome to the royal art room!  The first grade recently finished their royal self portraits.
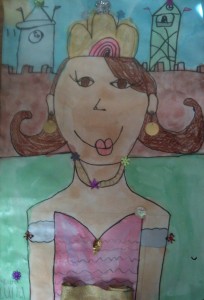
First graders create a portrait of themselves as princes or princesses. Allow 3-4 40-minute classes.

Materials:

  • white paper, 12″x18″
  • pencils and erasers
  • self-portrait template (optional)
  • several shades of skin-colored tempera (thinned with water)
  • watercolors
  • Sharpies
  • crayons
  • sequins, ribbons and lace
  • glue

Day 1:

We started out by looking at photos of royal gear: crowns, swords, jewels, and medals. Students began by drawing the face, neck and torso. Then they added crowns and fine clothes. Most drew castles in the background – some even added their ‘royal’ pets!

Day 2:

The skin was painted with thinned tempera. We painted the rest with regular and metallic pan watercolors. Tiny details (such as eyes) were colored in with crayon.

Day 3:

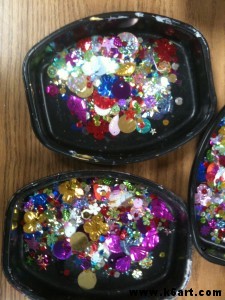
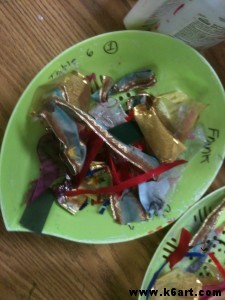
The students outlined the dry art with Sharpies. ‘Jewels’ (sequins), ribbons and lace were glued on for a final touch.


Students outlined their (dry) paintings with Sharpies.

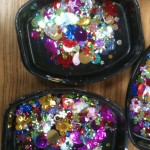
Sequins make fabulous jewels.

Scraps of ribbon and lace make royal clothing extra fancy.

And here are the fabulous results!


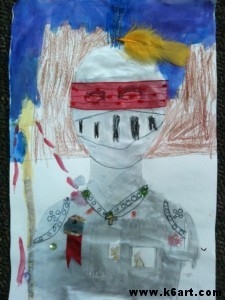
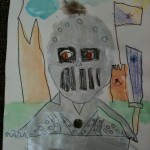
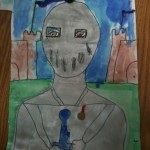
A royal knight.

Some students chose to draw themselves as knights.  I wrote about it in this post.

This completed our royal unit for first grade.  Other projects in this unit are the watercolor resist castle and the clay dragon.

This lesson was inspired by an Arts Attack video.

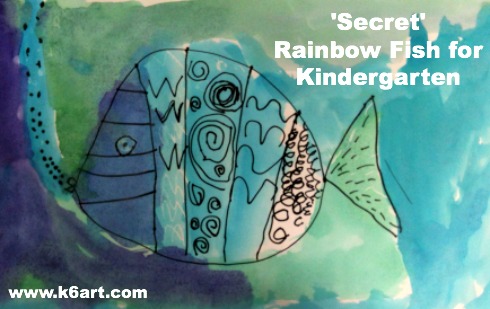
‘Secret’ Rainbow Fish for Kindergarten

secret rainbow fish for kindergarten

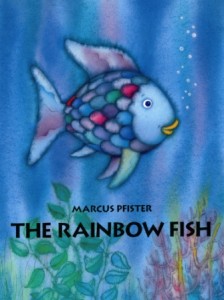
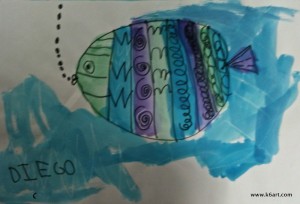
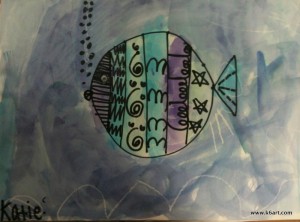
Looking for a kindergarten art lesson? Try this line lesson based on the popular book ‘The Rainbow Fish’.
Kindergarteners create watercolor resist line art based on the book ‘The Rainbow Fish’. Allow two 40-minute classes.

Materials:

  • white construction paper 12″x18″ (use paper sturdy enough for watercolor)
  • Sharpies
  • white crayons
  • watercolors: purple, blue and green (cool colors)

Day 1: Draw

Read the book The Rainbow Fish by Marcus Pfister (or listen to it online for free!) Point out the cool colors and name any lines you see.

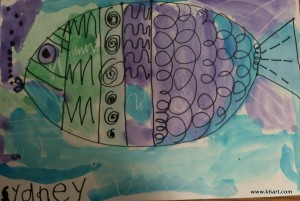
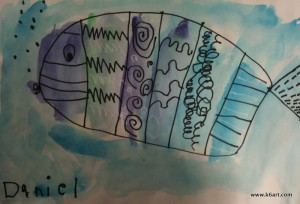
Using Sharpies, students draw the outline of the fish as a step-by-step. I tell students to draw a large ‘rainbow’ for the back, ‘smile’ for the belly, and triangle for the tail. We divide the body with a few vertical lines.

Kinds of Lines

Each section is filled with a different kind of line.  We use

  • spirals
  • diagonal
  • wavy
  • zig zag
  • vertical
  • horizontal
  • dotted
  • dashed

Add  SECRET (white crayon) lines

Now for the SECRET! Use the white crayon to add more lines around and in-between your black lines (the white lines are hard to see and therefore ‘secret’). For best results, encourage students to press hard with the white crayon. Tell students you will tell them the secret when we paint the fish.

Day 2: Paint

Paint with purple, blue and green watercolors. Listen to the ‘oohs’ and ‘aahs’ as the SECRET lines pop out from the watercolor. It is OK for colors to overlap (the cool colors mix beautifully).


Cool color watercolors and white crayon resist.

If you have extra time after clean up, read The Rainbow Fish again (or try another book in the series such as Rainbow Fish to the Rescue! or Rainbow Fish and the Big Blue Whale).

Enjoy!

Do you have a favorite story book for kindergarten art?

NOTE: This post was updated on 9/2/13.

Chalk Pastel Stencils Part 2: Collage

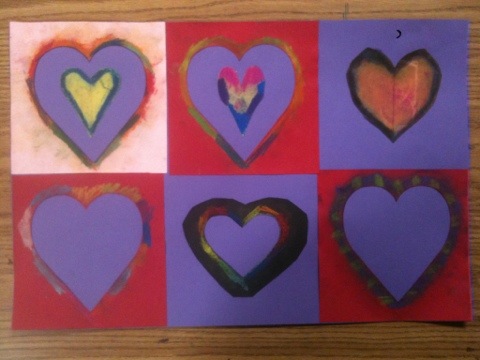
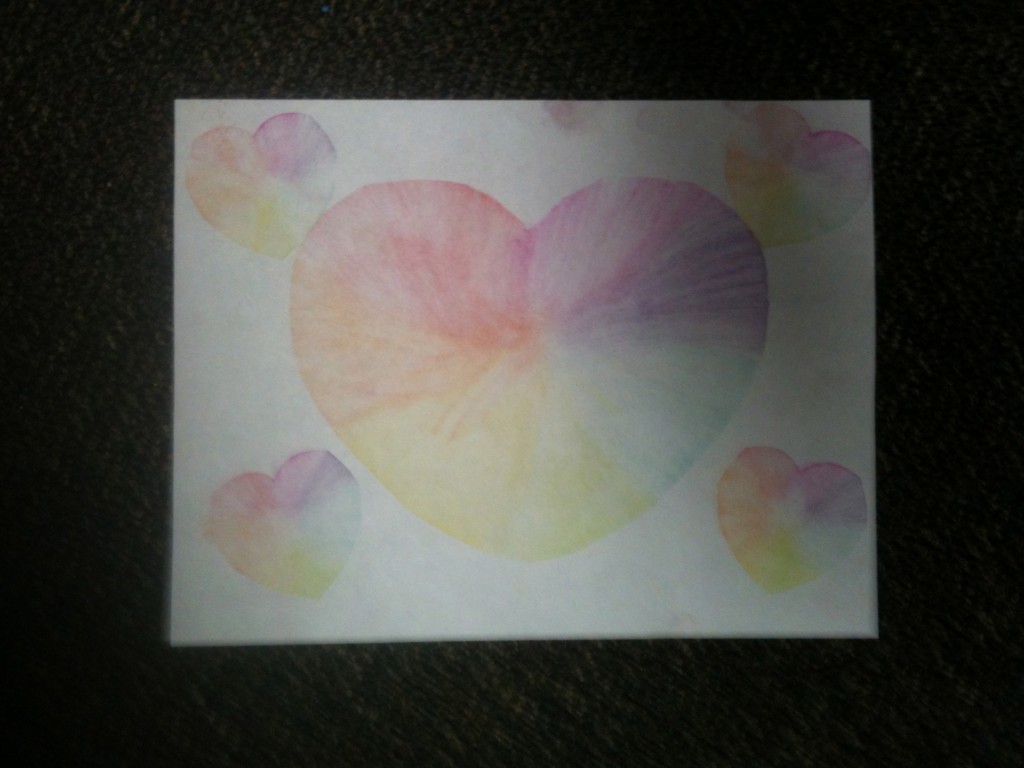
After creating chalk pastel stencil art with multiple classes last week I had a lot of colorful used stencils. I sprayed them with fixative (Aqua Net unscented hairspray) and glued them to construction paper.


20120213-210318.jpg

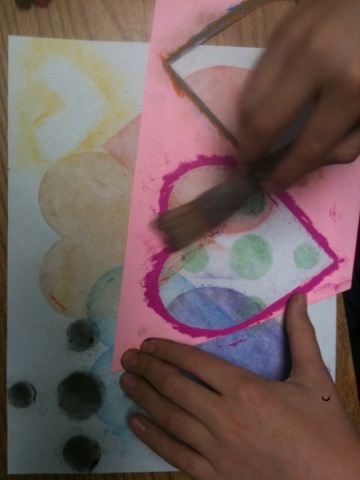
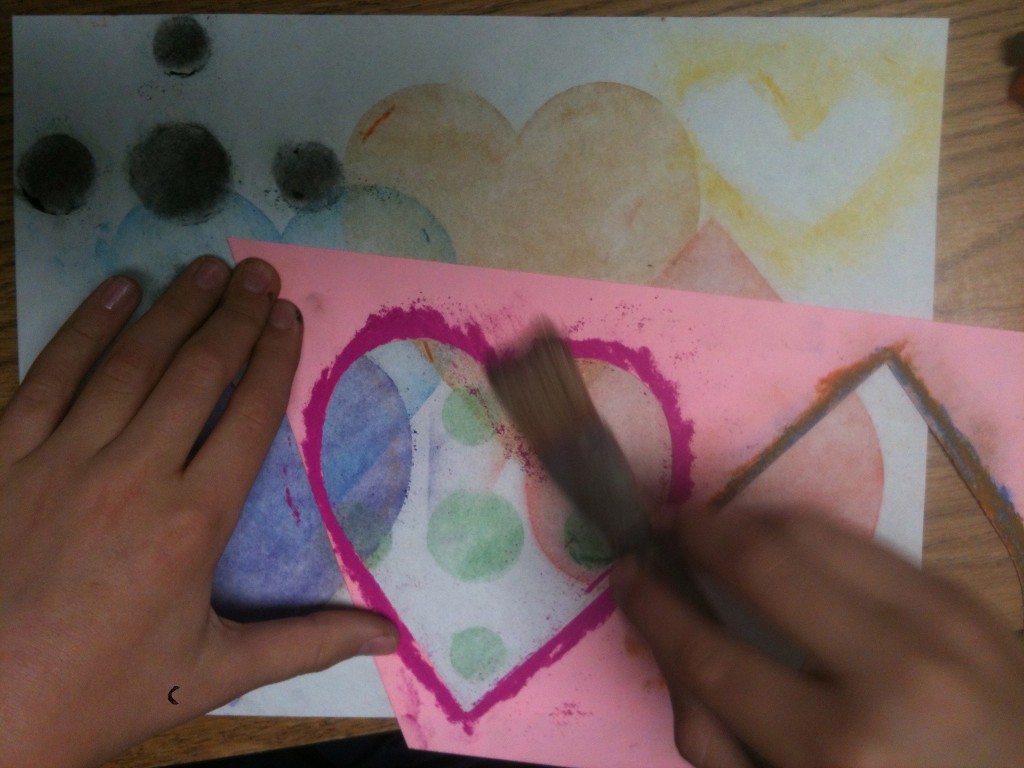
Students outlines stencil opening with chalk pastel and brushes color inward.

20120213-210401.jpg

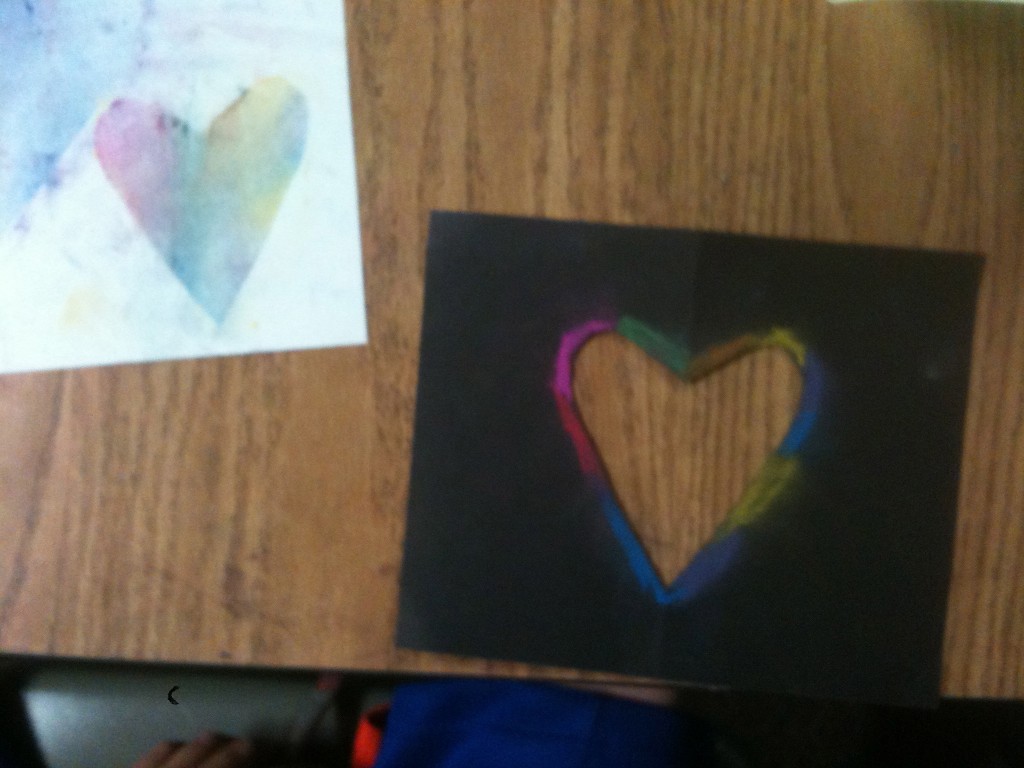
Used die-cut and hand-cut stencils make another kind of Valentine.


Which is more beautiful- stencil art or used stencil art? I can’t decide…Happy Valentine’s Day!

Knights in Shining Armor for First Grade

First graders just love knights. We traced a template, then drew in details. We used silver tempera, metallic watercolors and fabulous embellishments to create our knights. Intruders beware – the castle is safe!


Chalk Pastel Stencils – Quick, Easy and Beautiful

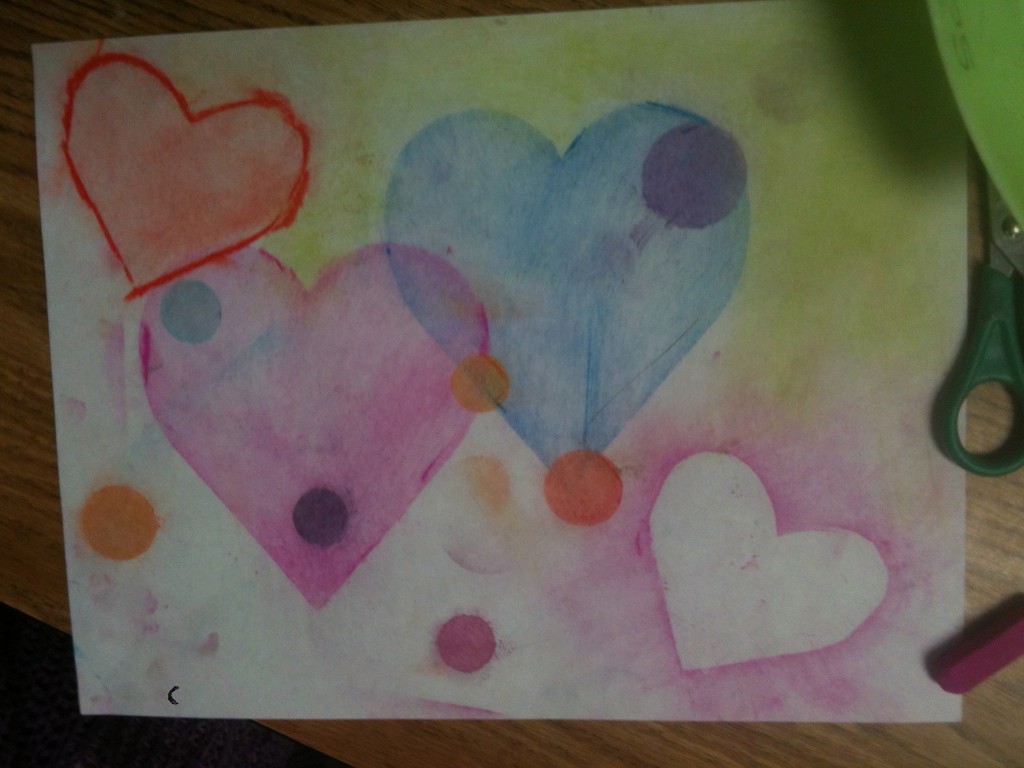
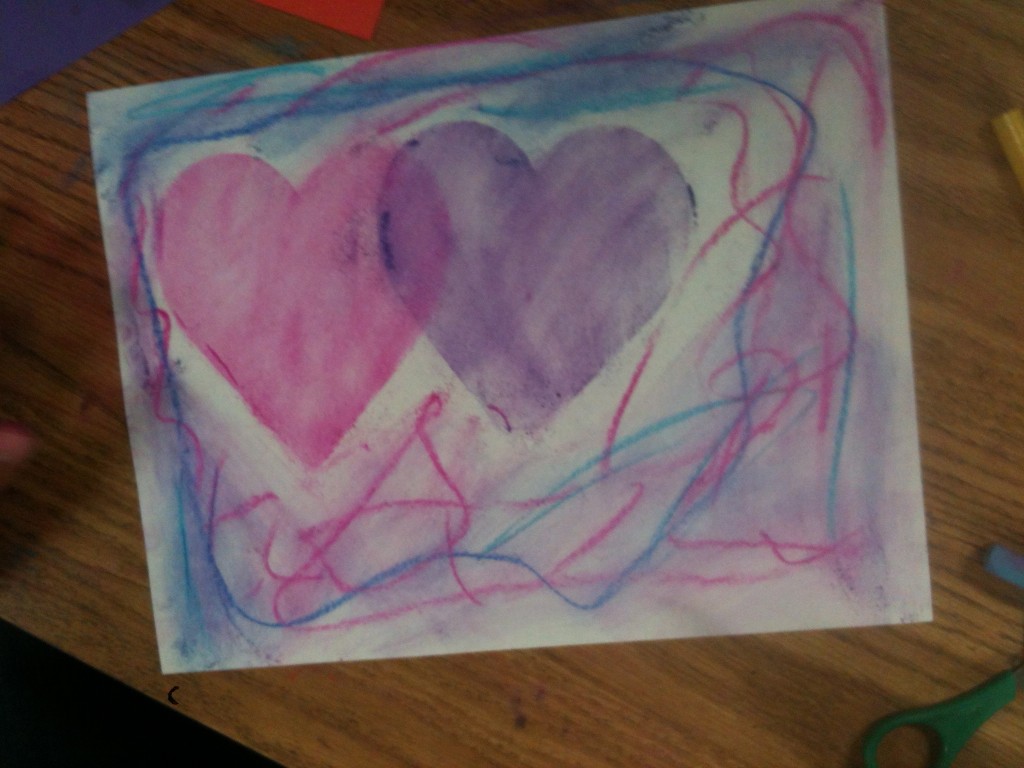
5th graders used chalk pastels and cut paper stencils to make overlapping hearts.

These beautiful chalk pastel stencils take only one 40 minute session!

Materials:

  • Chalk Pastels
  • Stiff brush (we use our old tempera brushes)
  • scissors
  • construction paper for background (we used white 9″x12″)
  • construction paper cut approx. 4″x6″ for making stencils
  • optional: ready-made stencils

Instructions:

Fold the small rectangle in half. Draw a half heart on the fold and cut out.

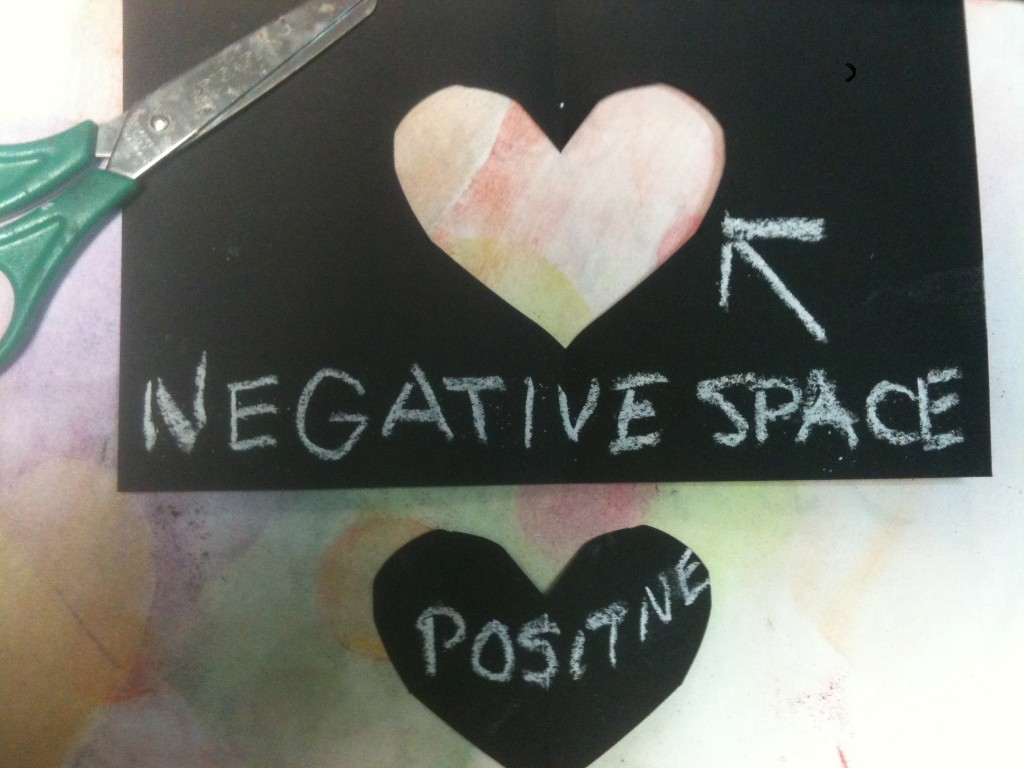
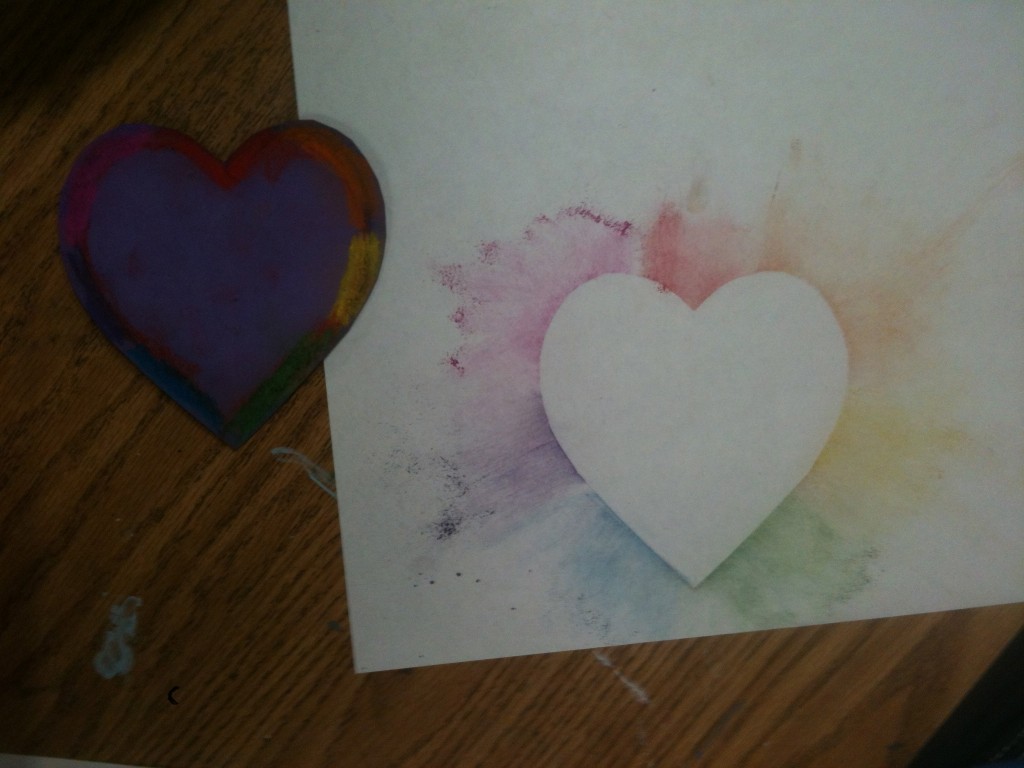
Students can use both the positive and negative shapes from homemade stencils.


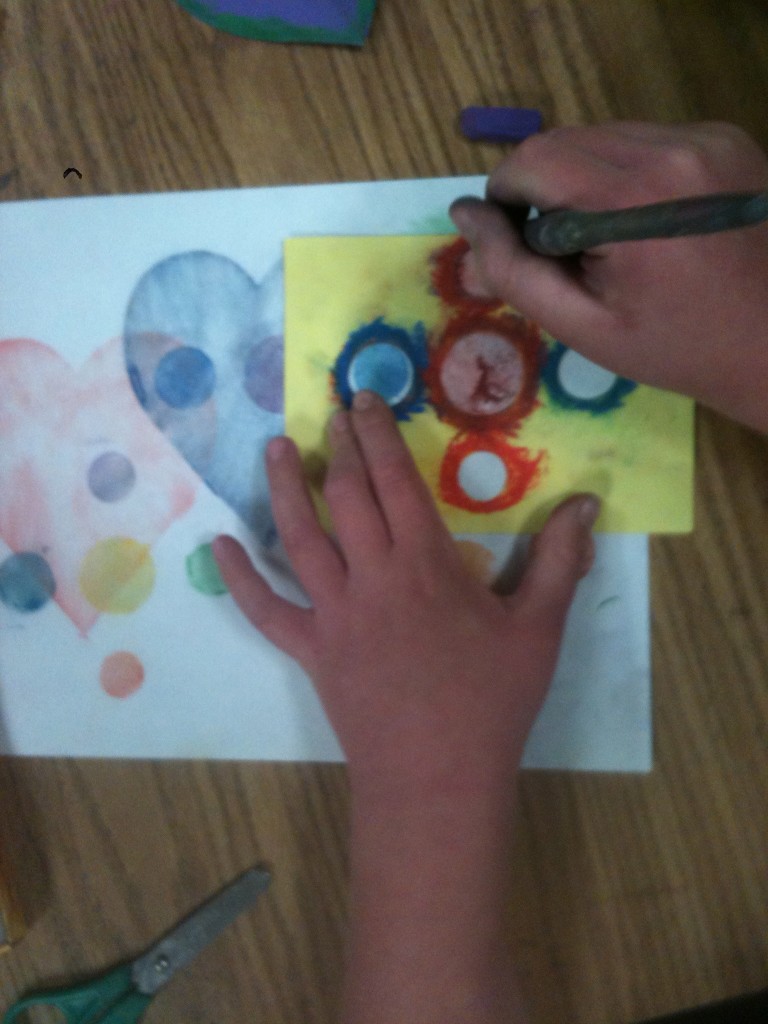
Color around the edges of the cut out 'window'.


Now take the stiff brush and brush the colored pastel into the stencil ‘window’.

These pink hearts 'stencils' were made on the school die-cut machine.


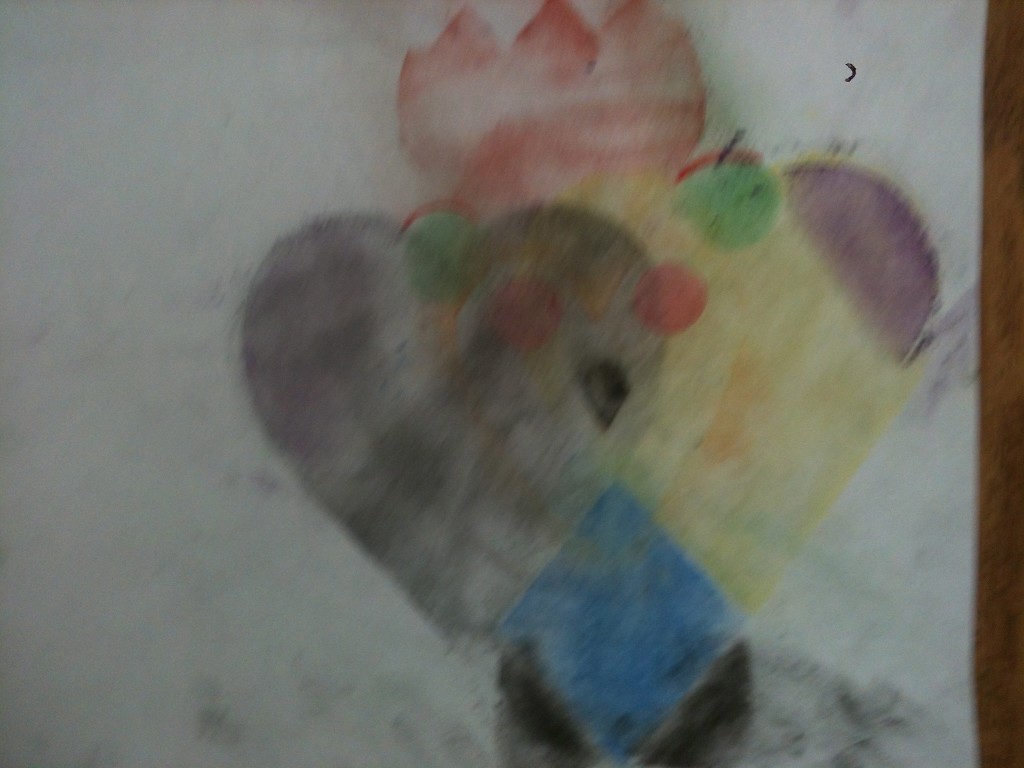
Lift up the stencil. Students will ooh and aah if they have never tried this process before! Now shift the stencil and repeat the process.  Encourage students to overlap.

Now take the positive shape and color the edge with pastel. Place on the background paper, and brush the color outward onto the paper.

Positive shape can be used as a stencil.


Nice composition and color.


We reused our die-cut stencils for three classes. We just colored and colored again around the edges. Tell the students to relax – it’s going to look beautiful.

Students can also color the background.


Another stencil made on the school die-cut machine.

This student used his stencils to make a bird.

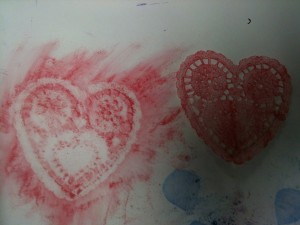
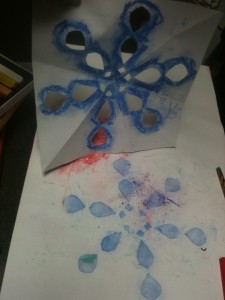
This method would be very interesting with cut paper snowflakes or doilies.

Experiment with doilies.

Try a homemade snowflake stencil.


Minimize the mess: ask students to tap their excess chalk pastel dust onto a piece of newspaper.

What to do with all those used colorful stencils? Try this used stencil collage project. Double the art fun!

This method came from the San Diego Museum of Art  2010 Educator’s Art Fair. The lesson can easily be adapted for all grades K-6.

Related Posts Plugin for WordPress, Blogger...