Art + Cooking Camp: Cherry Cake and Pointillism


IMG_0839

Bonjour! Here is an update on Day Four of my Paris-themed art and cooking camp. Today we tried out pointillism and made cherry clafoutis.

Pointillism

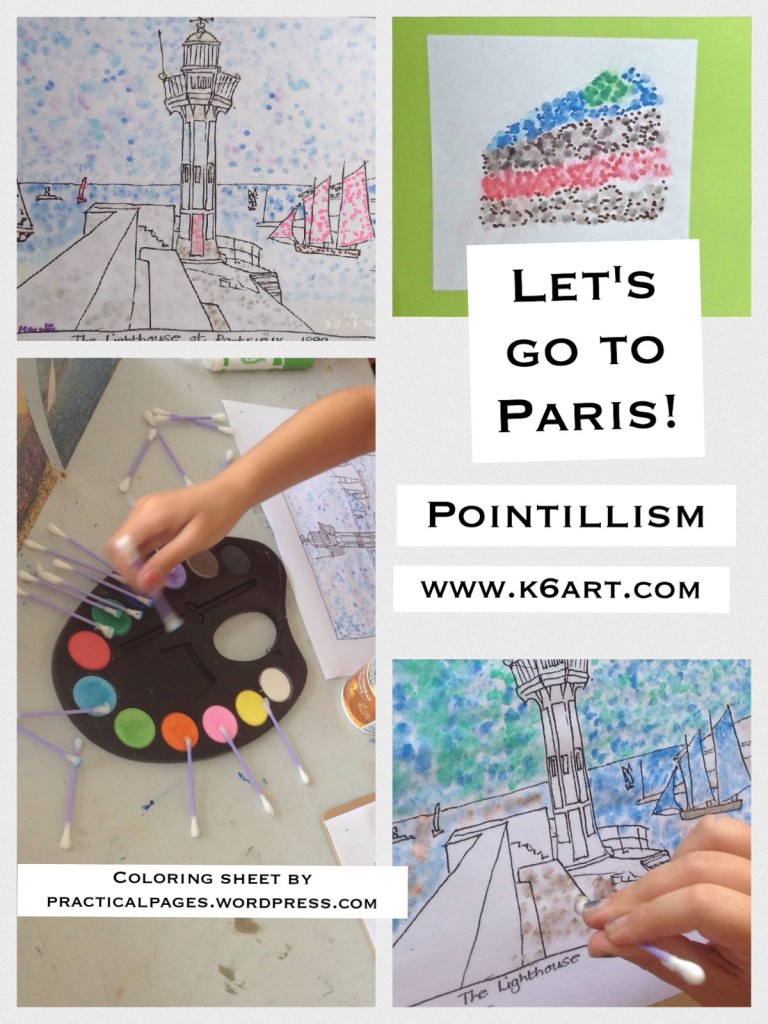
Pointillism is lots of fun for kids. They love the idea of creating art from dots of paint. We looked at pointillist artworks under extreme zoom at Google Art Project. Click here to see the extreme close up of Seurat’s ‘The Circus’ and click here to see Signac’s ‘The Port of St. Tropez’. For the art project, we did this fun Signac lesson with coloring sheet from the Practical Pages blog. The kids dotted their sheets using damp Q-Tips and pan watercolors. They filled in the tiniest areas with dots of colored marker.

One student made a pointillist cake! She lightly sketched her design in pencil, then filled in with dots of watercolor and marker. When it was dry, she erased the pencil lines.

(note: if you are looking for a whole class pointillism assignment, check out this Seurat mural project).

Cherry Clafoutis

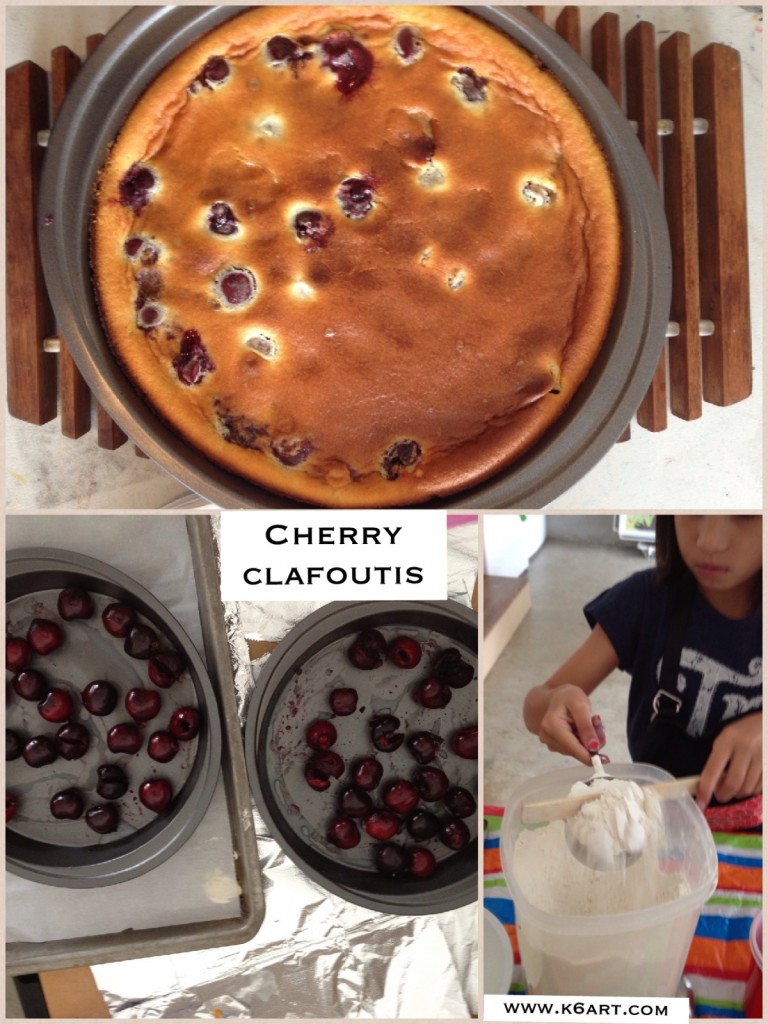
We made a cherry clafoutis – a lovely French summer dessert with a texture that is a cross between a cake and a custard. CLICK HERE FOR THE RECIPE. Surprise – the kids LOVED pitting fresh cherries!

IMG_0831

Coming up later this week: the last day of art and cooking camp. Chocolate fondue and the completed Degas sculptures!

Art + Cooking camp:

Au Revoir and Bon Appetit!

Enjoy!


Wayne Thiebaud Ice Cream Cones Roundup

wayne thiebaud ice cream cones


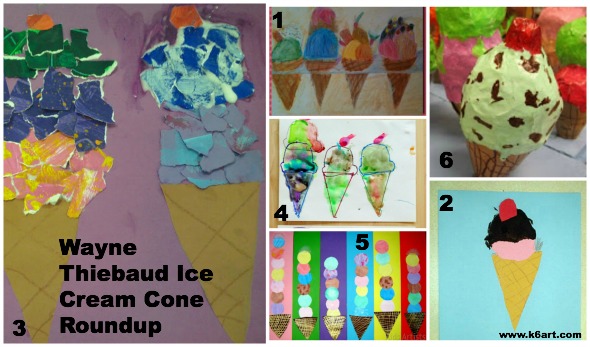
Summer is almost here. Why not try a warm-weather twist on Wayne Thiebaud with an ice cream art lesson? Check out these ice cream cone lessons using paint, collage, papier-mache and more.

thiebaud cones

cone collage

Directed Draw/Paint:

  • 1. I discovered an entire Wayne Thiebaud unit at the fabulous Danish Fru Billedkunst (“Mrs. Fine Art”) blog. Click here for her step-by-step ice cream cone drawing diagram.

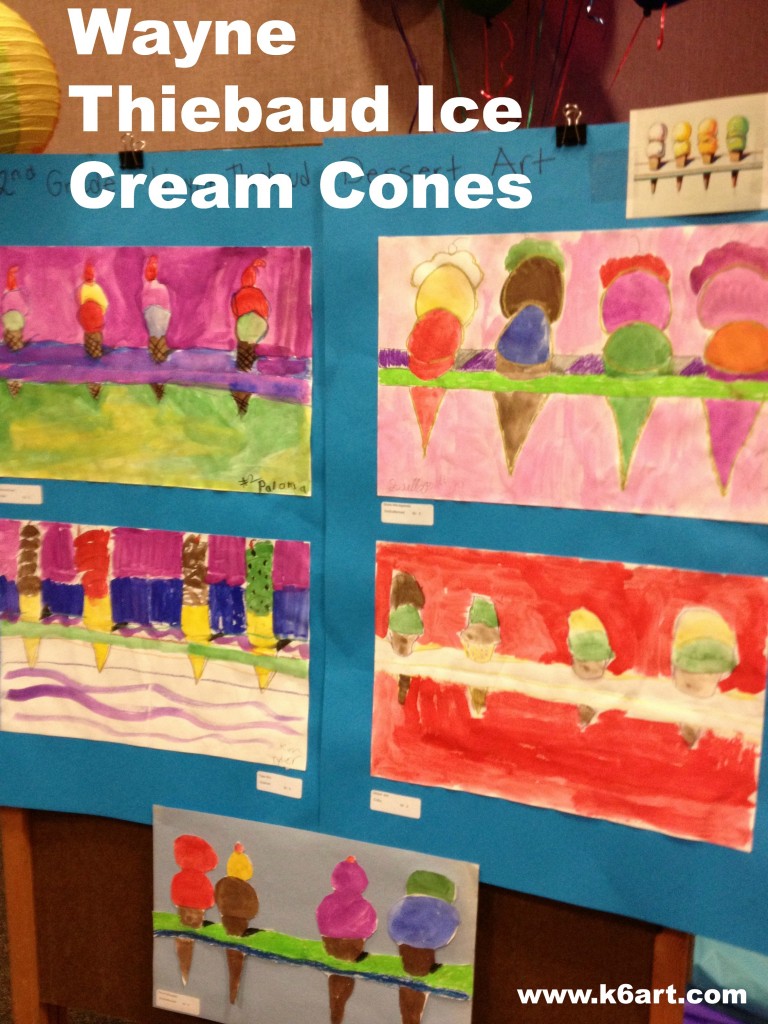
Our second graders began by folding their paper into quarters. The horizontal fold became the table edge. Students drew two cones on each side of the vertical fold. We used crayons and tempera cakes. Students had the option of painting a background, or cutting out their art and gluing it to construction paper. They looked so beautiful at our school art show (see photo at top of post).

Here are some more interesting ideas for Thiebaud-inspired ice cream fun:

Collage:

  • 2. Miss Young’s Art Room has a simple ice cream collage for kindergarten
  • 3. ARTASTIC! has a torn paper collage that would be great for using up all those paper scraps at the end of the year

Templates:

Group project:

  • 5. Kids Artists has a whole-class painted paper ice cream cone collage.

Papier Mache Sculpture:

  • 6. Phyl’s There’s a Dragon in My Art Room blog has an awesome papier-mache ice cream cone sculpture project using a paper water cone, newspaper, masking tape and art paste.

More resources

My Wayne Thiebaud Powerpoint includes repetition of simple shapes, variety, use of thick paint, horizon line and shadow.

I always show my ancient (circa 2000!) Behind the Scenes with Wayne Thiebaud [VHS] – it includes Mr. Thiebaud drawing an ice cream cone. Oh, why can’t I find a DVD or digital version??

Wayne Thiebaud video from CBS

Whatever project you choose, your students are bound to have fun!


Enjoy!


Do you have a favorite ice cream cone project?

Four New Art Project Ideas for Grades K-6

Looking for new art project ideas? Here are four new (to me) art project ideas from my fabulous creative colleagues, Kelly and Nancy.

Kelly’s ‘Stained Glass’

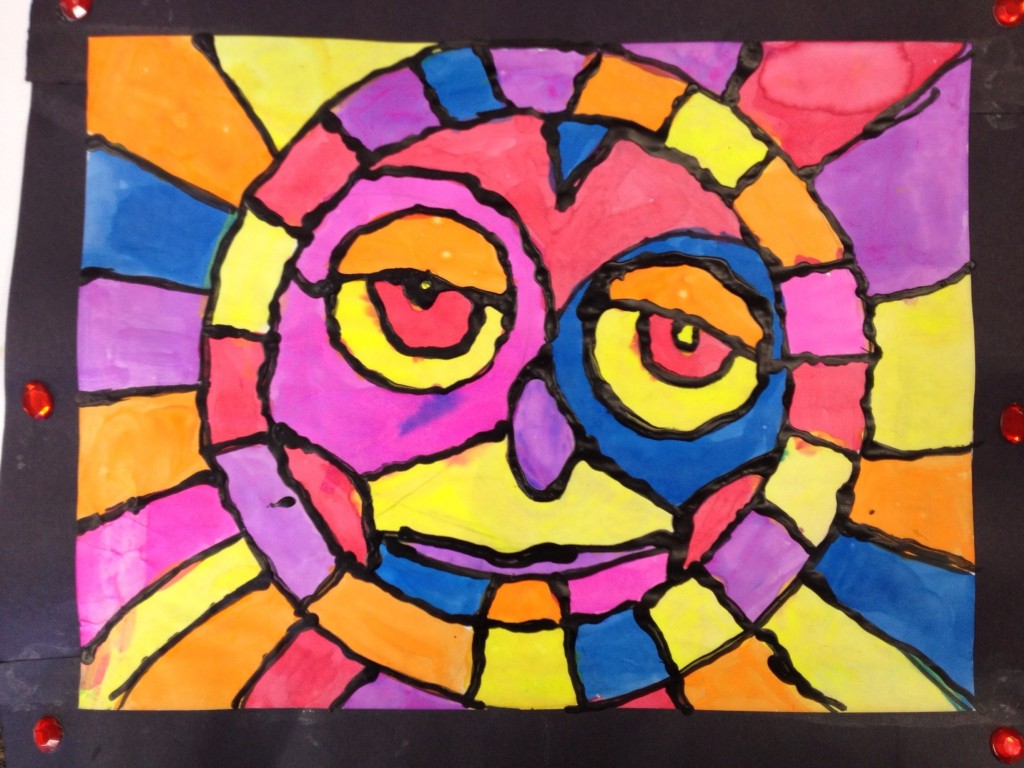
'stained glass' sun

Kelly’s ‘stained glass’ sun made with watercolors and black glue.

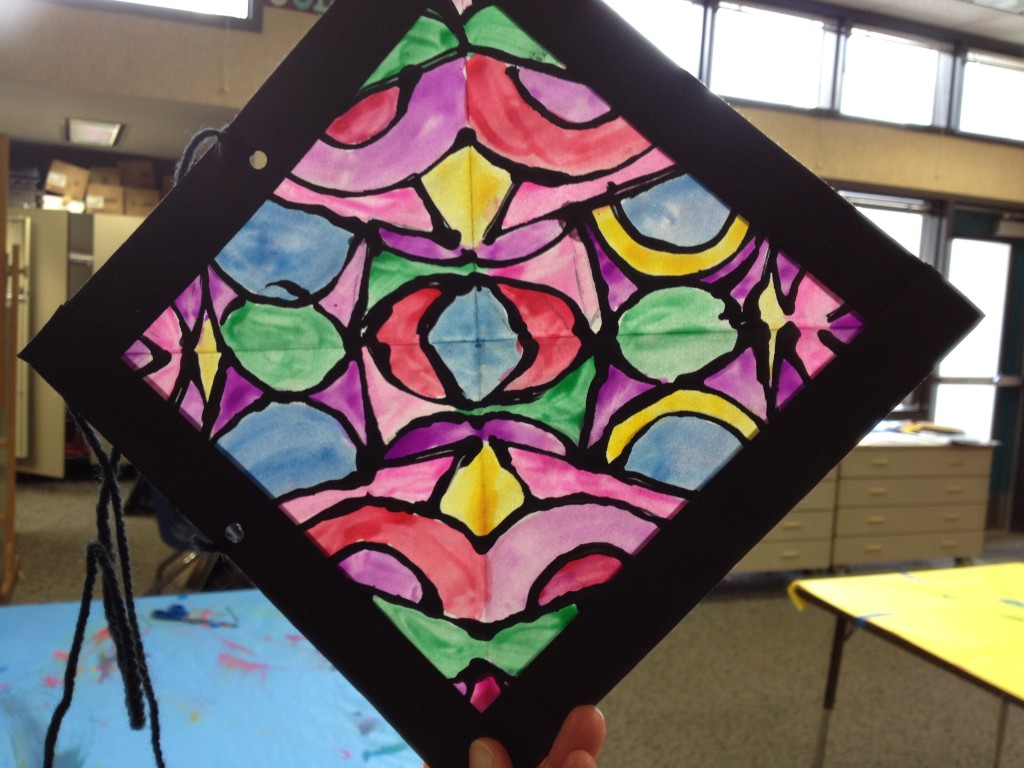
Kelly from Skyline School brought these beautiful ‘stained glass windows’ made with fluorescent liquid watercolor and black glue. As a final step, her students rubbed their artwork with baby oil and a cotton ball to make the paper translucent. Primary grades used a paper plate tracer to make the sun. Upper elementary made the geometric window (note: upper grade students used carbon paper to transfer their symmetric designs).

'Stained Glass' window 2

Kelly’s ‘Stained Glass Window’ made with watercolor and black glue.

A New Twist on Monet

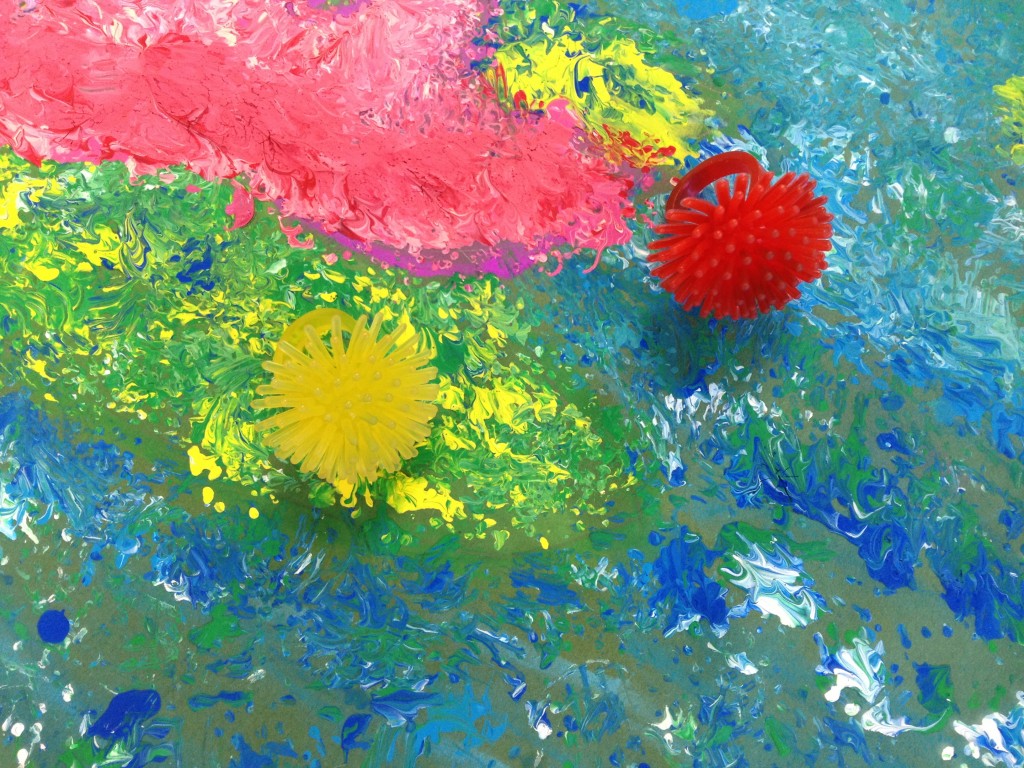
Kelly also brought these Monet water-lily paintings. Please zoom in on this painting – the paint texture is so interesting. Kelly didn’t offer a brush – her students applied paint with novelty rings purchased at Oriental Trading. These rings look like little sea urchins. If you try this, Kelly recommends pinching the ring instead of wearing it on her finger. Needless to say, her students LOVED this project!

Monet water lilies painted with novelty ring

Kelly’ s students painted their Monet-inspired art with a ring from Oriental Trading.

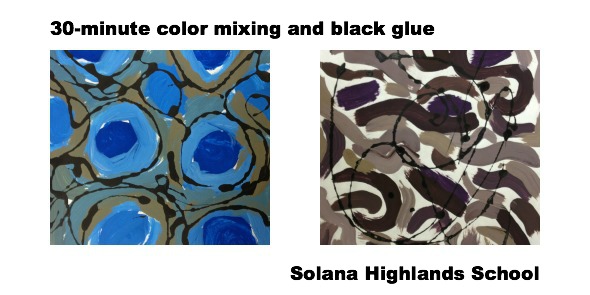
30-Minute Color Mixing

Nancy  teaches art at Solana Highlands School. She brought a color mixing project. Students used two colors plus black and white. After tinting, shading and creating a neutral, they drizzled black glue over the top. I love how much variety her students achieved. Some of these abstract compositions look like animal patterns. LOVE! Even more impressive: Nancy only has 30 minutes with her students. She does a lot of stations and table rotations to fit her projects in the tight time frame.

30-minute color mixing and black glue

Kindergarten Paper Quilts

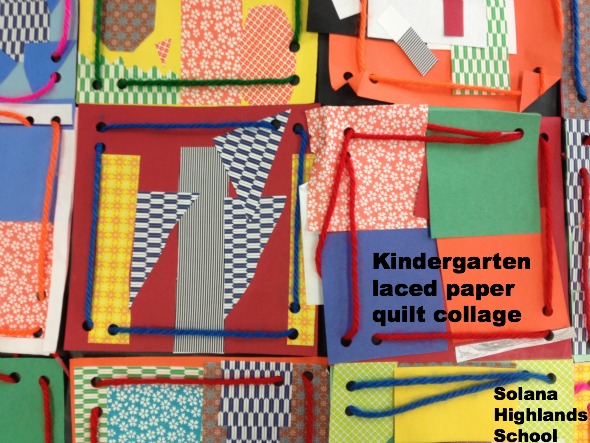
Nancy did these paper quilt squares with the kindergarten. The kindergarteners start with a 6″ square of paper. They collage first, then Nancy adds holes with a three-hole punch. Next class, the kindergartener lace the holes. Nancy glues the squares together into a quilt.

kindergarten laced paper quilt collage


As always, I am FLOORED by my colleagues creativity. They always have interesting, challenging, beautiful projects – and they teach them so well. Thanks to Nancy and Kelly for sharing your ideas.


Enjoy!


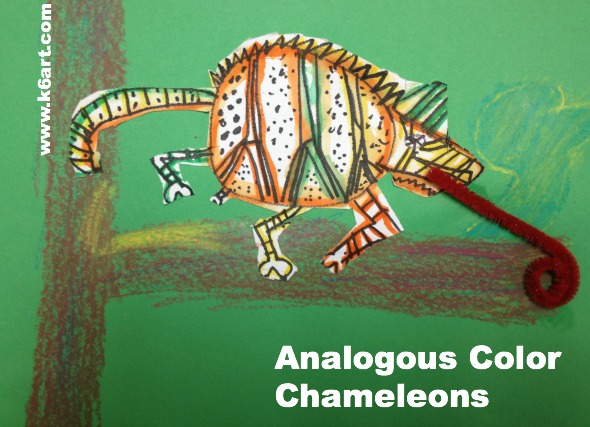
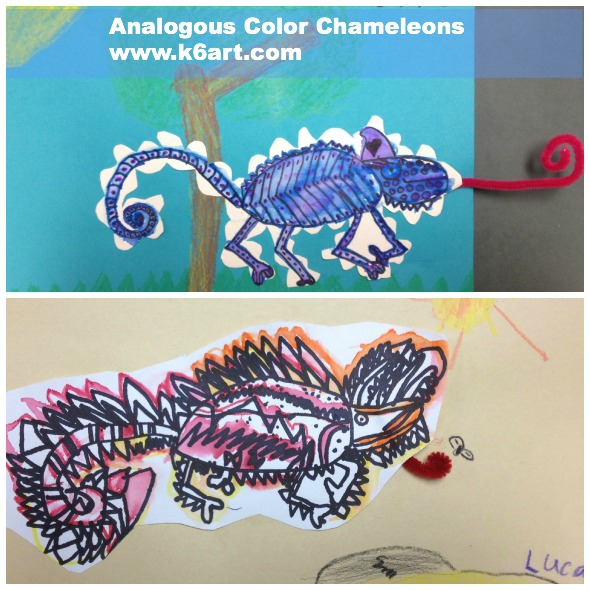
Analogous Color Chameleons

Analogous Color Chameleons


Are you looking for an engaging, NEAT color project? Try these analogous color chameleons, made with watercolor paper scraps and Crayola markers.

Materials

  • Color wheels
  • Watercolor (or drawing paper) scraps
  • Sharpies (or other black permanent markers)
  • Crayola markers (or other fine tip watercolor marker)
  • Brush
  • Water
  • Construction paper
  • Construction paper crayons
  • Pipe cleaners
  • White glue

We began by watching this FUN chameleon video

http://www.youtube.com/watch?v=KMT1FLzEn9I

We did a directed draw of the chameleon using Sharpie on watercolor paper. Second graders then added their own details – stripes, patterns, dots, horns, and spikes.

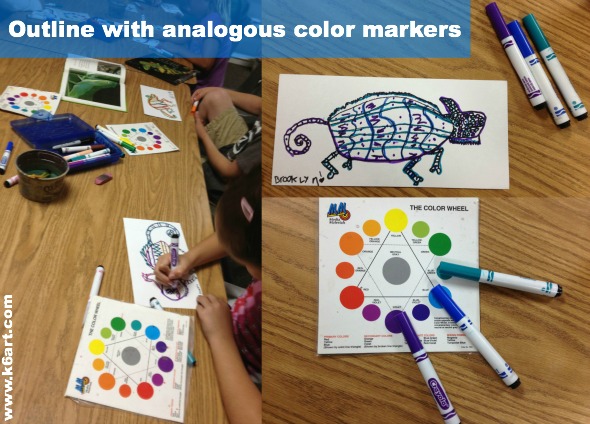
Next I passed out the color wheels and Crayola markers. We talked about analogous colors as ‘next door neighbors’ on the color wheel. I asked the students to select three analogous color markers and lay them out on their color wheels.

Students checked their neighbor’s work to make sure all the markers were analogous colors.

We used the ‘marker painting’ technique I learned on the fabulous Artisan Des Artes blog. Students outlined the interior of their their chameleons with the markers, then went over the lines with plain water and a small paintbrush. The kids LOVED it when their markers turned to ‘paint’ and spread through the watercolor paper.

analogous color collage

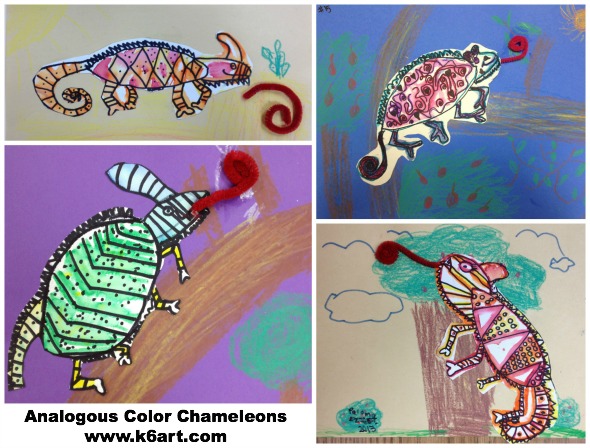
To finish the project, we cut out the chameleons and glued them to simple habitats drawn with crayon on construction paper. For a final touch, some student glued on a curled pipe cleaner for a tongue (I will skip that step next year!).

Second grade results:

analogous color chameleon collage 1

analogous chameleons


Guess what…….this project will work even if your markers are a bit dry! It’s a great project for end-of-year or anytime.

Enjoy!

p.s. Here are two books my students LOVED!


(note: this post contains compensated affiliate links).


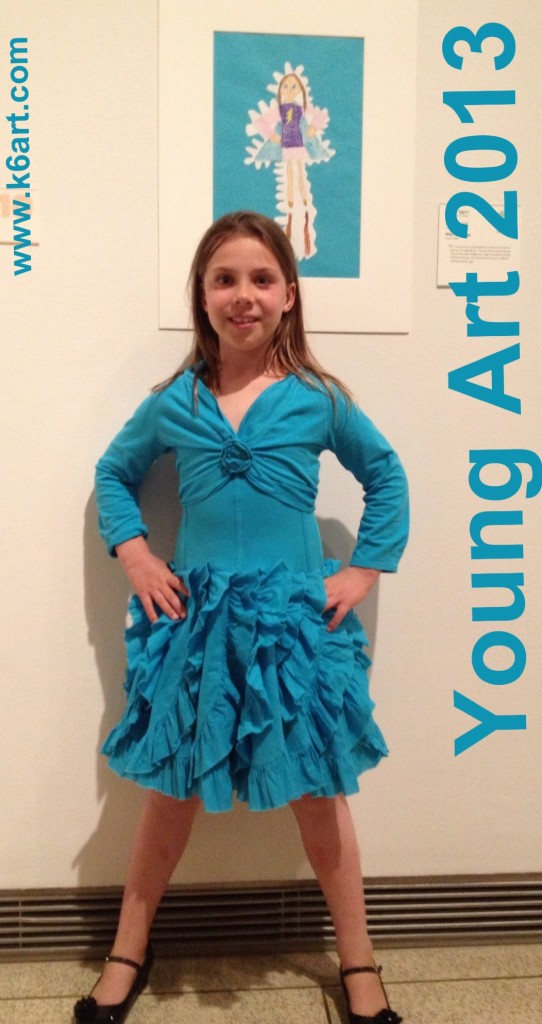
Creative Self-Portraits at Young Art Show


Young Art 2013 at San Diego Museum of Art

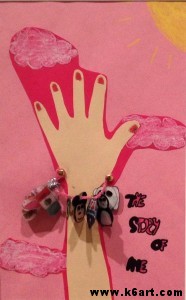
For over 80 years, the San Diego Museum of Art has held a juried exhibition of student art. This year’s show is all about identity. Young Art ‘The Story of Me’ is on display right now at the Museum at the Center for Community and Cultural Art. Learn more in this article.

Our school had a record 12 pieces in this year’s show. Congratulations to all our young artists! Here are all their fabulous projects, arranged by grade:

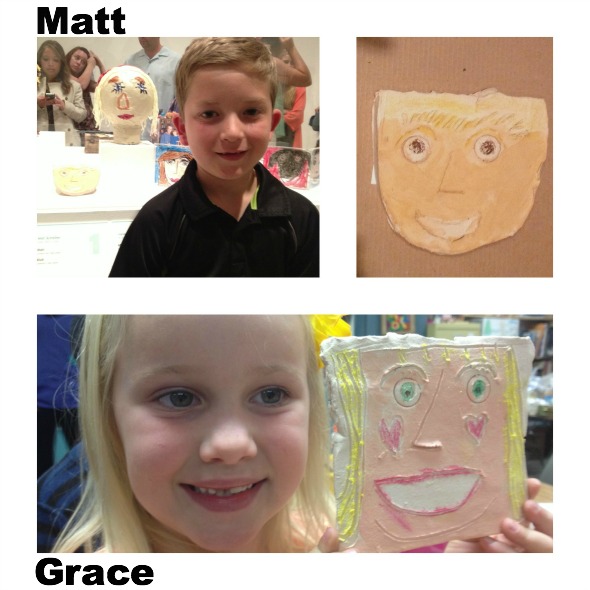
First Grade: Clay Self-Portraits

matt and grace

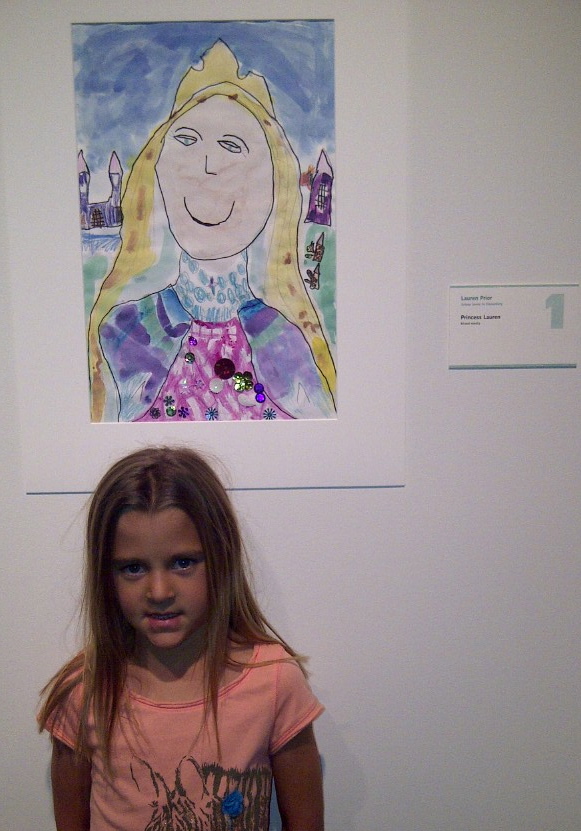
 First Grade: Royal Self Portrait

L. and her royal self-portrait

L. and her royal self-portrait


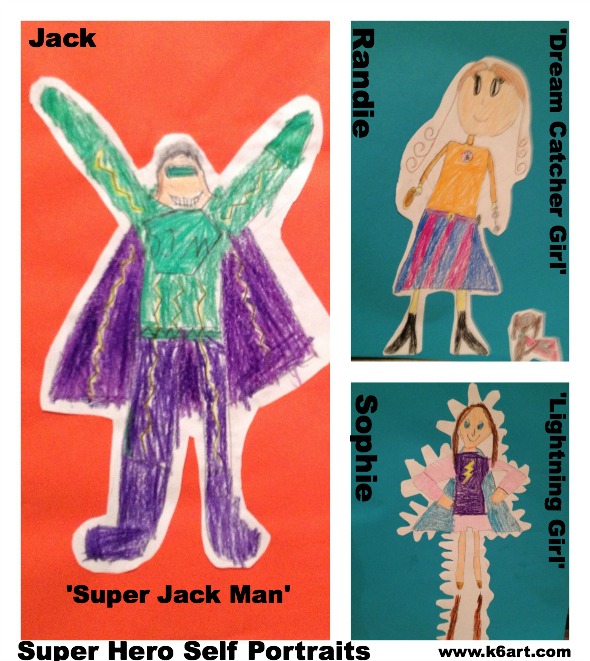
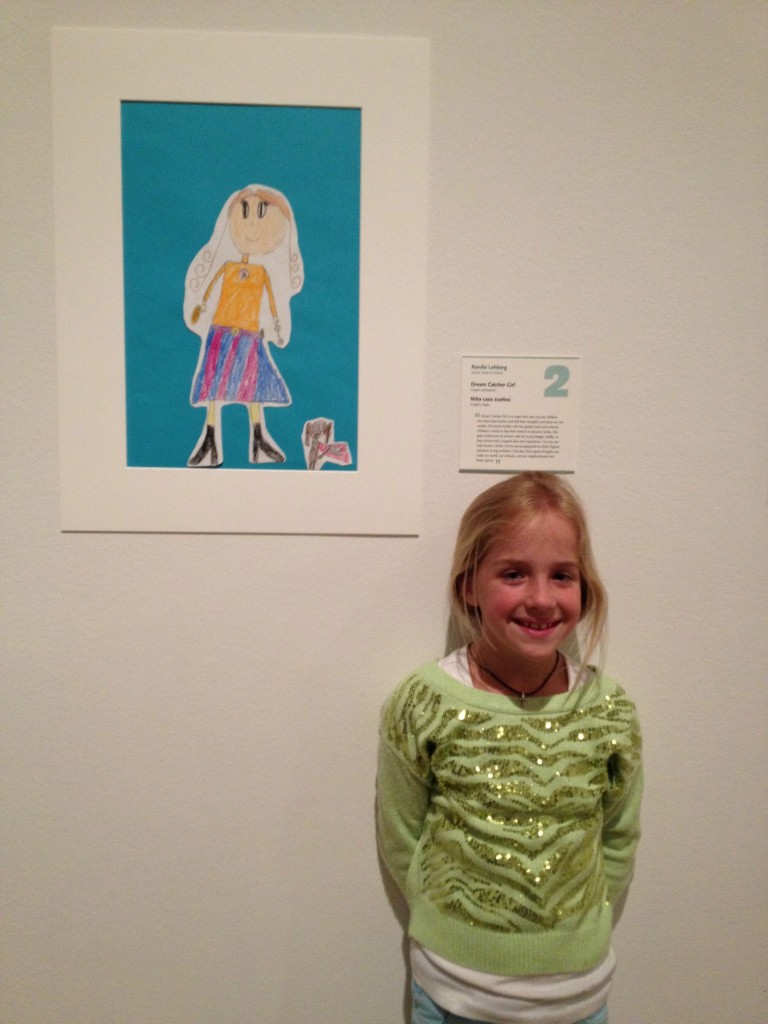
Second Grade: Super Hero Self Portraits

super hero collage young art

Dream Catcher Girl

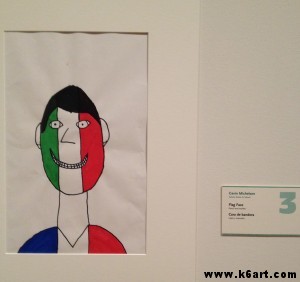
Third Grade: Heritage Self Portrait

Gavin’s heritage self-portrait, ‘Flag Face’, incorporates the flags of France and Italy.

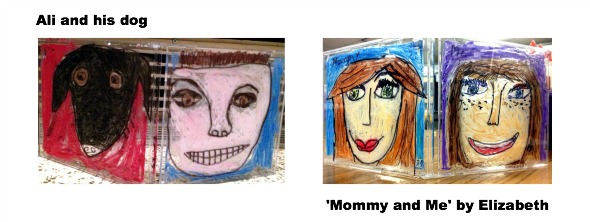
Fourth Grade: CD Case Double Portraits

cd case portrait collage


 Fifth Grade: Charm bracelets and dog tags

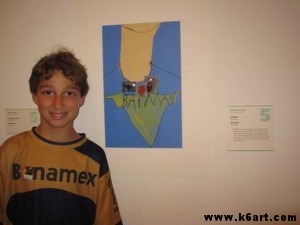
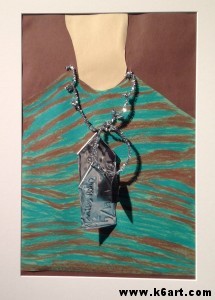
Mo and his charm necklace

Mo’s self-portrait is a T-shirt and neck chain, with charms for skiing and Spiderman.


Bella's charm bracelet has charms for Mexico, swimming, Disneyland and more.

Bella’s self-portrait charm bracelet includes charms for Mexico, swimming, and Disneyland.

Jacob's salute to his family's military background includes a camouflage shirt and individual dog tags for family members in the service.

Jacob’s salute to his family’s military background includes a camouflage shirt and individual dog tags for family members in the service.


Well done artists!!!! The show is up until May 26, 2013. Hope you can visit!

Thanks to the fabulous art education team at SDMART for making Young Art happen. Our community truly appreciates all your hard work.

Enjoy!


Related Posts Plugin for WordPress, Blogger...