Laurel Burch Complementary Color Cats

complementary color laurel burch cats

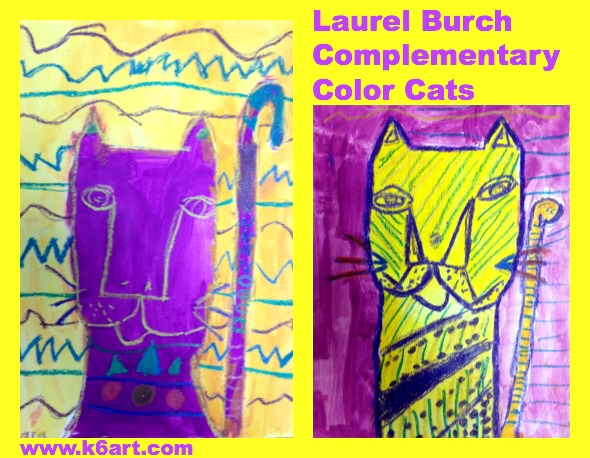
This Laurel Burch-inspired cat art project covers complementary colors, pattern and negative space. Tempera cakes and construction paper crayons are all you need for this project – quick, easy and neat!
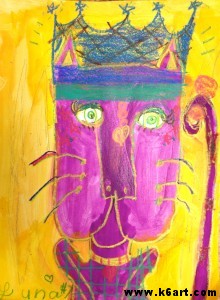
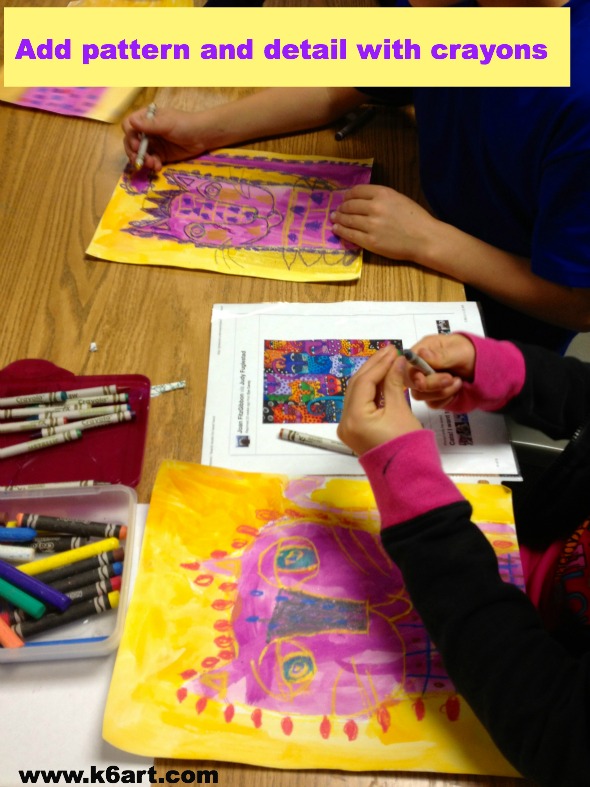
Second graders learn about the complementary colors, then draw and paint a cat in the style of Laurel Burch. When dry, they add pattern and detail with a variety of crayons. Allow two 40-minute classes.

Second graders learn about the complementary colors, then draw and paint a cat in the style of Laurel Burch. Allow two 40-minute classes.

Meet Laurel Burch
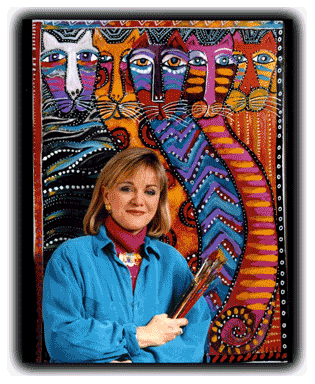
Laurel Burch. Photo source: laurelburch.com

Laurel Burch. Photo source:

Laurel Burch was a self-taught  jewelry designer and painter. She was extremely successful despite serious illness. The Laurel Burch website has every resource you could want, including a great biography video and ‘fantastic feline’ slide show. We took a close look at the cat illustrations, and noticed the simple shapes, lines and patterns.

complementary color wheel

The Complementary Colors

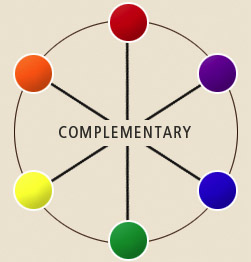
I displayed the color wheel and we discussed the complementary colors (see this post). The complementary colors are directly across from each other on the color wheel.

There are three complement pairs: red/green; purple/yellow; and orange/blue. When two complements are displayed together, the colors contrast and ‘pop’.


The Art Project

Materials:

  • white sulphite drawing paper, 9″ x 12″ (or other white paper strong enough for painting)
  • primary and secondary color tempera cakes
  • brushes
  • water
  • examples of Laurel Burch cat illustrations
  • construction paper crayons
  • optional: metallic crayons

(note: this post contains compensated affiliate links)

Day 1: Draw and Paint the Cat

  1. Choose a complementary color pair.
  2. Draw the cat using a single construction paper crayon.
  3. Add eyes and other facial features, but do not add pattern or other detail.
  4. Paint the inside of the cat one of the complementary colors.
  5. Paint the negative space (background) in the other complementary color.
  6. Let dry.

Day 2: Decorate the Cat

  1. Hand out examples of Laurel Burch cat illustrations and construction paper crayons.
  2. Look at the patterns and other details on the cats and in the negative space (background).
  3. Do a quick review of the complementary colors.  Ask “What color is your cat? Find a crayon that is a complement of the cat color”.
  4. Retrace the cat’s original lines with that crayon.
  5. Use all the colors of construction paper crayons to color in the eyes, add designs and patterns. .
  6. Optional: add a little sparkle with metallic crayons.

color Laurel Burch paintings with crayons

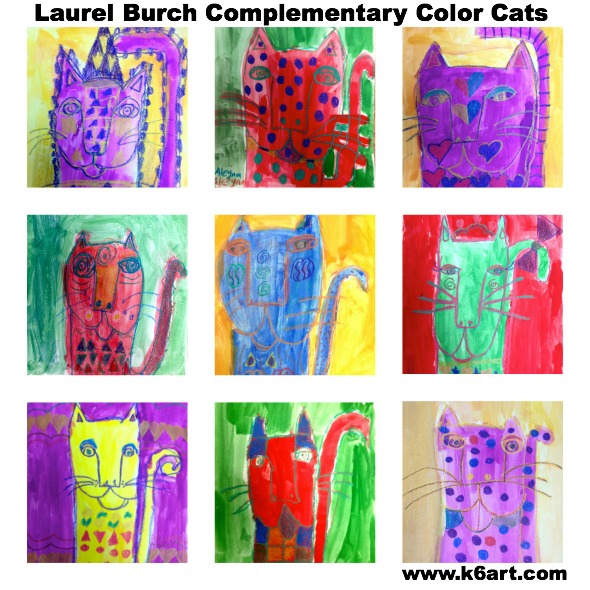
 Second Grade Results:

Laurel Burch Complementary Color Cats gallery

I just love the way the complementary colors pop against each other. I also love how the opaque construction paper crayons pop atop the tempera paint!

I used tempera cakes and construction paper crayons because they were quick to set up and clean up. You could easily substitute regular tempera and oil pastels, or watercolor and regular crayons.

No matter what materials you use, this is a fun and successful project your students will really like.


Enjoy!


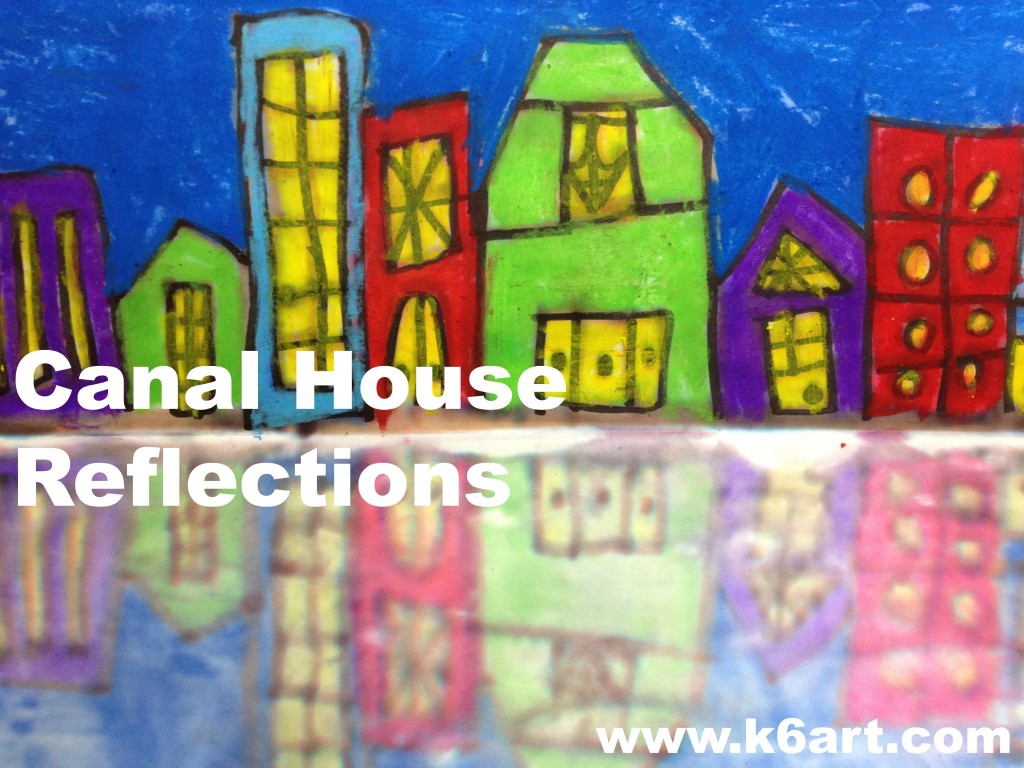
Canal House Reflections


canal house reflections print

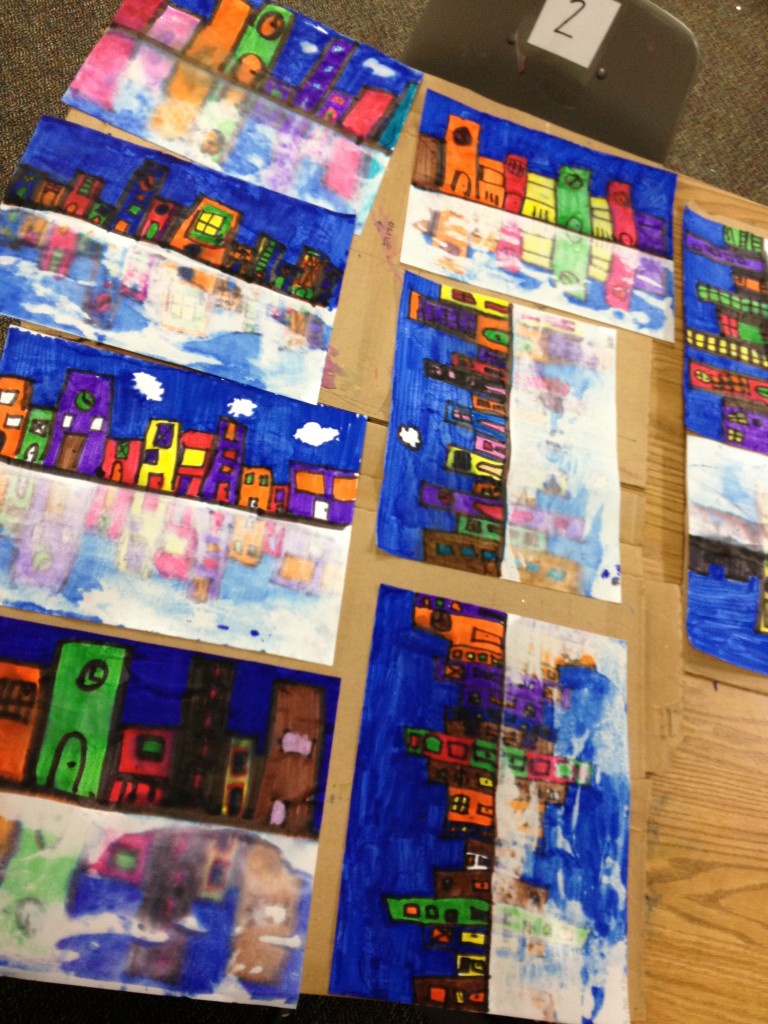
Third graders just finished making reflection prints. They made reflections of the canal homes in Amsterdam, and they just loved the printing process.

Materials:

  • white paper, 9″x12″ (we used sulphite paper)
  • watercolor markers (we used Mr. Sketch)
  • oil pastels (we used Crayola)
  • spray bottle

Day 1:

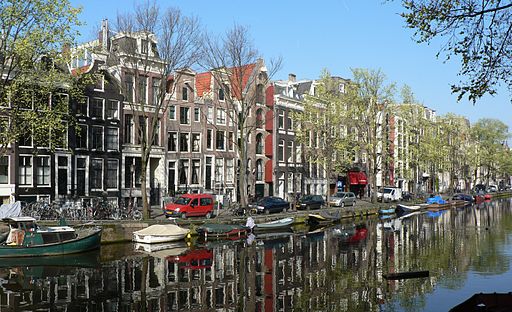
We looked at photos of canal homes in Venice, Italy and Amsterdam. The third graders were excited to see houses that had canals out front instead of streets! We looked at this photo of Amsterdam canal houses, and paid special attention to the reflection of the houses in the water.

Houses in Amsterdam reflected in canal.

Houses in Amsterdam reflected in canal. Photo source:

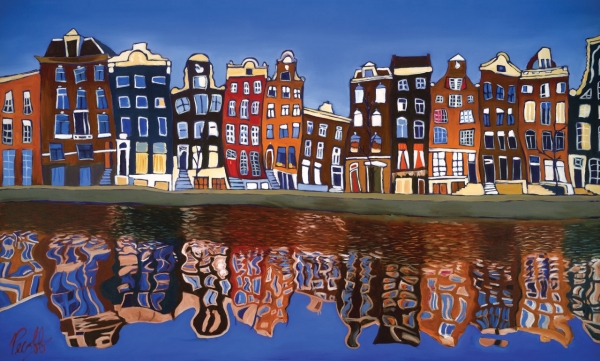
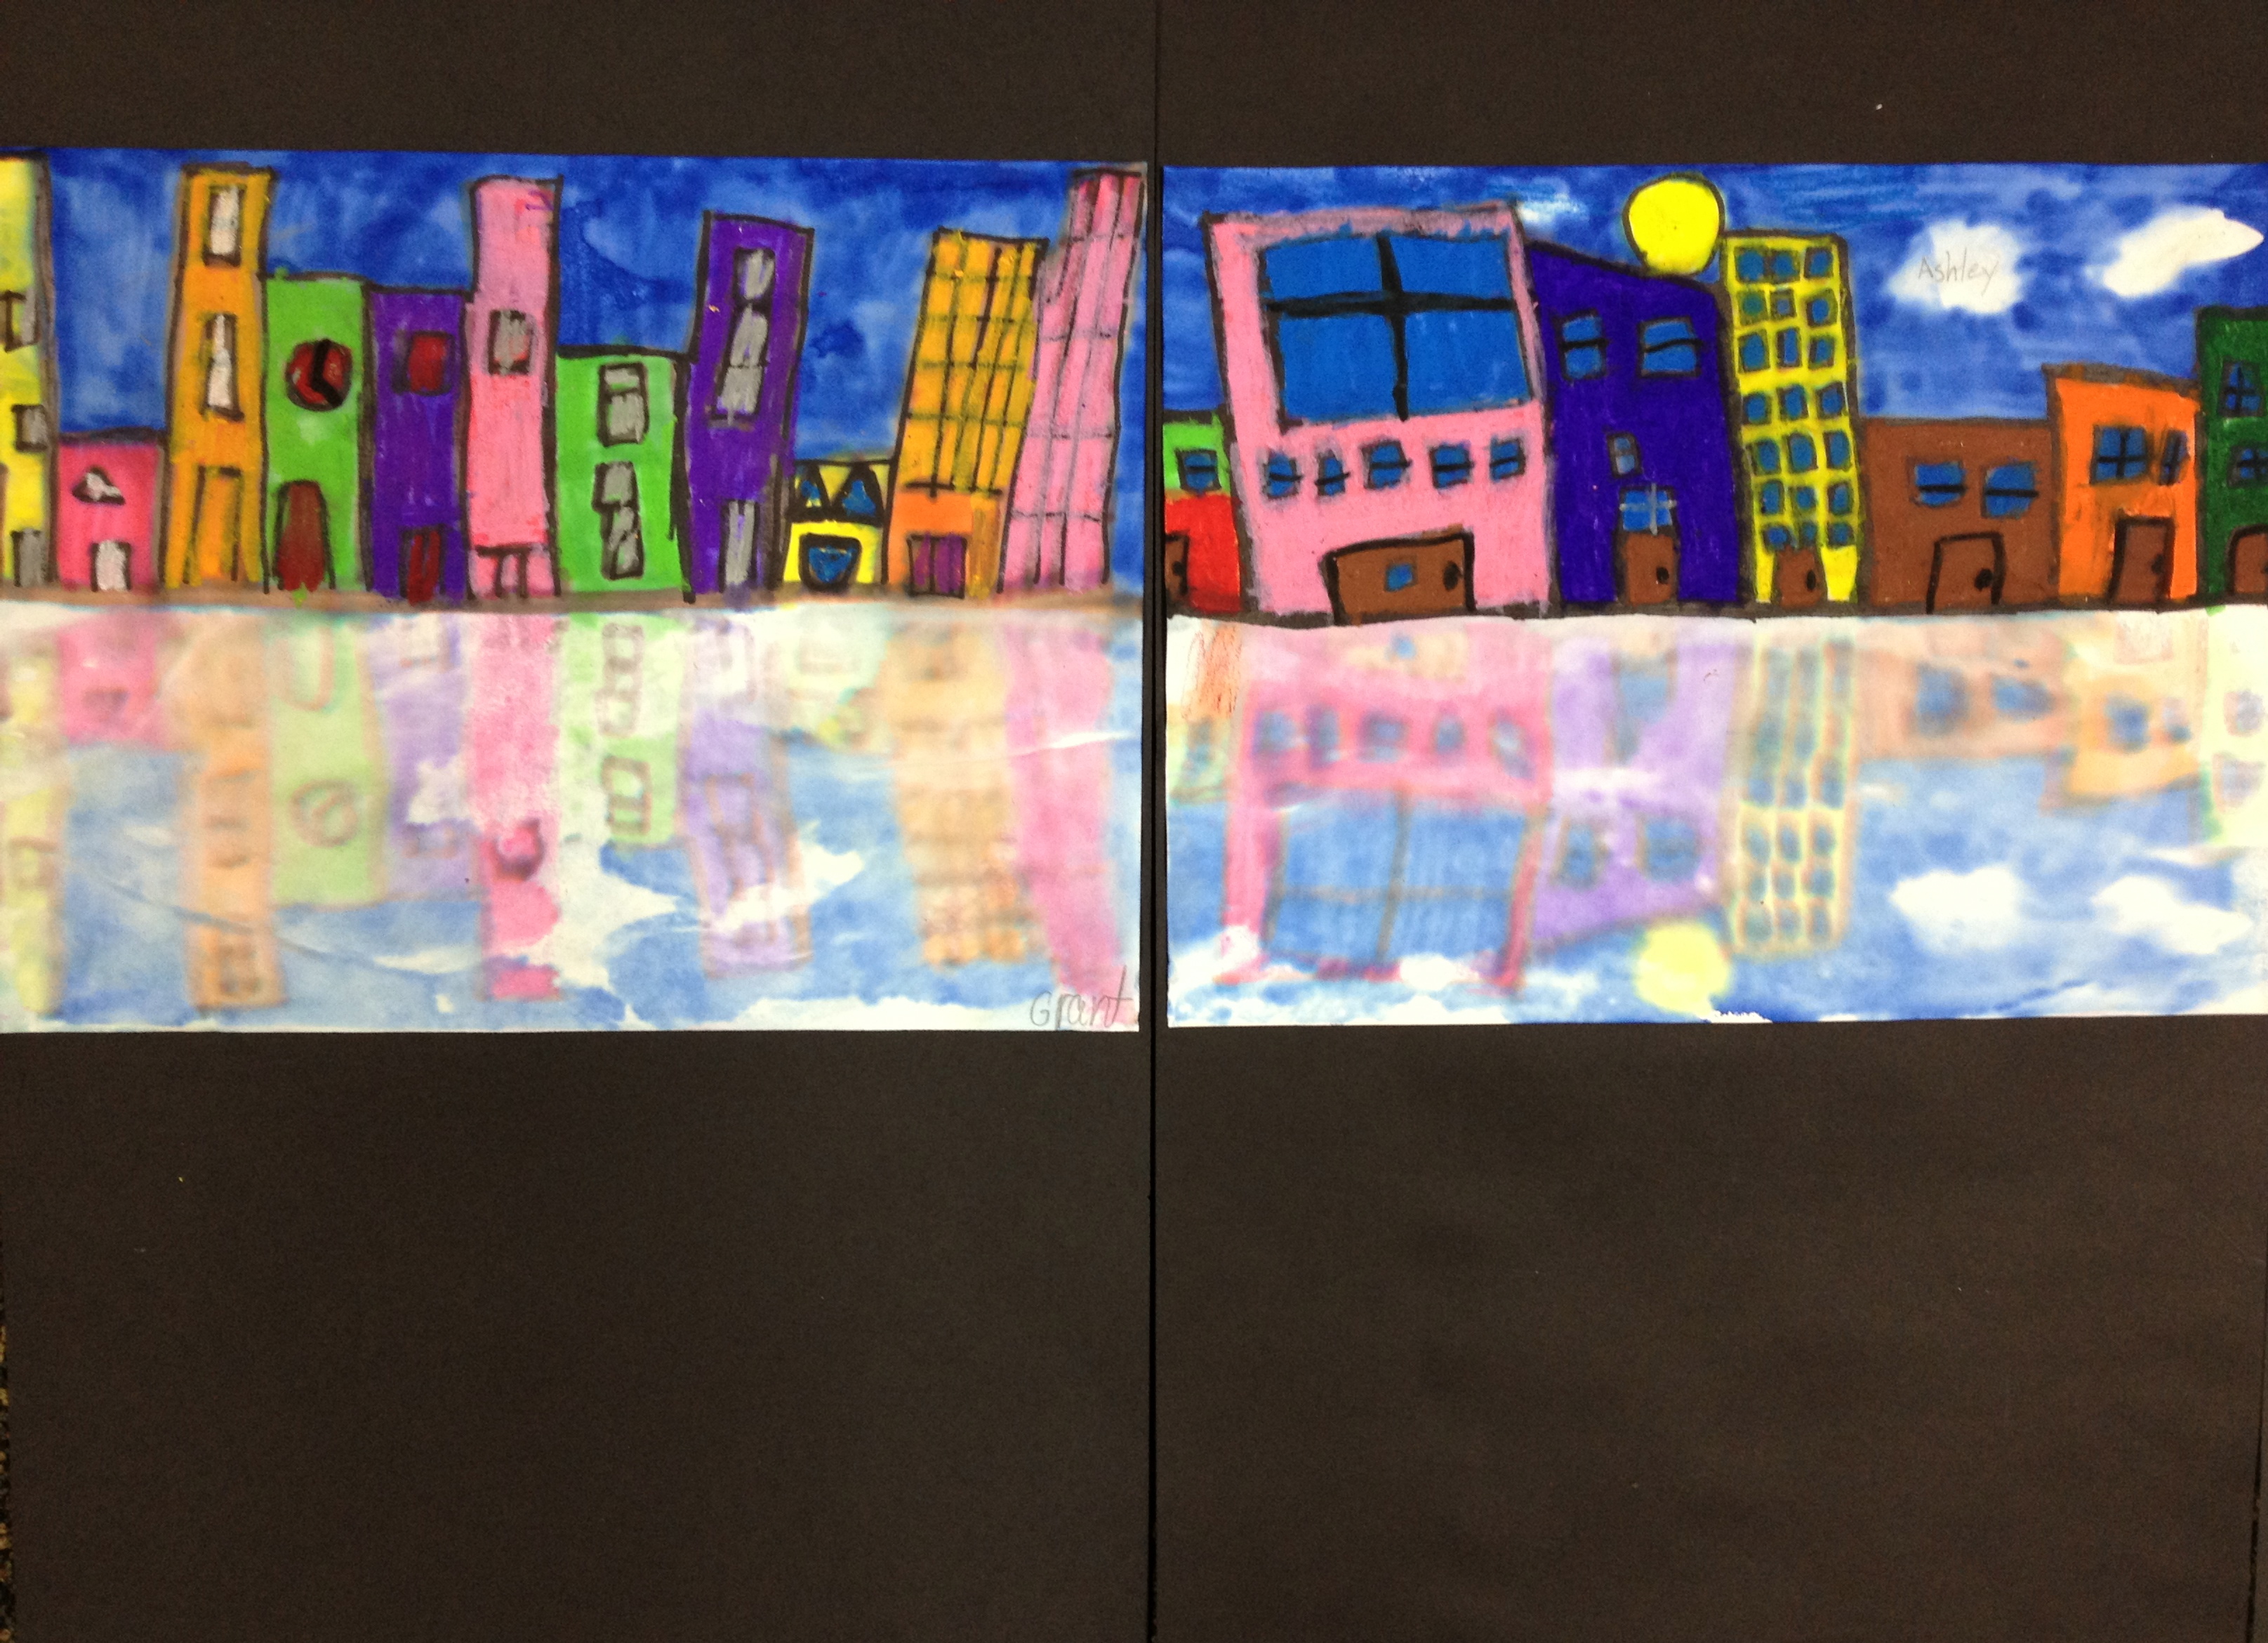
Then we looked at this beautiful artwork, ‘Canal Homes of Amsterdam’ by San Diego artist Grant Pecoff. Students noticed  how the reflection was wavy, probably because of waves on the canal. They also noticed the roof tops were a little wavy as well!

Canal Homes of Amsterdam by San Diego artist Grant Pecoff

Canal Homes of Amsterdam by San Diego artist Grant Pecoff.

Time for the art project!

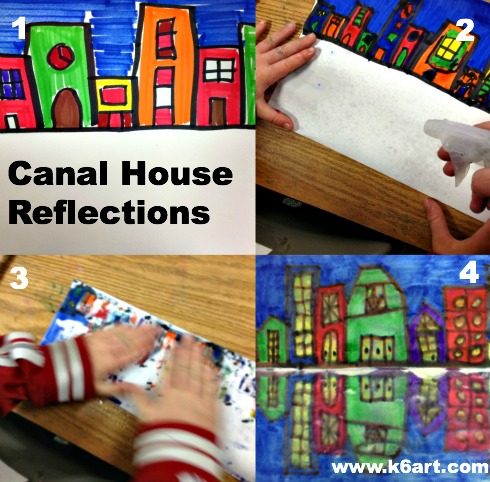
canal house collage


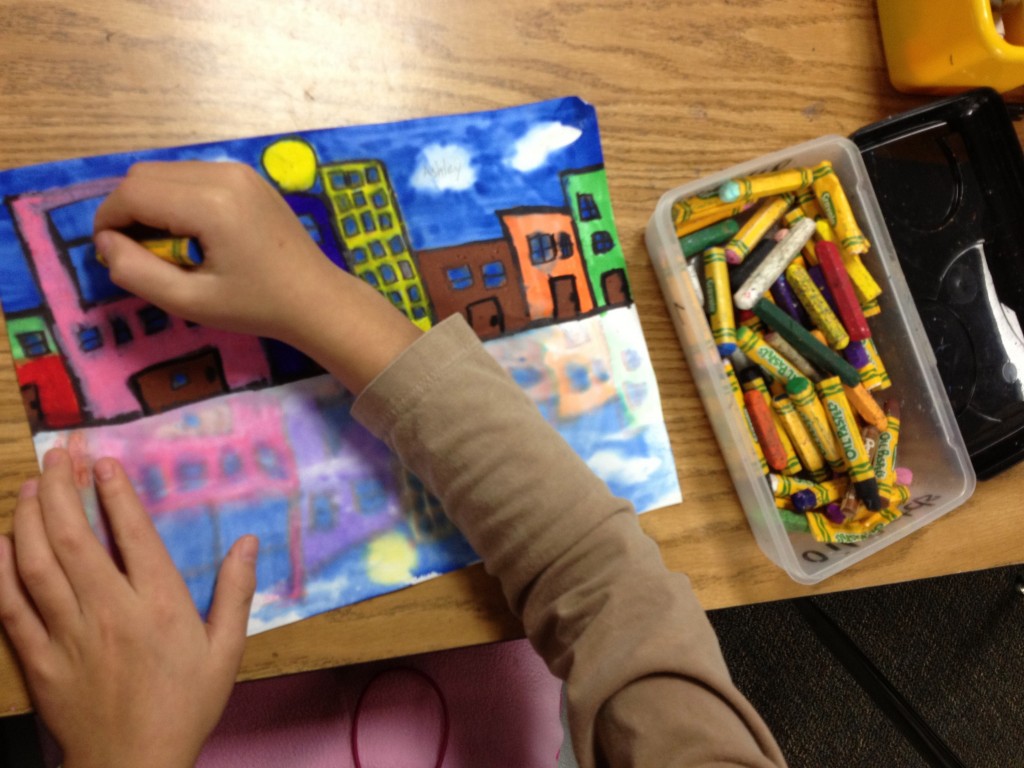
1. Fold paper ‘hot dog style’. On the upper half, make canal houses. Color the sky completely.

2. Take artwork to the printing station. Spray the lower half of their artwork with water.

3. Fold the colored half down and rub.

4. Open carefully. If the color didn’t transfer to the bottom half, spray a little more water and try again.

Let dry.

Canal house reflectionsDay 2:

The dry artworks looked great. However, we noticed the top half was a little blurry after printing. The students re-outlined the buildings on the top half of their reflections. Then they re-colored the top half with matching oil pastels.

After the reflection has dried,  outline top half with sharpie, and color with matching oil pastels.

After the reflection has dried, re-outline top half and color in with matching oil pastels.

 canal house reflection

We mounted these without left and right borders so they can be displayed side by side, just like real canal houses!

This lesson was adapted from this fun lesson on the Fine Lines blog. To learn more about San Diego artist Grant Pecoff, and see more of his colorful artworks, please visit his website .

Enjoy!
 

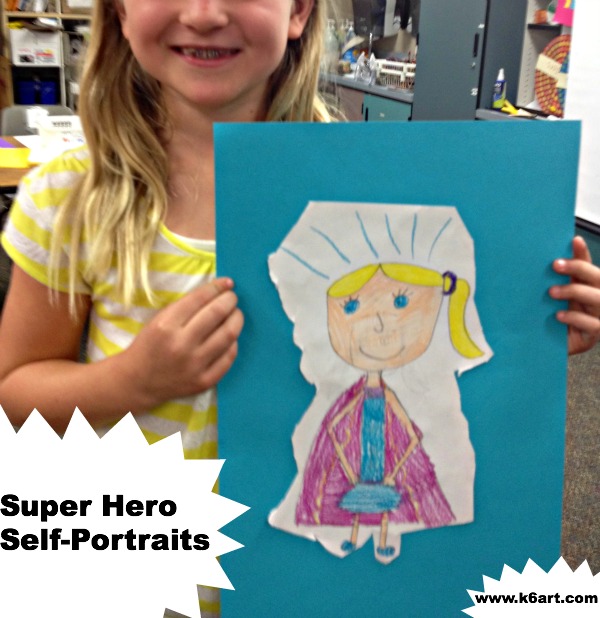
Super Hero Self-Portraits

super hero pinableLook! Up in the sky! It’s a bird….it’s a plane….no – it’s a second grader!

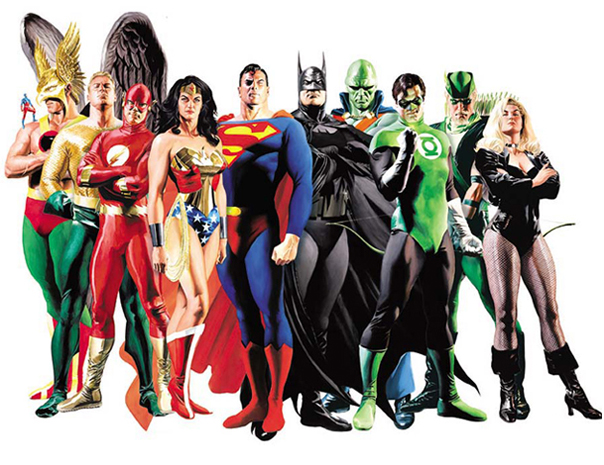
Second graders had a blast drawing themselves as super heroes. We began by looking at pictures of super heroes:

SuperHeroes1

After looking carefully, we noticed the super heroes had certain features. Many had:

  • symbol or letter on chest
  • belt
  • tools
  • mask
  • cape or wings
  • boots

We talked about how the super heroes had super powers that ordinary people did not have, and that they used these powers to help others.

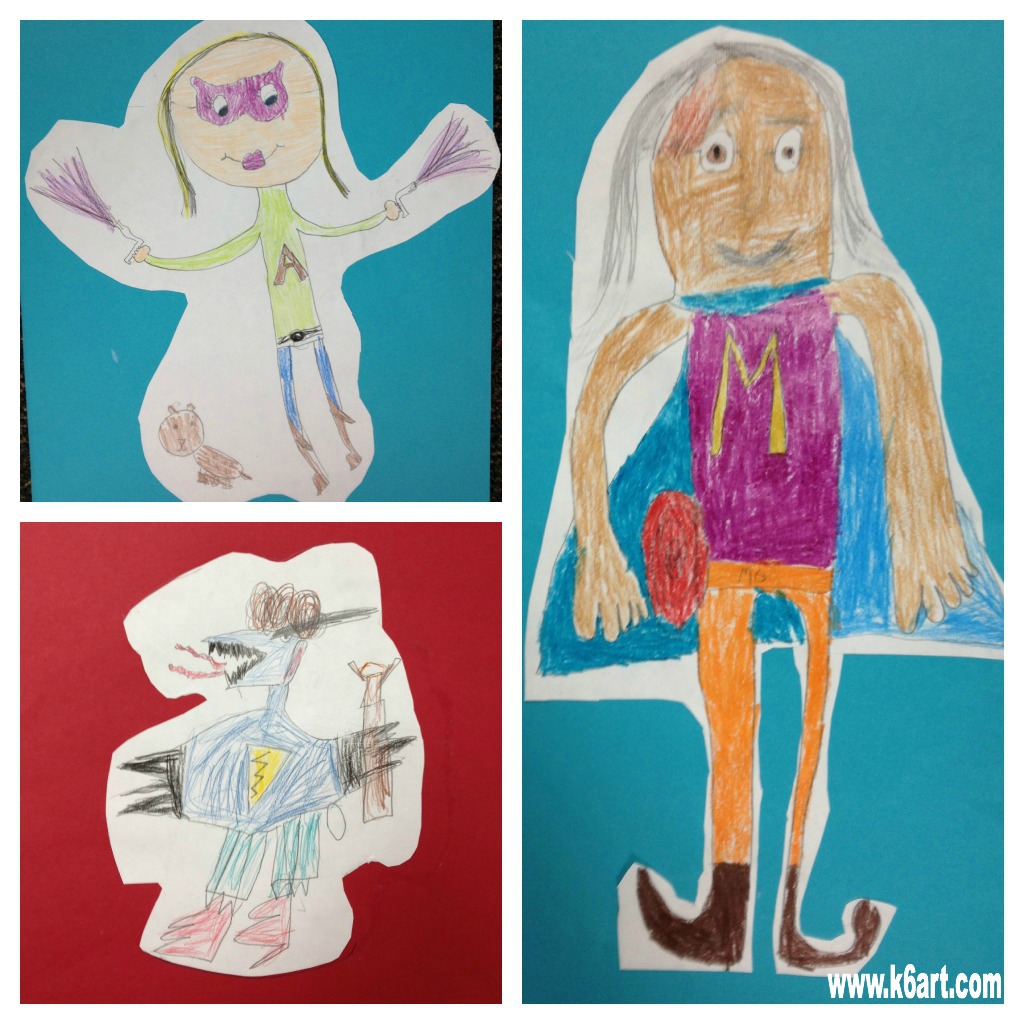
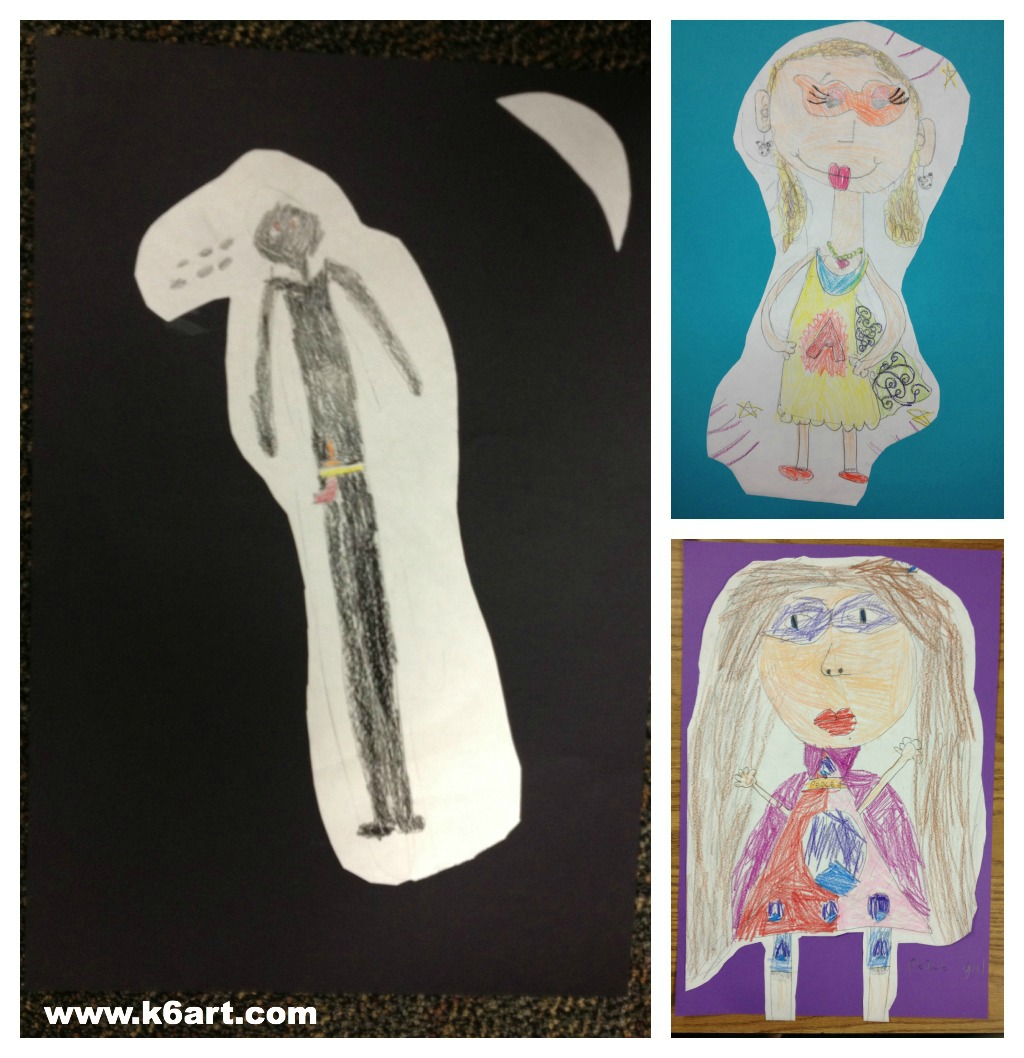
The students brainstormed. They invented new super heroes that swam underwater with sharks or saved horses. Some had magic arrows or swords, some had super dog (or cat) side-kicks. Overall, the students were HIGHLY engaged. This was a home run hit and I will definitely teach again next year!

This lesson was inspired Marnie Hyland’s photos on Art Education 2.0, via Pinterest.

Second grade results:

superhero collage

superhero self portrait 2

Do you have a special twist on a self-portrait project?

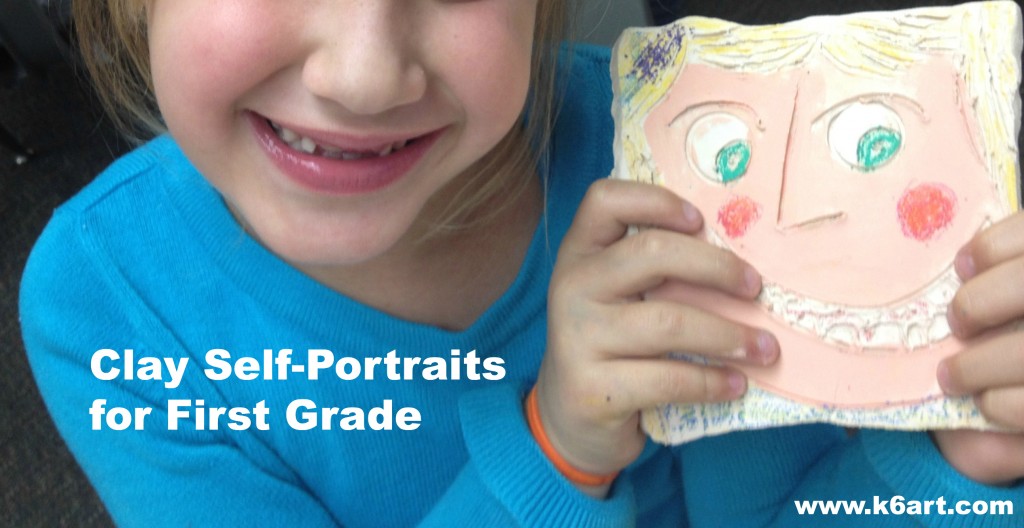
Clay Self-Portraits for First Grade

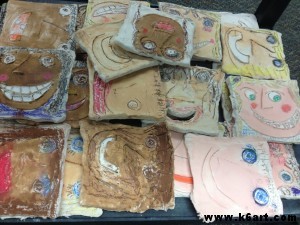
clay self portraits for first grade

Self-portraits are awesome. Clay is awesome. Put them together and you get a fun projects kids love and parents treasure forever.

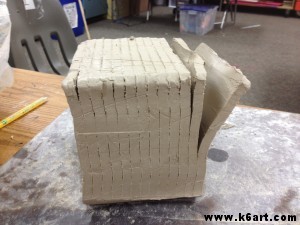
Multi-slab cutter easily slices clay into identical tiles.

Multi-slab cutter easily slices clay into identical tiles.

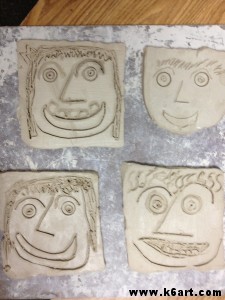
I used a multi-slab clay cutter to slice the clay into tiles. The first graders used bamboo skewers and old glue caps to draw faces on the slabs. Remind students to draw on the clay but not too deeply – don’t cut all the way through!

First graders created self-portraits using clay slabs. Allow two 40-minutes sessions plus drying time.

First graders created self-portraits using clay slabs. Allow two 40-minutes sessions plus drying time.

I let the clay dry for 12 days, then bisque fired.

Now for color!

I saw a fabulous post on no-fire glazing techniques on the Art Smudge blog. The authors used watercolor, chalk pastel, colored pencil and more to finish bisque-fired clay (note: if you work with clay, please check out this post – it is amazing!).

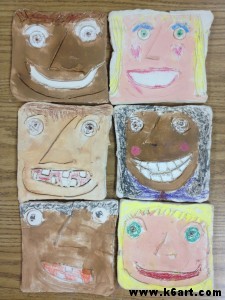
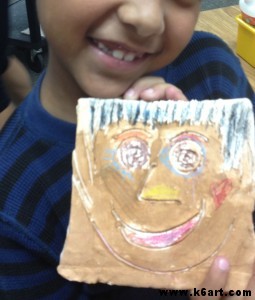
We used Crayola Washable Paint In Multicultural Colors for the skin, and colored pencil and construction paper crayon for other details. A few students used colored chalk for their hair (note: the chalk was messy and will have to sprayed with a fixative – I won’t use chalk next year).

After bisque firing, clay was painted with tempera, then colored with crayons and colored pencil.

After bisque firing, clay was painted with tempera, then colored with crayons and colored pencil.

We had a range of skin tones to match – the Crayola eight bottle set of skin-tone paints matched pretty well. If anyone can recommend a set of multicultural glazes/underglazes please leave a comment!

clay portrait tiles painted with tempera

clay self portraits


Great job first graders!

Do you use glazes or cold finishes for clay?

******Thanks for visiting! Don’t forget to please vote for 2012 Art Ed Blog of the Year, which you can do by clicking this link and voting for K-6 Art! Voting open through December 14, 2012.******

Leaf ‘Collage’ + Photography

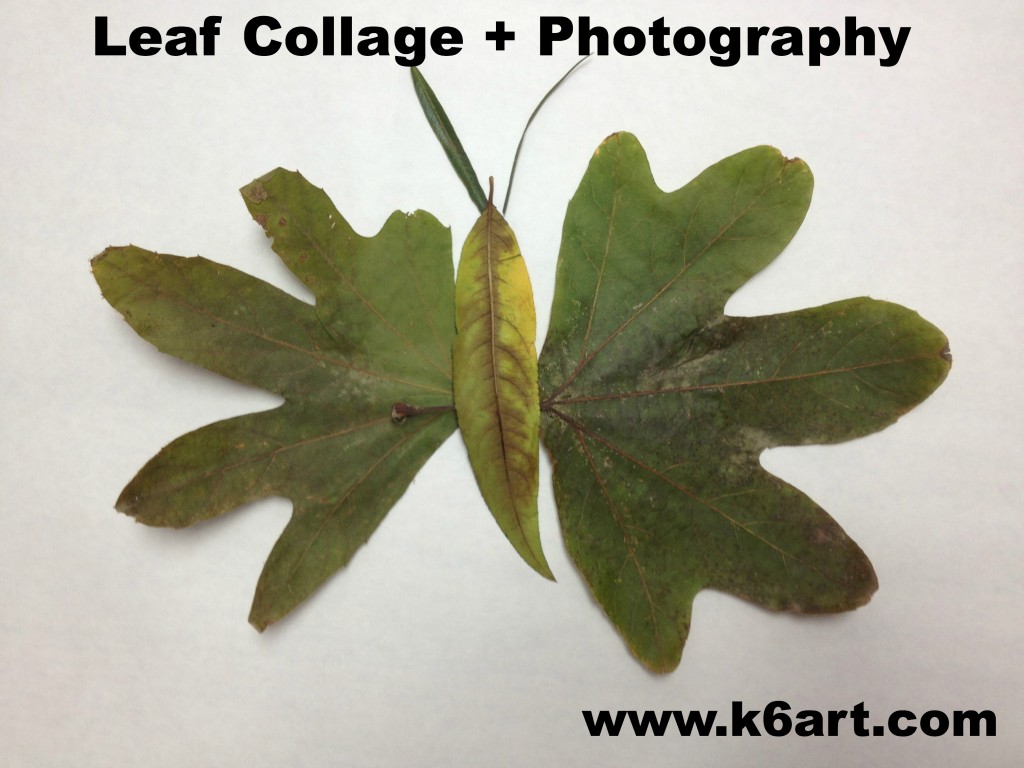
Want to try a leaf collage project? Want your leaves to stay fresh and bright forever? Skip the glue/wax paper/laminator and try a camera instead!

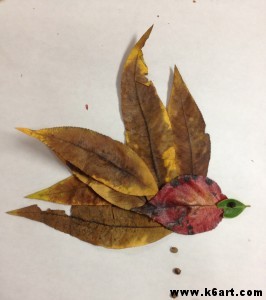
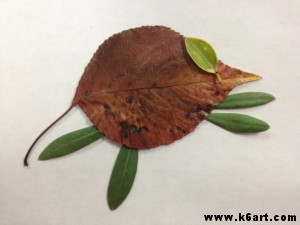
Third graders arranged leaves into animal shapes, then photographed their art. Allow one 40-minute class for this ‘collage’ lesson.

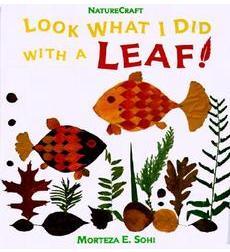
Third graders just completed their leaf collages, inspired by the book Look What I Did with a Leaf! by Morteza E. Sohi.

In the book, M. Sohi arranged leaves on a white background to create fanciful animals, then photographed them. Click here to see more examples.

To prepare for this lesson, you need to gather a variety of leaves and flatten them. I placed the leaves between the pages of an old phone book. Plan to do this at least a couple of days in advance so the leaves will be really flat. You can also ask kids to bring in leaves from home

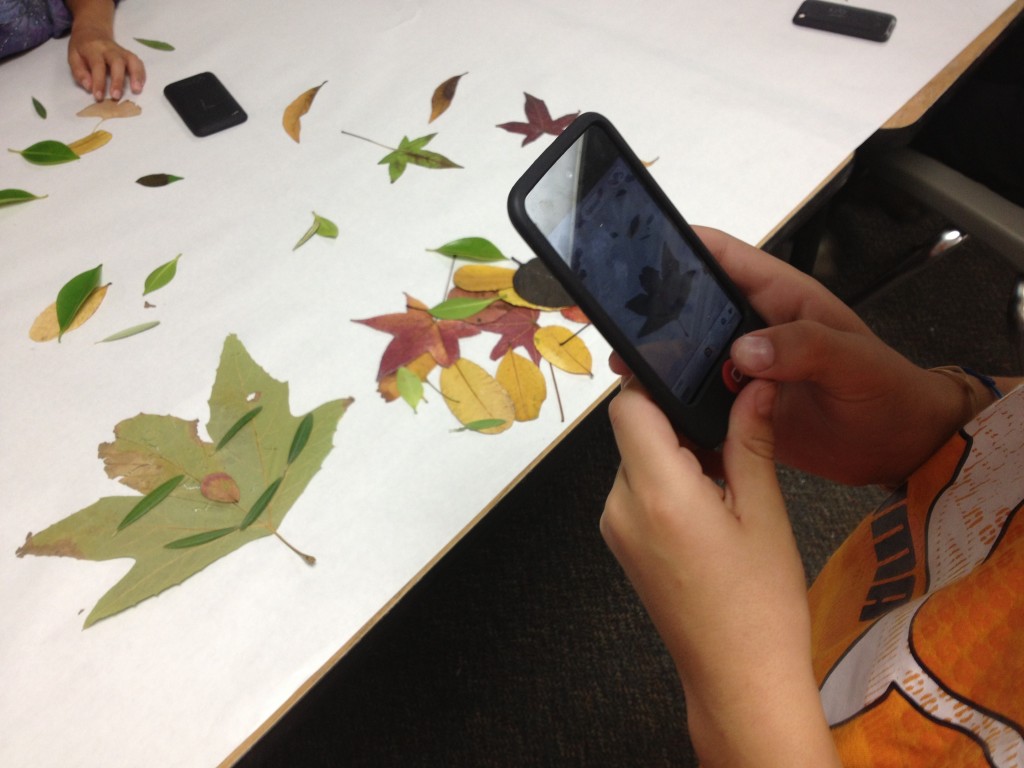
On the day of class, cover tables with white paper to create a backdrop and spread out the leaves.

Cover tables with white paper to create a unified backdrop for the collages.

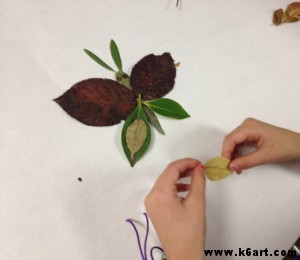
Students arranged the leaves to resemble animals.  Butterflies were very popular!

Student arranges a leaf butterfly.

We used camera-equipped iPods to photograph our artworks. Our third grade is 1:1 iPod Touch so each child was able to take photos of their own creations.

Students used camera-equipped iPods to photograph their collages.

Students then rearranged their leaves and repeated the process. Most of our third graders made 3-5 animals during the 40 minute class.

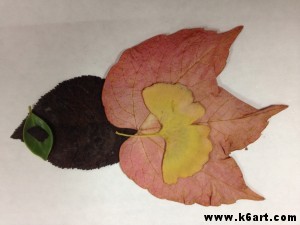
Third Grade Student Work:

Ashley’s alligator


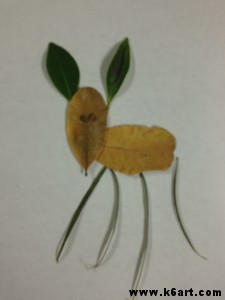
Deer


Mouse

Fish

One of the benefits of this method is that students can re-use and share leaves. Remind your students not to crumble the leaves, and you can reuse them for multiple classes. Students can work alone, in pairs or in groups – there is no argument over who takes the work home because everyone can have a digital copy of the work.

Next class we will learn to rotate and crop our photos, and how to email them.

Display options:

  • Upload to Artsonia
  • Email the images home, or put them up on the class wiki
  • Create a large class poster of all the images for the art show
  • Students can write a paragraph about their animals, or illustrate a story.

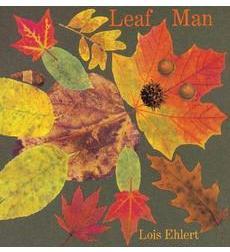
For further inspiration, check out the book Leaf Man by Lois Ehlert. The artist used real fallen leaves to create her illustrations.


Related Posts Plugin for WordPress, Blogger...