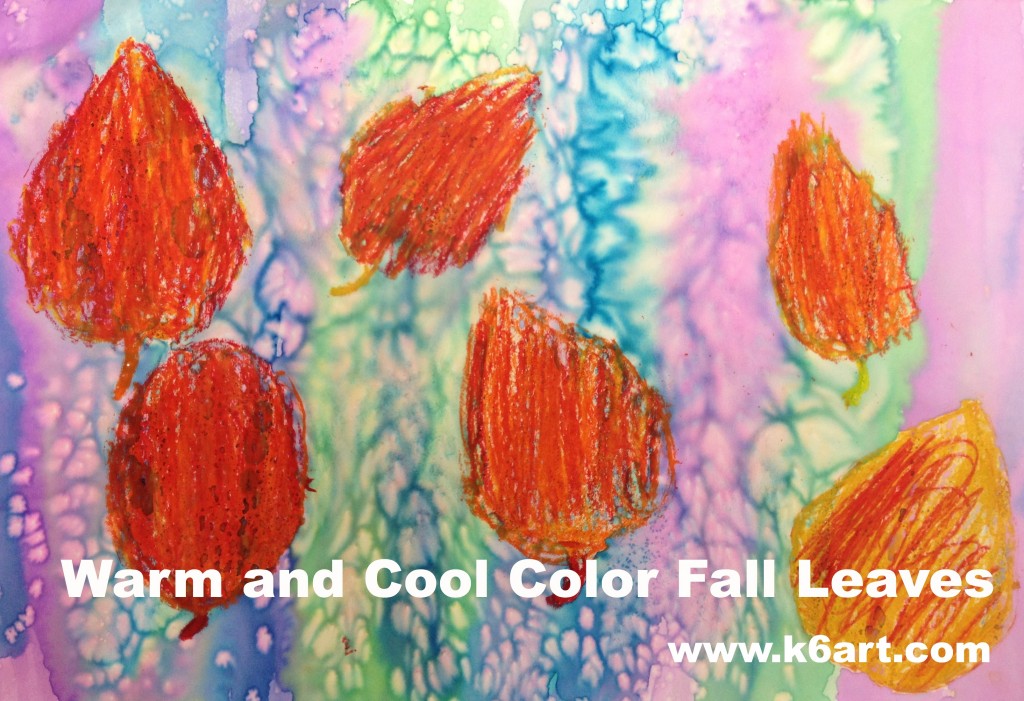
Warm and Cool Color Fall Leaves

It’s fall – time for a fall leaf project! This lesson takes just two 40-minute sessions and covers:

  • warm and cool colors
  • stenciling
  • organic shapes
  • positive and negative space
  • symmetry

Materials:

  • cardstock, cut into rectangles
  • pencils and erasers
  • scissors
  • white construction paper
  • oil pastels in warm colors (red, orange, yellow) (note: compensated affiliate link)
  • liquid watercolors in cool colors (purple, blue, green)
  • kosher salt (optional)

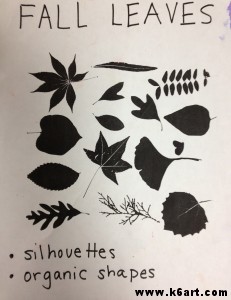
Leaf silhouettes


Session 1:

We looked at the silhouettes of fall leaves. We talked about the variety of leaf shapes. We discussed the difference between the organic leaf shapes and geometric shapes.

Next we created our stencils: students folded their cardstock, and drew a simple 1/2 leaf on the fold (note: don’t bother with a stem in your stencil design).

About 90% of second graders were able to design and cut a simple leaf stencil independently on their first attempt. As an alternative, you could cut stencils for your students.

Once we created the stencils we noticed they were symmetric. We also defined the leaf-shaped hole as the negative space and the leaf piece as the positive space.

Students stenciled multiple leaves . Some swapped stencils with their friends. After stenciling, they added a stem line to each leaf.

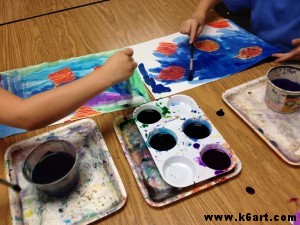
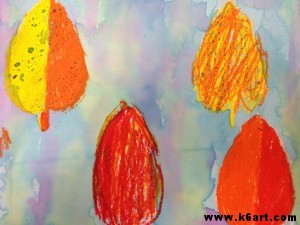
Paint leaves with cool color watercolors.

Session 2:

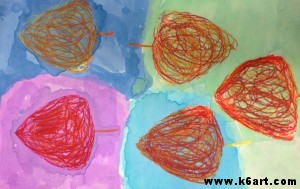
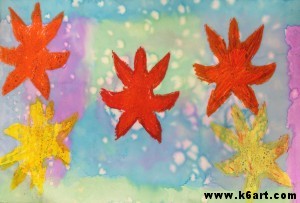
Students painted the leaves with liquid watercolors. They loved to see the oil pastel resist the paint. After painting, they had the option of sprinkling kosher salt on their wet art before placing their art on the drying rack.

Second grade results

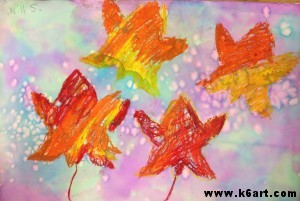
Fall leaves with salt added.

Fall leaves with salt added.

The project was extremely successful. The students really enjoyed the process, and reviewed a lot of art concepts.

This lesson was inspired by  this post on Kids Art Market and this post on Use Your Colored Pencils.

Do you have a favorite fall leaves project?

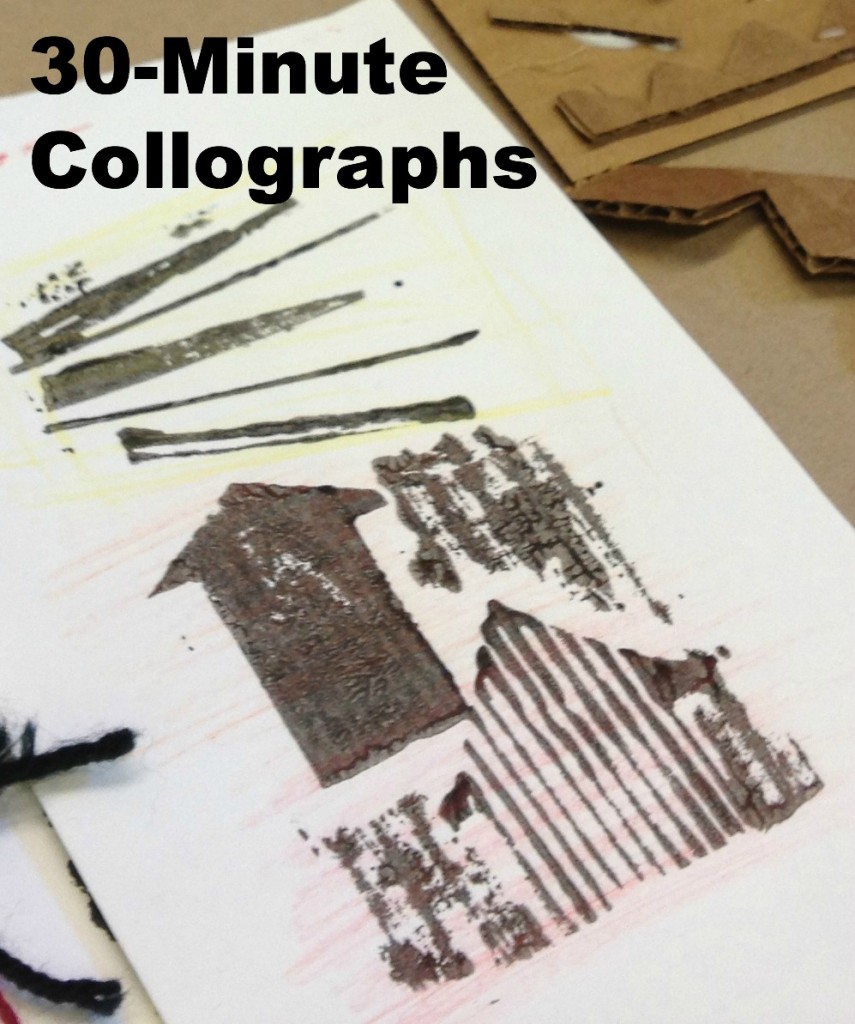
30-Minute Collograph Printmaking


Want to try a printmaking project that is quick, fun, versatile and inexpensive? Try collographs.


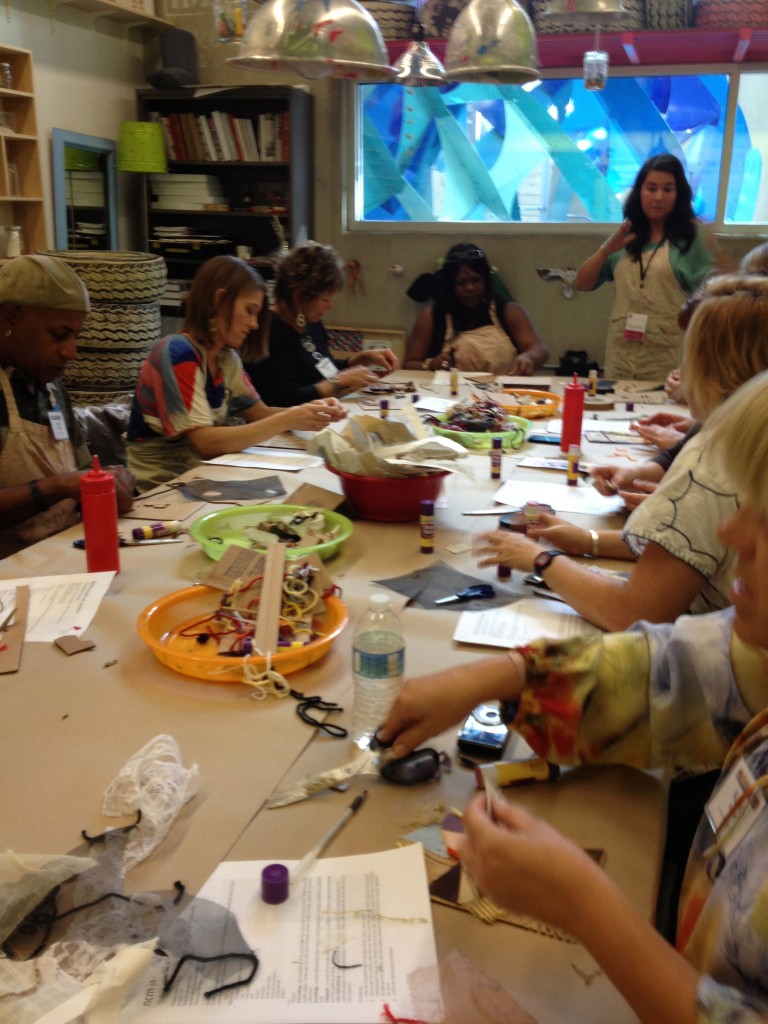
Maxi Moraga leads collograph workshop in NCM’s art education room.

I took Maxi Moraga’s fabulous collograph workshop last month at San Diego’s New Children’s Museum. This workshop tied in to the NCM’s current exhibition, TRASH, so we used lots of recycled/discarded items to create our printing plates.

Materials:

  • cardboard rectangles (we used corrugated)
  • bits of textured fabric, including mesh and screening
  • yarn
  • cardboard
  • masking tape
  • glue sticks
  • white glue
  • scissors
  • printer’s ink in assorted colors
  • brayers
  • trays for ink
  • paper for printing (cardstock is OK)
  • colored pencils

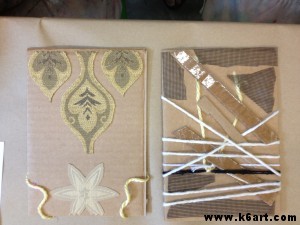
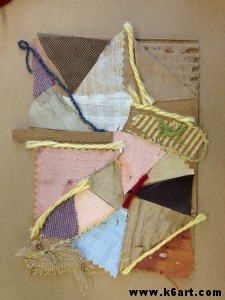
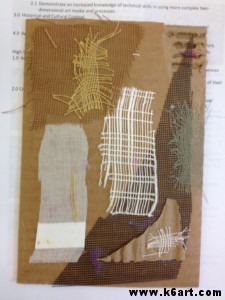
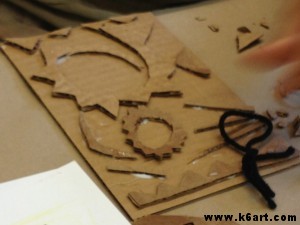
We began by creating printing plates. We collaged various items to our cardboard rectangles (note: Maxi strongly encouraged us to use glue stick).  Here are some of the plates:

Collograph plates. Yarn is simply wrapped around the plate.

Tip: after completing plate, ask students to flip plate upside down on their chairs and sit on them for 60 seconds! Now your plate is really glued down and ready to print.

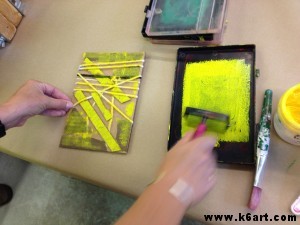
Next, we applied printer’s ink to our plates using these mini-brayers and recycled plastic trays. I love that the tray has a lip to keep the brayer constrained. Great when you are printing with young children!

Apply printer’s ink with a brayer.

We didn’t use a press. We simply put the paper over the inked plate and rubbed the paper carefully with our hands.

Options:

  • use a paper towel to selectively remove ink from the plate before printing.
  • create a print using two or more colors of ink
  • color the paper before and/or after printing.

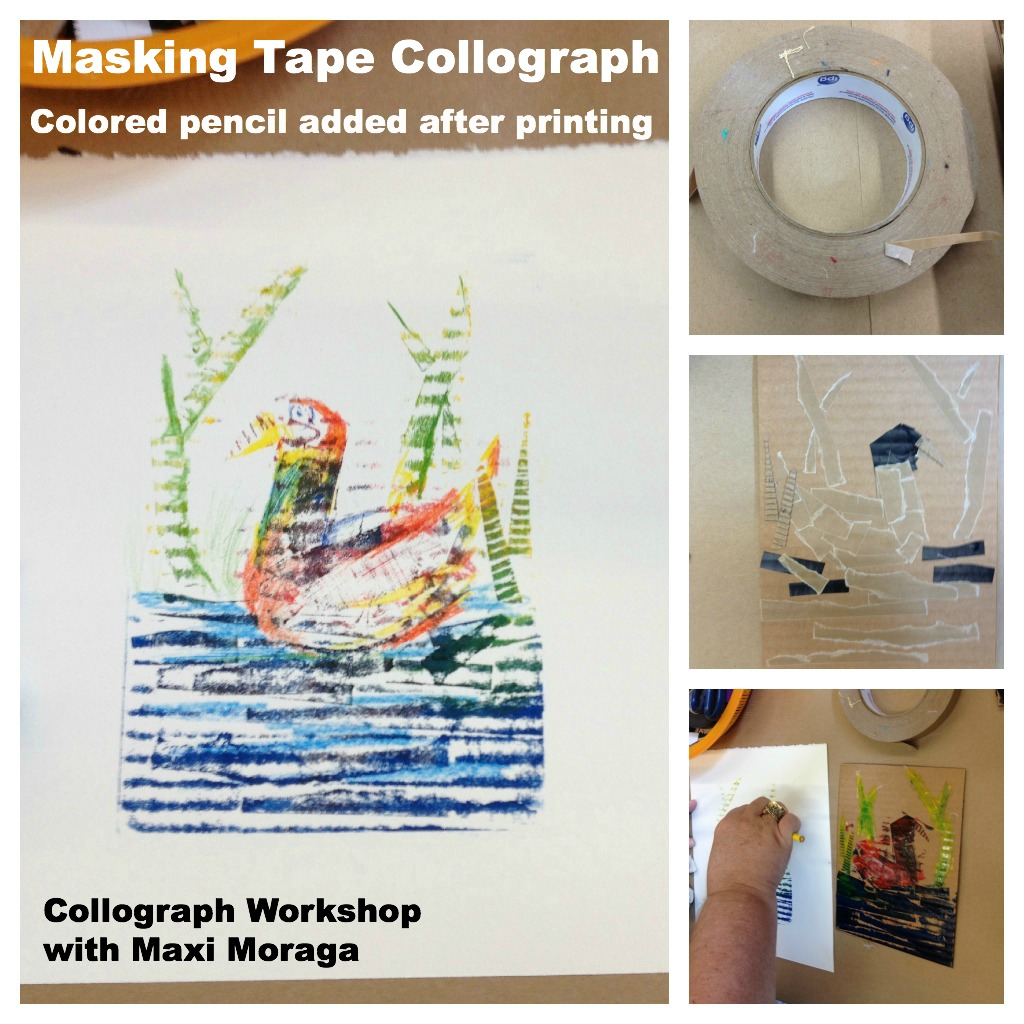
My favorite piece is the masking tape collograph made with corrugated cardboard.

Because of the emphasis on recycled materials, this would be a nice Earth Day project as well!

Whether you are a parent or a teacher, be sure to check out the New Children’s Museum when you visit San Diego. The museum offers art-making activities for children EVERY DAY. I wrote more about the museum in this post.

Do you have a favorite printmaking project?
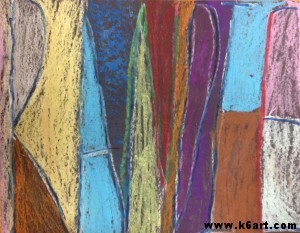
UPDATE: 12/16/13: Check out my new post – ‘Holiday Collagraph Crayon Rubbings’

Enjoy!

Colorful Landscape Name Art

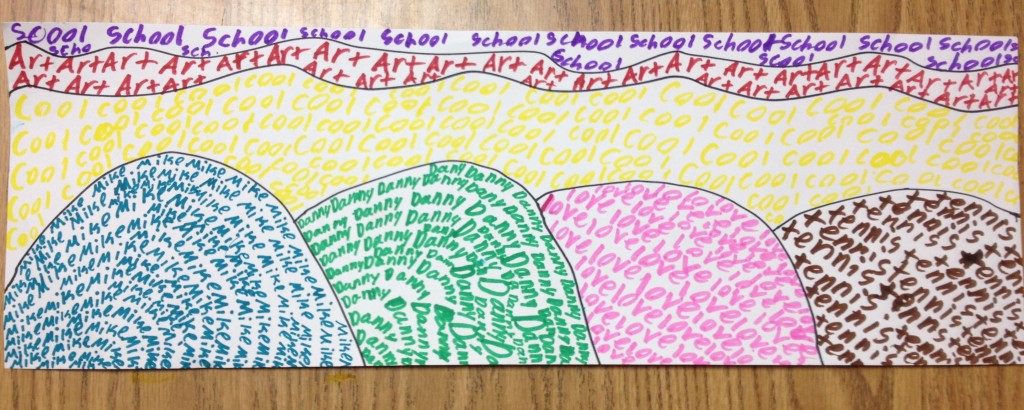
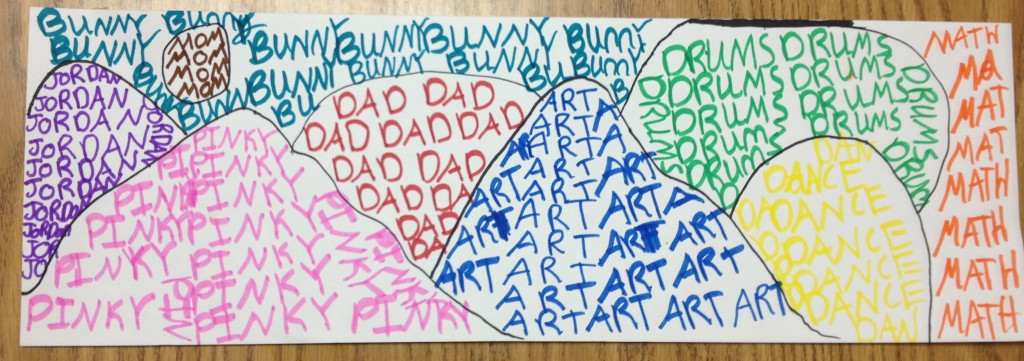
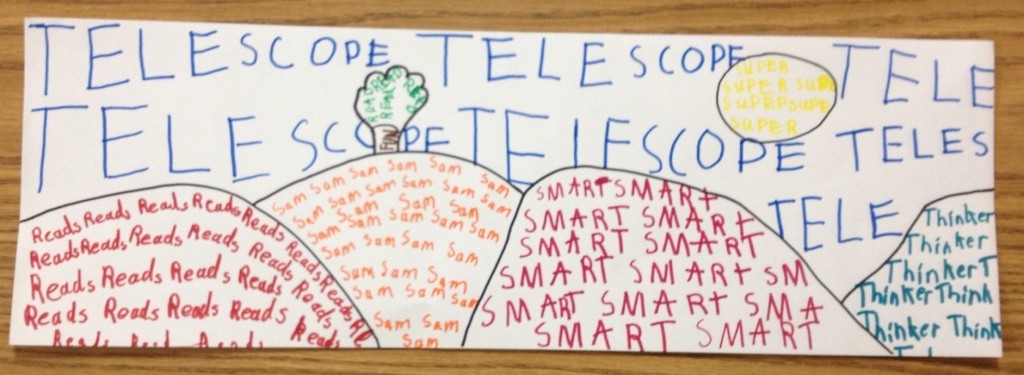
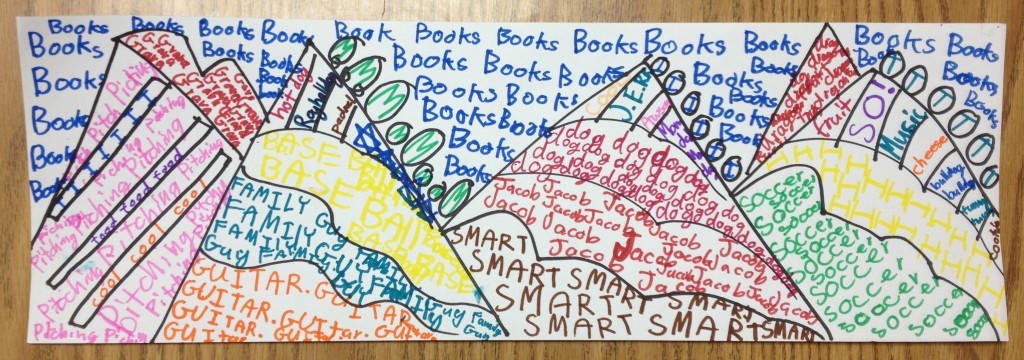
Fourth graders use markers to make landscape name art. Allow two 40-minute sessions.


Looking for quick,  fun name art project? Here is the colorful project that gives 100% success and lets you get to know your students.
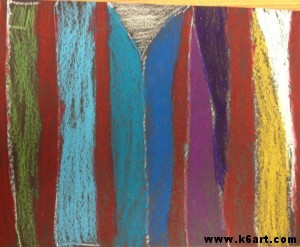
Students made a simple landscapes using curved lines. Each section was filled with a single repeated word. One section had to filled with the student’s name; the other sections had to be filled with single repeated words that described the student in some way. Students incorporated their pets, favorite subjects (yay art!), sports, activities, family members and favorite foods.

Jordan included her dog, Pinky, in her name art.

Sam likes telescopes.


I love how Jacob personalized his landscape.

This lesson is adapted from this landscape lesson plan on the Arteascoula blog (via Deep Space Sparkle).


P.S. I love name art!  I started a name art board on Pinterest to help plan our fall name art unit.

Paul Klee Cats

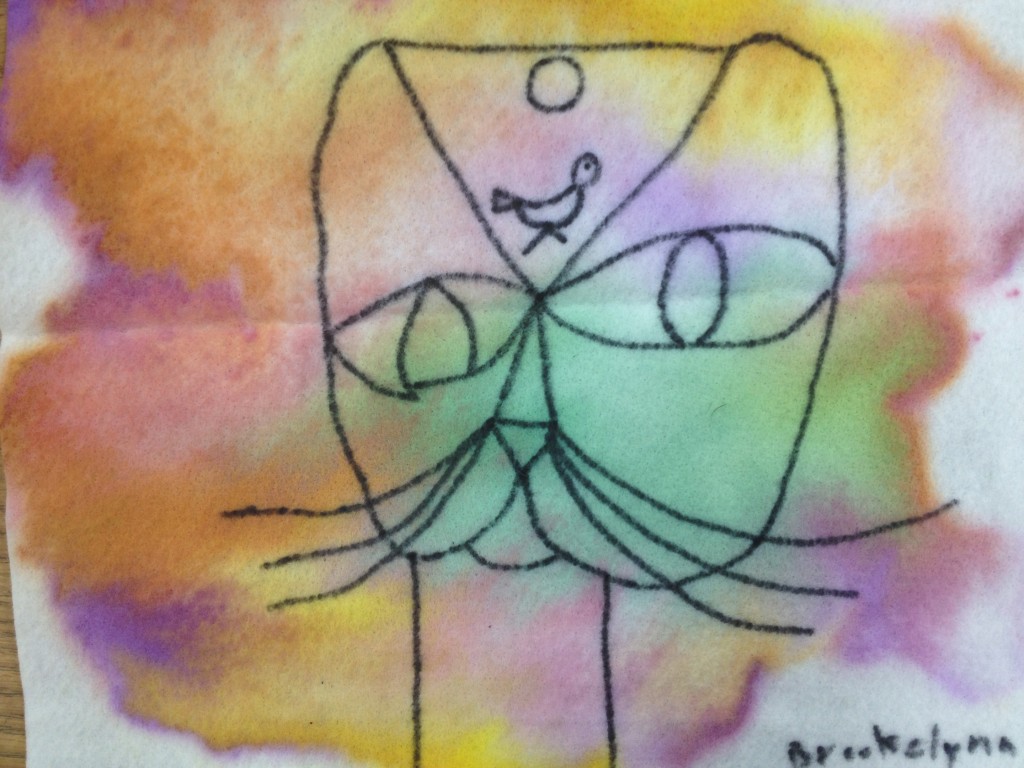
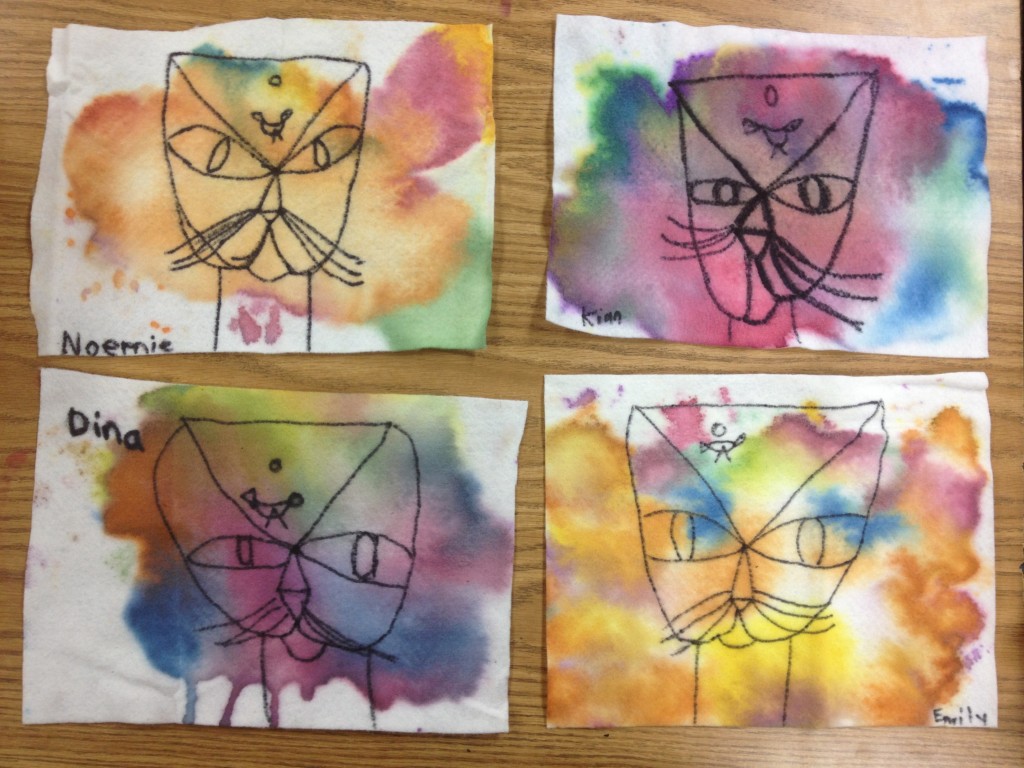
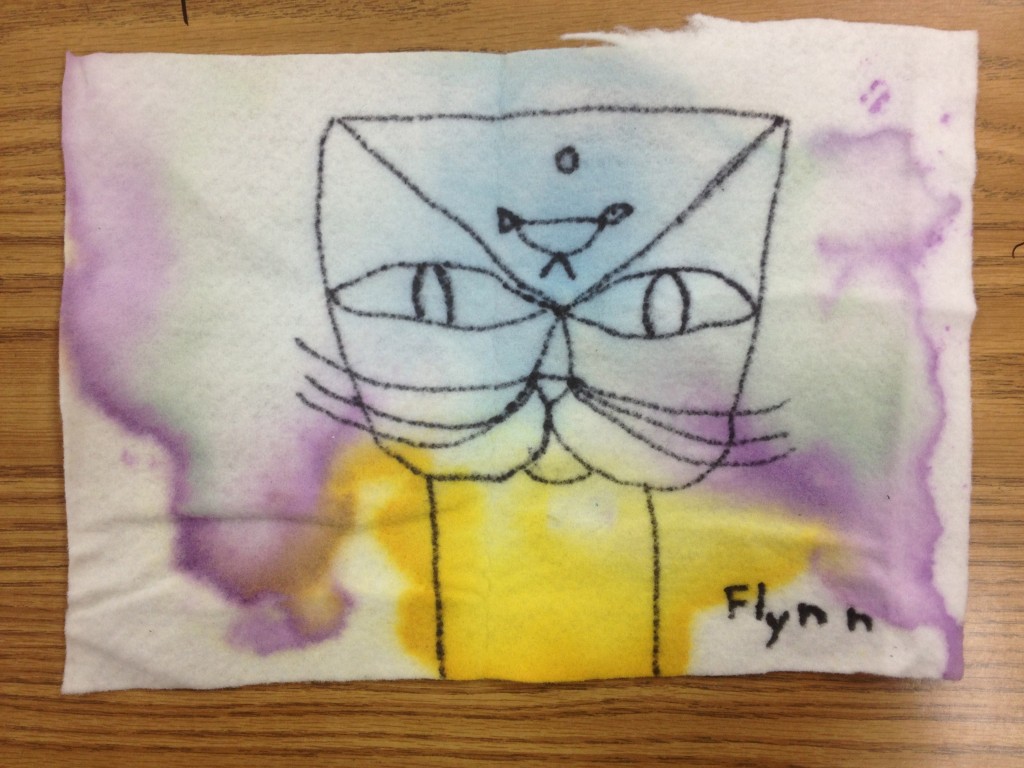
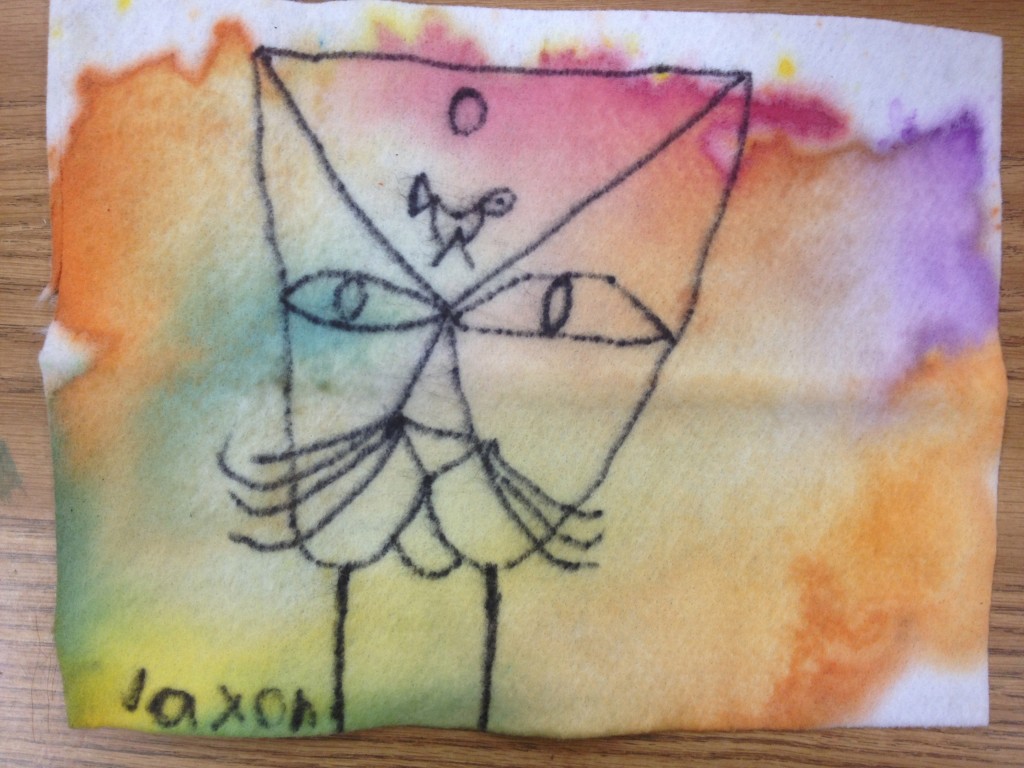
This week the second grade made Paul Klee cat paintings ON FELT!!

Second graders made Paul Klee cat paintings using white felt and liquid watercolors. Allow one hour.

The lesson plan is adapted from this post on The Art Annex blog.

We started out by watching this brief video on YouTube:

We used only three materials: white felt (9″x12″), black Sharpie and liquid watercolor, plus spray bottles of water.

I did a directed draw of the cat, focusing its lines and simple shapes. Students drew directly on the felt with their sharpies. Then we painted the cat by dabbing on liquid watercolor. The final step: spraying the felt with water so the colors could bleed and blend.

I dried the art on large sheets of cardboard.

Just in case you are wondering….I did this with just 12 students AND a volunteer. Students got to spray their own art. If I did this with a large class, I would probably assign the spraying to s few responsible students.

This is the second project in our Paul Klee unit. You might also like our Paul Klee abstract name art lesson, inspired by Klee’s Castle and Sun.

 Do you have a favorite Paul Klee lesson plan?

Paul Klee Name Art

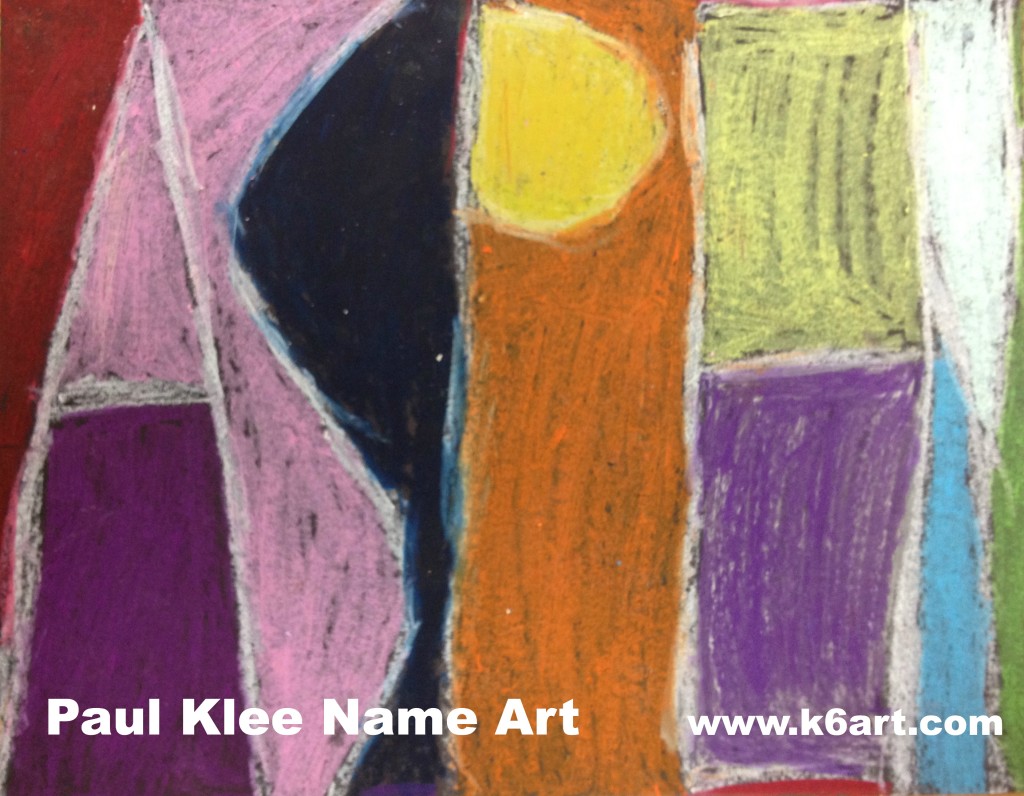
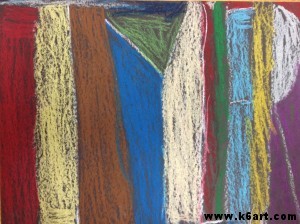
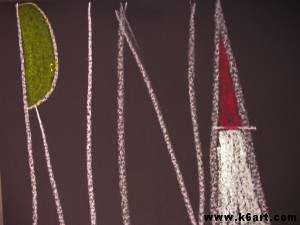
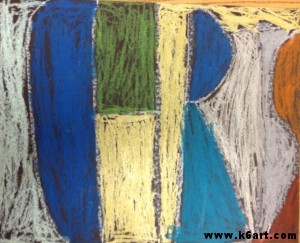
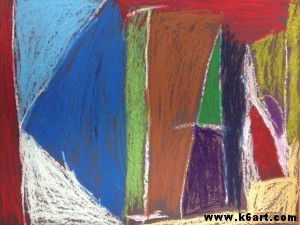
Looking for an exciting name art project? How about introducing a famous artist at the same time? Try this Paul Klee-inspired graphic name art project.
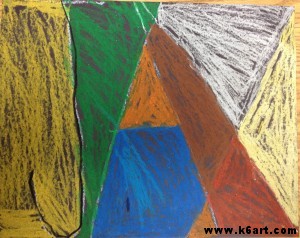
Second graders create name art in the style of Paul Klee. Allow 1-2 40 minute classes. Artwork by Tyler.

Start out by introducing artworks by Paul Klee. This project is inspired by his graphic works such as Castle and SunWikiPaintings has lots of images of his art. Click here,  herehere, and here to see some of Klee’s other graphic artworks. This is a good time to talk about abstract art.

Materials:

  • Black construction paper, 11″x14″
  • pencils and erasers
  • Oil Pastels (including white)

Students should turn their paper horizontally. They write their names in pencil, using all capital letters. Encourage students to S-T-R-E-T-C-H their letters from the bottom to the top of the paper (note: students with long names may need to draw extra skinny letters, use longer paper, or perhaps use their nicknames).  The letters can touch the left and right sides of the paper AND touch each other: letters such as ‘E’, ‘F’ and ‘K’ look more abstract when drawn in this manner.

After they are pleased with the layout, they trace over their pencil lines in white oil pastel.

Students write their name in white oil pastel, then fill in the spaces with colored pastels.

Next they color in the spaces in their name. Encourage them to use a variety of colors, although it is fine to repeat colors. Students must not color in with black pastels.

Completed second grade art:

Randie

Flynn

Jax


Chris

Kian

Show students the completed projects and ask if they can read the artist’s name. Successful artworks are often abstracted to the point it is challenging to see the artist’s name! How does this compare to Klee’s graphic artworks?

This lesson plan was inspired by (or abstracted from!) this fabulous post on the Kids Artists blog.

Enjoy!

Do you have a favorite name art lesson plan for the beginning of the year?


Related Posts Plugin for WordPress, Blogger...