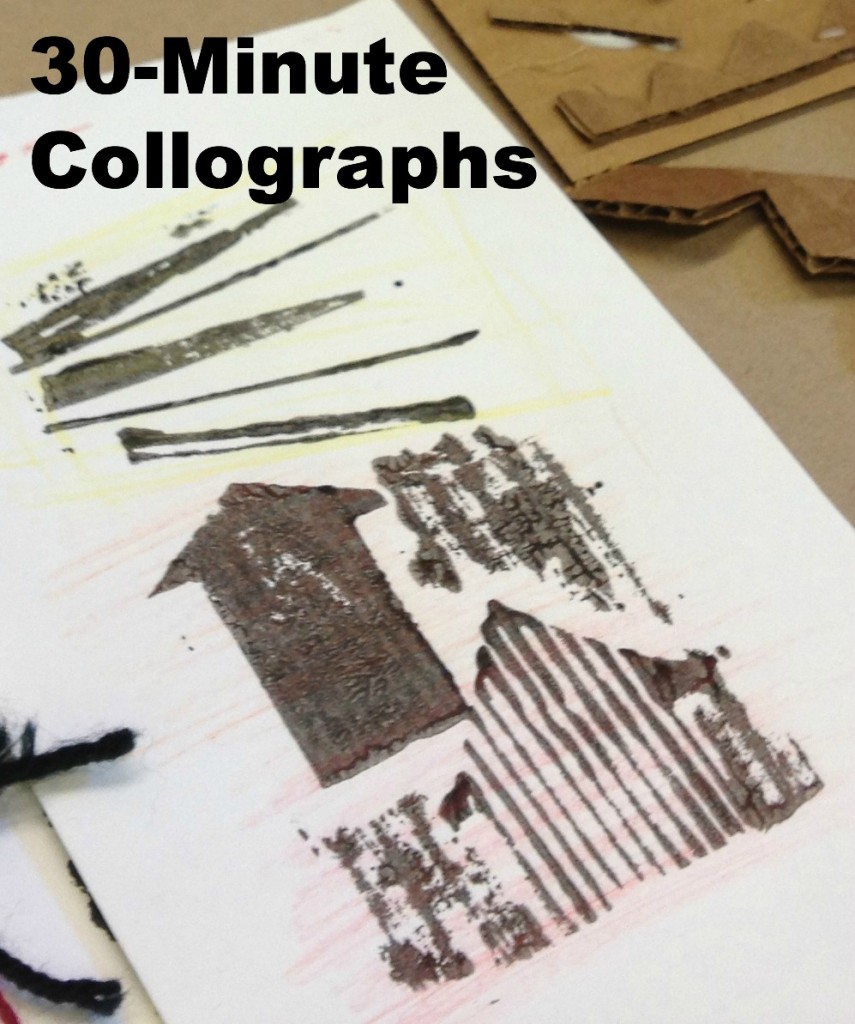
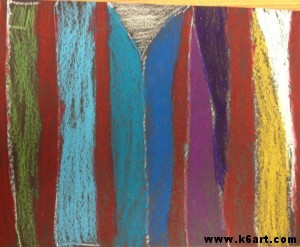
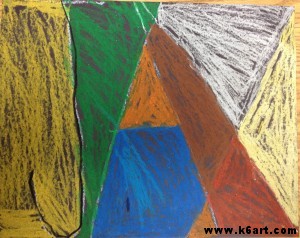
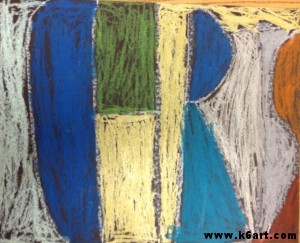
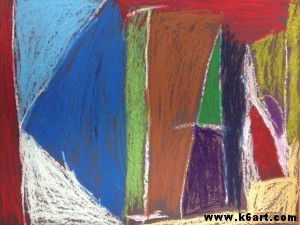
Want to try a printmaking project that is quick, fun, versatile and inexpensive? Try collographs.
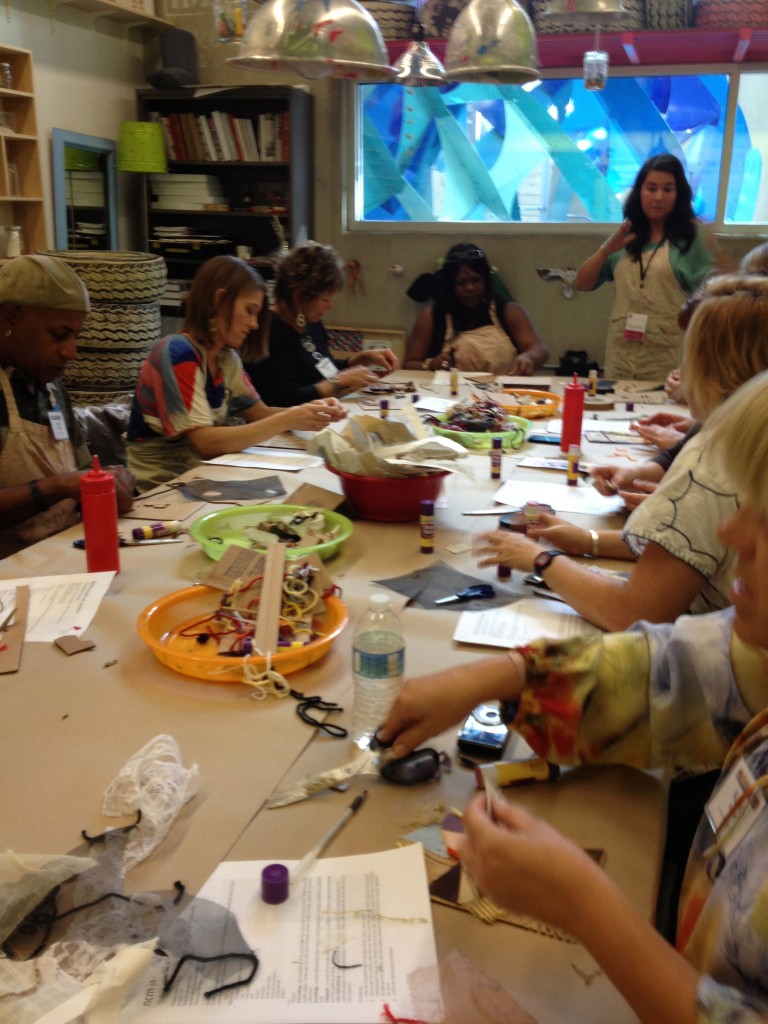
I took Maxi Moraga’s fabulous collograph workshop last month at San Diego’s New Children’s Museum. This workshop tied in to the NCM’s current exhibition, TRASH, so we used lots of recycled/discarded items to create our printing plates.
Materials:
- cardboard rectangles (we used corrugated)
- bits of textured fabric, including mesh and screening
- yarn
- cardboard
- masking tape
- glue sticks
- white glue
- scissors
- printer’s ink in assorted colors
- brayers
- trays for ink
- paper for printing (cardstock is OK)
- colored pencils
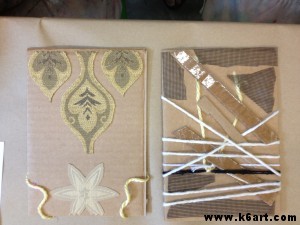
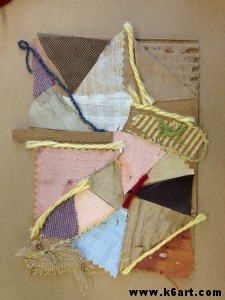
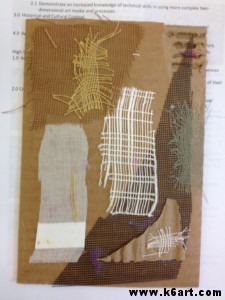
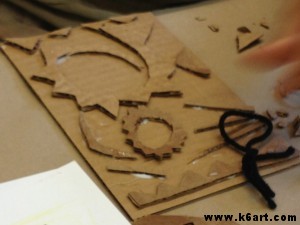
We began by creating printing plates. We collaged various items to our cardboard rectangles (note: Maxi strongly encouraged us to use glue stick). Here are some of the plates:
Tip: after completing plate, ask students to flip plate upside down on their chairs and sit on them for 60 seconds! Now your plate is really glued down and ready to print.
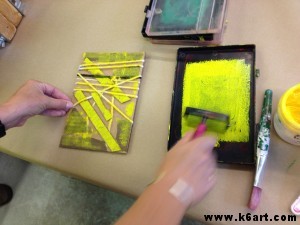
Next, we applied printer’s ink to our plates using these mini-brayers and recycled plastic trays. I love that the tray has a lip to keep the brayer constrained. Great when you are printing with young children!
We didn’t use a press. We simply put the paper over the inked plate and rubbed the paper carefully with our hands.
Options:
- use a paper towel to selectively remove ink from the plate before printing.
- create a print using two or more colors of ink
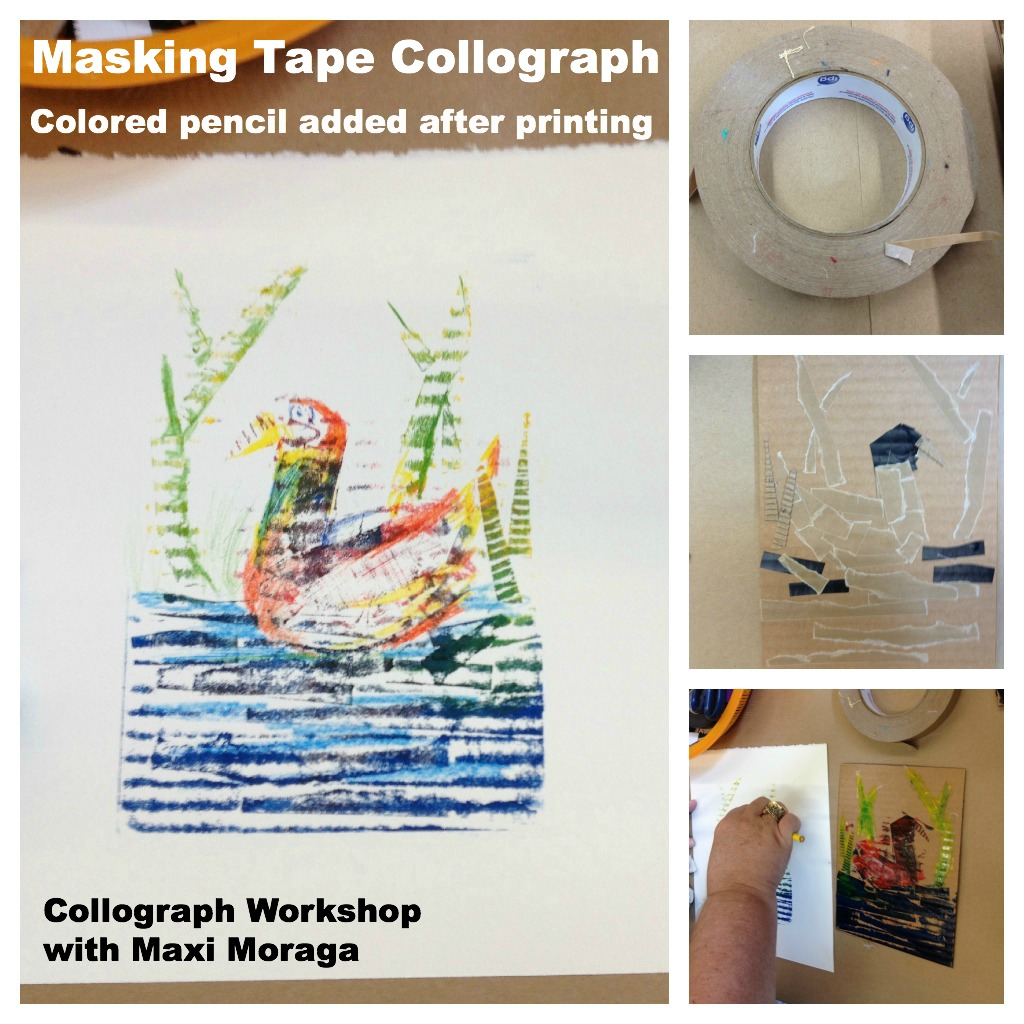
- color the paper before and/or after printing.
My favorite piece is the masking tape collograph made with corrugated cardboard.
Because of the emphasis on recycled materials, this would be a nice Earth Day project as well!
Whether you are a parent or a teacher, be sure to check out the New Children’s Museum when you visit San Diego. The museum offers art-making activities for children EVERY DAY. I wrote more about the museum in this post.
Do you have a favorite printmaking project?
UPDATE: 12/16/13: Check out my new post – ‘Holiday Collagraph Crayon Rubbings’
Enjoy!

