iPad Blended Self-Portrait


iPad blended self portrait

Our 6th grade did some quick blended self portraits using their iPads and two free apps: Pic Collage and Sketchbook X. The goal of the lesson was to learn the layers, free transform and opacity tools in Sketchbook X.
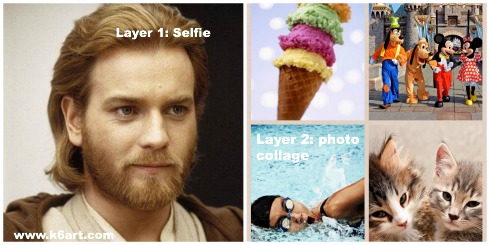
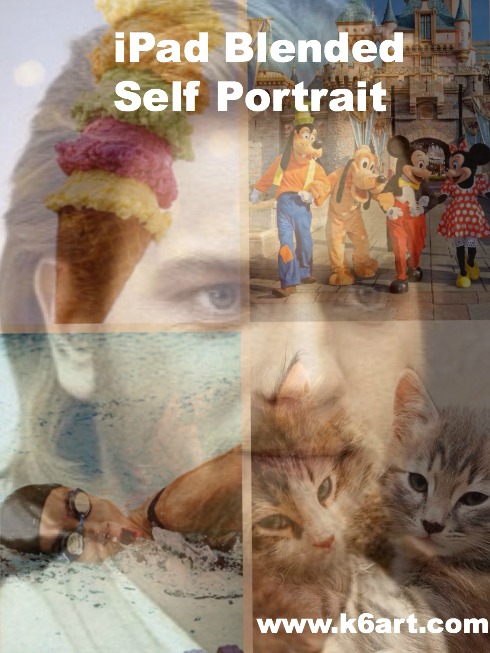
Obi-wan's favorite pet, vacation, activity and food are combined into a layered self portrait.

Obi-wan’s favorite pet, vacation, activity and food are combined into a blended self portrait. Allow one 40-minute class.

Step 1: Pic Collage App: create a photo collage of your favorite things

Students had to find four images representing

  • a pet (or dream pet)
  • favorite vacation (or dream vacation)
  • favorite food and
  • favorite activity or sport

The Pic Collage app allows students to add photos directly from the web without a Google image search. The students arranged them in a grid template, then saved to the iPad camera roll.

Step 2: Sketchbook X App: working with layers and free transform

In Sketchbook X, students created two layers. Layer one was used to shoot a selfie, and layer two was used to import the photo collage from the camera roll. For many students it was necessary to use the free transform tool to resize the photos to fill the screen. .

Step 3: Sketchbook X app: Adjust the opacity to reveal the blended self portrait

Students used the opacity slider in the first layer to reduce opacity and reveal the photo collage layer underneath.

I create a 10 minute video tutorial of the process.

https://www.youtube.com/watch?v=f7U1AbiahXA

Students saved their completed portraits to their camera roll, then turned them in to me electronically via Google drive.  Click here to read about how students turn in digital art.

Notes:

  •  Instead of finding photos on Google image, use students’ personal pet and vacation photos. Students could bring them to class as printed photos, or digitally via Google drive.
  • Want to skip Sketchbook X? Combine your photos with free photo blending apps, such as  iBlendy2 or Photoblend.
  • Video tutorial recorded with the AirServer app for Mac.

Enjoy!

Wayne Thiebaud: Geometric Desserts

Wayne Thiebaud Geometric Desserts

Who loves dessert? Everyone, including second graders. Each year I teach a Wayne Thiebaud-inspired dessert lesson. This year we created compositions focusing on repetition of geometric forms.

Dessert Geometry (and Common Core connections)

Studying Thiebaud's art is an opportunity to incorporate geometry into your lessons. Try and time your lessons to tie into to the math lesson in the general ed. classroom.

Studying Thiebaud’s art is an opportunity to incorporate geometry into your lessons. Try and time your lessons to tie into to the math lesson in the general ed. classroom.

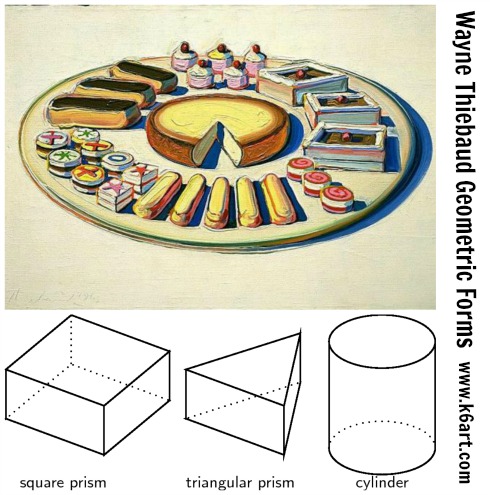
We looked at images of Wayne Thiebaud’s dessert art, and identified shapes and forms. Here are some of the forms we identified:

  • Sphere:  gum balls, scoops of ice cream
  • Right Triangular Prism: pie wedges, cake wedges
  • Square Prism: petit four (see above image)
  • Cylinder: layer cake
  • Rectangular Prism: Jolly Ranchers candy!!! (OK, Thiebaud didn’t paint Jolly Ranchers. A student came up with that one) 🙂

The second grade was studying 3D forms, so I timed the art lesson just after this concept was introduced in the general ed classroom. Click here for the second grade common core geometry standards.  You can also review the first grade common core geometry standards.

Here is a one-minute video I made featuring the geometric forms in Thiebaud’s art:

The Art Project

Materials:

  • light cardboard tracers: triangle, ellipse, circle, rectangle
  • pencils/erasers
  • white paper, 12″x18″
  • oil pastels
  • tempera cakes/water/brushes

Use teacher-made or student-made tracers (we used both). Students traced their templates with a pencil onto the paper. The composition were encouraged to fill the paper with a single type of dessert in a variety of flavors. It was OK to have the dessert coming off the page, and it was also OK to overlap.

(Note: I know some art teachers disapprove of tracers; I think the use of them in this project reinforces the tie-in to geometry and repetition).

Students then colored their desserts with oil pastels, adding details such as sprinkles, cherries, and chocolate swirls. They outlined the desserts with oil pastels. Finally, they painted the background with a single color of tempera cake.

Second Grade results:

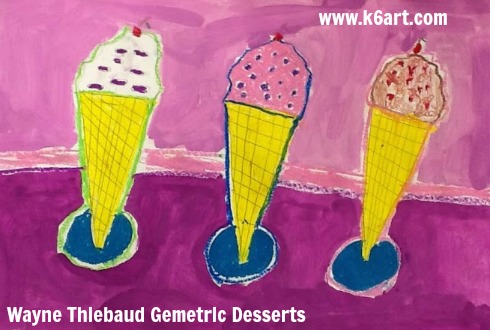
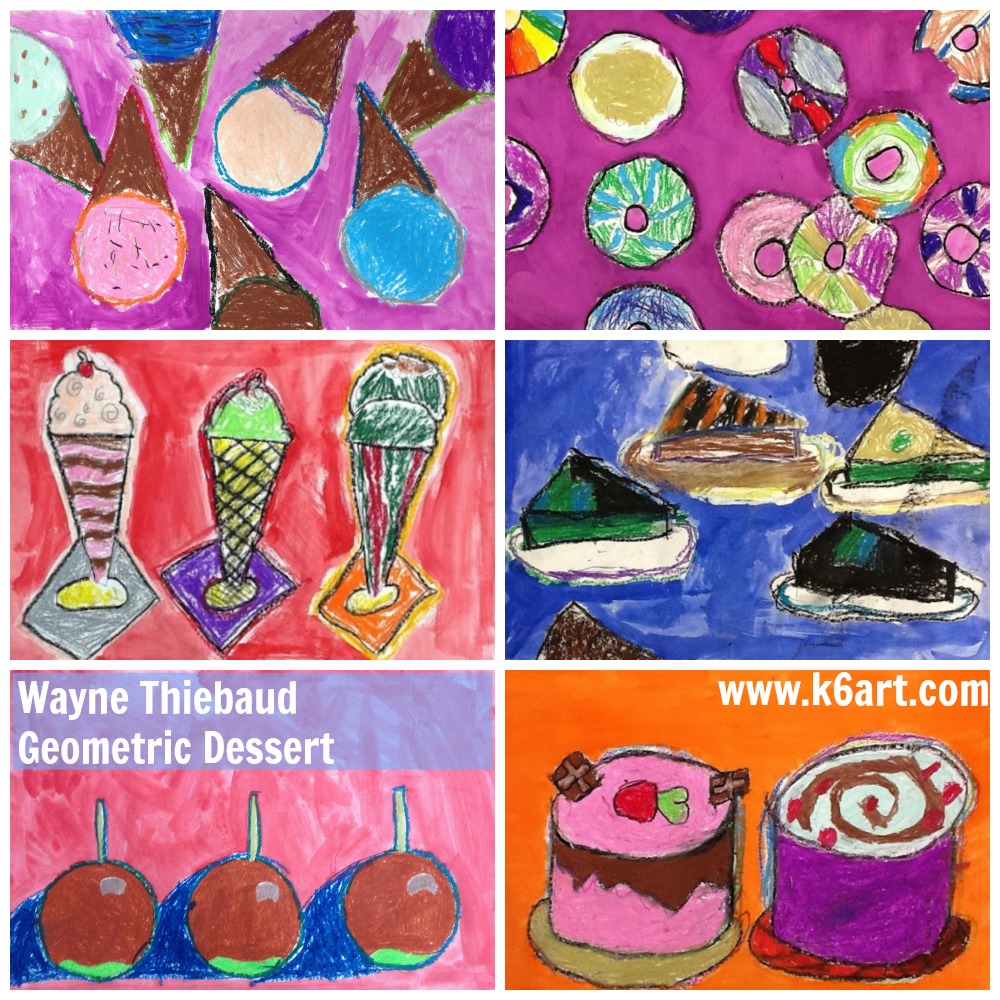
Second graders used circle, triangle, and ellipse tracers as a starting point for these artworks.

Second graders used circle, triangle, and ellipse tracers as a starting point for these artworks.

If your administration asks if you incorporate math (or STEM/STEAM) in your lesson plans, teach this one and happily reply ‘yes’. After all, shape and form are elements of art. This art project reinforces geometry in a fun way.

Additional Resources:

I wrote about these other Thiebaud projects on the blog:

The lesson was inspired by this lesson from the Parent Art Docents website.


Enjoy!


Have you ever incorporated math into an art lesson?

Desert habitat paintings

20140316-101448.jpg
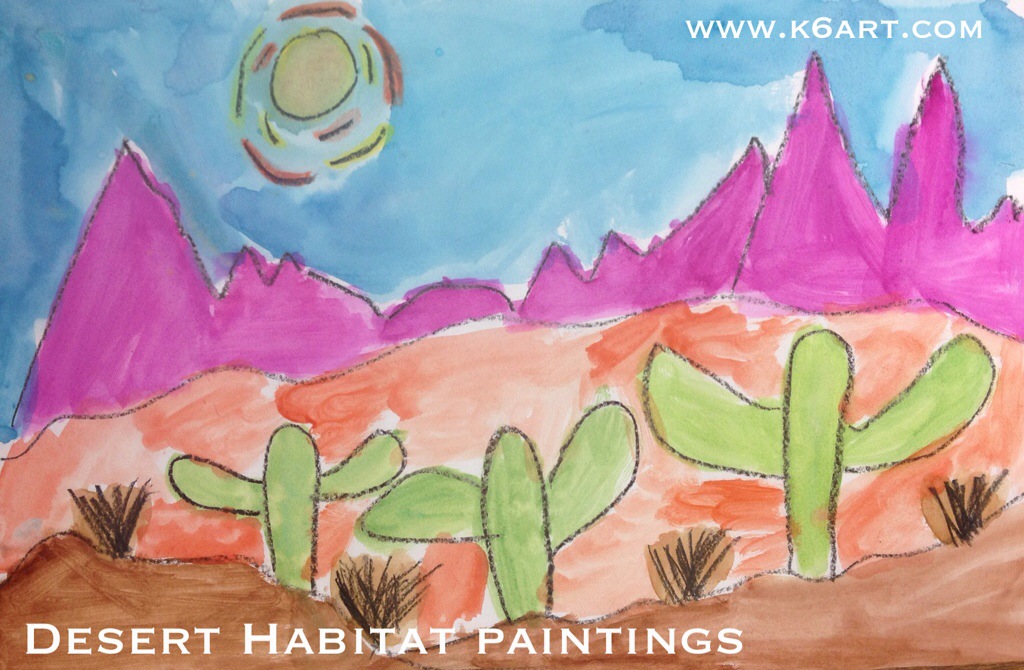
Each year our third graders study habitats (also known as biomes) in the science lab, in the General Ed classroom, and in the art room. These colorful watercolor paintings are our contribution to the habitat unit.

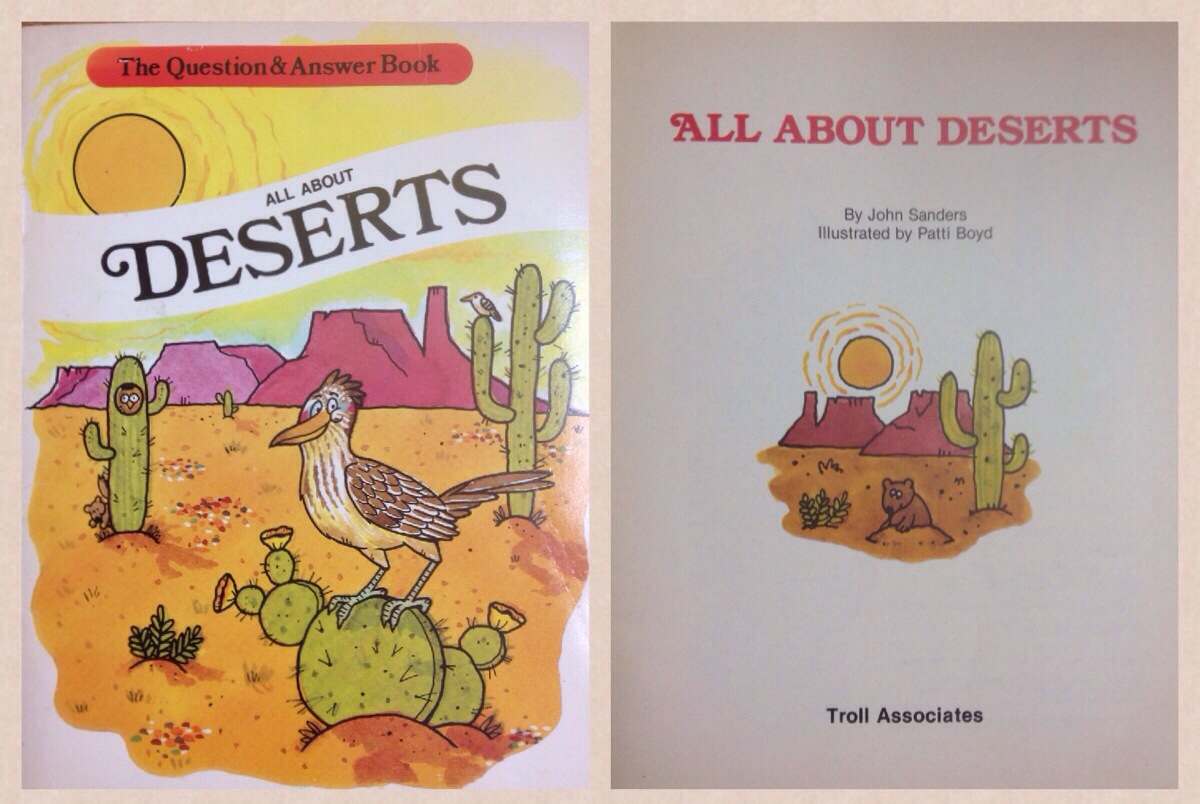
We began by looking at All about Deserts (Question & Answer Books)by John Sanders and Patti Boyd.

20140316-102300.jpg

The book was full of fun facts and charming illustrations. We looked carefully at the desert landscape illustrations and identified foreground, middle ground and background. I emphasized that to create a sense of depth, items in the foreground should appear larger and more detailed while items in the background should appear smaller. I modeled several simple line drawings so they could get the hang of it.

We used just three materials: sulphite drawing paper, black crayons, and pan watercolor. We created the black crayon drawing on day one and painted it on day two.

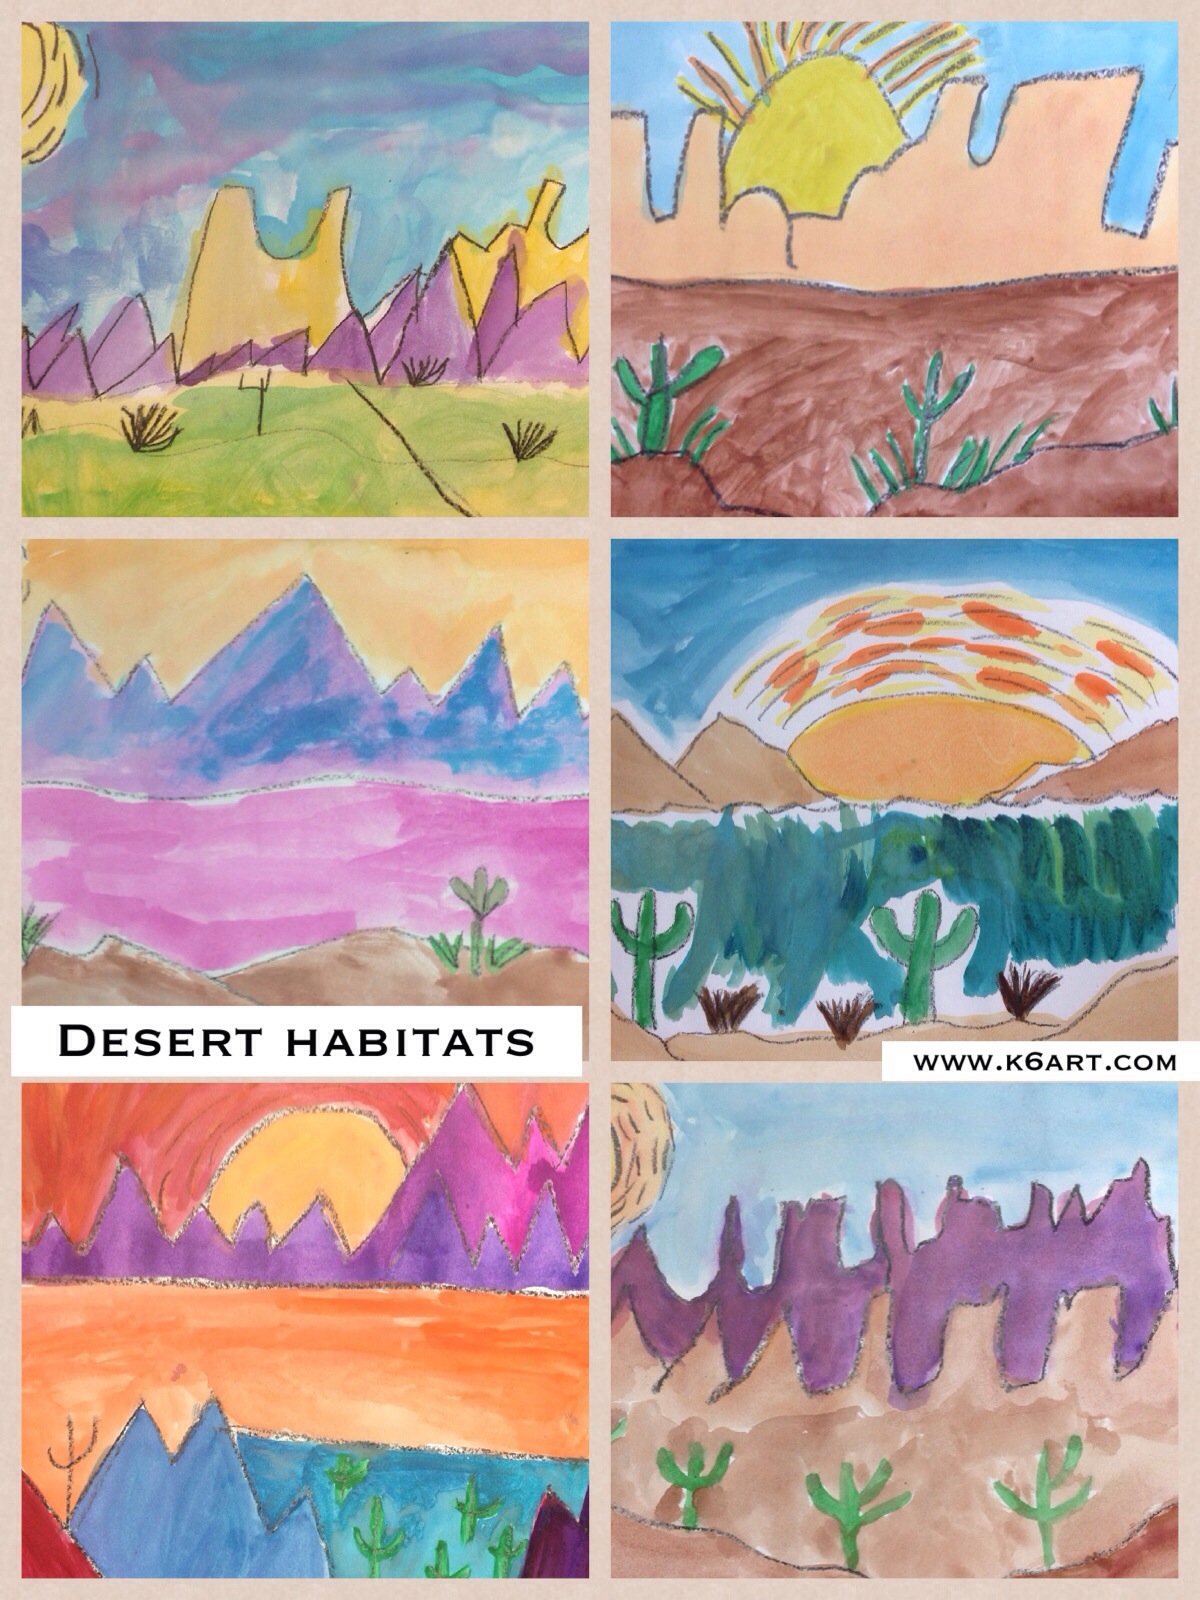
Third grade results:

20140316-103059.jpg

I am happy to report that this project was highly successful with the third graders.

Enjoy!

Rina

Fun Photo Illustrations Inspired by Javier Perez

sixth grade cinta scotch pin #3

Our sixth graders just finished a quick, highly engaging photography/drawing project.

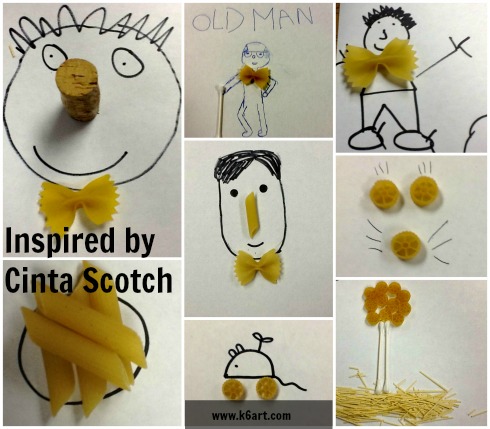
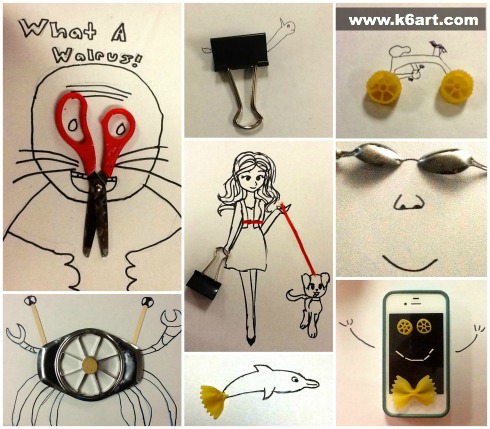
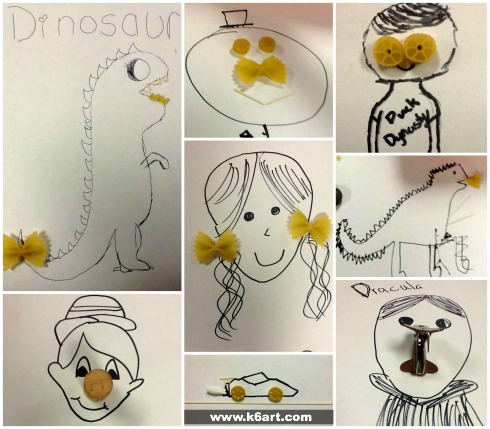
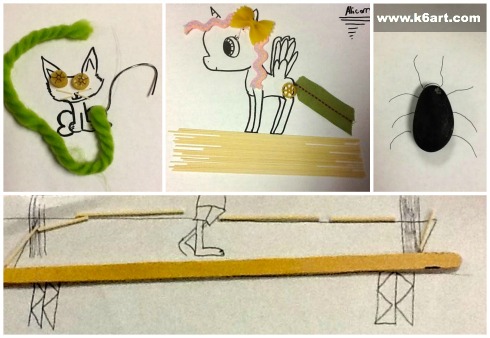
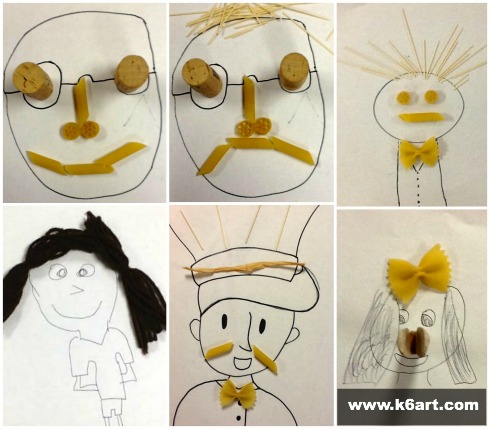
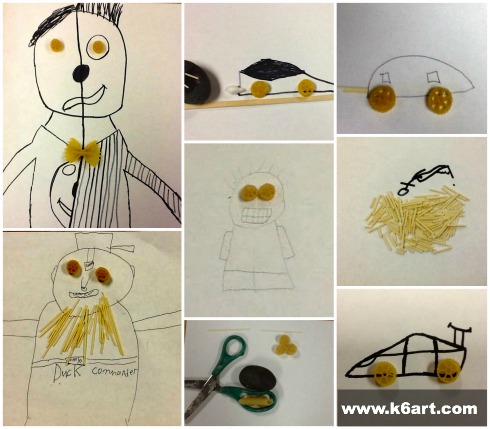
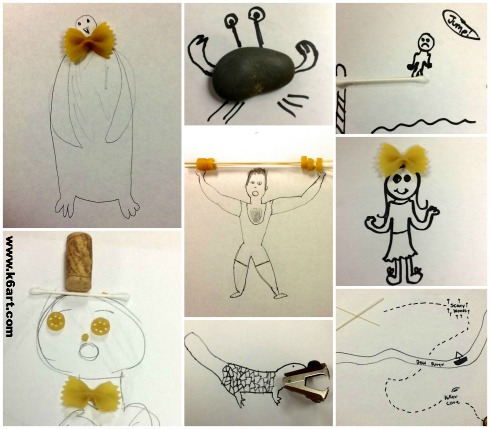
This project was inspired by the work of Ecuadorian artist/art director Javier Perez , also known by the nickname ‘Cinta Scotch’. He uses found objects plus ink to create simple, witty illustrations which he shares with his followers on social media.

I gave each table copy paper, sharpies, and a bin containing a bunch of random objects (office supplies, pasta, some kitchen tools, corks and other odds and ends). They created these artworks, and photographed them with iPads. Each kid was able to create at least two during a single 40-minute class.

You can see Javier Perez’ body of work on Instagram or on his Facebook page. 

sixth grade cinta scotch pin #1


sixth grade cinta scotch pin #2


sixth grade cinta scotch pin #7 sixth grade cinta scotch pin #6 sixth grade cinta scotch pin #5 sixth grade cinta scotch pin #4

After our sixth graders completed the project, I shared these photos with Mr. Perez via Facebook. He was pleased with the student work. Cool!

Enjoy!

Shrinky Dink Valentines


shrinky dink valentines

If you want a fun, colorful Valentines day craft project, try Shrinky Dinks!

What? You’ve never tried Shrinky Dinks? They are sheets of thin plastic. You color, cut and bake them. When baked, they shrink to 1/3 the size! They have been popular since the 1970s and kids LOVE them. Watch this brief video to see how they work.

Materials:

Cut and Color

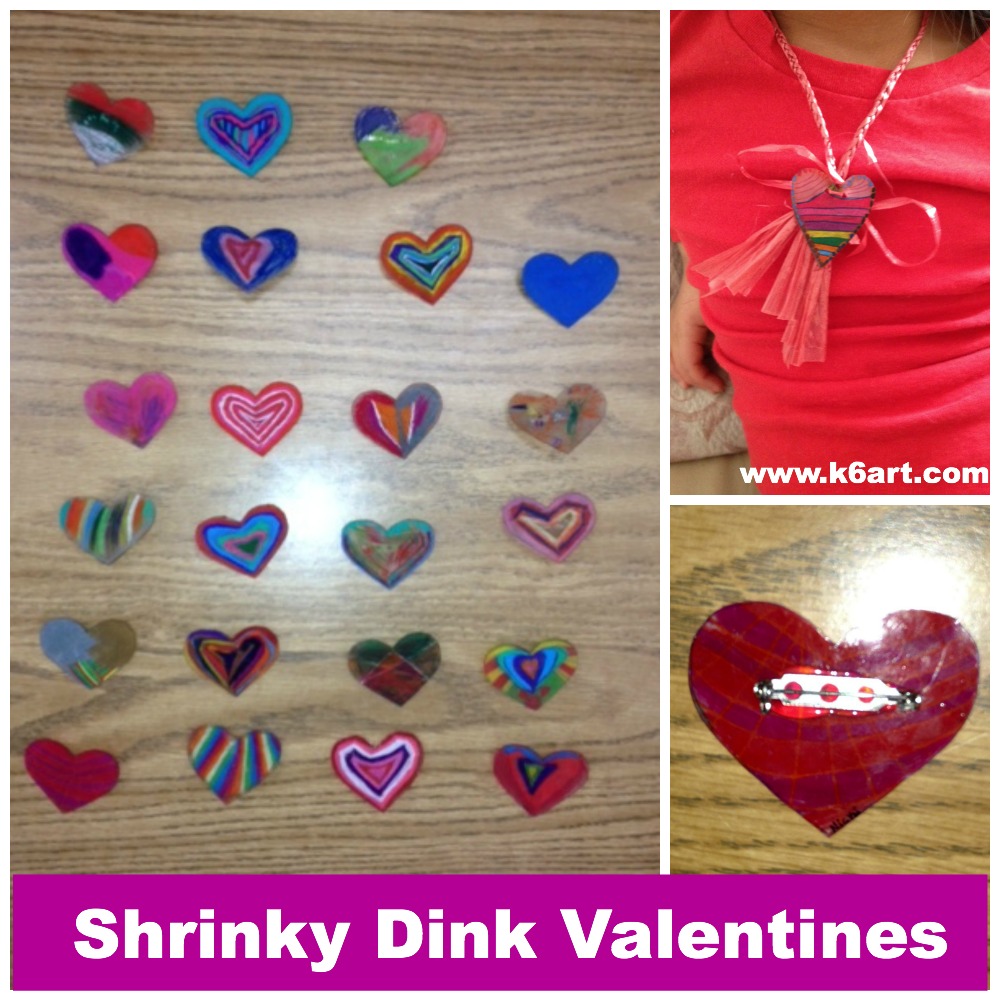
Option 1) Cut each sheet of plastic into quarters (I do this on the paper cutter) and distribute. Students draw a heart, color it on the frosted side with colored pencils, and cut it out themselves. The heart necklace above was made this way.

Option 2) Adult pre-cuts the hearts and distributes. Students color with colored pencils. All the heart pins in the photo above were made this way (with the help of a parent volunteer).

Bake at 325F

Then bake in a toaster oven or regular oven at 325 degrees F for about three minutes. Tip: watch the shrinky dinks through the oven window. They need to curl up and then flatten.  Don’t take them out before they’ve flattened! We let them flatten, count to 30 and then remove from the oven.

For this project, one of our teachers brought her toaster oven to school and called her students two by two to watch their valentines shrink. THEY LOVED IT!

Necklace, Pin or Magnet

For a necklace, punch with a hole punch BEFORE baking. For a pin, hot glue on a pin back after baking. You can use magnetic tape or hot glue on a magnet.

Happy Valentines Day!

Enjoy!

Happy Throwback Thursday! Stop by on Thursdays to see ‘old school’ art projects!


Related Posts Plugin for WordPress, Blogger...