Story Stones: Art and Writing

story stones pin able

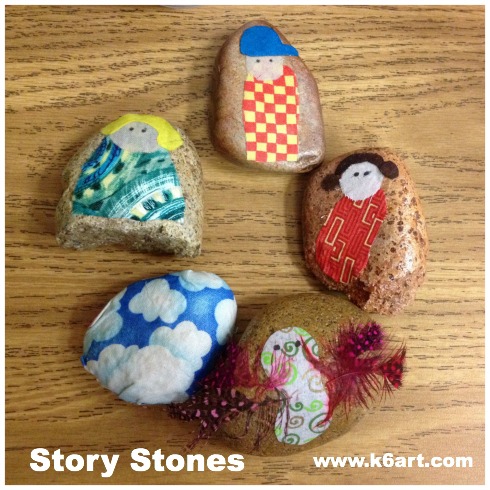
What are story stones? Story stones are smooth rocks decorated with an image of a person, animal or thing. They are used with children for play, therapy, and just to spark imaginative conversation and story telling.

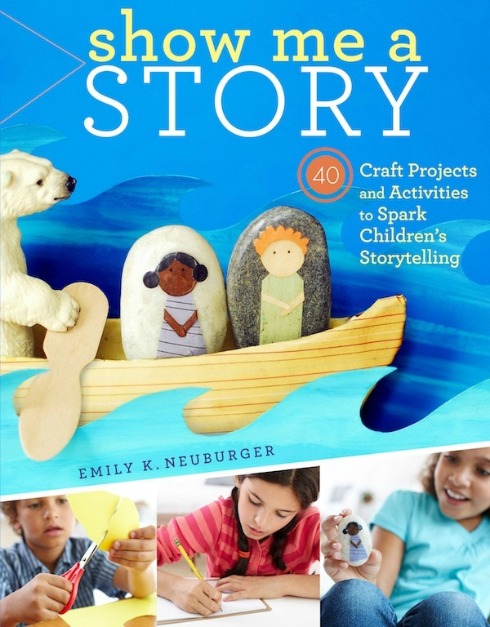
I recently attended a professional development workshop on the expressive arts. We learned how to make collage story stones, and then to use them in creative writing. The project was inspired by a project in ‘Show Me a Story: 40 Craft Projects and Activities to Spark Children’s Storytelling by Emily Neuburger. If you are being ‘encouraged’ to incorporate literacy activities in the art room (or vice versa, want to do arts integration in the general ed classroom), story stones may be right for you.

show me a story by Emily K. Neuberger

Materials:

  • river rocks, or other smooth stones with flat surfaces, large enough for collage
  • scissors
  • colored paper scraps
  • fabric scraps
  • embellishments such as ribbons and lace
  • Mod Podge (we used gloss finish)
  • brushes
  • Sharpies
Teacher-created story stones.

Teacher-created story stones. Allow one hour to create stones.

Create the story stone:

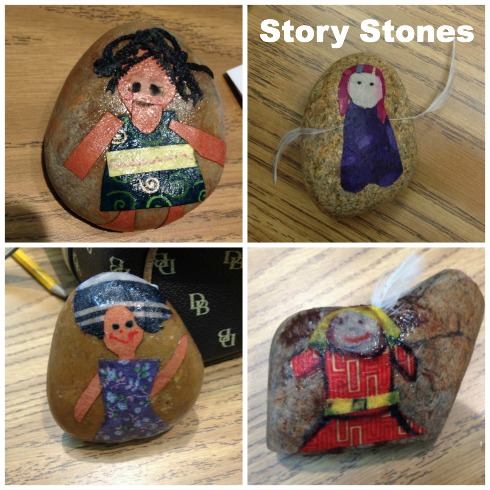
Wash and dry the stones. Let each child select a stone. Create a collage of a person or animal, real or imagined, on the stone. Use brushed Mod Podge as glue. When the collage is glued down, brush on another coat of Mod Podge as sealer.

After the story stone as dried, add eyes and other facial features with Sharpie.

Optional: after the collage has dried, flip over the rock and create another character on the back.

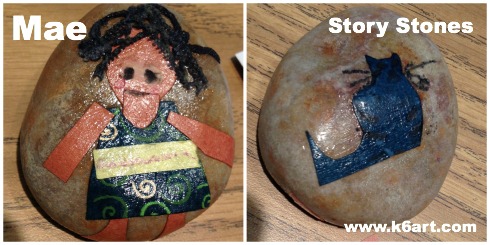
I created a story stone with main character Mae on the front and her cat on the back.

I created a story stone with main character Mae on the front and her cat on the back.

Activities: Art and Writing

Discuss elements of art in your story stone. For example, here are the elements in the Mae/cat stone:

  • Line: Spirals in the dress, belt is a horizontal line
  • Shape: body is made of geometric shapes
  • Color: neutral skin and rocks ; warm color belt pops out from cool color dress
  • Texture: hair is made of lace, stone is smooth
  • Form: rock is organic form, figure wraps around rock; art on both sides

Writing:

Exercise #1: Stone Story Starters. Look at your story stone and answer the following:

  • Who am I?
  • Where do I come from?
  • What do I like to do?
  • What do I like to eat?
  • How did I get here?
  • What is my name?
  • If I could speak, what would I say?

Here is my story, based on my stone:

I am an old lady from New York City. I like to sit on the steps, in the sun, with my cat in my lap.  I don’t like to shovel snow from my steps. I walk slowlyMy favorite things to eat are eggs and toast (my cat likes turkey cat food). I was born in the city and have lived here my whole life. My children moved away. I live in a brownstone in Brooklyn. My name is Mae. I like to be alone. I am not lonely.

Exercise #2: circle (or bold) words in your story that suggest feelings or appeal to the senses. Use them to create a poem. Add extra words if necessary.

I created a super-simple haiku:

Mae sits in the sun

Her cat purring in her lap

Snow long forgotten

Common Core Standard: CCSS.ELA – Literacy RL 1.7 Use illustrations and details in a story to describe its characters, setting or events.

There are so many ways to create story stones. A little research turned up hand painted stones on Etsy and stones made with paint, marker or stickers on Pinterest. You can collage illustrations or photos cut from a magazine or catalog.

I would love to create story stones with art club or at  summer camp. For those art teachers pressed for time (like me!) it would be interesting to create the story stones in the art room and let the students do the storytelling in the classroom.

Thanks to Amy Andrews and Talia Morales from Coast Music Therapy for presenting our professional development workshop, Expressive Arts in Special Education.

Enjoy!

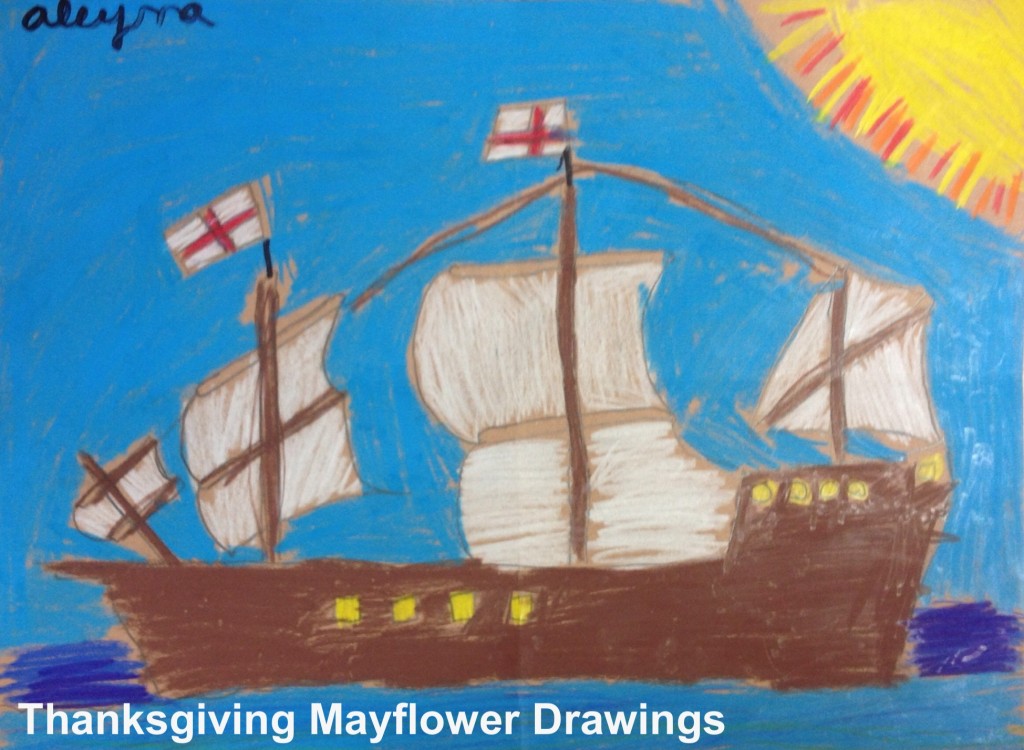
Thanksgiving Mayflower Drawings


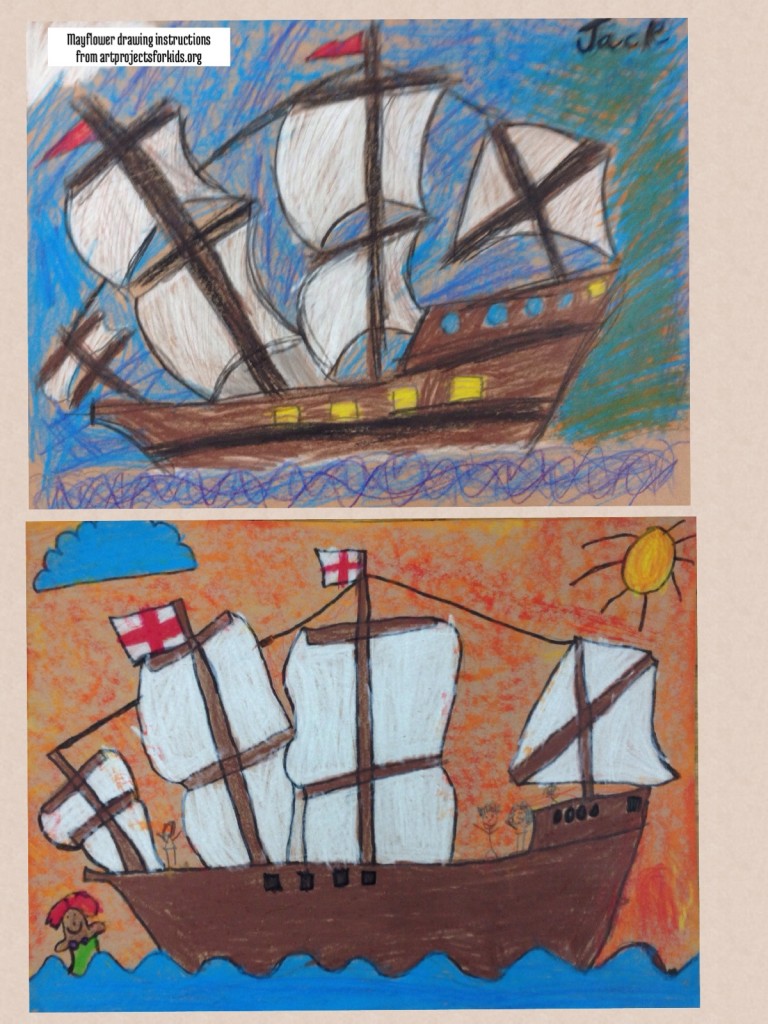
Mayflower drawing - instructions from Art Projects for Kids blog.

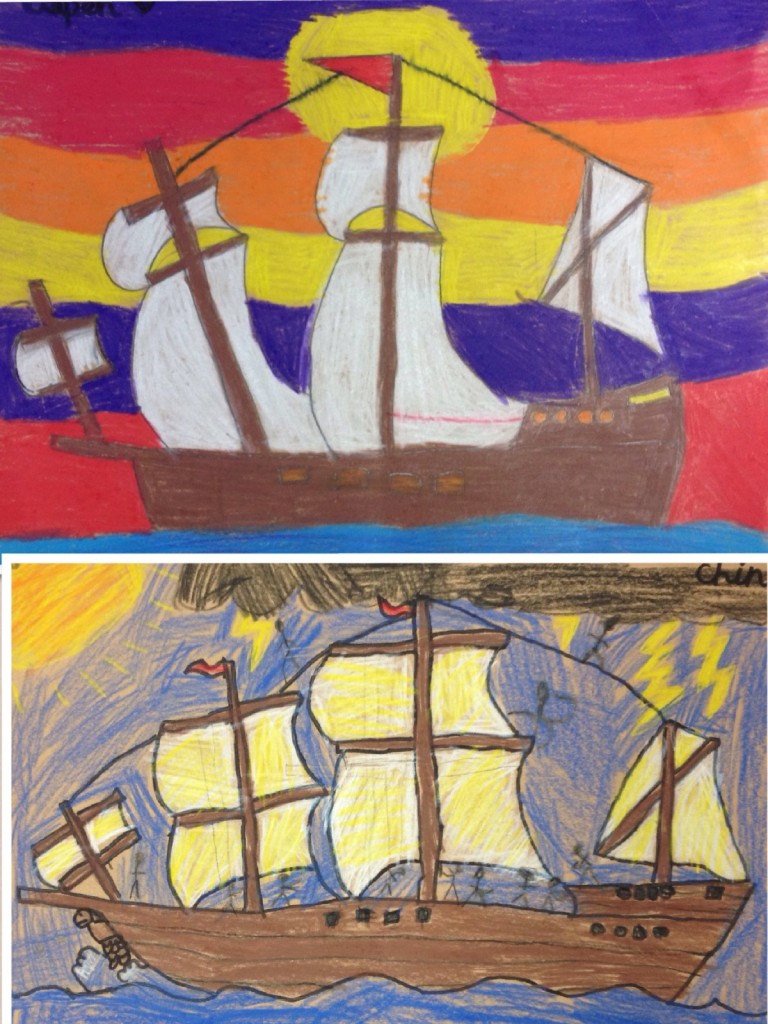
If you are looking for a super-successful step-by-step Mayflower drawing, head right over to Art Projects for Kids. I downloaded Kathy Barbro’s excellent instructions and taught the lesson to our third graders. Result: 100% success!!!! CLICK HERE for the instructions.

Materials:


Mayflower drawings - instructions at artprojectsforkids.orgMayflower drawing instructions at artprojectsforkids.org

I absolutely love Crayola Color Sticks for this project. The white sails really stands out on the light brown paper. Kids can layer colors, or create bright solid color areas using heavy hand pressure.

Have a happy holiday!

Enjoy!


If you are looking for a whole-class art project, artprojectsforkids.org also has nice downloadable murals for all the holidays.
www.dickblick.com

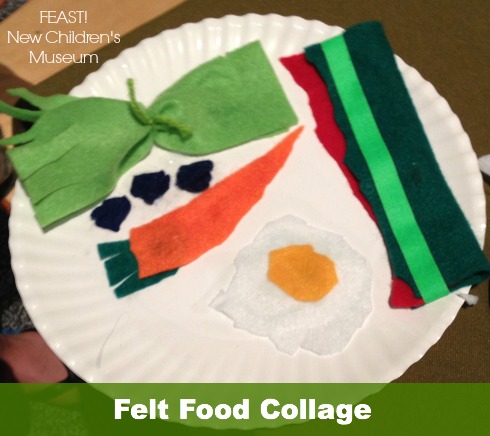
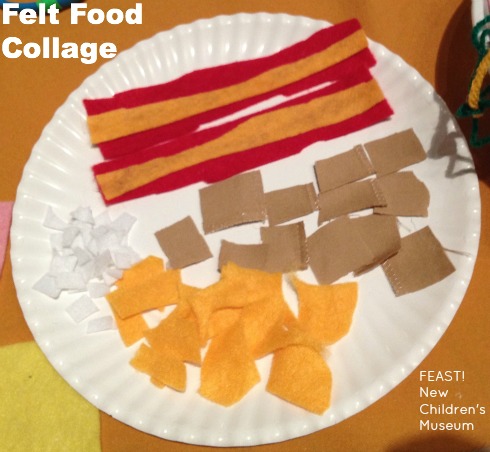
Felt Food Collage

felt food collage New Children's Museum

Second grader’s food collage includes a carrot, egg and celery.

Are you looking for an engaging collage project? Try this ‘feast on a plate’ felt food collage project from San Diego’s New Children’s Museum.

I recently toured the Museum’s new food-themed exhibit FEAST: The Art of Playing with Your Food. I found a group of children at an art-making station, happily creating their own collage feasts out of colorful cut felt. I saw felt eggs, bacon, celery, blueberries, and mini-waffles all arranged and glued to paper plates.

Third grader's plate includes bacon and mini-waffles created from felt and other fabric scraps.

Third grader’s plate includes bacon and mini-waffles created from felt and other fabric scraps.

The New Children’s Museum has this lesson plan online, complete with connections to nutrition, visual arts and common core standards. Click here for the Eat More Art! 60-minute food collage lesson plan.

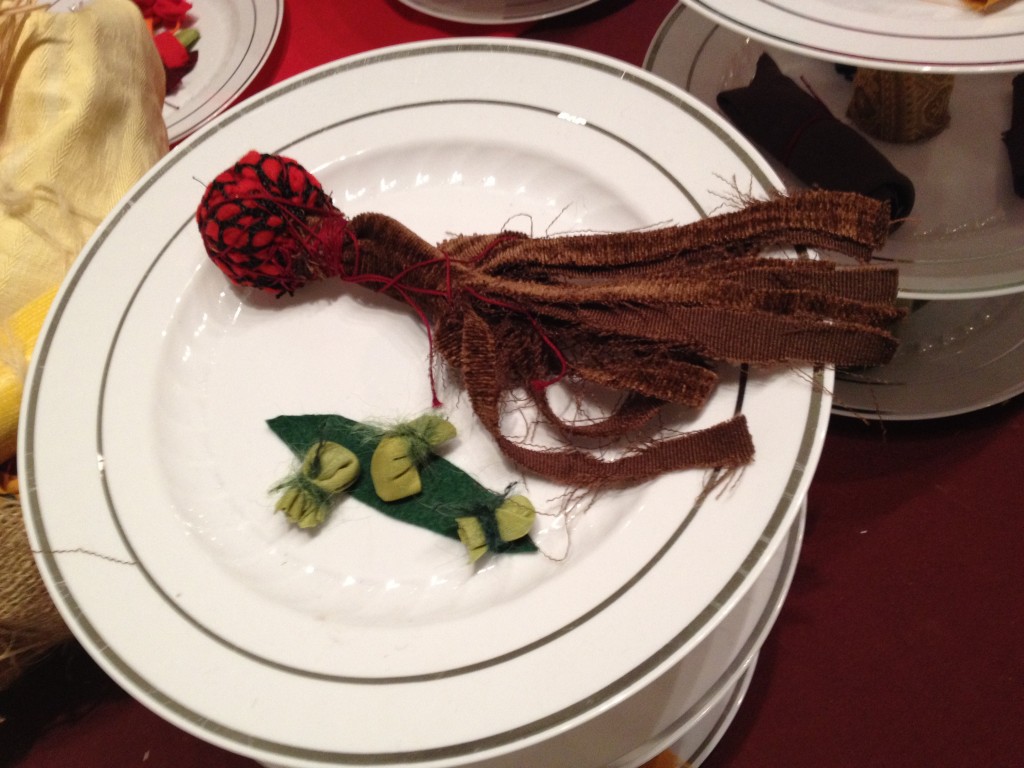
Food sculptures made by rolling fabric and wrapping with yarn.

Food sculptures made by rolling fabric and wrapping with yarn (teacher example).

This would be a fabulous idea for a Thanksgiving feast art project!

Whether you are a parent or a teacher, be sure to check out the New Children’s Museum when you visit San Diego. The museum offers art-making activities for children EVERY DAY. I wrote more about the museum in this post and this post.

Enjoy!


Colorful Chameleons

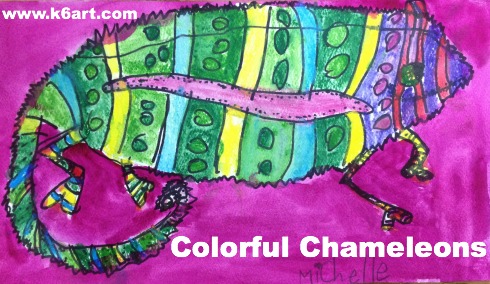
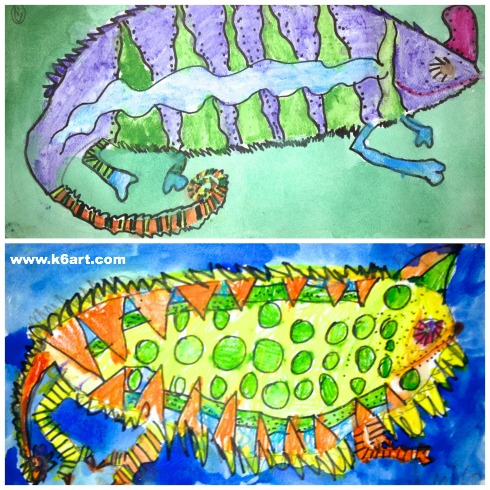
colorful watercolor chameleons


Kids love chameleons! They change color almost like magic. Our second graders just finished a very successful watercolor chameleon project.

Materials:

Day 1: Draw your chameleon

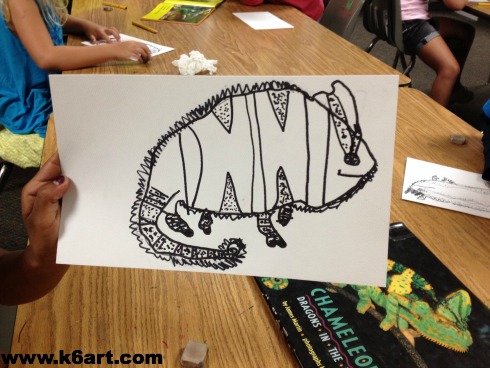
We watched the ‘Super Chameleon’ video on YouTube. The kids were amazed to see the chameleon change colors over and over. Then we took a close look at the chameleon books from our school’s media center. Next it was on to a directed draw. I modeled the basic contour of the chameleon’s head, body, tail and legs. Kids started in pencil, then outlined in Sharpie. They were free to use Sharpie to add their own details (stripes, patterns, dots, spikes) based on their reference photos.

chameleon drawing


Day 2: Color your chameleon

Kids used watercolor pencils dipped in water to color in the chameleons. The watercolor pencils were great for coloring in all the stripes and little spaces. The colors turned out really vibrant! The final step was to paint the background a single color using pan watercolors.

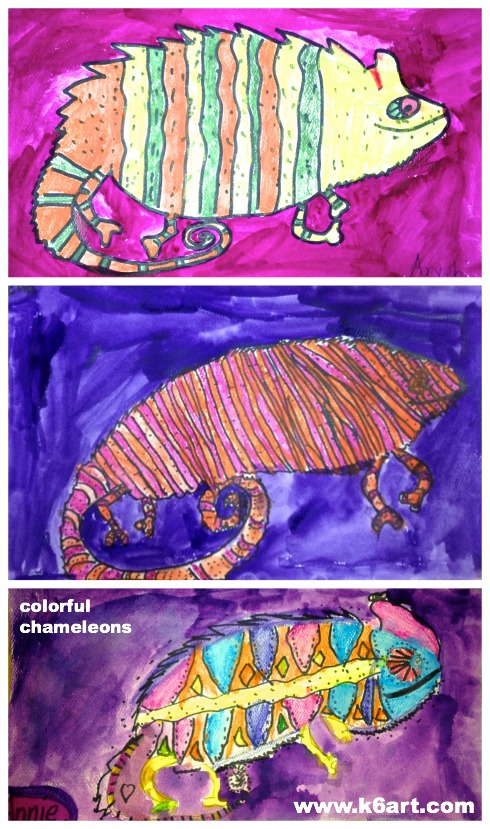
I encouraged everyone to stick to an analogous color scheme for their chameleons. Some kids did, some didn’t, but they all turned out beautiful.  After all, a chameleon can be any color.

blue and green chameleons

three watercolor chameleons

http://www.youtube.com/watch?v=KMT1FLzEn9I

We tried a similar chameleon project last year using Crayola markers: click here to see more results.

Overall this was a popular, super successful project with minimal prep and clean up. It was my first watercolor pencil project, but it won’t be my last.

Enjoy!

Here are two of the books we used for our lesson 

Easy Chihuly ‘Bellagio’ Ceiling

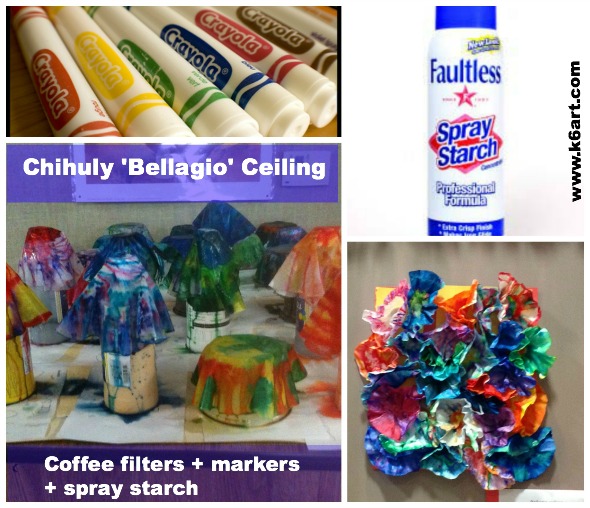
bellagio ceiling collage


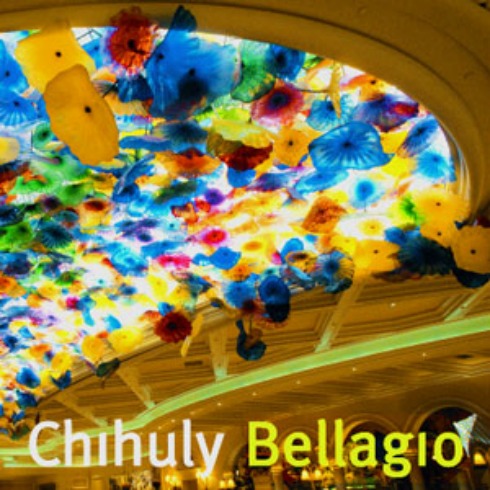
Dale Chihuly is an American artist known for his fanciful, organic-shaped glass sculptures. Here is a group art project inspired by Chihuly’s ceiling installation at the Bellagio in Las Vegas. Our project turned out so well I installed it on my art room ceiling!


Chihuly bellagio


Materials:

  • basket-type coffee filters, various sizes
  • watercolor markers (such as Crayola)
  • spray starch
  • assorted plastic cups and bottles for drying
  • newspaper or other table covering to protect drying surface
  • tag board
  • hole punch
  • hot glue

The Art Project:

Students colored their coffee filters with Crayola markers. We did a quick review of the color wheel before coloring: students should select analogous colors, or use warm or cool color combinations. Avoid complementary color choices – the colors will muddy when sprayed.

Students DO NOT have to color every inch of the coffee filter! Leave some white space – the colors will run together when sprayed with starch.

Spray and Assemble:

Cover a table with newspaper. Set up old plastic tubs, bottles, etc. Invert coffee filter over the tubs and spray with spray starch. The colors will run and blend. Let dry over night.

Hot glue the flat bottoms of the dry coffee filters to a sheet of tag board.  I punched holes around the edge of the tag board, and used T-pins to pin the artwork into my acoustic ceiling tiles.

(Guess what? My ‘Bellagio’ ceiling didn’t set off the motion sensor alarm. Hurray!)

This project was inspired by one of the many projects in the Chihuly unit from Nashville public schools.

More Chihuly Resources:

The Children’s Museum of Indianapolis has an extensive virtual glassblowing interactive for kids.

Watch a variety of Chihuly videos on Yahoo Screen.

Check out my earlier post for a 30-minute group art chandelier.

Enjoy!


Related Posts Plugin for WordPress, Blogger...