Laurel Burch Complementary Color Cats

complementary color laurel burch cats

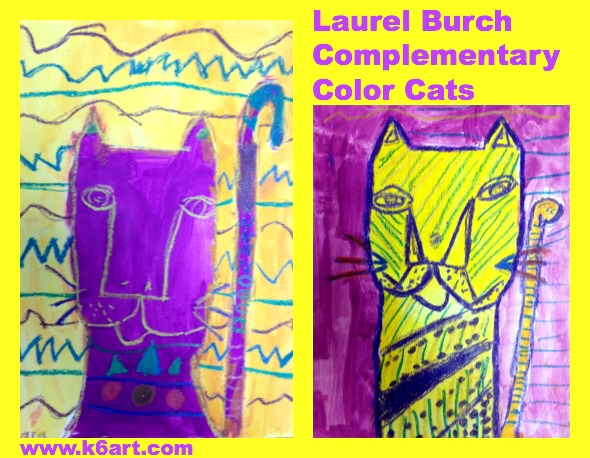
This Laurel Burch-inspired cat art project covers complementary colors, pattern and negative space. Tempera cakes and construction paper crayons are all you need for this project – quick, easy and neat!
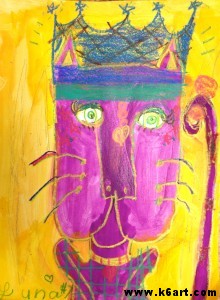
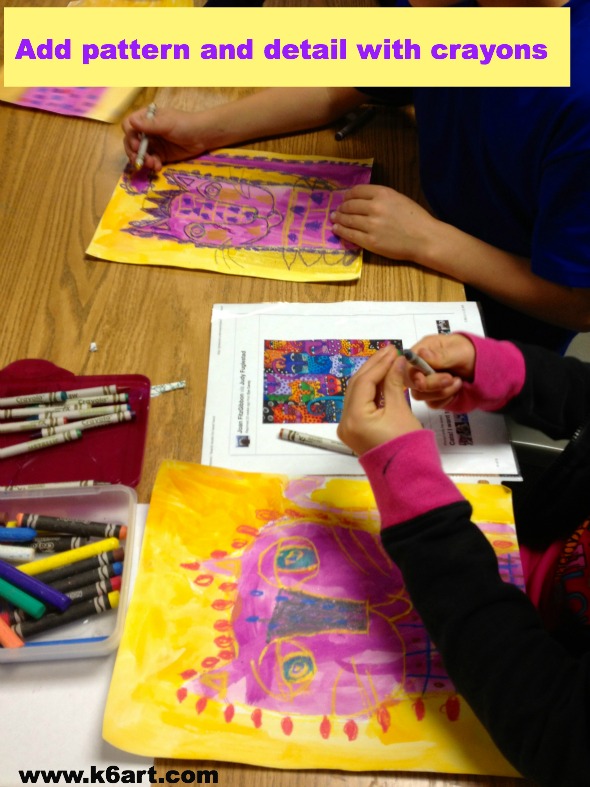
Second graders learn about the complementary colors, then draw and paint a cat in the style of Laurel Burch. When dry, they add pattern and detail with a variety of crayons. Allow two 40-minute classes.

Second graders learn about the complementary colors, then draw and paint a cat in the style of Laurel Burch. Allow two 40-minute classes.

Meet Laurel Burch
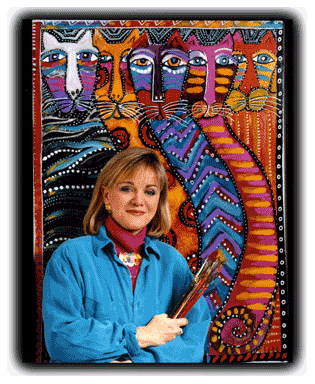
Laurel Burch. Photo source: laurelburch.com

Laurel Burch. Photo source:

Laurel Burch was a self-taught  jewelry designer and painter. She was extremely successful despite serious illness. The Laurel Burch website has every resource you could want, including a great biography video and ‘fantastic feline’ slide show. We took a close look at the cat illustrations, and noticed the simple shapes, lines and patterns.

complementary color wheel

The Complementary Colors

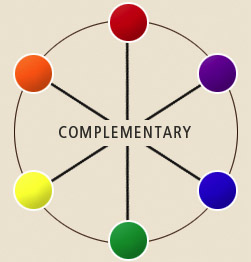
I displayed the color wheel and we discussed the complementary colors (see this post). The complementary colors are directly across from each other on the color wheel.

There are three complement pairs: red/green; purple/yellow; and orange/blue. When two complements are displayed together, the colors contrast and ‘pop’.


The Art Project

Materials:

  • white sulphite drawing paper, 9″ x 12″ (or other white paper strong enough for painting)
  • primary and secondary color tempera cakes
  • brushes
  • water
  • examples of Laurel Burch cat illustrations
  • construction paper crayons
  • optional: metallic crayons

(note: this post contains compensated affiliate links)

Day 1: Draw and Paint the Cat

  1. Choose a complementary color pair.
  2. Draw the cat using a single construction paper crayon.
  3. Add eyes and other facial features, but do not add pattern or other detail.
  4. Paint the inside of the cat one of the complementary colors.
  5. Paint the negative space (background) in the other complementary color.
  6. Let dry.

Day 2: Decorate the Cat

  1. Hand out examples of Laurel Burch cat illustrations and construction paper crayons.
  2. Look at the patterns and other details on the cats and in the negative space (background).
  3. Do a quick review of the complementary colors.  Ask “What color is your cat? Find a crayon that is a complement of the cat color”.
  4. Retrace the cat’s original lines with that crayon.
  5. Use all the colors of construction paper crayons to color in the eyes, add designs and patterns. .
  6. Optional: add a little sparkle with metallic crayons.

color Laurel Burch paintings with crayons

 Second Grade Results:

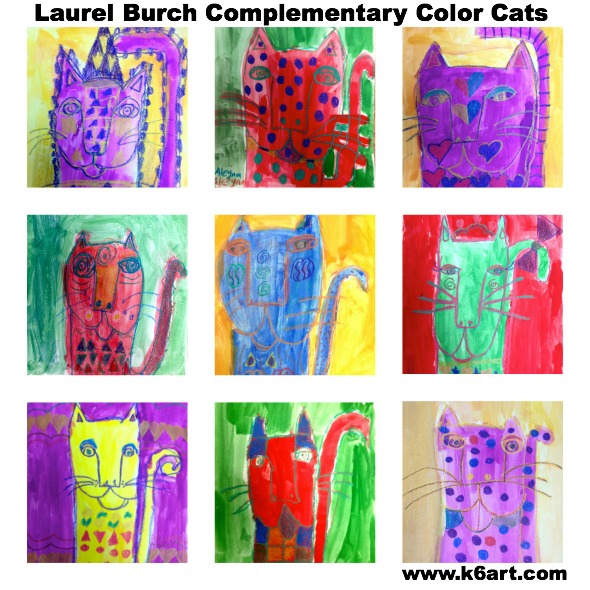
Laurel Burch Complementary Color Cats gallery

I just love the way the complementary colors pop against each other. I also love how the opaque construction paper crayons pop atop the tempera paint!

I used tempera cakes and construction paper crayons because they were quick to set up and clean up. You could easily substitute regular tempera and oil pastels, or watercolor and regular crayons.

No matter what materials you use, this is a fun and successful project your students will really like.


Enjoy!


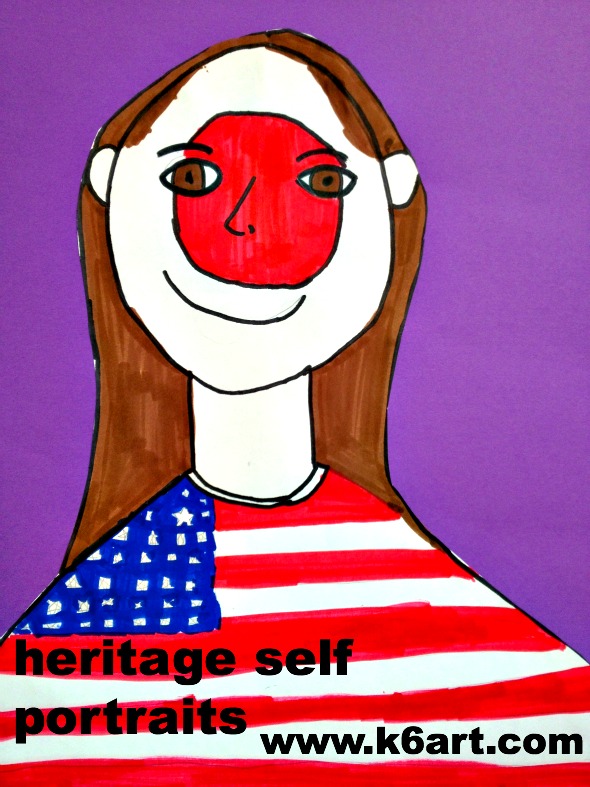
Heritage Self-Portraits

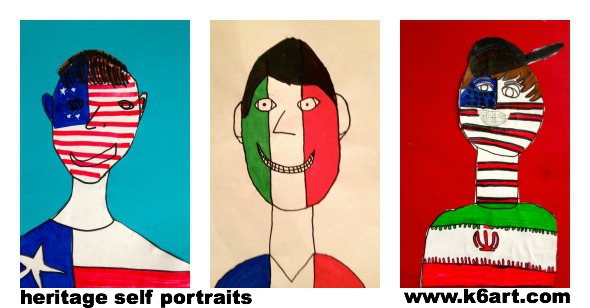
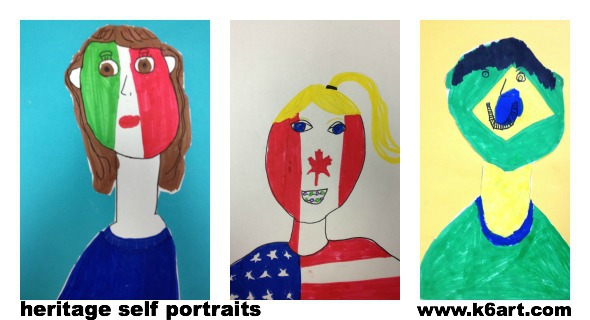
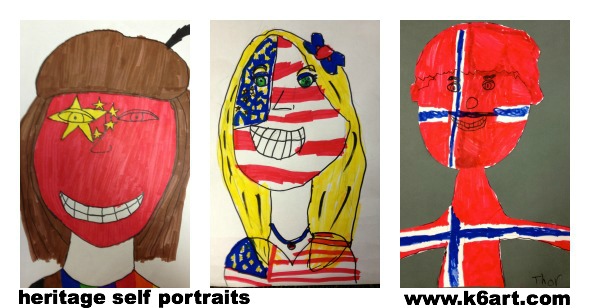
heritage self portraits

Thinking about a self-portrait project? This project starts as a basic self portrait but turns into a family ancestry art project when students add in national flag designs. This lesson uses basic materials and takes just two 40-minute classes. It comes straight from the wonderful Artisan Des Arts blog.

Materials:

  • White drawing paper, 12″x18″
  • Pencils and erasers
  • Chisel-tip markers (we used Mr. Sketch)
  • reference photos of national flags

We began by looking at the great student examples on the Artisan Des Arts blog post. Then I asked the students, “Where does your family come from?” After a quick discussion,  Next we looked at flags of the world. Then the students drew their portraits in pencil.

Because most of our students have mixed heritage, they had the option of using multiple flags in their design.  It was up to them to figure out their own designs. The most common choice was to have one flag design on the face and a second on the shirt.

As a final touch, students had the option of cutting out their self-portraits and mounting them to construction paper.

I really look forward to our next art show.  I think the parents will be THRILLED to see their heritage honored in this project.

heritage self portrait 2

heritage self portraits 1

heritage self portrait 3

What a fabulous lesson plan! I will definitely repeat next year. Thanks to Aly at Artisan des Arts for sharing this great project.

Do you have a special twist on a portrait project?

Canal House Reflections


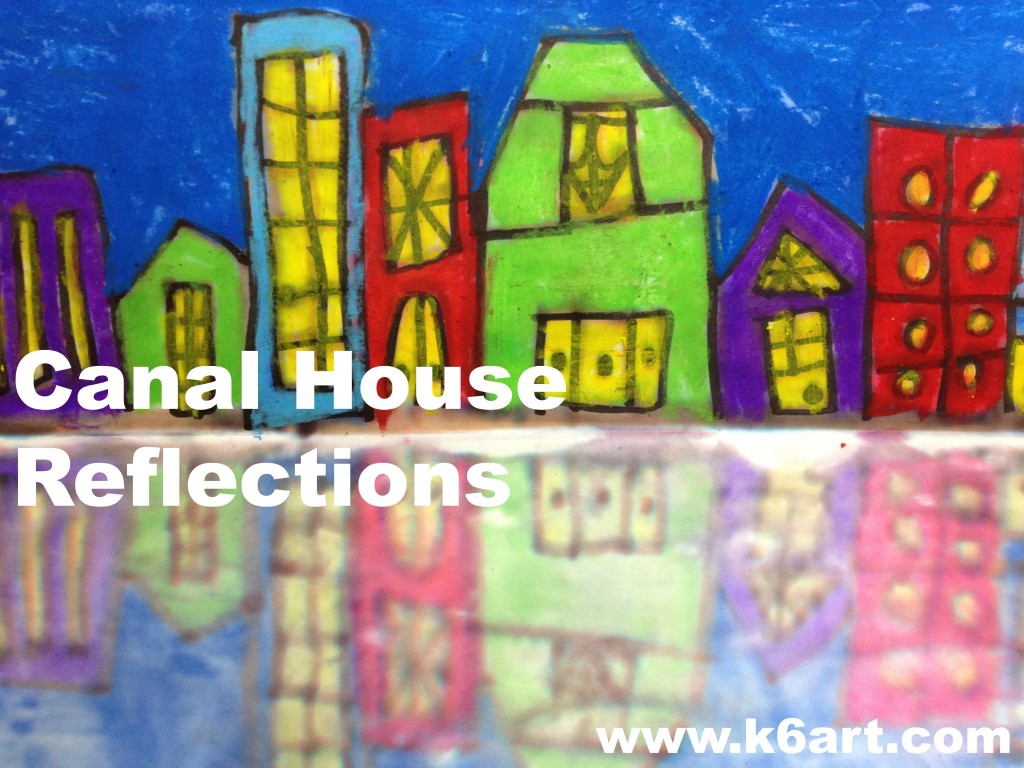
canal house reflections print

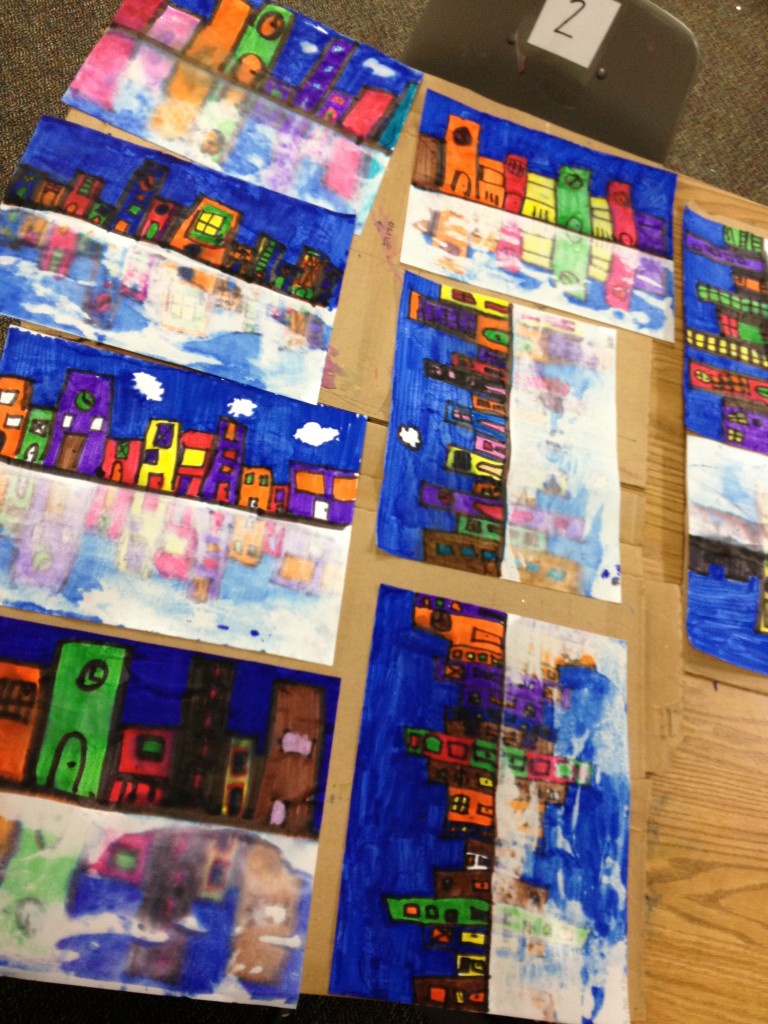
Third graders just finished making reflection prints. They made reflections of the canal homes in Amsterdam, and they just loved the printing process.

Materials:

  • white paper, 9″x12″ (we used sulphite paper)
  • watercolor markers (we used Mr. Sketch)
  • oil pastels (we used Crayola)
  • spray bottle

Day 1:

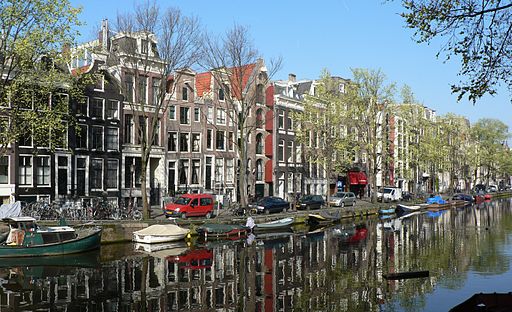
We looked at photos of canal homes in Venice, Italy and Amsterdam. The third graders were excited to see houses that had canals out front instead of streets! We looked at this photo of Amsterdam canal houses, and paid special attention to the reflection of the houses in the water.

Houses in Amsterdam reflected in canal.

Houses in Amsterdam reflected in canal. Photo source:

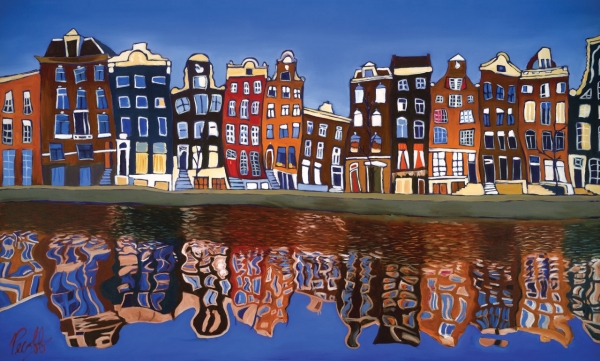
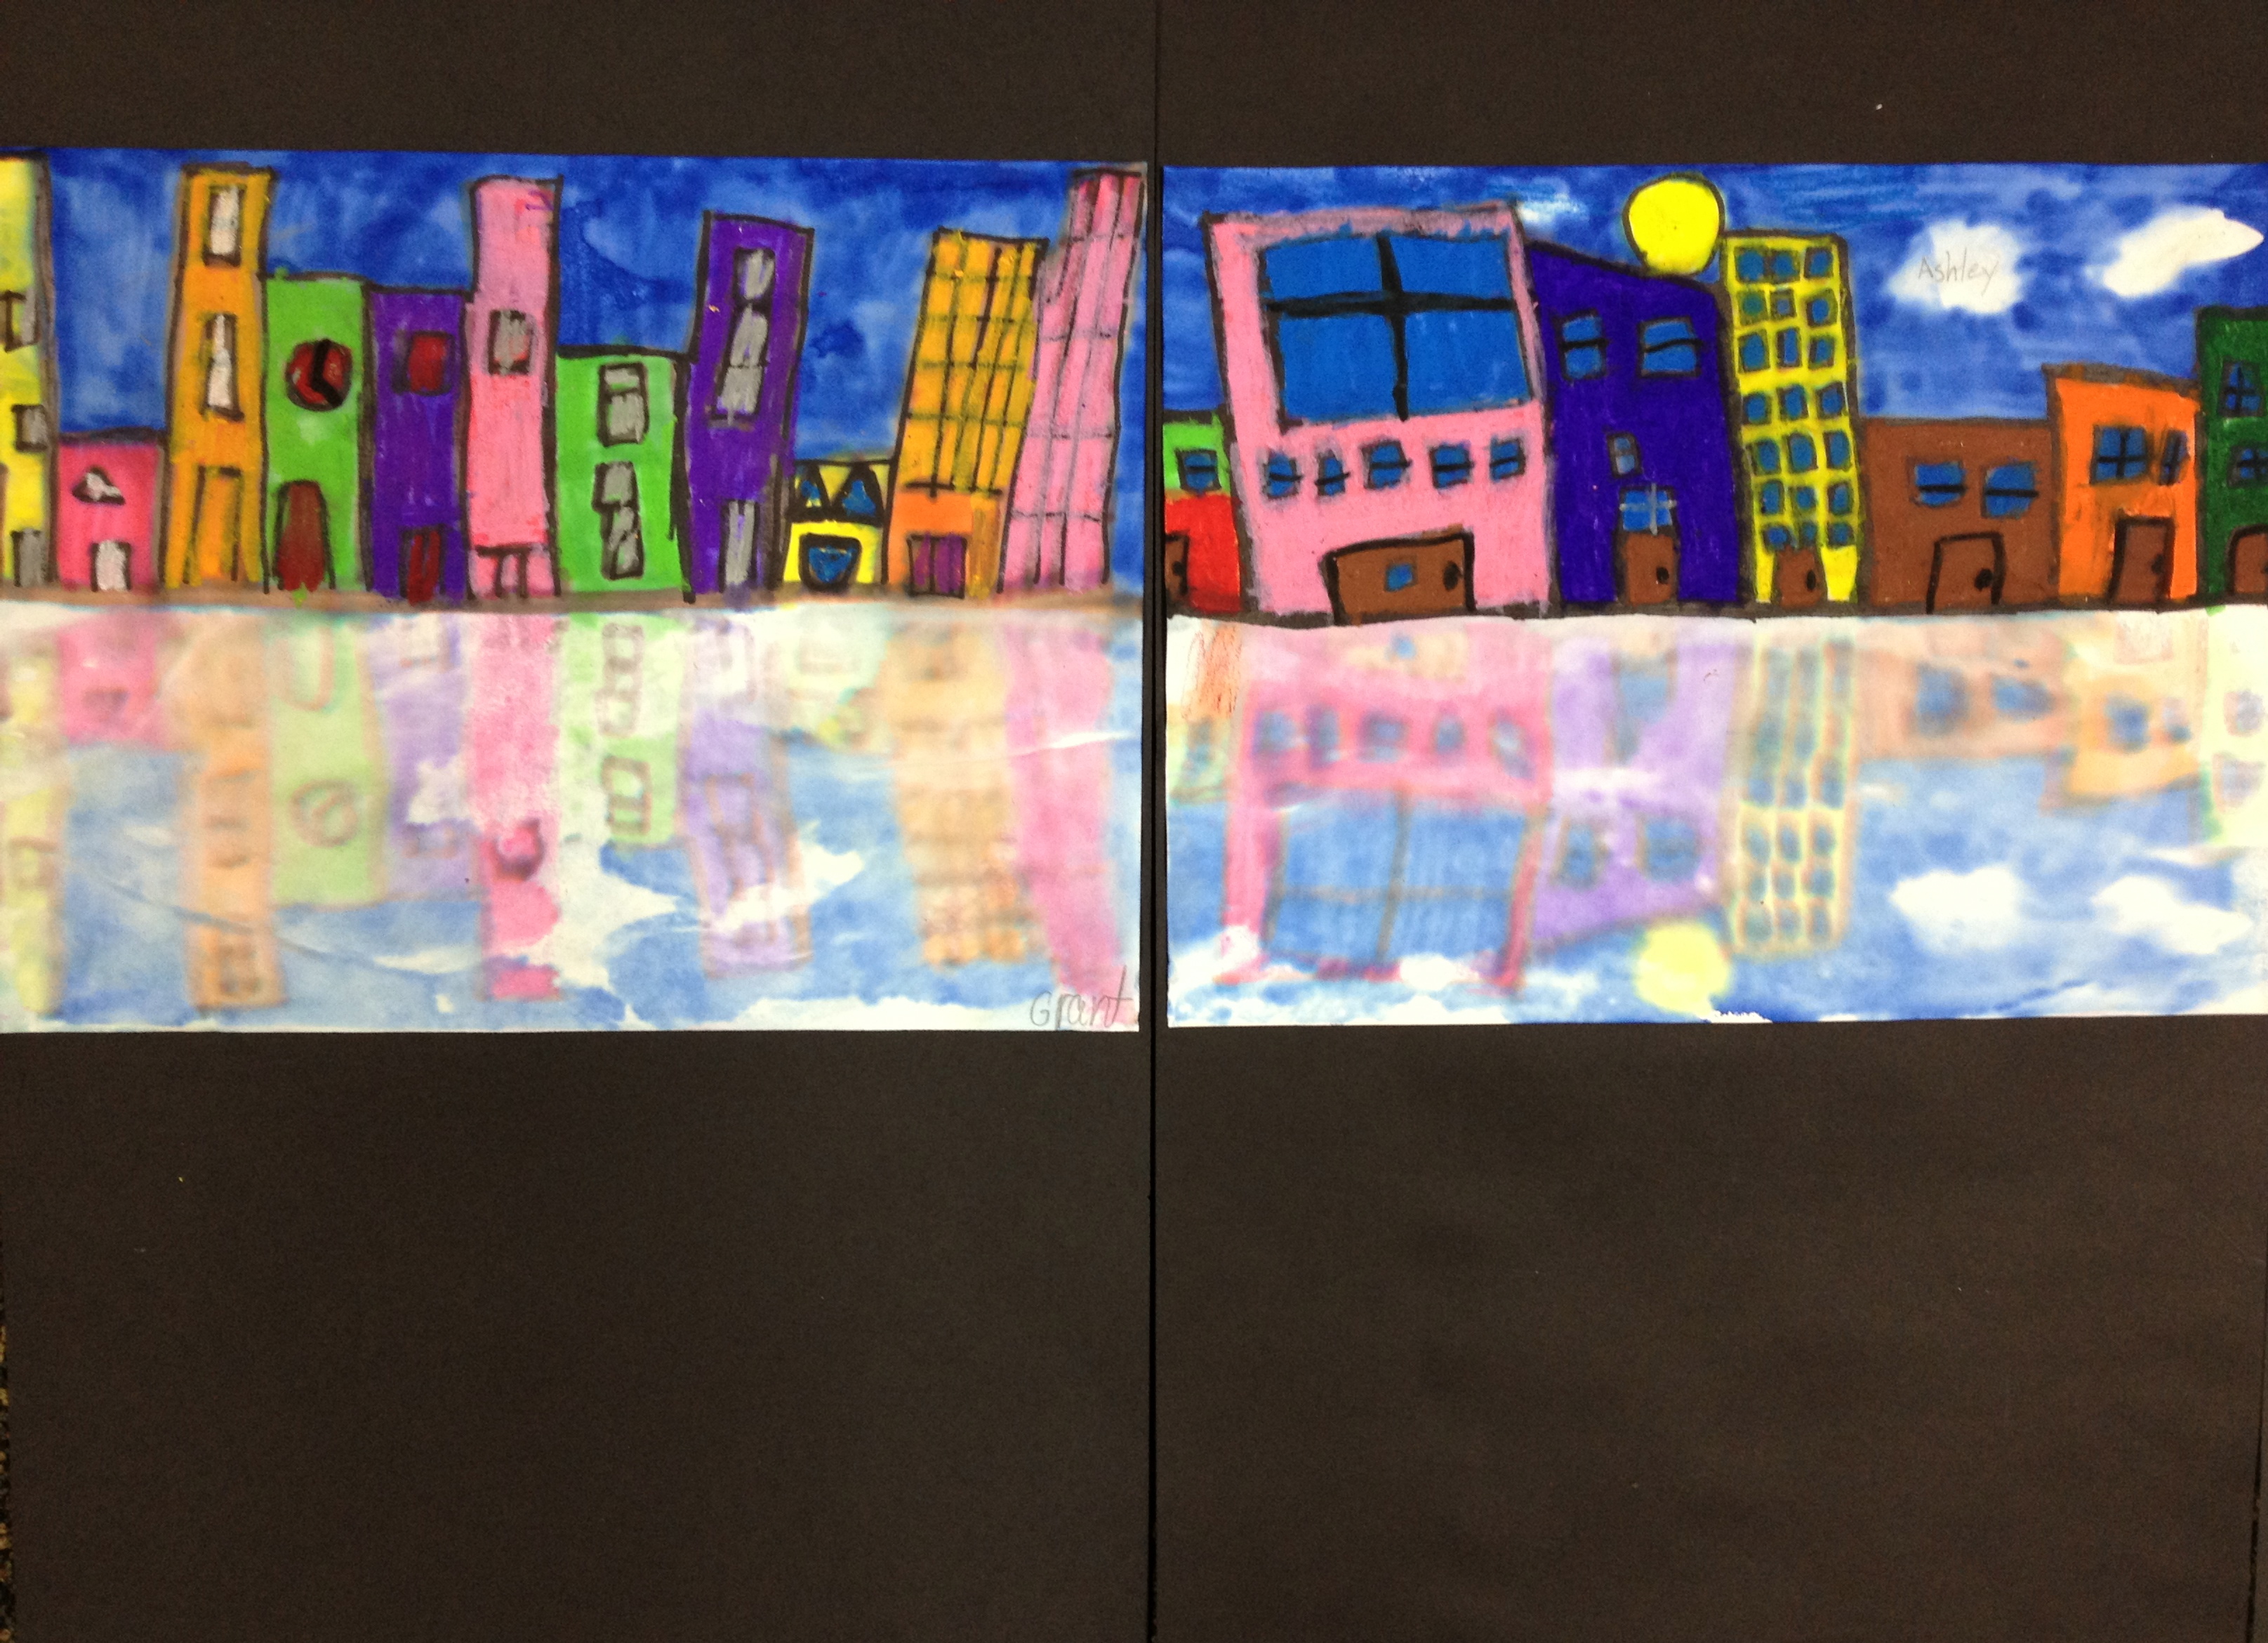
Then we looked at this beautiful artwork, ‘Canal Homes of Amsterdam’ by San Diego artist Grant Pecoff. Students noticed  how the reflection was wavy, probably because of waves on the canal. They also noticed the roof tops were a little wavy as well!

Canal Homes of Amsterdam by San Diego artist Grant Pecoff

Canal Homes of Amsterdam by San Diego artist Grant Pecoff.

Time for the art project!

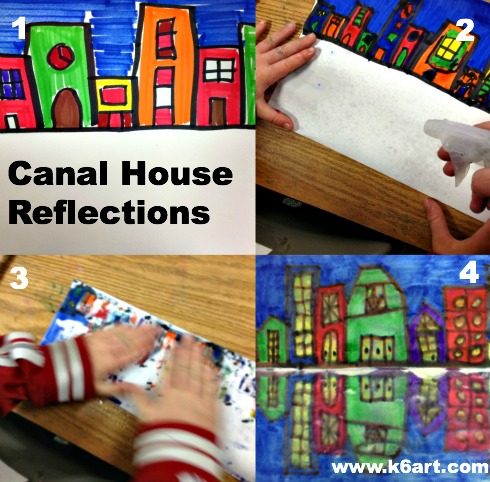
canal house collage


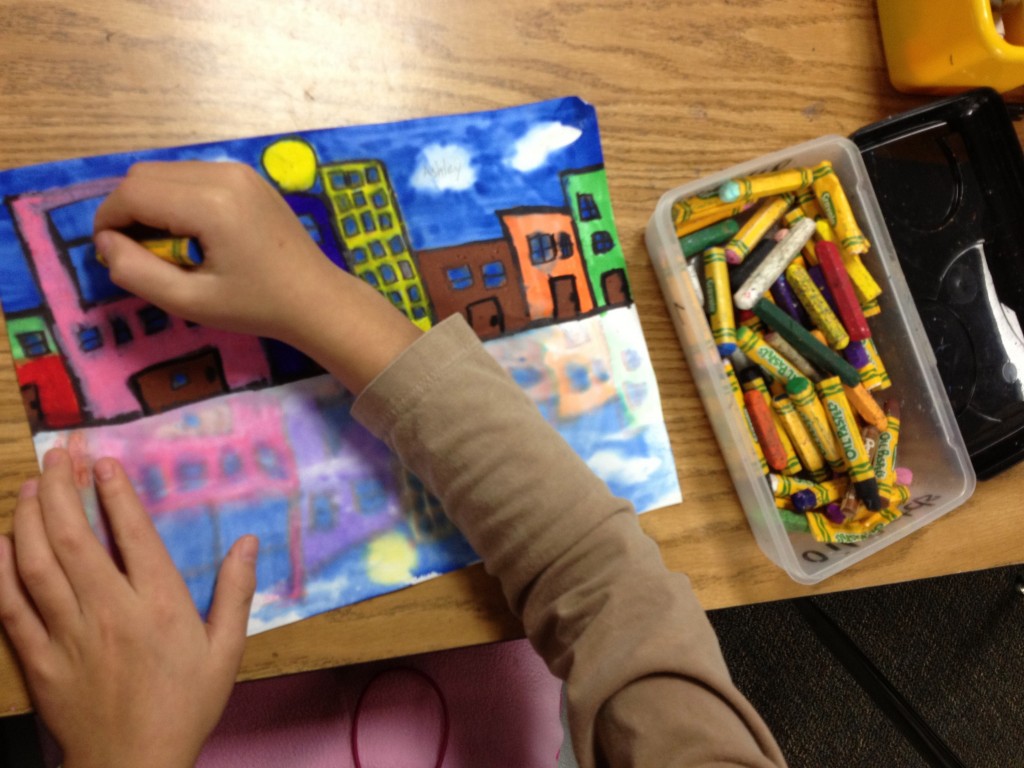
1. Fold paper ‘hot dog style’. On the upper half, make canal houses. Color the sky completely.

2. Take artwork to the printing station. Spray the lower half of their artwork with water.

3. Fold the colored half down and rub.

4. Open carefully. If the color didn’t transfer to the bottom half, spray a little more water and try again.

Let dry.

Canal house reflectionsDay 2:

The dry artworks looked great. However, we noticed the top half was a little blurry after printing. The students re-outlined the buildings on the top half of their reflections. Then they re-colored the top half with matching oil pastels.

After the reflection has dried,  outline top half with sharpie, and color with matching oil pastels.

After the reflection has dried, re-outline top half and color in with matching oil pastels.

 canal house reflection

We mounted these without left and right borders so they can be displayed side by side, just like real canal houses!

This lesson was adapted from this fun lesson on the Fine Lines blog. To learn more about San Diego artist Grant Pecoff, and see more of his colorful artworks, please visit his website .

Enjoy!
 

Snowmen Snapshots

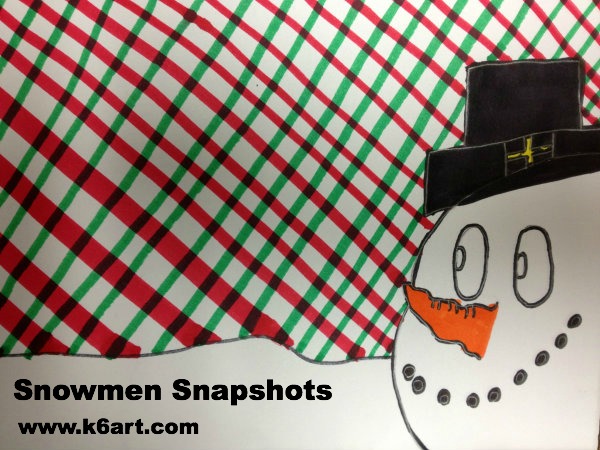
snowmen snapshots


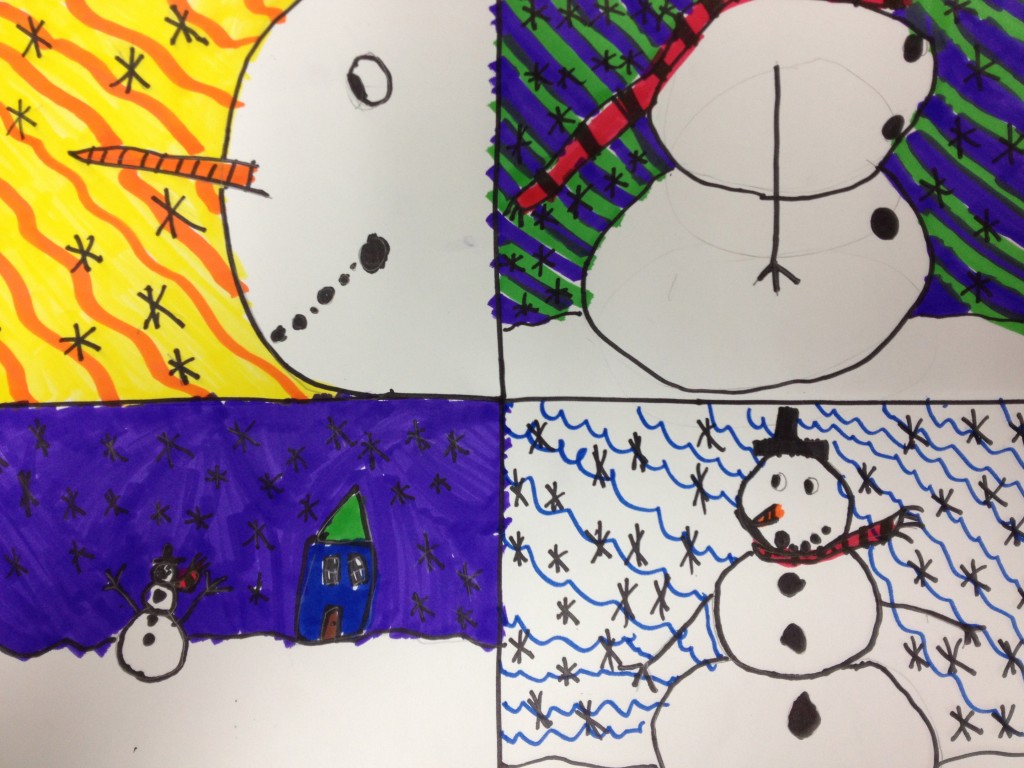
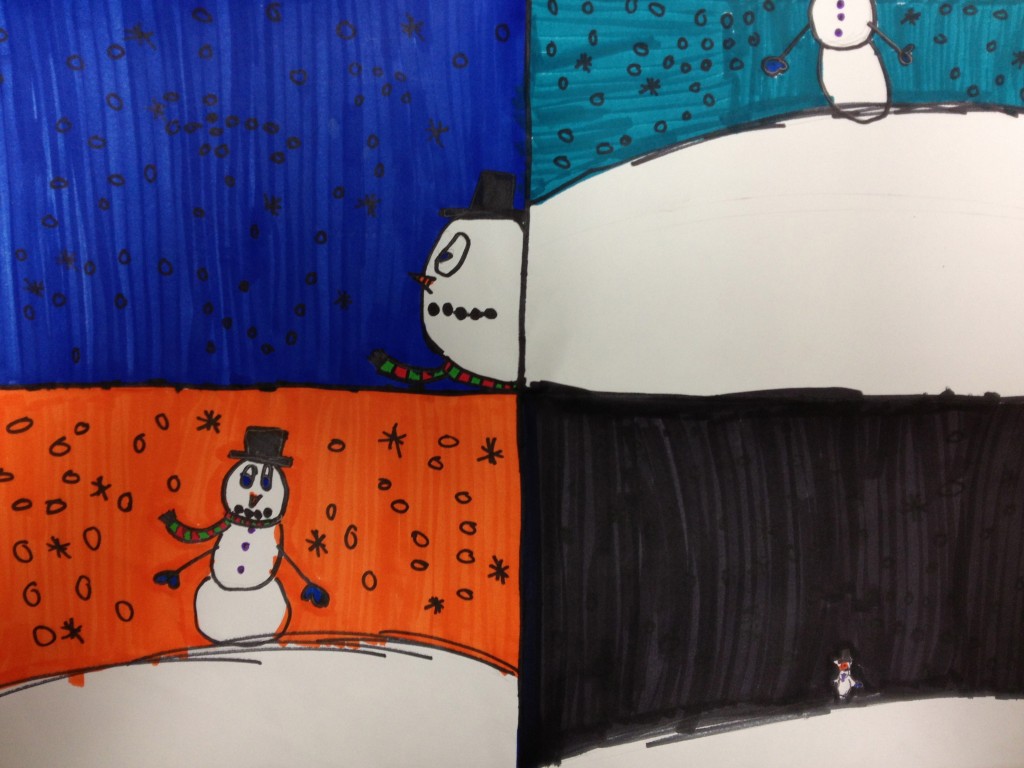
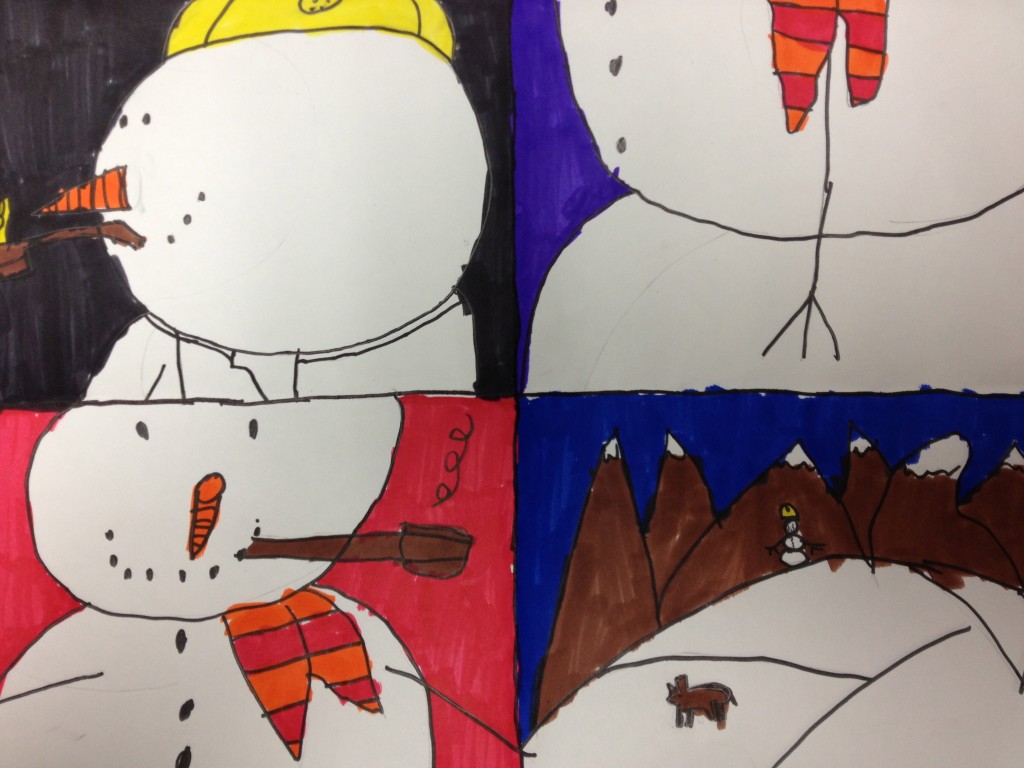
Third grade just finished their snowmen ‘snapshots’. I found this great lesson at Mrs. Knight’s Smartest Artists.

snowmen

Third graders drew snowmen from four different points-of-view. Allow three 40-minutes classes.

Materials:

  • sketch paper
  • pencils and erasers
  • white construction paper, 12″x18″
  • Sharpie
  • viewfinders
  • colored markers, thin-tip and chisel-tip

Day 1:

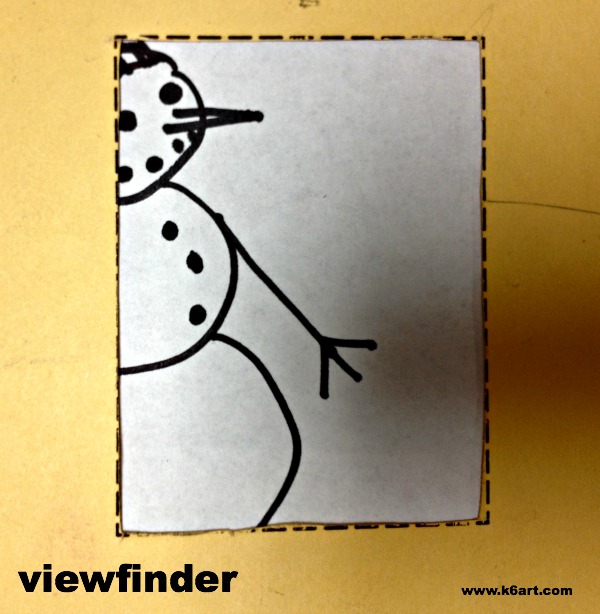
We looked at all the student examples at Mrs. Knights’ blog. Students learned some new photography vocabulary to describe point-of-view:

  • zoom in/close up
  • zoom out
  • profile/side view
  • 3/4 view
  • viewfinder
  • crop

The third graders sketched their snowmen in all the points-of-view on a sheet of copy paper. Then they moved their viewfinders over the snowmen drawings to crop the picture.

snowman viewfinder

Days 2-3:

Students folded their white construction paper into quarters. Using pencil, they drew the snowmen from four different points-of-view, one in each quarter. They went over their lines with Sharpie, then erased.

Students had to pick a unique color  (or pattern) for each section. I modeled coloring with the markers, and emphasized neatness. This was a ‘no spaghetti’ (no scribbling) project. Some kids still need the reminder!

Third grade results:

snowmen snapshot

snowmen snapshots


This was a very successful project. I heard a couple of kids say they thought it was the best art project they ever did. Please check out Mrs. Knight’s fabulous post – her student examples are great.


Cut Paper Snowflakes Designed on an iPad

Cut Paper Snowflakes Designed on an iPad


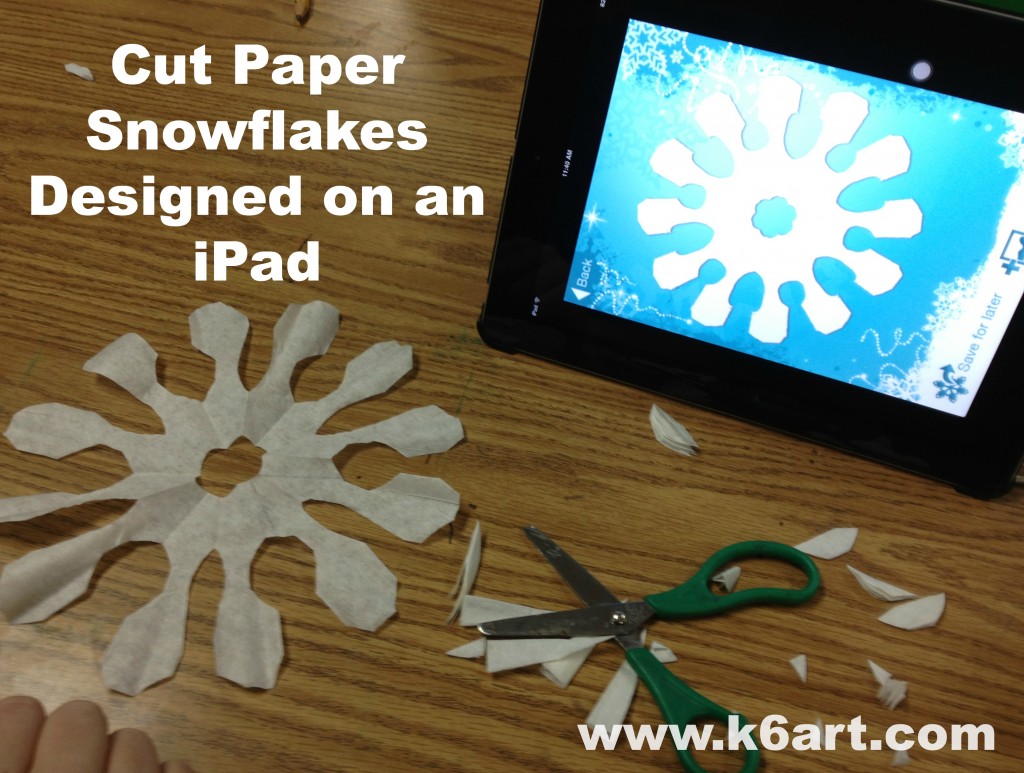
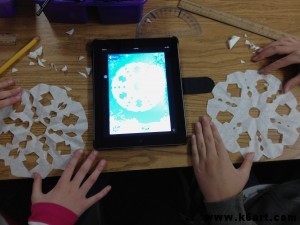
It’s winter! Time for a snowflake project. Our sixth graders just finished their cut paper snowflake projects, with a special twist: all the snowflakes were designed on iPads.


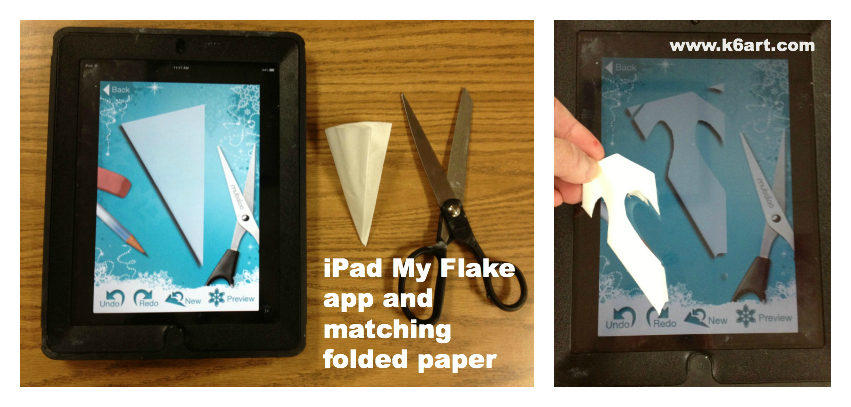
Students designed snowflakes on iPads using the My Flake app, then cut paper snowflakes to match.  Allow one 40-minute class.

Students designed snowflakes on iPads using the My Flake app, then cut paper snowflakes to match. Allow one 40-minute class.

Materials:

  • round coffee filters (I got a pack of 150 at my local dollar store)
  • protractor (optional)
  • scissors
  • pencil
  • iPad, iPod Touch or iPhone with FREE My Flake app
  • Optional: construction paper and glue stick or spray glue for mounting

Snowflakes and Symmetry:

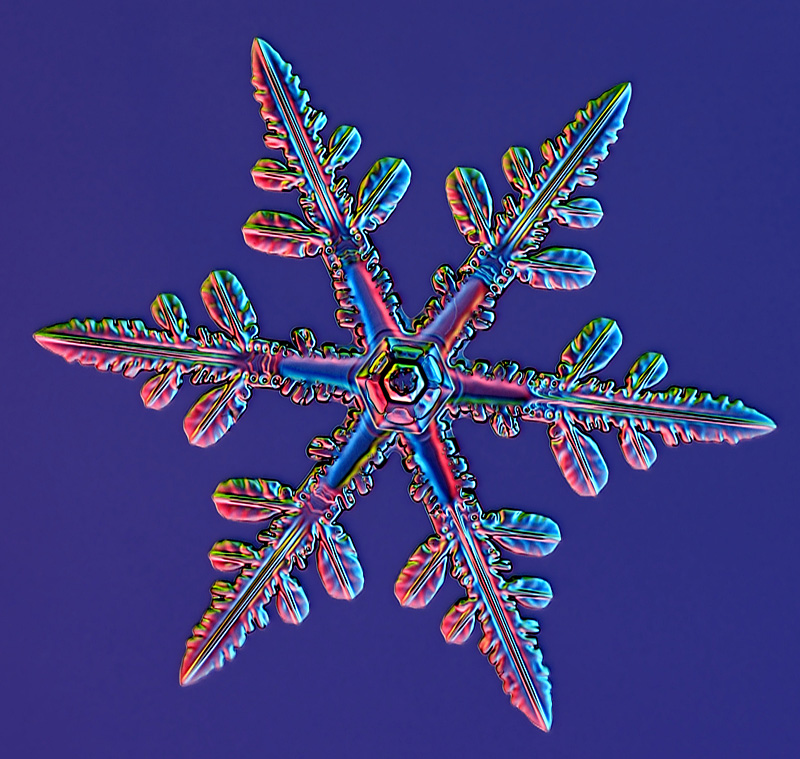
We began class by viewing this excellent slideshow of magnified snowflakes from the book The Art of the Snowflake: A Photographic Album by Kenneth Libbrecht.

Magnified snowflake photo by Kenneth Libbrecht. Source: scientificamerican.com

Magnified snowflake photo by Kenneth Libbrecht.
Source: scientificamerican.com

This is a good time to discuss radial and bilateral symmetry. Just like real snowflakes, our iPad and cut paper snowflakes will have radial symmetry, with six identical branches.

symmetry in nature


Folding the Paper

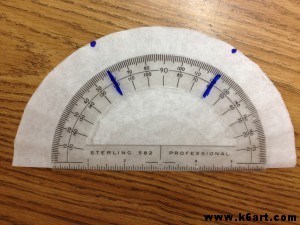
Next we folded our coffee filters in sixths. Students folded the round coffee filters in half, then used a protractor to divide the semi-circle into thirds. See this post from the Heart of Wisdom blog for great directions on folding the coffee filters.

Cut paper snowflakes start with a round coffee filter folded in half, then into thirds. Then one more fold in half.

Cut paper snowflakes start with a round coffee filter folded in half, then into thirds. Then one more fold in half to create a skinny wedge.


Designing the Snowflake on the iPad

I demonstrated how to use the My Flake app, guiding my finger on the screen to make virtual cuts on the paper image.

 cut paper snowflakes designed on an iPad collage

Students spent the next five minutes exploring the My Flake app. The app allows them to test out different designs virtually by ‘cutting’ a folded paper image, then previewing the design. They can go back and undo or redo one ‘cut’ at a time, and preview the resulting changes.

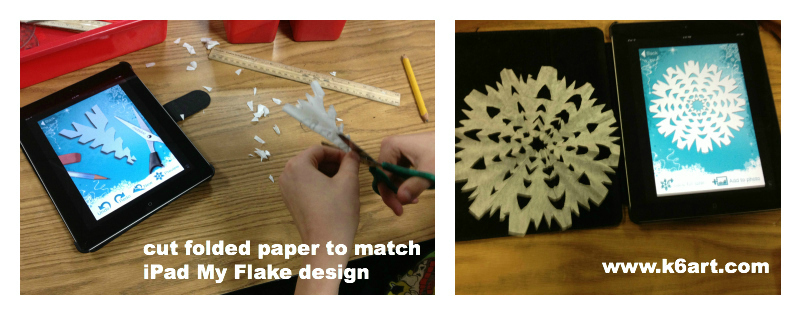
Once the students settled on a final design,they copied their My Flake design on the folded paper, and finally cut the folded paper to match.

Tip: encourage students to try a simple design on their first snowflake, and draw pencil lines lightly.

cut paper to match iPad design

Sixth grade student work:

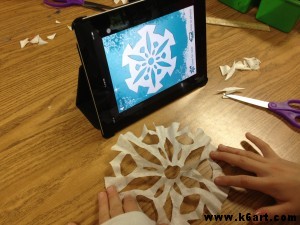
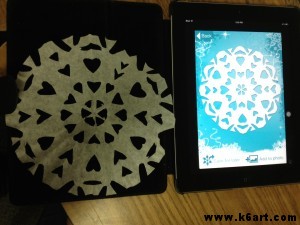
Matching paper and iPad snowflakes

Matching paper and iPad snowflakes

Mount cut paper snowflakes on construction paper.

Mount cut paper snowflakes on construction paper.

Our school is 1:1 iPads in grades 4-6. However, this project can be done collaboratively in pairs or in small groups. Several students can share an iPad, each adding a virtual cut or two. Then they can all cut the group design (U.S. art teachers – collaboration is a big part of new Common Core standards).

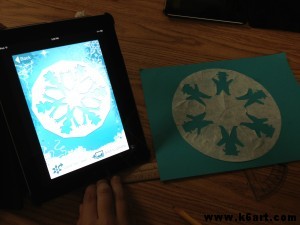
These two students collaborated on an iPad My Flake design, then both cut to match.

These two students collaborated on an iPad My Flake design, then both cut to match.

On its own, the My Flake app may also be an option for an inclusion activity. Students who cannot easily manipulate scissors may be able to design virtual snowflakes on My Flake and print them out for decorations.

More resources:

If you don’t have an iPad: use the Make a Flake website.

If you are looking for a book to accompany a snowflake project: our librarian likes Snowflake Bentley, the Caldecott-winning book by Jacqueline Briggs Martin about real-life snowflake photographer Wilson Bentley.

More fun snowflake resources on my cut paper Pinterest board.

Thanks to Dryden Art and Brunswick Acres Art for sharing My Flake and other resources on their blogs. Thanks to N.T., one of our awesome sixth grade teachers, for support on this project.

Do you use iPads in the art room?

Do you have a favorite app?

Related Posts Plugin for WordPress, Blogger...