Printing with Modeling Clay

Would you like to try a creative printmaking project? Something inexpensive, that can be done quickly and easily with no fancy tools or equipment? Try printing with modeling clay. This brilliant lesson from the Filth Wizardry blog was a huge hit with our fourth graders.
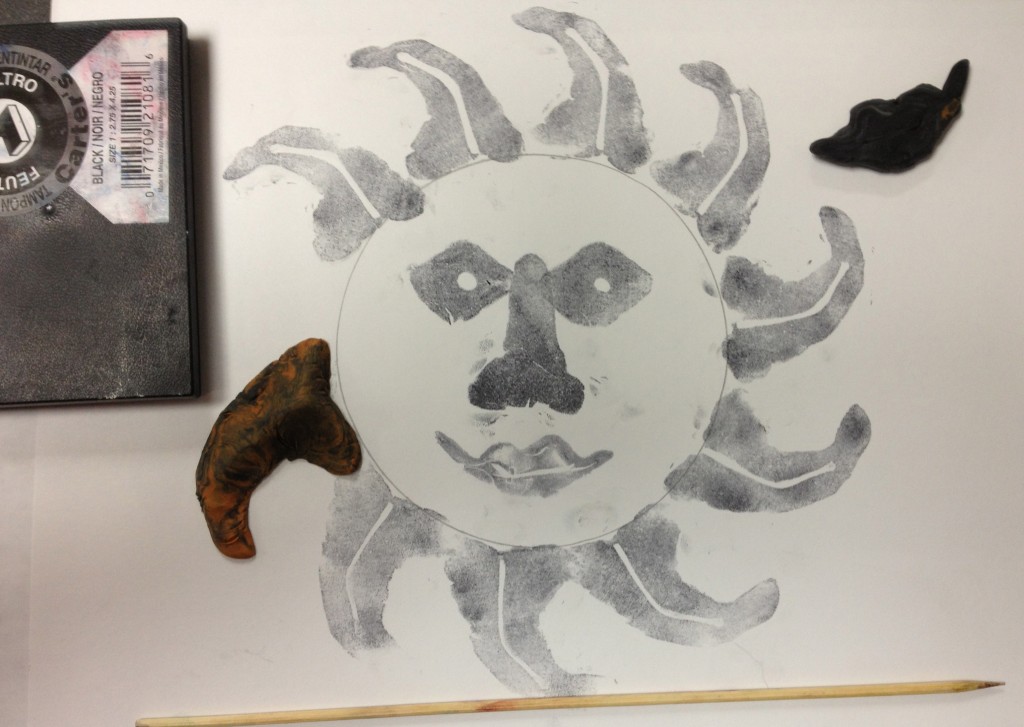
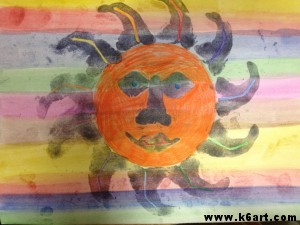
Students created printed suns or sunflowers using modeling clay and stamp pads. Allow 2-3 40-minutes sessions.

Materials:

  • Modeling Clay, AKA plasticine clay (note: I got a pack of 24 sticks of modeling clay at my local dollar store)
  • black stamp pads
  • bamboo skewers
  • paper
  • colored pencils
  • pencil and eraser
  • circle template
  • paper to cover table

Class 1: Experiment with modeling clay stamp printing

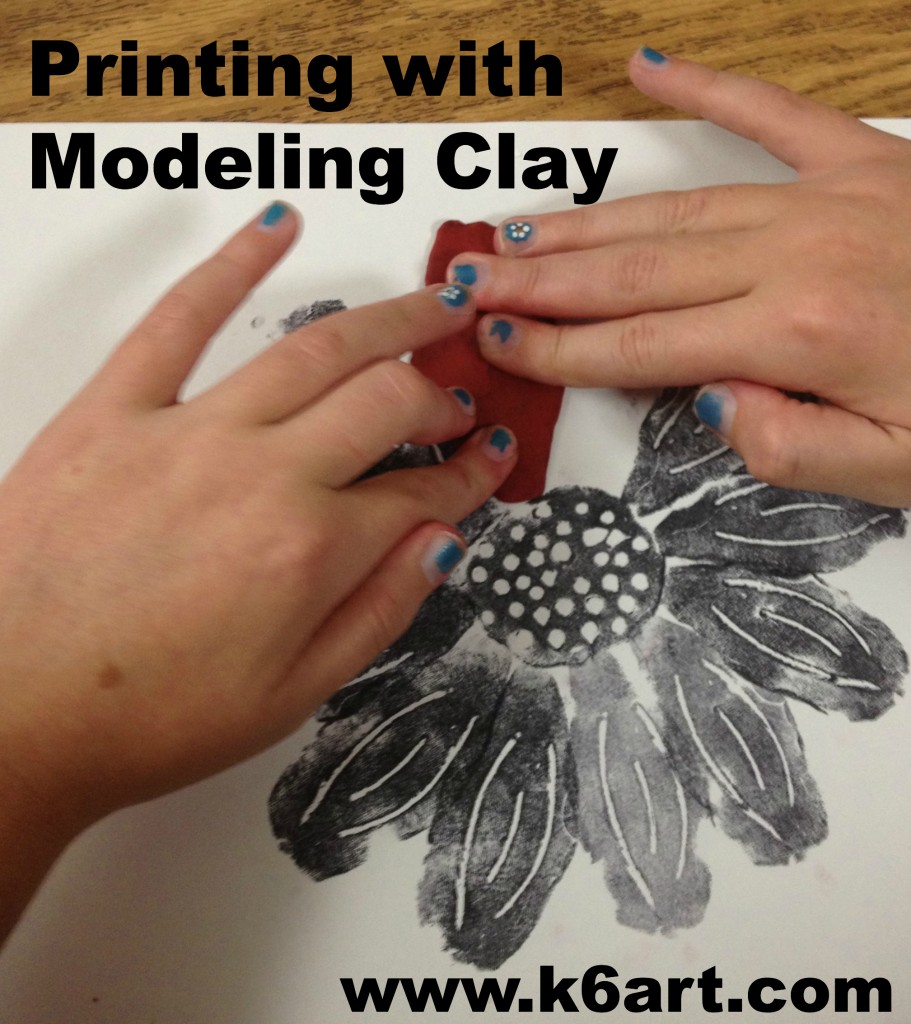
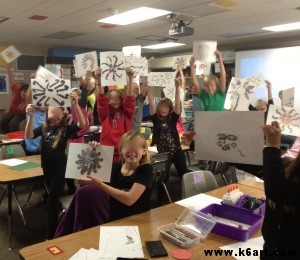
Our fourth graders began their printmaking project by experimenting with the clay stamp printing. They made a variety of marks on the clay, pressed the clay onto a black stamp pad, and printed on a piece of copy paper.

They printed clay coils and spirals. One boy took an imprint of the sole of his shoe and printed that! Another created a clay pretzel. They created clay hearts and alphabet letters. After a few prints, they smooshed the clay and started again. It was fabulously fun.

Clean up is easy. Since modeling clay never dries out and is reusable, we just placed the stamp pads, clay balls and skewers in our table bins until next class. We used baby wipes to clean the clay (but not all the ink!) off hands after class, then used the wipes to scrub any clay that might have got on the table.

Class 2: Print a sun or sunflower

We began the session by viewing a brief video of sun art  from CBS-TV Sunday Morning.

http://www.youtube.com/watch?v=FgiGKlGShY4

Student used the templates to trace a circle in the center of the paper. Then the fun began!
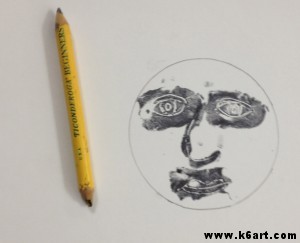
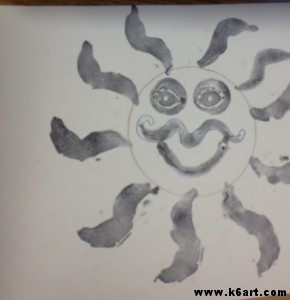
Begin by tracing a circle template. Then use the modeling clay to create individual facial feature stamps.

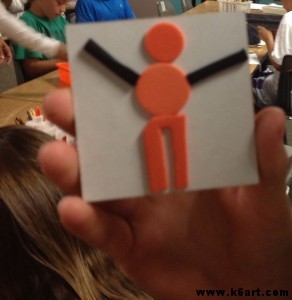
The fourth graders used the modeling clay to create facial feature stamps, sun beam stamps, petal and leaf stamps.

Fourth grade sun, printed and ready to color.

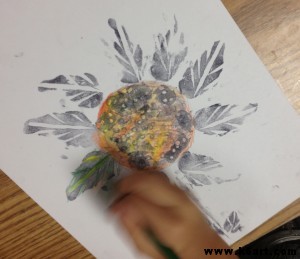
After printing, they colored their prints with colored pencils.

Coloring in a sunflower print with colored pencils.


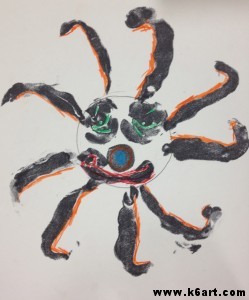
Printed sun with colored pencil

Optional finishes:

Class 3:

Paint completed print with tempera cake:

Completed prints can be painted immediately with cake tempera.

This example is printed with ink pad, colored with colored pencil, then immediately painted with tempera cake. The sheer paint looked great over the print but did not cover stray ink fingerprints. And some had A LOT of stray fingerprints.

If you want a clean look to ALL the finished artworks, you may want to have students cut out their colored work and mount to colored paper.

Have fun! Your students are guaranteed to love printing with modeling clay!

Thanks for visiting! Don’t forget to please vote for 2012 Art Ed Blog of the Year, which you can do by clicking this link and voting for K-6 Art! Voting open through December 14, 2012.

Leaf ‘Collage’ + Photography

Want to try a leaf collage project? Want your leaves to stay fresh and bright forever? Skip the glue/wax paper/laminator and try a camera instead!

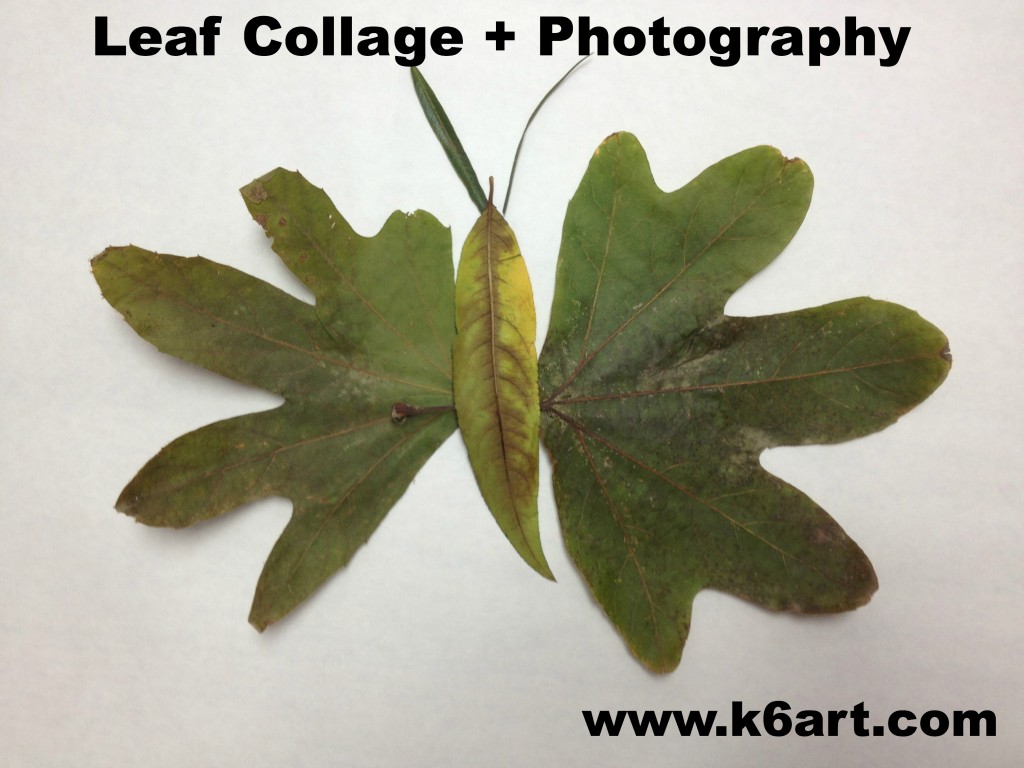
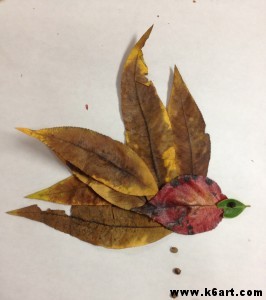
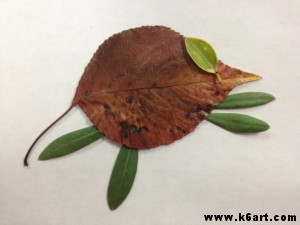
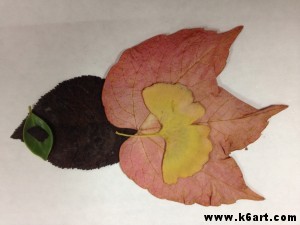
Third graders arranged leaves into animal shapes, then photographed their art. Allow one 40-minute class for this ‘collage’ lesson.
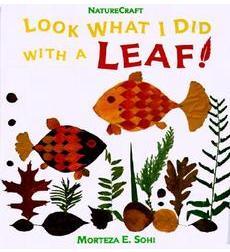
Third graders just completed their leaf collages, inspired by the book Look What I Did with a Leaf! by Morteza E. Sohi.

In the book, M. Sohi arranged leaves on a white background to create fanciful animals, then photographed them. Click here to see more examples.

To prepare for this lesson, you need to gather a variety of leaves and flatten them. I placed the leaves between the pages of an old phone book. Plan to do this at least a couple of days in advance so the leaves will be really flat. You can also ask kids to bring in leaves from home

On the day of class, cover tables with white paper to create a backdrop and spread out the leaves.

Cover tables with white paper to create a unified backdrop for the collages.

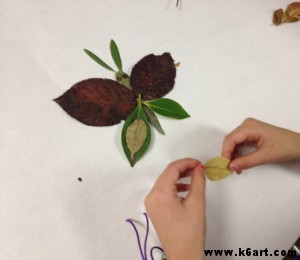
Students arranged the leaves to resemble animals.  Butterflies were very popular!

Student arranges a leaf butterfly.

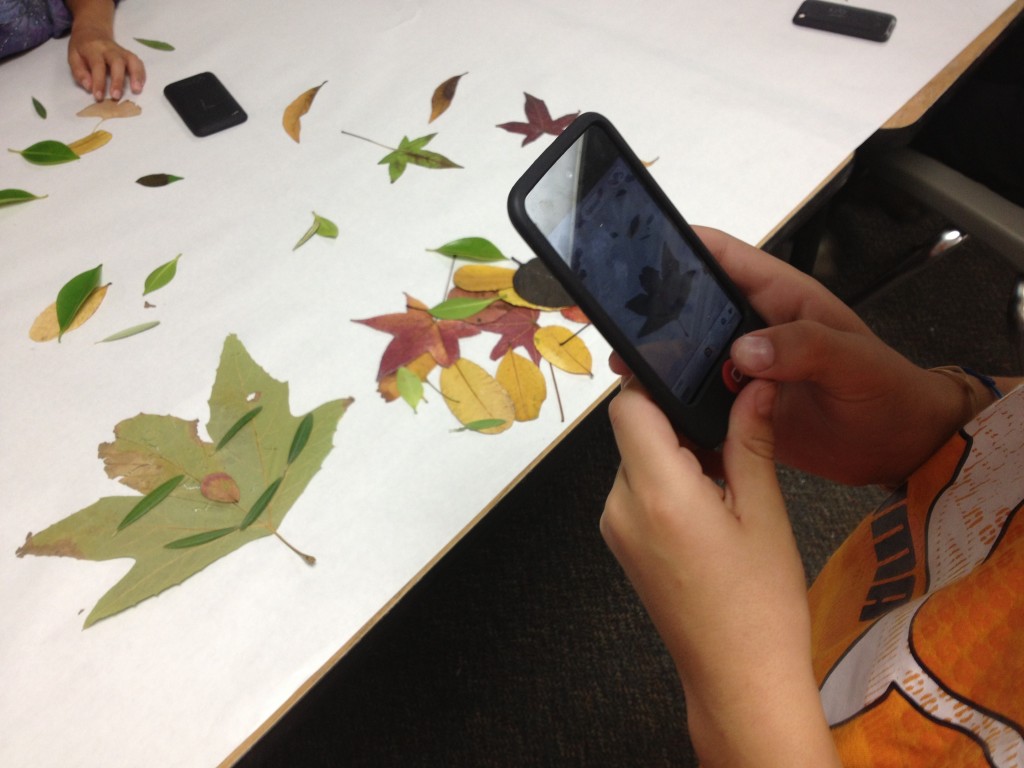
We used camera-equipped iPods to photograph our artworks. Our third grade is 1:1 iPod Touch so each child was able to take photos of their own creations.

Students used camera-equipped iPods to photograph their collages.

Students then rearranged their leaves and repeated the process. Most of our third graders made 3-5 animals during the 40 minute class.

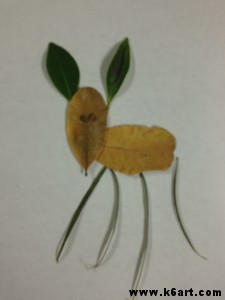
Third Grade Student Work:

Ashley’s alligator


Deer


Mouse

Fish

One of the benefits of this method is that students can re-use and share leaves. Remind your students not to crumble the leaves, and you can reuse them for multiple classes. Students can work alone, in pairs or in groups – there is no argument over who takes the work home because everyone can have a digital copy of the work.

Next class we will learn to rotate and crop our photos, and how to email them.

Display options:

  • Upload to Artsonia
  • Email the images home, or put them up on the class wiki
  • Create a large class poster of all the images for the art show
  • Students can write a paragraph about their animals, or illustrate a story.

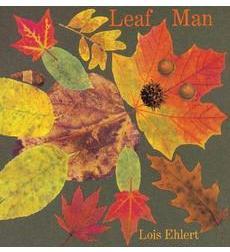
For further inspiration, check out the book Leaf Man by Lois Ehlert. The artist used real fallen leaves to create her illustrations.


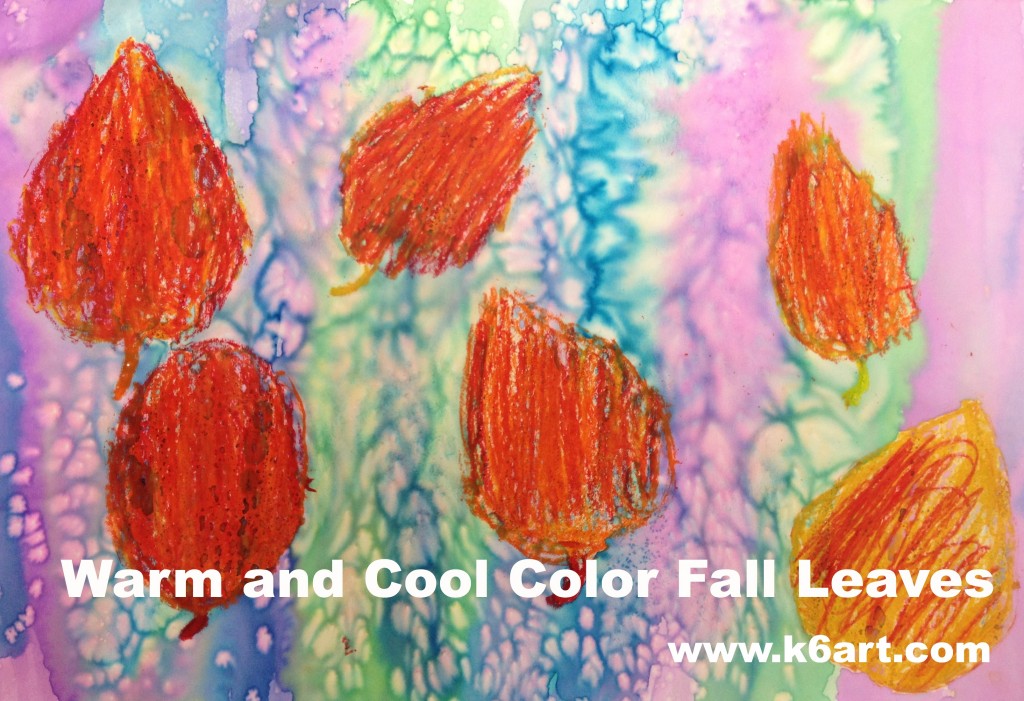
Warm and Cool Color Fall Leaves

It’s fall – time for a fall leaf project! This lesson takes just two 40-minute sessions and covers:

  • warm and cool colors
  • stenciling
  • organic shapes
  • positive and negative space
  • symmetry

Materials:

  • cardstock, cut into rectangles
  • pencils and erasers
  • scissors
  • white construction paper
  • oil pastels in warm colors (red, orange, yellow) (note: compensated affiliate link)
  • liquid watercolors in cool colors (purple, blue, green)
  • kosher salt (optional)

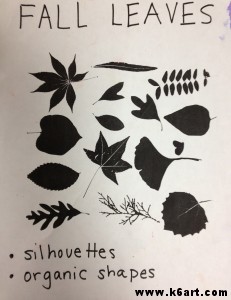
Leaf silhouettes


Session 1:

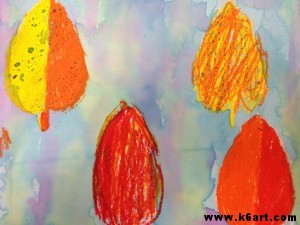
We looked at the silhouettes of fall leaves. We talked about the variety of leaf shapes. We discussed the difference between the organic leaf shapes and geometric shapes.

Next we created our stencils: students folded their cardstock, and drew a simple 1/2 leaf on the fold (note: don’t bother with a stem in your stencil design).

About 90% of second graders were able to design and cut a simple leaf stencil independently on their first attempt. As an alternative, you could cut stencils for your students.

Once we created the stencils we noticed they were symmetric. We also defined the leaf-shaped hole as the negative space and the leaf piece as the positive space.

Students stenciled multiple leaves . Some swapped stencils with their friends. After stenciling, they added a stem line to each leaf.

Paint leaves with cool color watercolors.

Session 2:

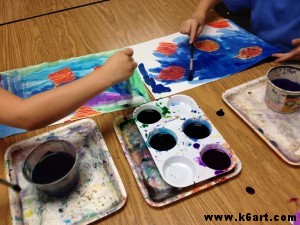
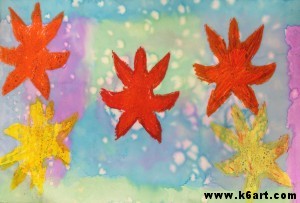
Students painted the leaves with liquid watercolors. They loved to see the oil pastel resist the paint. After painting, they had the option of sprinkling kosher salt on their wet art before placing their art on the drying rack.

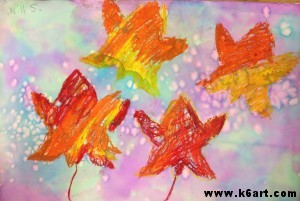
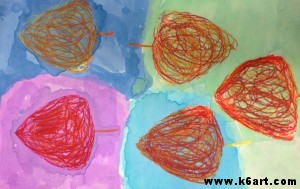
Second grade results

Fall leaves with salt added.

Fall leaves with salt added.

The project was extremely successful. The students really enjoyed the process, and reviewed a lot of art concepts.

This lesson was inspired by  this post on Kids Art Market and this post on Use Your Colored Pencils.

Do you have a favorite fall leaves project?

Fun Foam Prints: Quick and Easy!


Love printmaking? Try making your own stamps with self-adhesive fun foam stickers. It’s quick, easy, NEAT, inexpensive and 100% successful.

Materials:

  • cardboard squares, 3″x3″
  • self-adhesive foam stickers in various shapes such as these
  • scissors
  • hole punches
  • water-based markers (we used Crayola)
  • water-based stamp pads
  • paper for printing (we used copy paper)

Design the stamp:

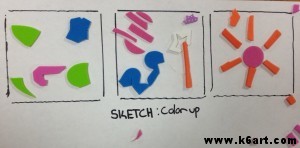
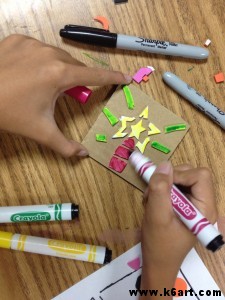
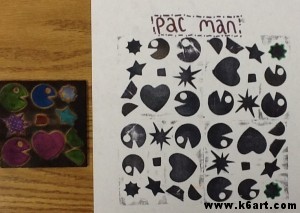
Students began by tracing their cardboard square three times on a sheet of copy paper. Then they arranged their foam pieces within the squares until they found a pleasing composition.

Students rearrange cut-up craft foam stickers until they find an arrangement they like. Don’t peel the stickers yet!

I had a random assortment of stickers on hand – letters, animals, stars, ovals….I encouraged the students to cut up/hole punch their stickers so that the stickers no longer resembled their original shapes. No letters or numbers allowed! Once they found a good arrangement, they peeled their stickers and stuck them on the cardboard squares.

Assignment 1: print with colored markers

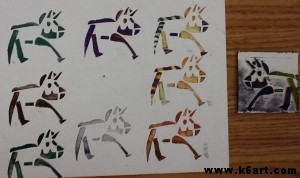
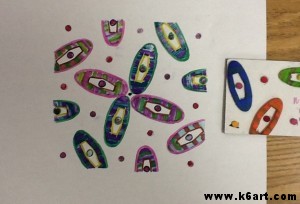
Next students inked their stamps with Crayola markers and printed on a clean piece of paper.

Ink the foam with markers. Use a variety of colors.

Print! Then re-ink and print again. You go over the stamp with another color of ink for subsequent printings.

Inking plate with multiple colored markers allows students to make some beautiful color combinations.

Triceratops print.

Assignment 2: Radial design print

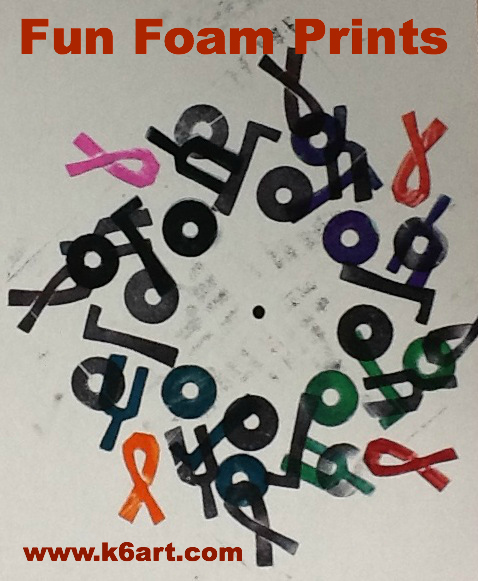
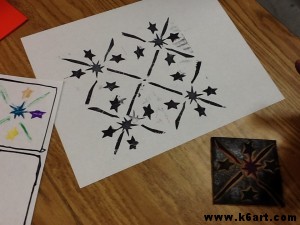
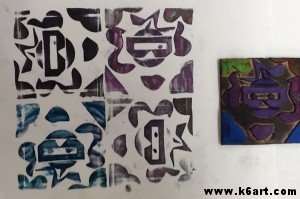
Place on dot in the center of a clean piece of paper. Flip stamp over to back and draw arrow on cardboard pointing to one corner.

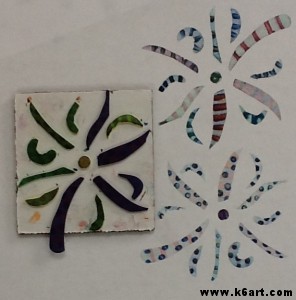
Ink stamp with stamp pad. Print so arrow points to the center dot. Re-ink and print again, rotating stamp so arrow always points towards center dot.

Pac Man

Thumbs up!

Color radial print.

The galaxy.

So much fun! 100% of sixth graders had success with this project. I think third graders and older could succeed with this project.

20121111-062923.jpg

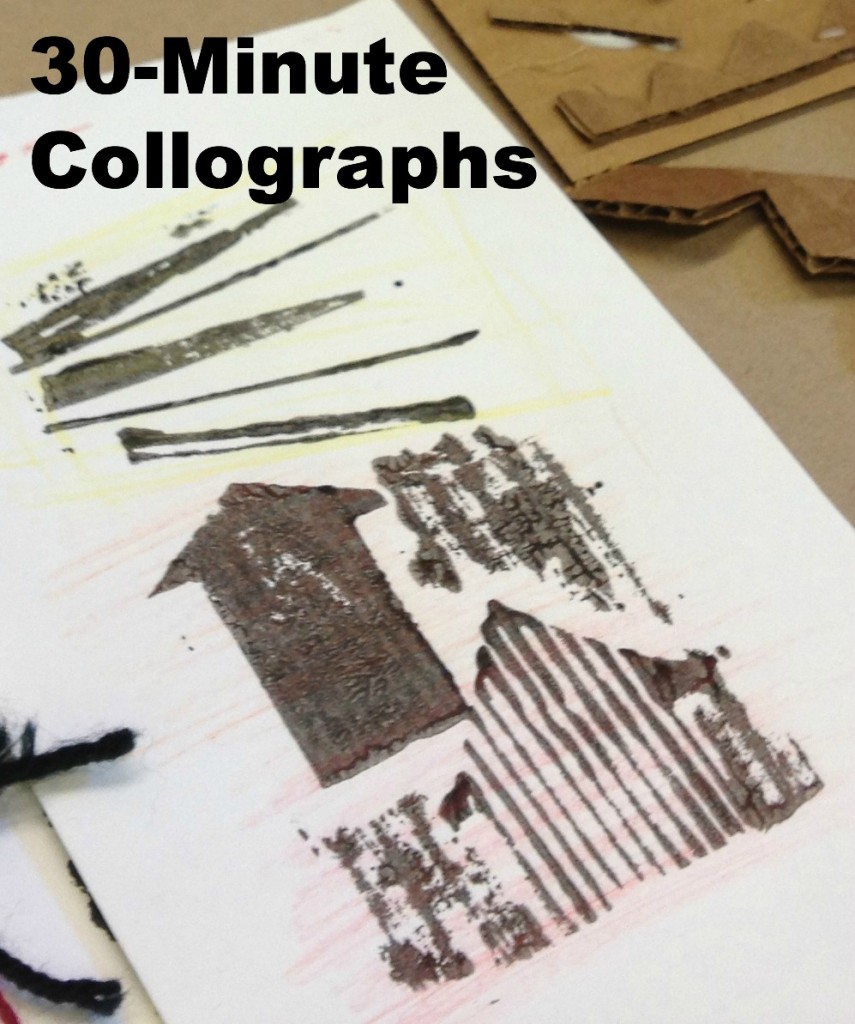
30-Minute Collograph Printmaking


Want to try a printmaking project that is quick, fun, versatile and inexpensive? Try collographs.


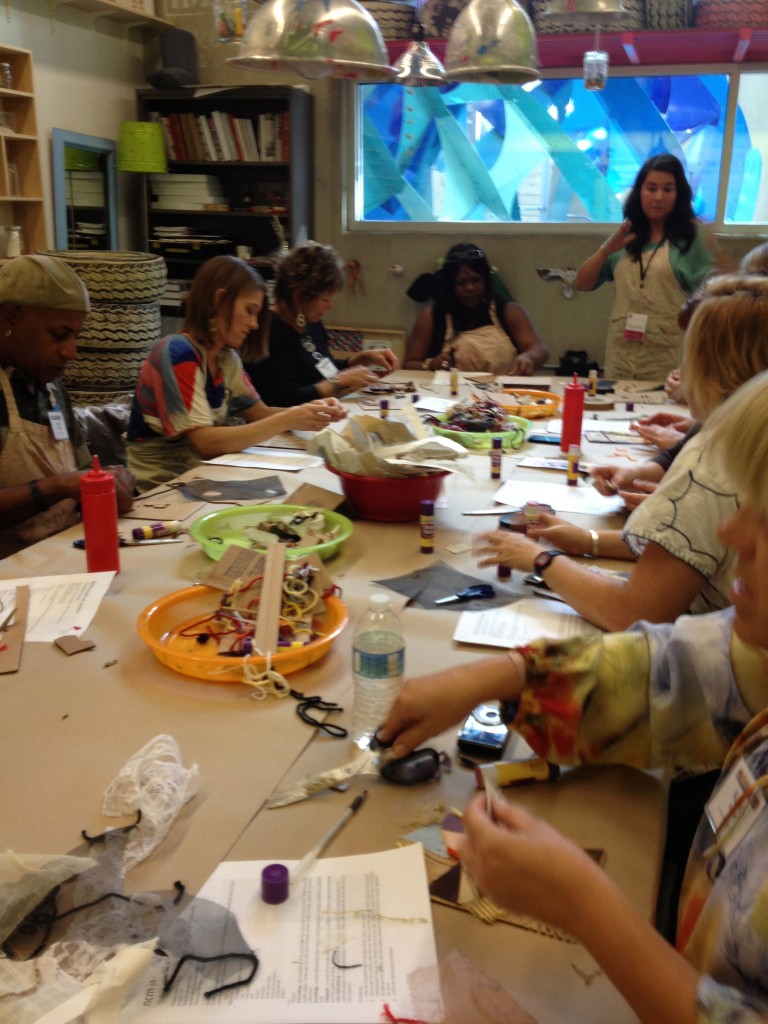
Maxi Moraga leads collograph workshop in NCM’s art education room.

I took Maxi Moraga’s fabulous collograph workshop last month at San Diego’s New Children’s Museum. This workshop tied in to the NCM’s current exhibition, TRASH, so we used lots of recycled/discarded items to create our printing plates.

Materials:

  • cardboard rectangles (we used corrugated)
  • bits of textured fabric, including mesh and screening
  • yarn
  • cardboard
  • masking tape
  • glue sticks
  • white glue
  • scissors
  • printer’s ink in assorted colors
  • brayers
  • trays for ink
  • paper for printing (cardstock is OK)
  • colored pencils

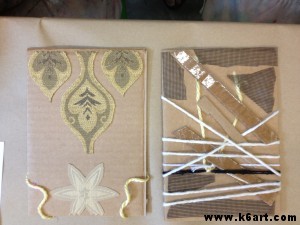
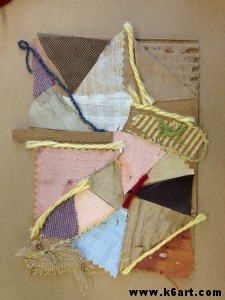
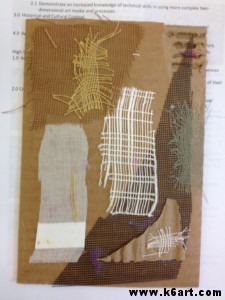
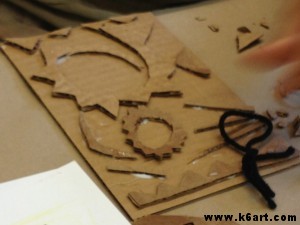
We began by creating printing plates. We collaged various items to our cardboard rectangles (note: Maxi strongly encouraged us to use glue stick).  Here are some of the plates:

Collograph plates. Yarn is simply wrapped around the plate.

Tip: after completing plate, ask students to flip plate upside down on their chairs and sit on them for 60 seconds! Now your plate is really glued down and ready to print.

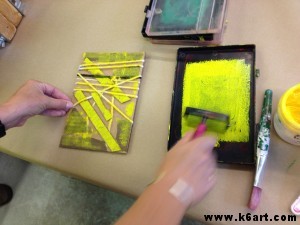
Next, we applied printer’s ink to our plates using these mini-brayers and recycled plastic trays. I love that the tray has a lip to keep the brayer constrained. Great when you are printing with young children!

Apply printer’s ink with a brayer.

We didn’t use a press. We simply put the paper over the inked plate and rubbed the paper carefully with our hands.

Options:

  • use a paper towel to selectively remove ink from the plate before printing.
  • create a print using two or more colors of ink
  • color the paper before and/or after printing.

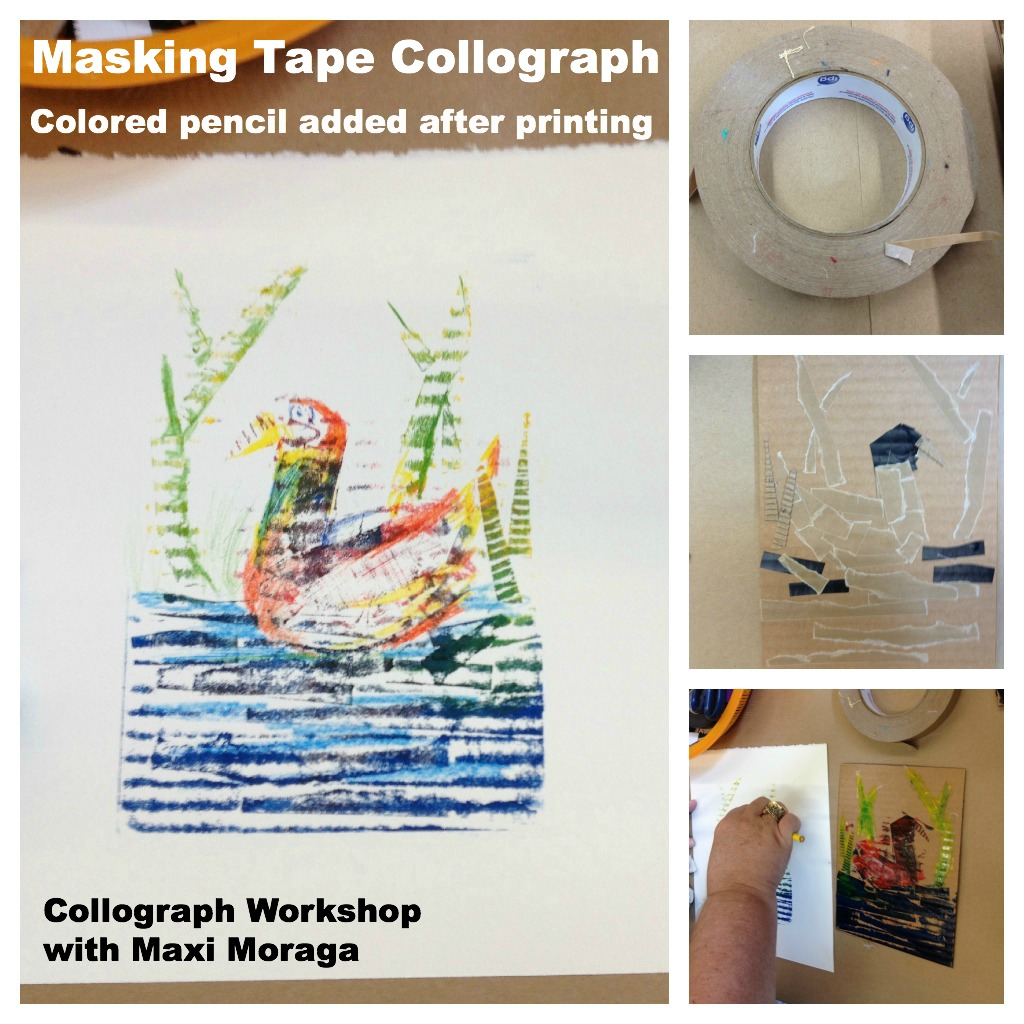
My favorite piece is the masking tape collograph made with corrugated cardboard.

Because of the emphasis on recycled materials, this would be a nice Earth Day project as well!

Whether you are a parent or a teacher, be sure to check out the New Children’s Museum when you visit San Diego. The museum offers art-making activities for children EVERY DAY. I wrote more about the museum in this post.

Do you have a favorite printmaking project?

UPDATE: 12/16/13: Check out my new post – ‘Holiday Collagraph Crayon Rubbings’

Enjoy!

Related Posts Plugin for WordPress, Blogger...