More Photos from Art Show 2014

Here are some more photos from Art Show 2014.  Thanks again to Devan, our art show chair (and party planning/layout genius) and all the AMAZING art show and art room volunteers who put this show together.

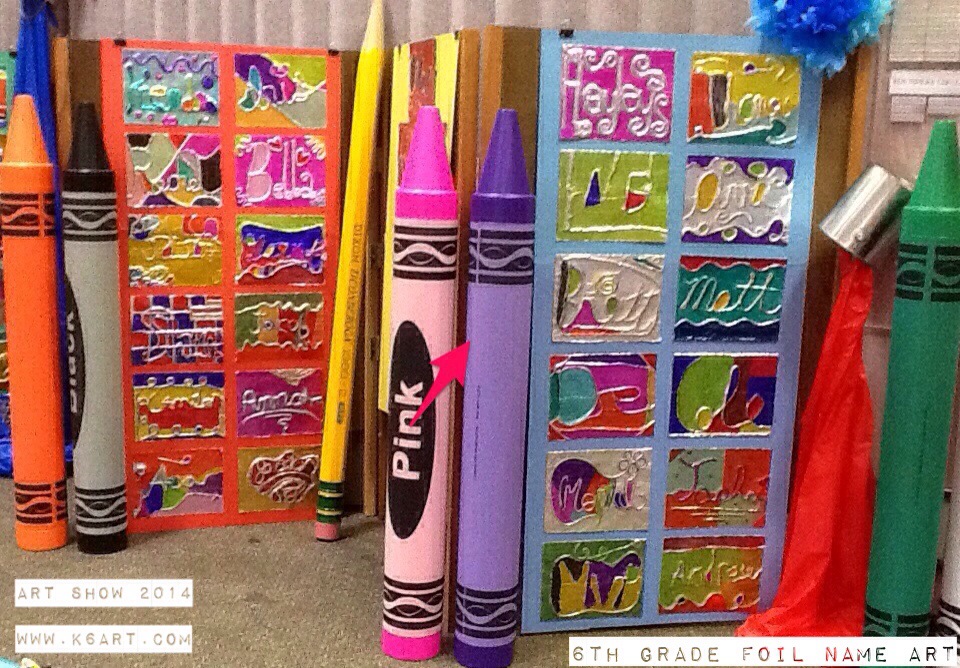
Sixth grade foil name art. Click here for lesson plan

Upper grade display

Foil name art (and those awesome decorations!) in the upper grade area.

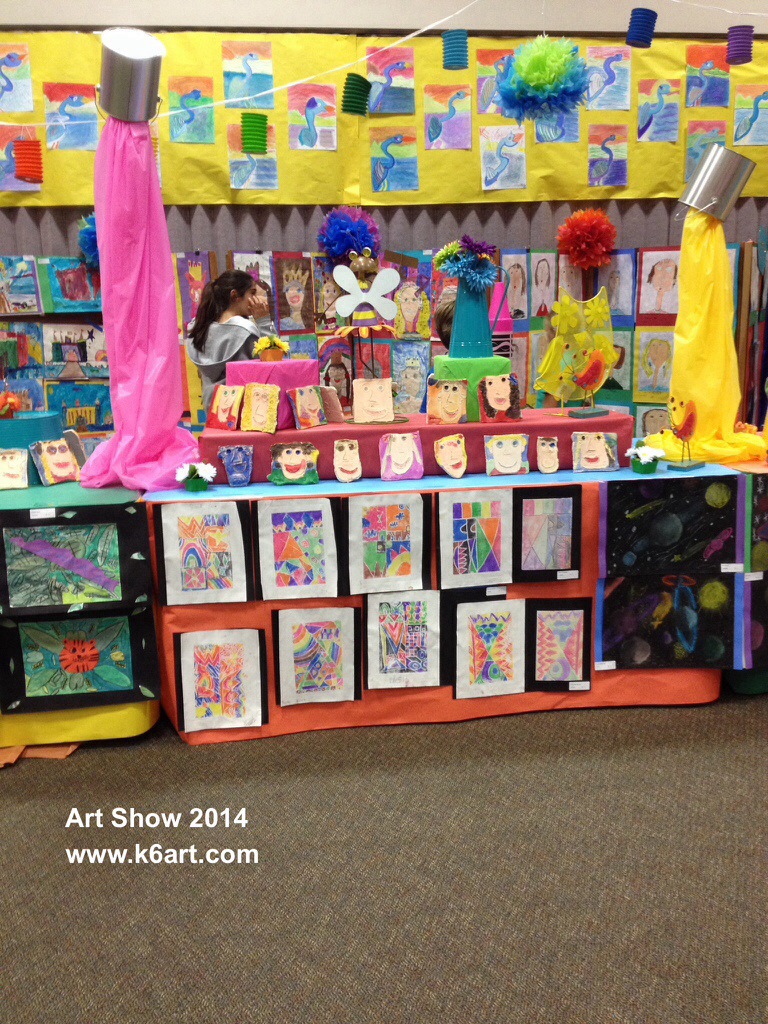
Primary grade display

First grade clay self-portraits on table top. Click here for lesson. On skirt: marker and foam prints lesson plan at shine Brite Zamorano. Above on wall: baby oil and oil pastel herons. Click here for lesson.

Marker prints, clay faces and great blue herons in the K-3 area.

Marker prints, clay faces and great blue herons in the K-3 area.

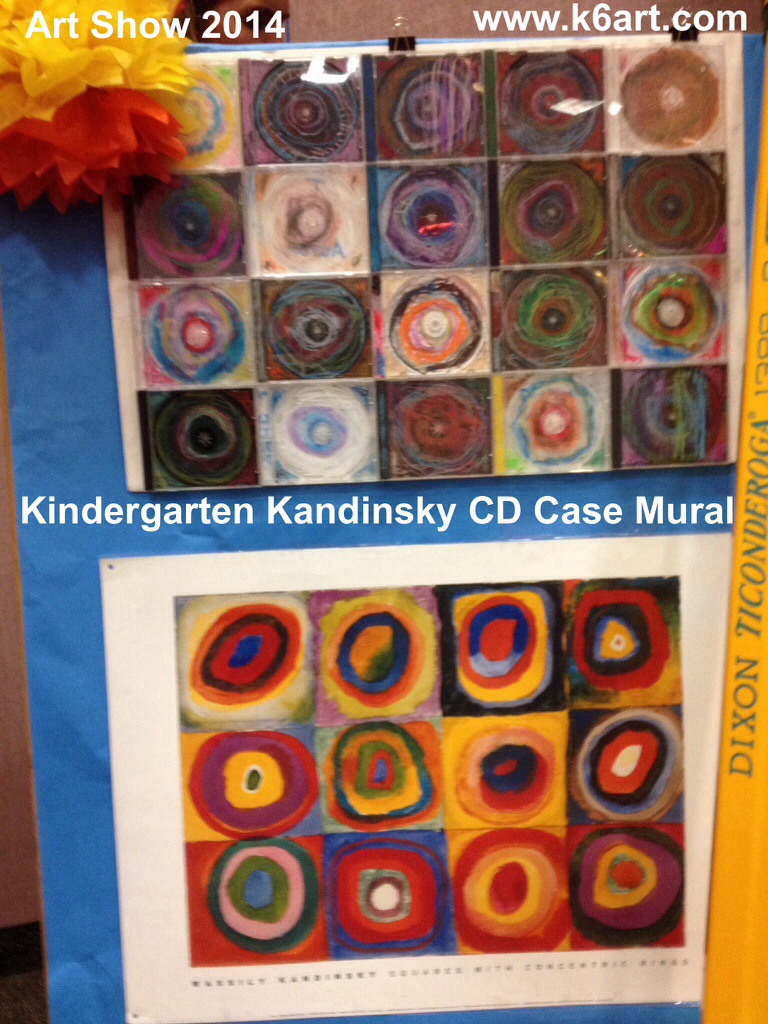
Kindergarten Kandinsky CD Case Circles Mural

Click here for the lesson plan. The lesson went incredibly well. The mural was mounted on foam core using the 3M clear mounting tape.

Primary grade display

Kandinsky CD case circles mural

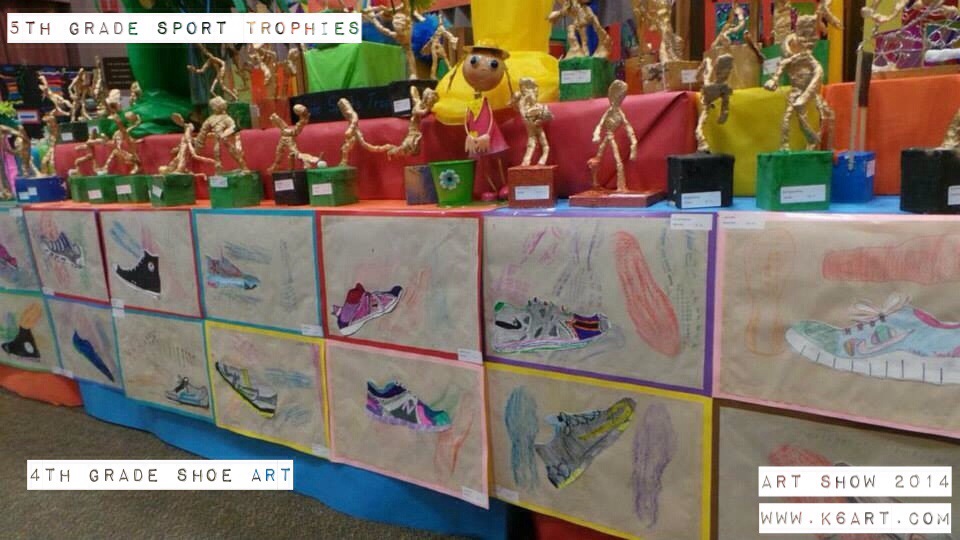
Shoe Art and Sport Trophies:

On the table skirt: fourth grade shoe art. Click here for lesson. This is a 100% successful lesson.

Fifth grade sport trophies. Click here for lesson.

Upper grade art display

Shoe art and sport trophies in the upper grade area.

Upper grade display

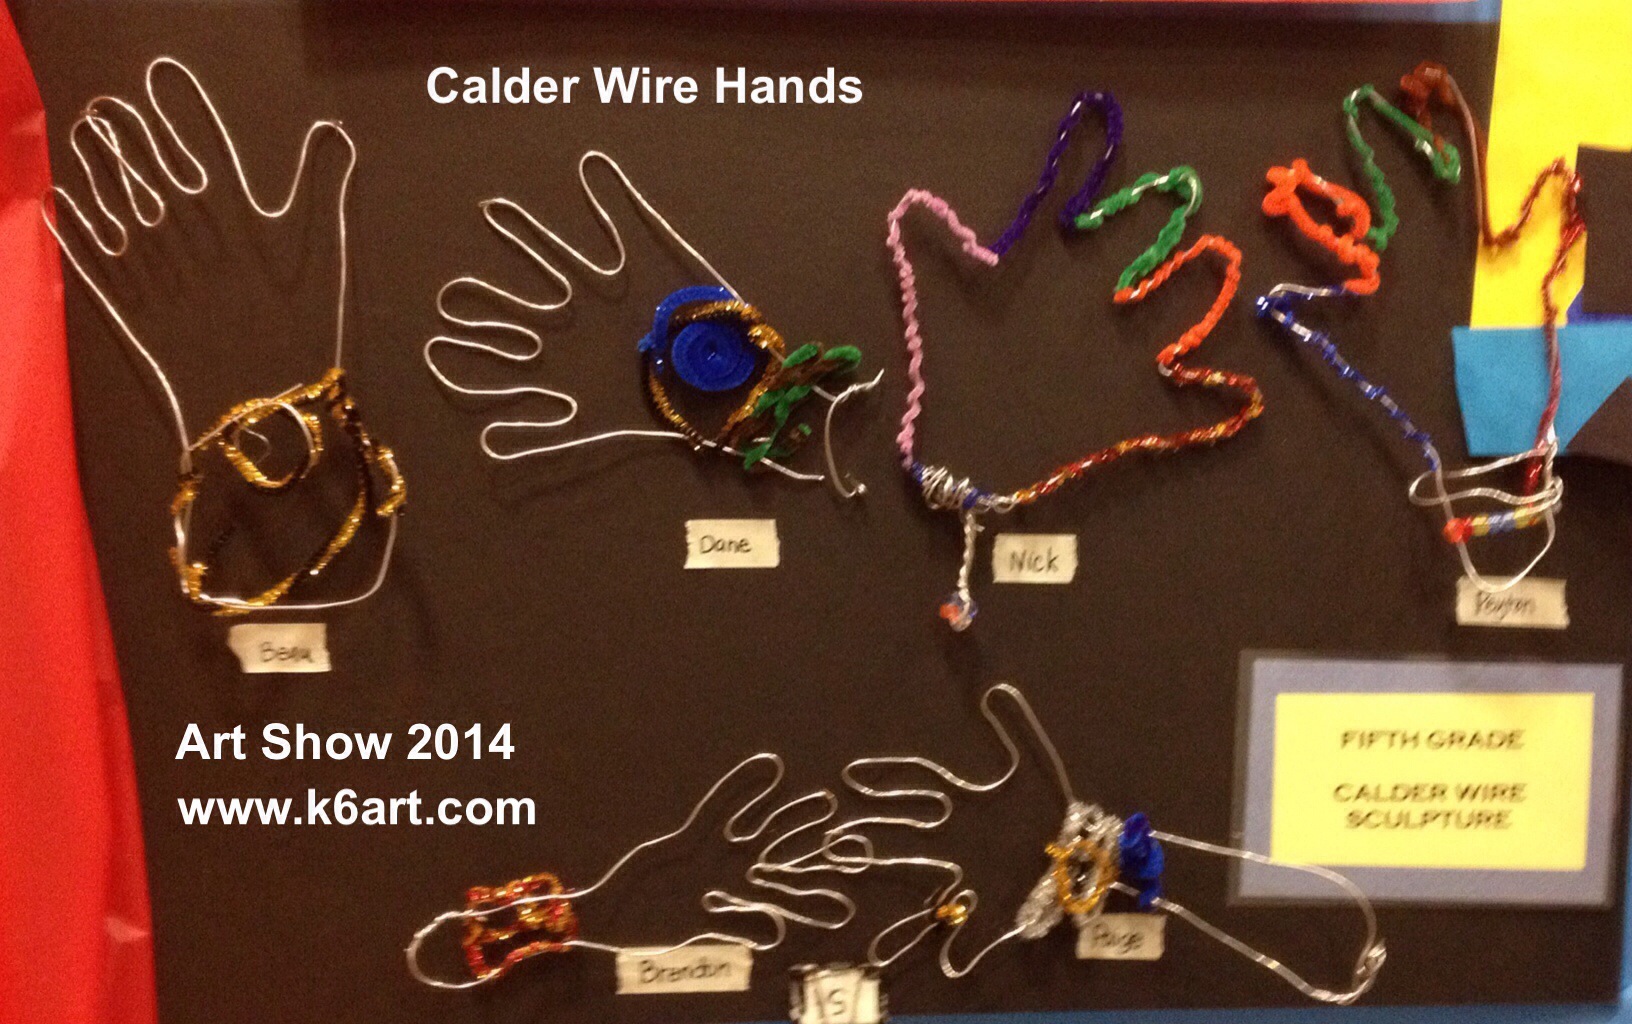
Calder wire hands

Want more pictures? Check out our first post from Art Show 2014. And check out Art Show 2013 and Art Show 2012! Click here for more on Devan’s space-saving displays.

Our volunteers are the best! Our school is blessed to have the help of parents year-round in the art room. We had some amazing, hard-working parents who hung this show in just three days.

It was our last show with Devan as chair. We will really miss her vision and energy. How fortunate we are to have had her help these past four shows.

Enjoy!!!!!

What’s your best tip for a successful art show?


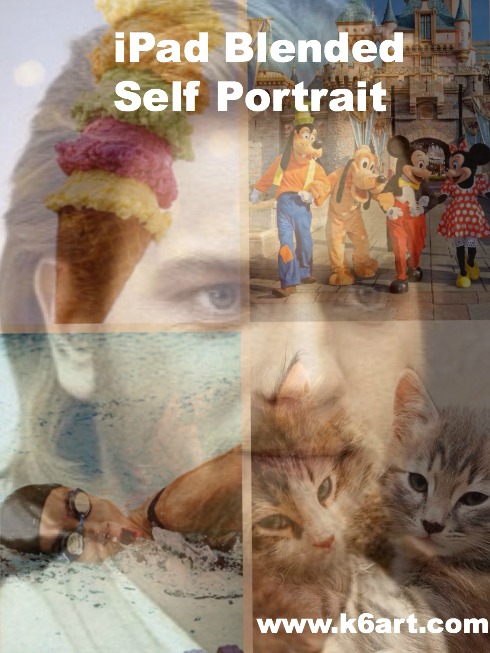
iPad Blended Self-Portrait


iPad blended self portrait

Our 6th grade did some quick blended self portraits using their iPads and two free apps: Pic Collage and Sketchbook X. The goal of the lesson was to learn the layers, free transform and opacity tools in Sketchbook X.

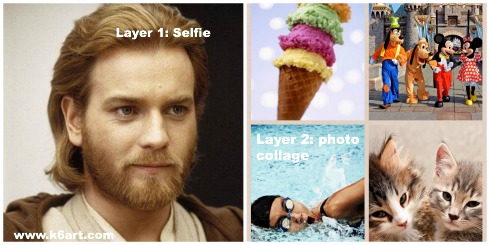
Obi-wan's favorite pet, vacation, activity and food are combined into a layered self portrait.

Obi-wan’s favorite pet, vacation, activity and food are combined into a blended self portrait. Allow one 40-minute class.

Step 1: Pic Collage App: create a photo collage of your favorite things

Students had to find four images representing

  • a pet (or dream pet)
  • favorite vacation (or dream vacation)
  • favorite food and
  • favorite activity or sport

The Pic Collage app allows students to add photos directly from the web without a Google image search. The students arranged them in a grid template, then saved to the iPad camera roll.

Step 2: Sketchbook X App: working with layers and free transform

In Sketchbook X, students created two layers. Layer one was used to shoot a selfie, and layer two was used to import the photo collage from the camera roll. For many students it was necessary to use the free transform tool to resize the photos to fill the screen. .

Step 3: Sketchbook X app: Adjust the opacity to reveal the blended self portrait

Students used the opacity slider in the first layer to reduce opacity and reveal the photo collage layer underneath.

I create a 10 minute video tutorial of the process.

https://www.youtube.com/watch?v=f7U1AbiahXA

Students saved their completed portraits to their camera roll, then turned them in to me electronically via Google drive.  Click here to read about how students turn in digital art.

Notes:

  •  Instead of finding photos on Google image, use students’ personal pet and vacation photos. Students could bring them to class as printed photos, or digitally via Google drive.
  • Want to skip Sketchbook X? Combine your photos with free photo blending apps, such as  iBlendy2 or Photoblend.
  • Video tutorial recorded with the AirServer app for Mac.

Enjoy!

iPad Symmetric Butterflies

20140318-083501.jpg

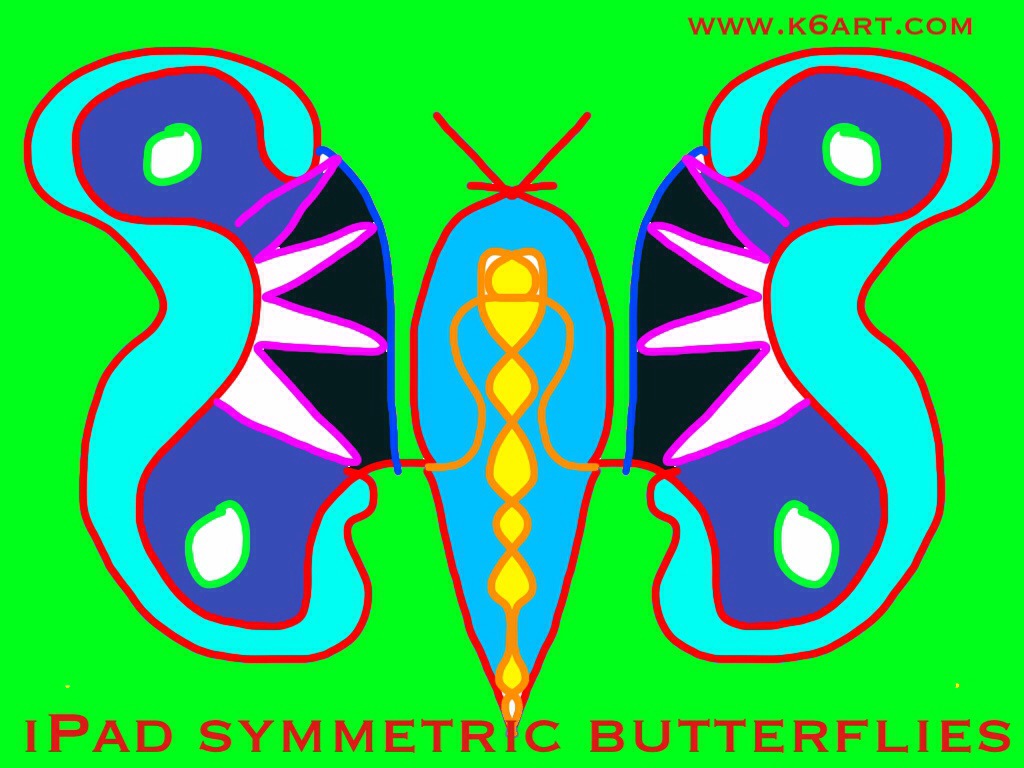
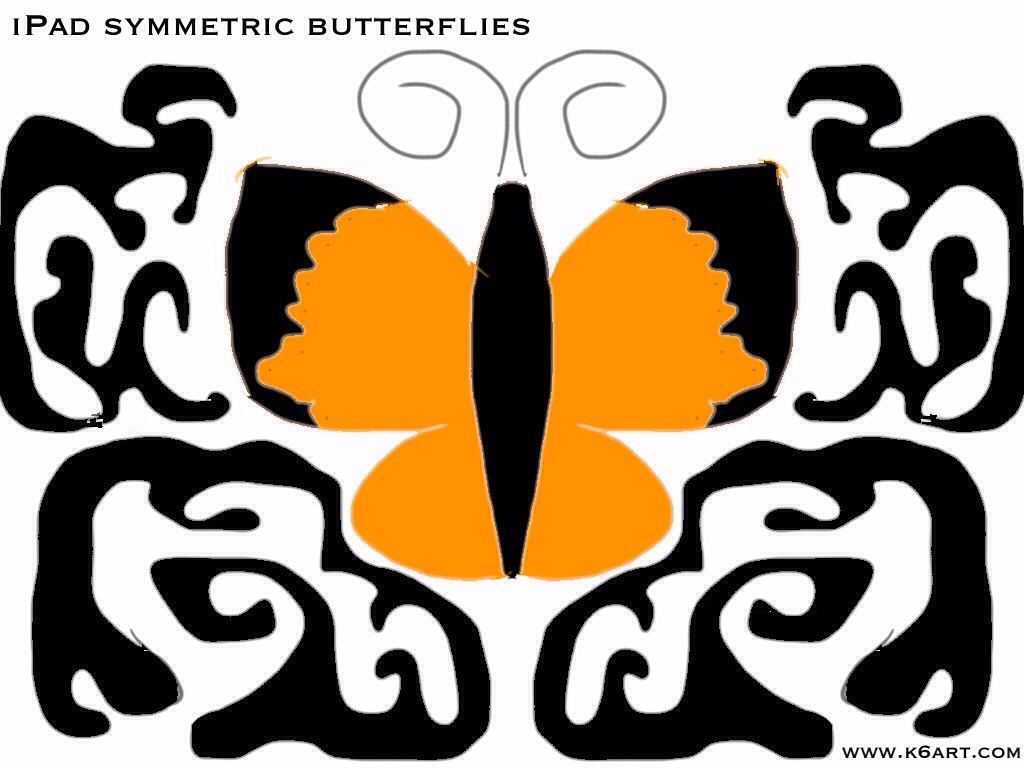
Spring arrives this month. It’s time for a butterfly art project. This year our 6th graders created symmetric butterflies using iPads and the free app Sketchbook X. We are a 1:1 iPad school; students created a butterfly on their own iPad during a single 40 minute class.

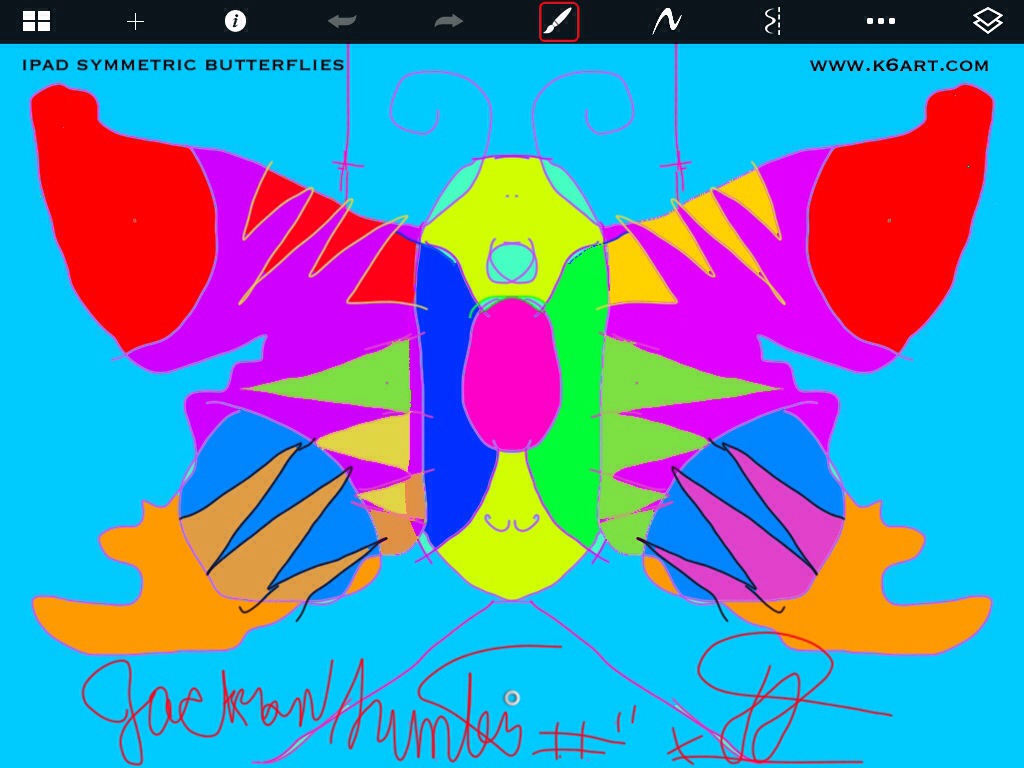
We used two basic tools: the symmetric drawing feature and flood fill.

20140318-084455.jpg

Background design

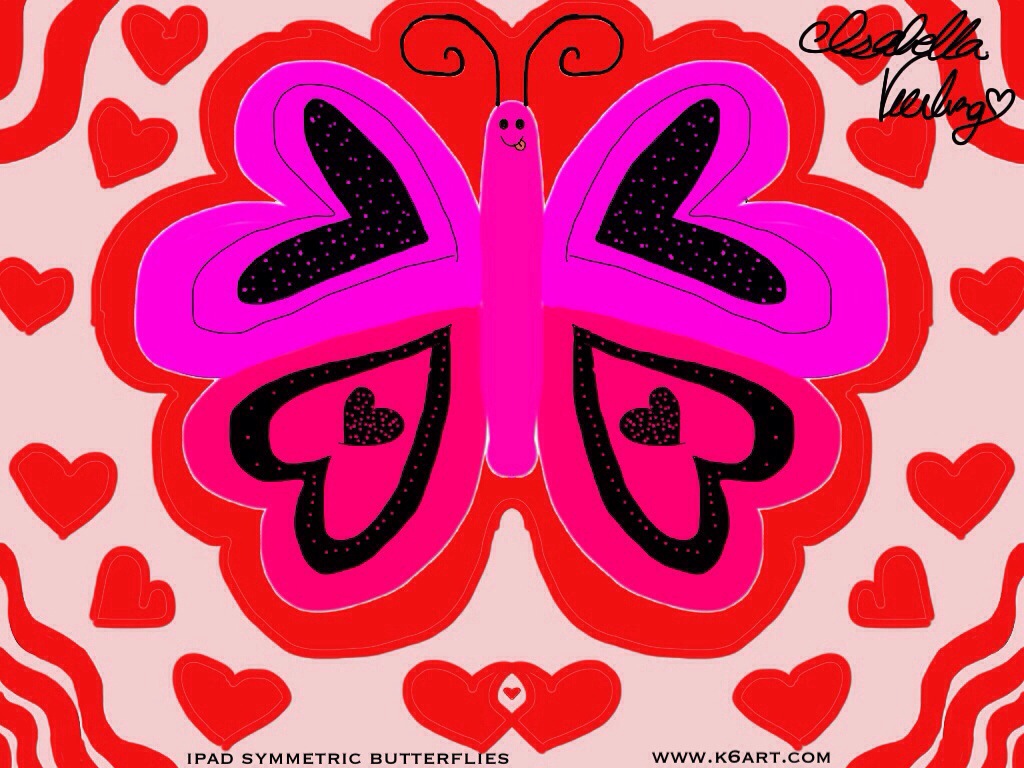
Students had the option of using a colorful background, or of filling the negative space with a design. I love how this student created a background design that echoes the wing design.

Flood Fill to Color Individual Sections

20140318-085636.jpg

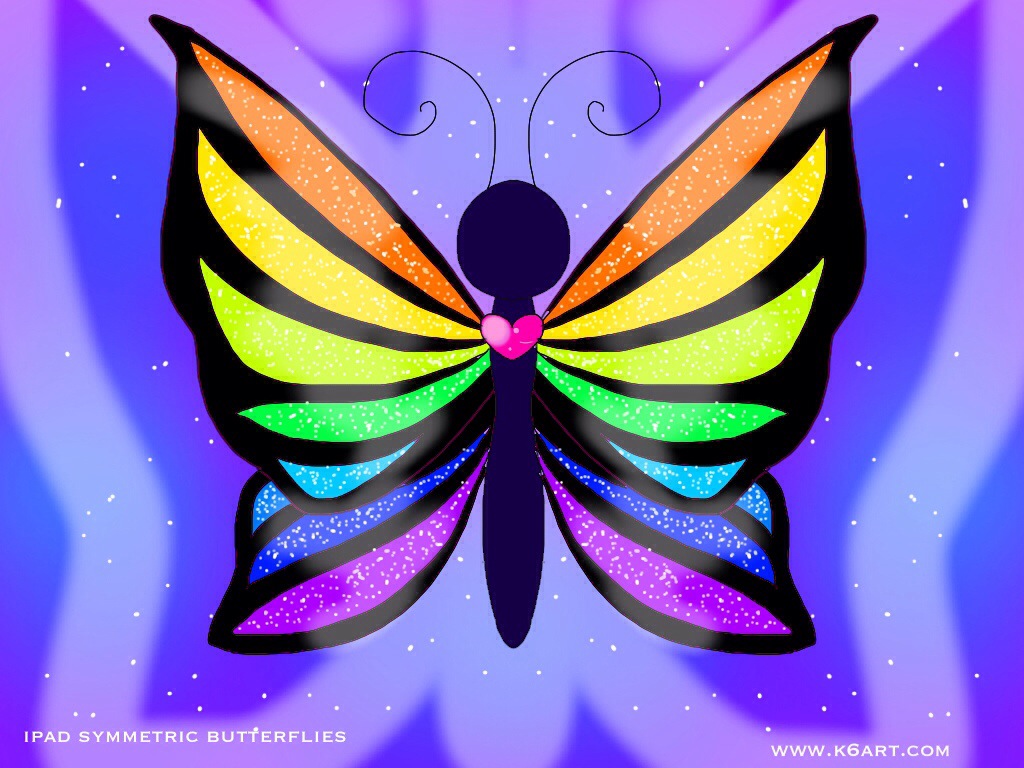
Notice how the lines are symmetric but the colors aren’t?

20140318-085119.jpg

Love it!

20140318-090152.jpg

Using Layers For Complex Designs

Finally, here is the butterfly from our most advanced student. This design incorporates the layer tool on Sketchbook X. I’m going to ask this student to guide the class through a layer tool lesson at our next iPad art session.

Use Shared ‘Turn in’ Folder on Google Drive to Collect Student Work

Our sixth graders use Google drive in their general Ed classrooms and are familiar with it. Here are the steps we used to turn in digital art:

1. I set up a ‘turn in art’ folder for each sixth grade class.
2. I shared it with each student in the class. To do this, I had to individually enter each student’s school email address. I walked around the class with my iPad and had each student type in their own address. This took less than a minute per student, and I did it while they worked.
3. The students saved their butterflies to their camera rolls.
4. The students opened google drive and uploaded their butterflies to the shared folder. They had to rename the photo with their first names.

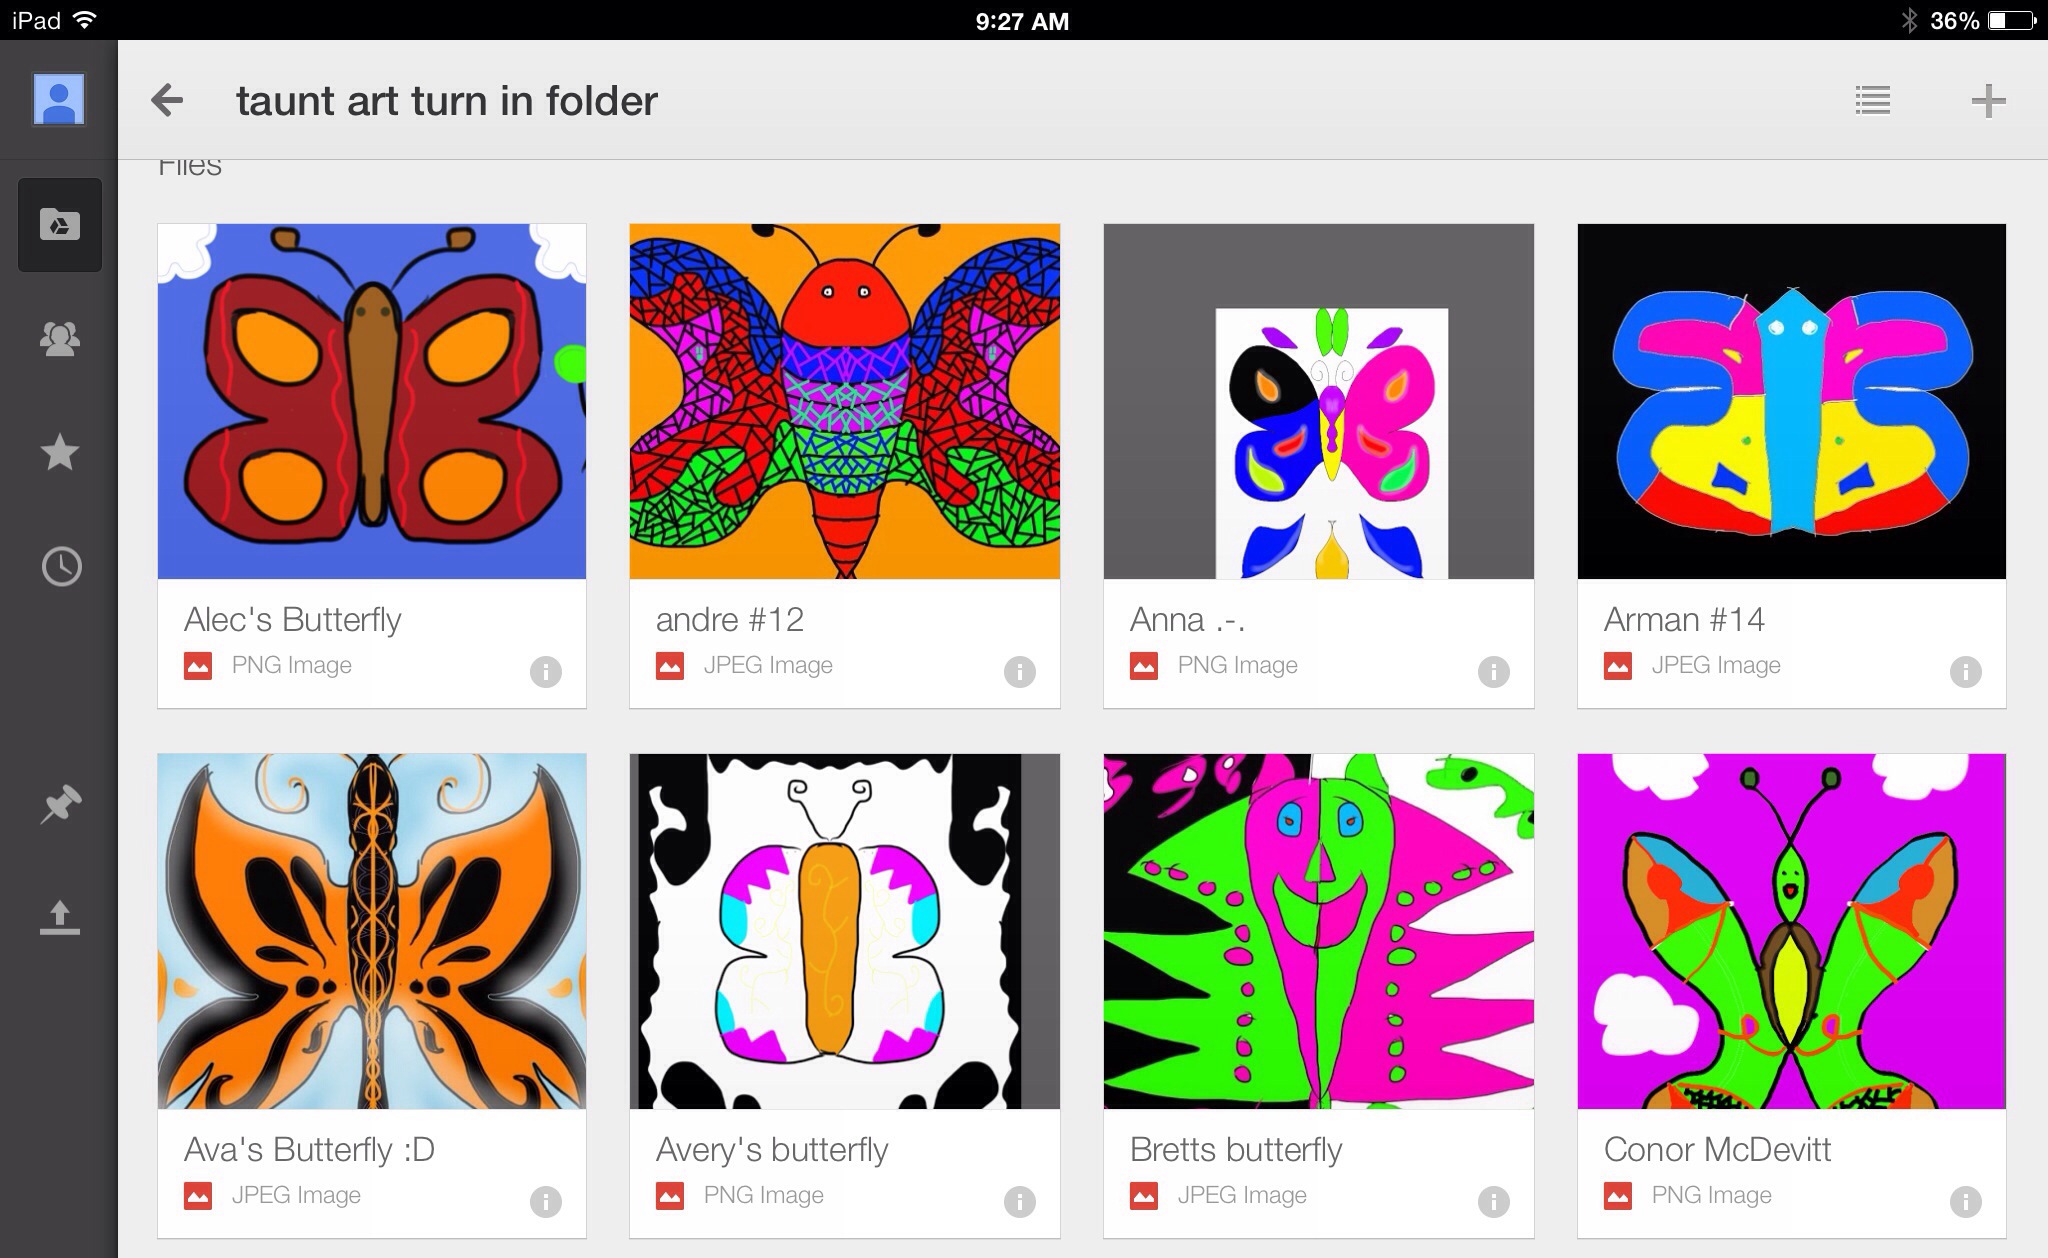
Here’s what the turn in folder looked like at the end of class

20140318-092913.jpg

Don’t be Afraid

Check out Sketchbook X tutorials on YouTube. Ask students for help ahead of time – I did! My students are ‘digital natives’ – they mastered the whole process better than I did. In fact, our school has a ‘genius bar’ staffed by tech savvy sixth graders.

Here is a basic Sketchbook X tutorial for the art room from Tricia Fuglestad.

Enjoy!

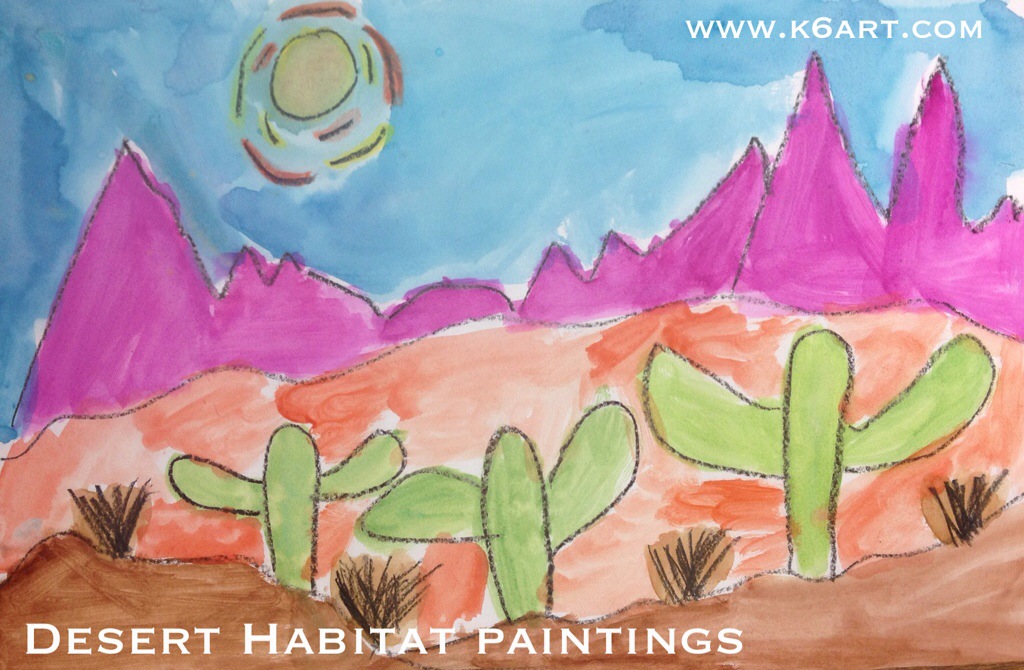
Desert habitat paintings

20140316-101448.jpg
Each year our third graders study habitats (also known as biomes) in the science lab, in the General Ed classroom, and in the art room. These colorful watercolor paintings are our contribution to the habitat unit.

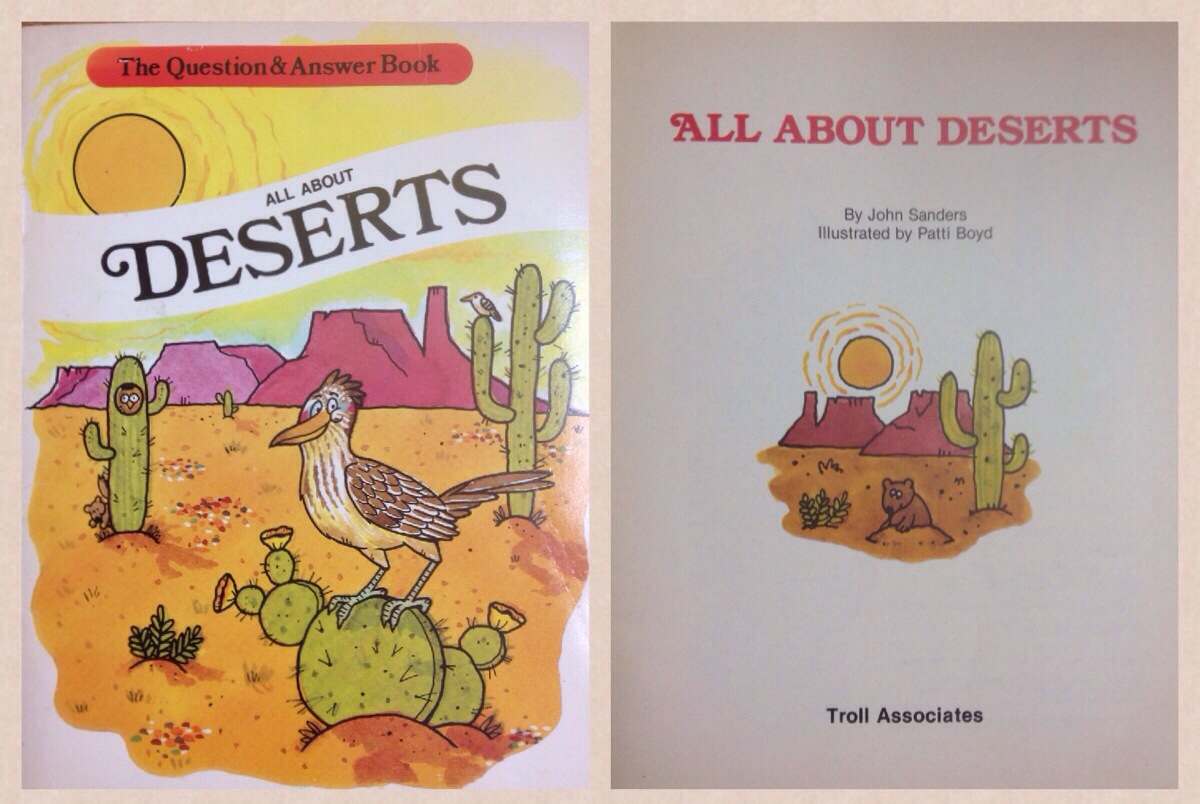
We began by looking at All about Deserts (Question & Answer Books)by John Sanders and Patti Boyd.

20140316-102300.jpg

The book was full of fun facts and charming illustrations. We looked carefully at the desert landscape illustrations and identified foreground, middle ground and background. I emphasized that to create a sense of depth, items in the foreground should appear larger and more detailed while items in the background should appear smaller. I modeled several simple line drawings so they could get the hang of it.

We used just three materials: sulphite drawing paper, black crayons, and pan watercolor. We created the black crayon drawing on day one and painted it on day two.

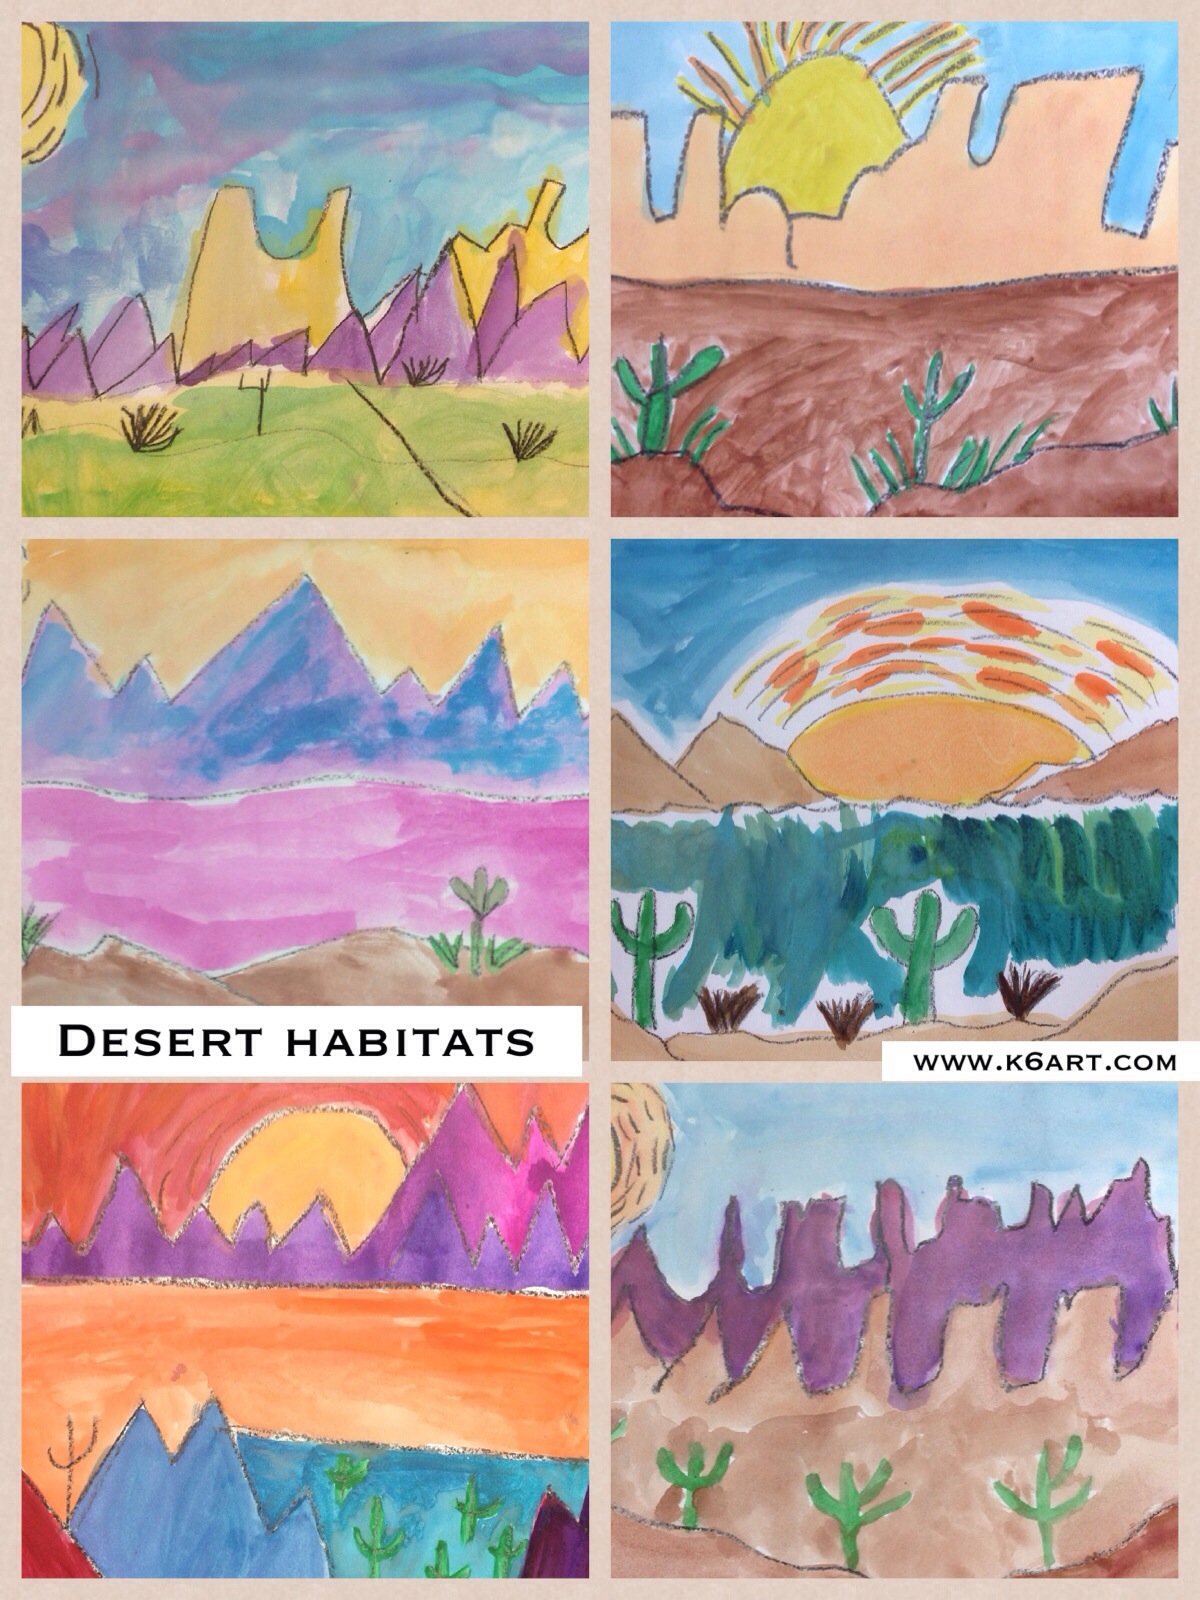
Third grade results:

20140316-103059.jpg

I am happy to report that this project was highly successful with the third graders.

Enjoy!

Rina

Fun Photo Illustrations Inspired by Javier Perez

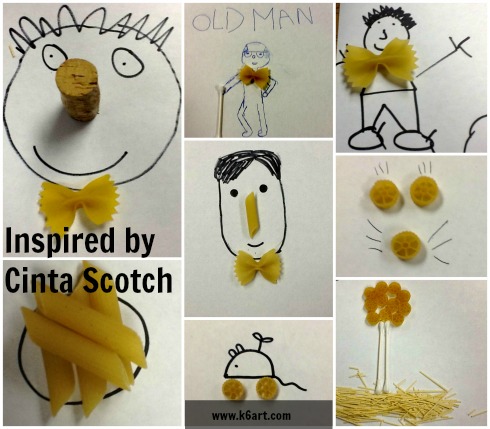
sixth grade cinta scotch pin #3

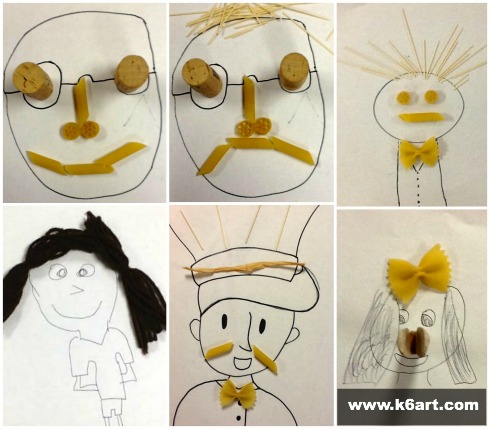
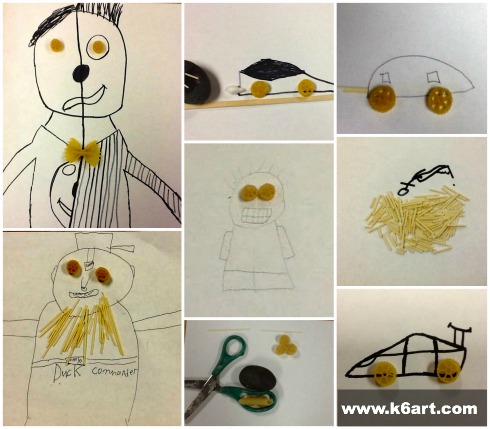
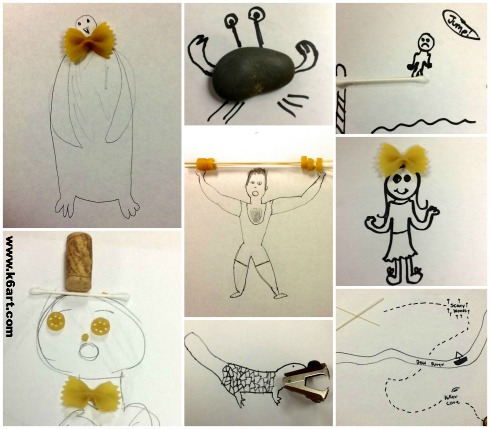
Our sixth graders just finished a quick, highly engaging photography/drawing project.

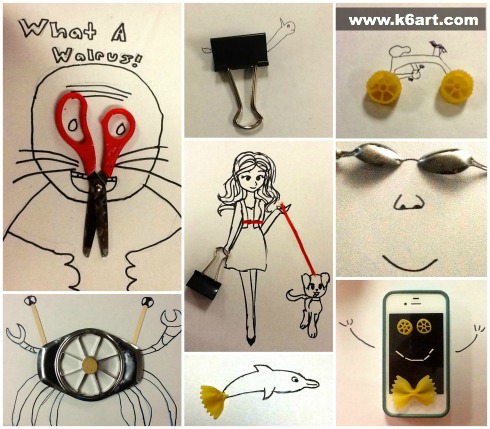
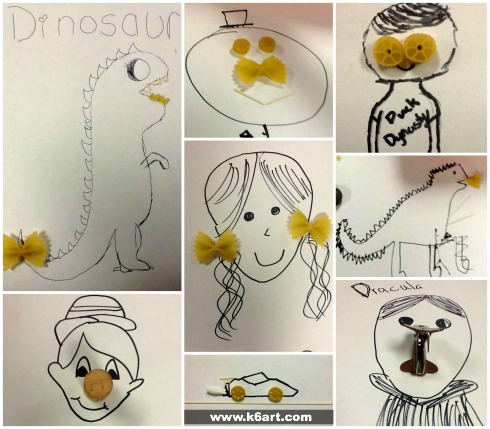
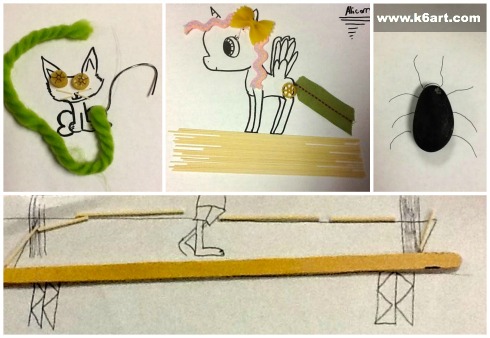
This project was inspired by the work of Ecuadorian artist/art director Javier Perez , also known by the nickname ‘Cinta Scotch’. He uses found objects plus ink to create simple, witty illustrations which he shares with his followers on social media.

I gave each table copy paper, sharpies, and a bin containing a bunch of random objects (office supplies, pasta, some kitchen tools, corks and other odds and ends). They created these artworks, and photographed them with iPads. Each kid was able to create at least two during a single 40-minute class.

You can see Javier Perez’ body of work on Instagram or on his Facebook page. 

sixth grade cinta scotch pin #1


sixth grade cinta scotch pin #2


sixth grade cinta scotch pin #7 sixth grade cinta scotch pin #6 sixth grade cinta scotch pin #5 sixth grade cinta scotch pin #4

After our sixth graders completed the project, I shared these photos with Mr. Perez via Facebook. He was pleased with the student work. Cool!

Enjoy!

Related Posts Plugin for WordPress, Blogger...