Shrinky Dink Valentines


shrinky dink valentines

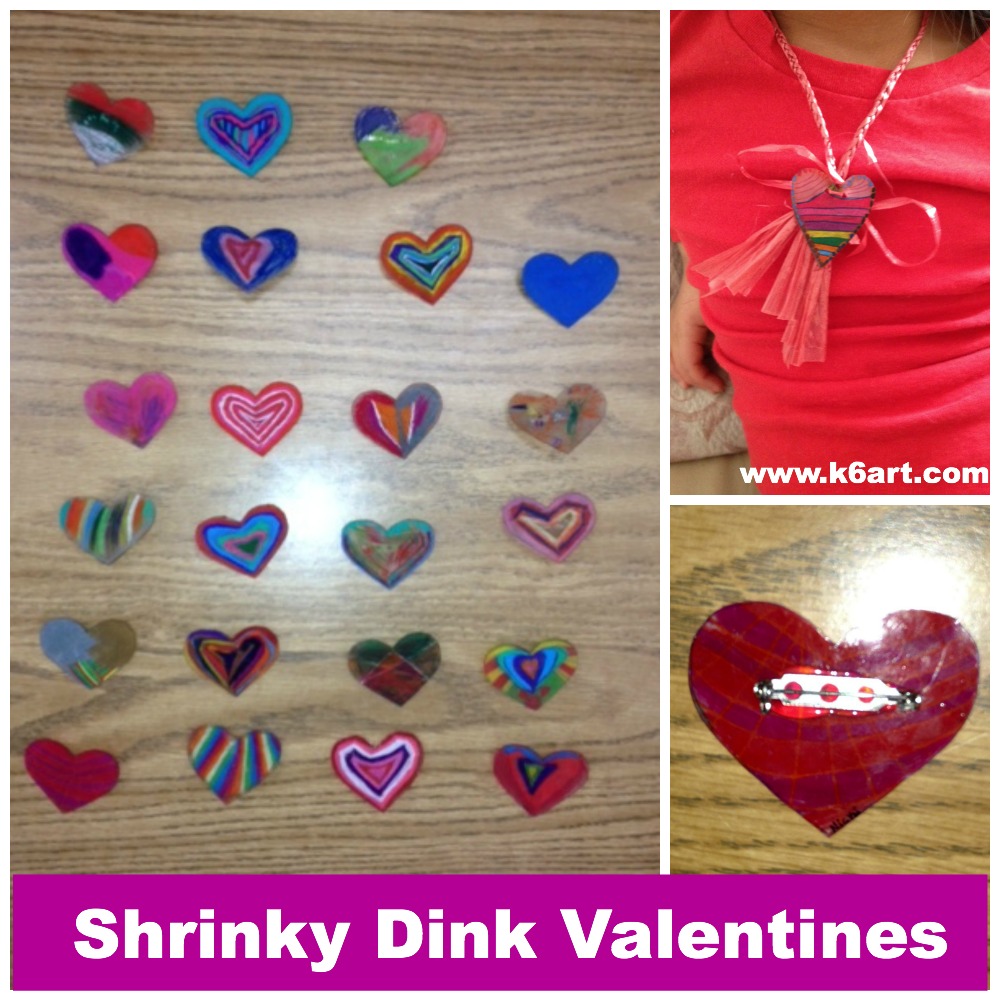
If you want a fun, colorful Valentines day craft project, try Shrinky Dinks!

What? You’ve never tried Shrinky Dinks? They are sheets of thin plastic. You color, cut and bake them. When baked, they shrink to 1/3 the size! They have been popular since the 1970s and kids LOVE them. Watch this brief video to see how they work.

Materials:

Cut and Color

Option 1) Cut each sheet of plastic into quarters (I do this on the paper cutter) and distribute. Students draw a heart, color it on the frosted side with colored pencils, and cut it out themselves. The heart necklace above was made this way.

Option 2) Adult pre-cuts the hearts and distributes. Students color with colored pencils. All the heart pins in the photo above were made this way (with the help of a parent volunteer).

Bake at 325F

Then bake in a toaster oven or regular oven at 325 degrees F for about three minutes. Tip: watch the shrinky dinks through the oven window. They need to curl up and then flatten.  Don’t take them out before they’ve flattened! We let them flatten, count to 30 and then remove from the oven.

For this project, one of our teachers brought her toaster oven to school and called her students two by two to watch their valentines shrink. THEY LOVED IT!

Necklace, Pin or Magnet

For a necklace, punch with a hole punch BEFORE baking. For a pin, hot glue on a pin back after baking. You can use magnetic tape or hot glue on a magnet.

Happy Valentines Day!

Enjoy!

Happy Throwback Thursday! Stop by on Thursdays to see ‘old school’ art projects!


CD Case Greeting Cards

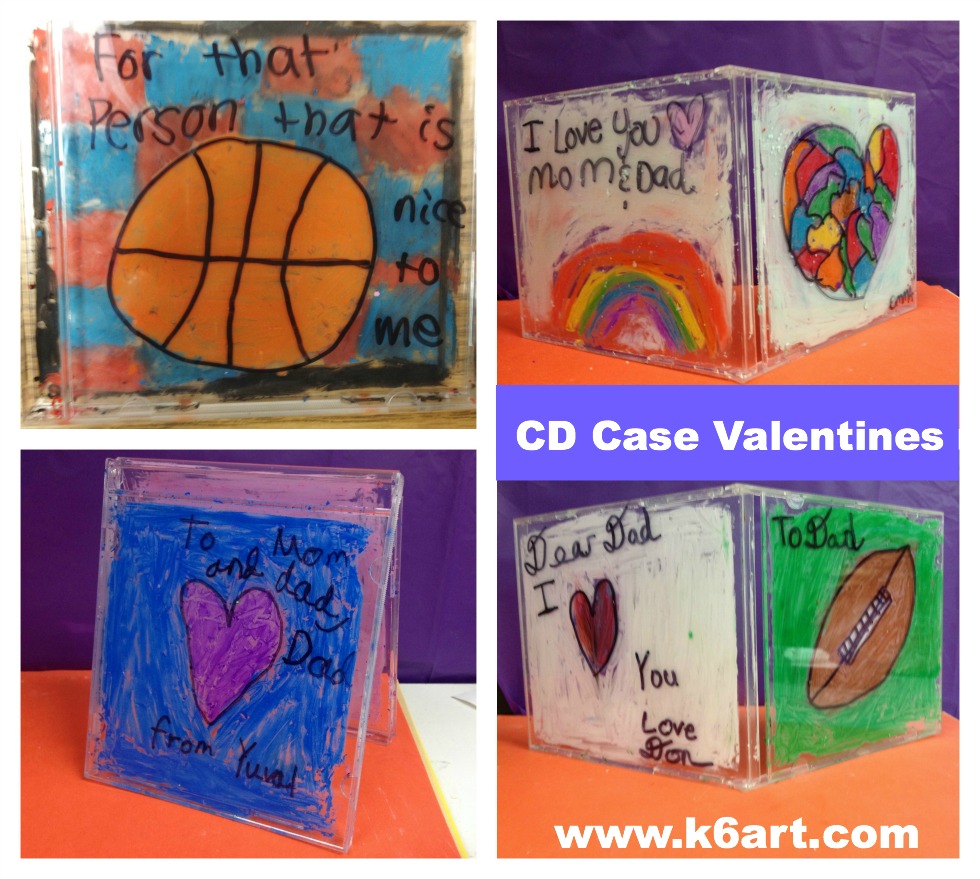
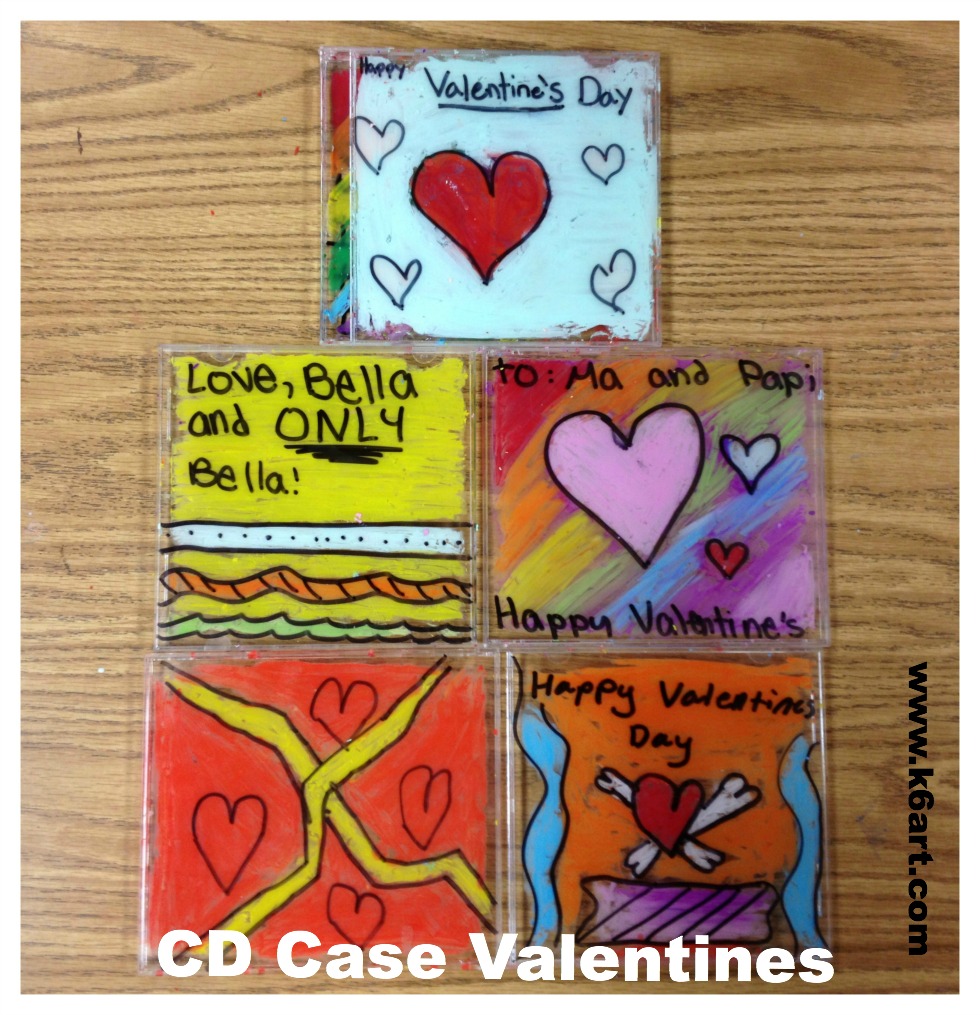
CD case valentines

Got old CD cases? Here’s a great way to use them: create greeting cards using oil pastels and Sharpie. Our 5th and 6th graders made Valentines, birthday cards and more during a single 40-minute class.

Materials:

  • CD jewel cases (trays removed)
  • oil pastels
  • Sharpies
  • rubbing alcohol
  • baby oil
  • baby wipes for clean up
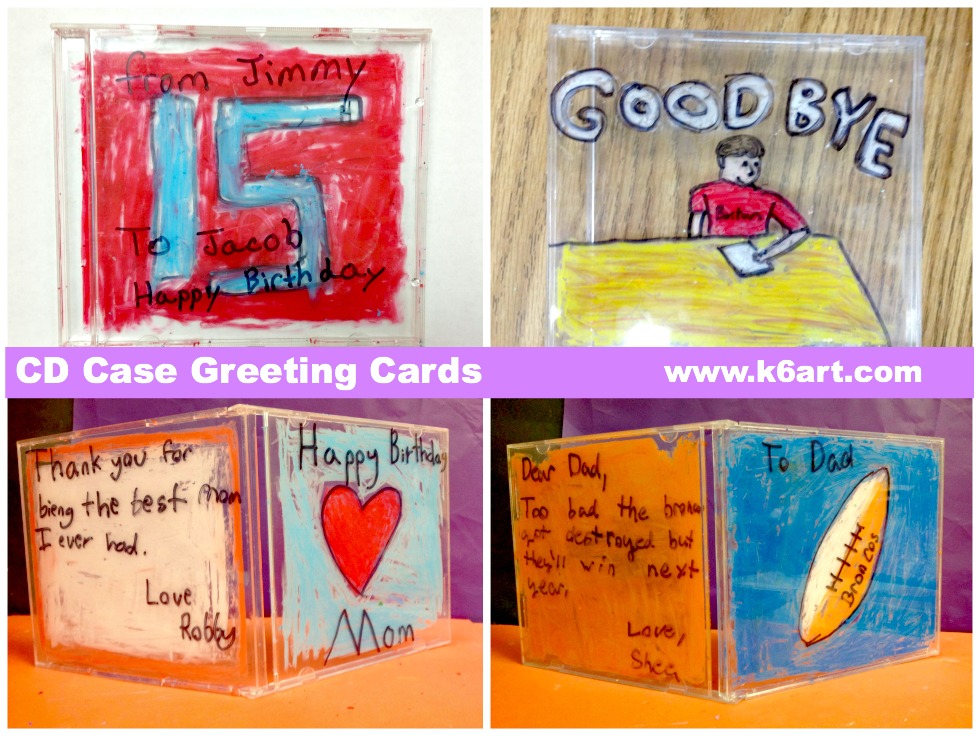
CD case greeting cards

Several students made birthday cards. One made a farewell card. Another made a card consoling his father on the Bronco’s loss in the Superbowl.

Sharpie on the Outside, Oil Pastel on the inside

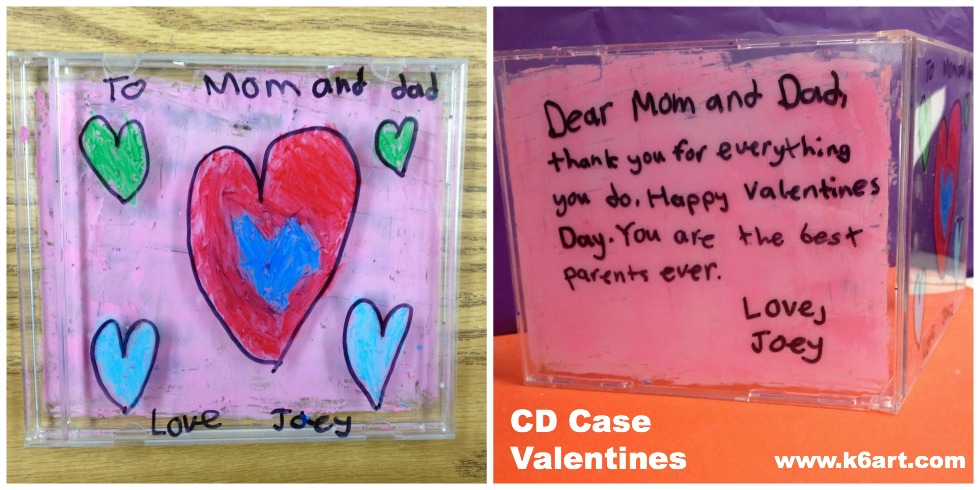
Students start by drawing a design on the front of the CD case using a black Sharpie. Then they open up the case and color the inside with oil pastel. The process is repeated on the back of the case. A lot of students wrote personal messages on the back of the case.

CD case valentine Joey

CD case valentines open

 Correcting Mistakes:

It’s easy to fix mistakes. Rubbing alcohol will remove Sharpie. Baby oil will remove oil pastel. Our 5th and 6th graders fixed their own mistakes.

Keep it neat:

CD cases trap the oil pastel-mess on the inside of the case. These greeting cards can travel home without making a mess in the backpack.

At clean up time, wipe down the tables with baby wipes.

EASY! Plus you are keeping those old CD cases out of the dump!

Enjoy!


iPad Love Stamps

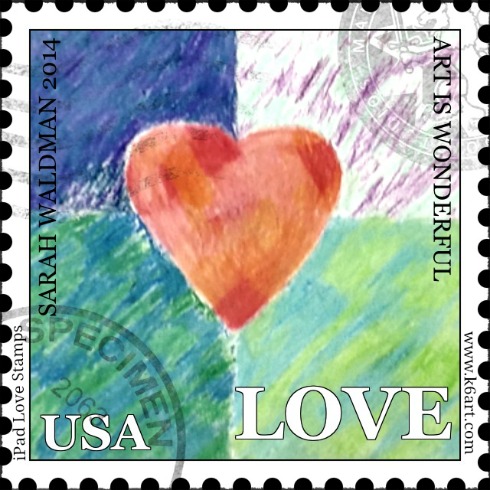
iPad Love Stamp

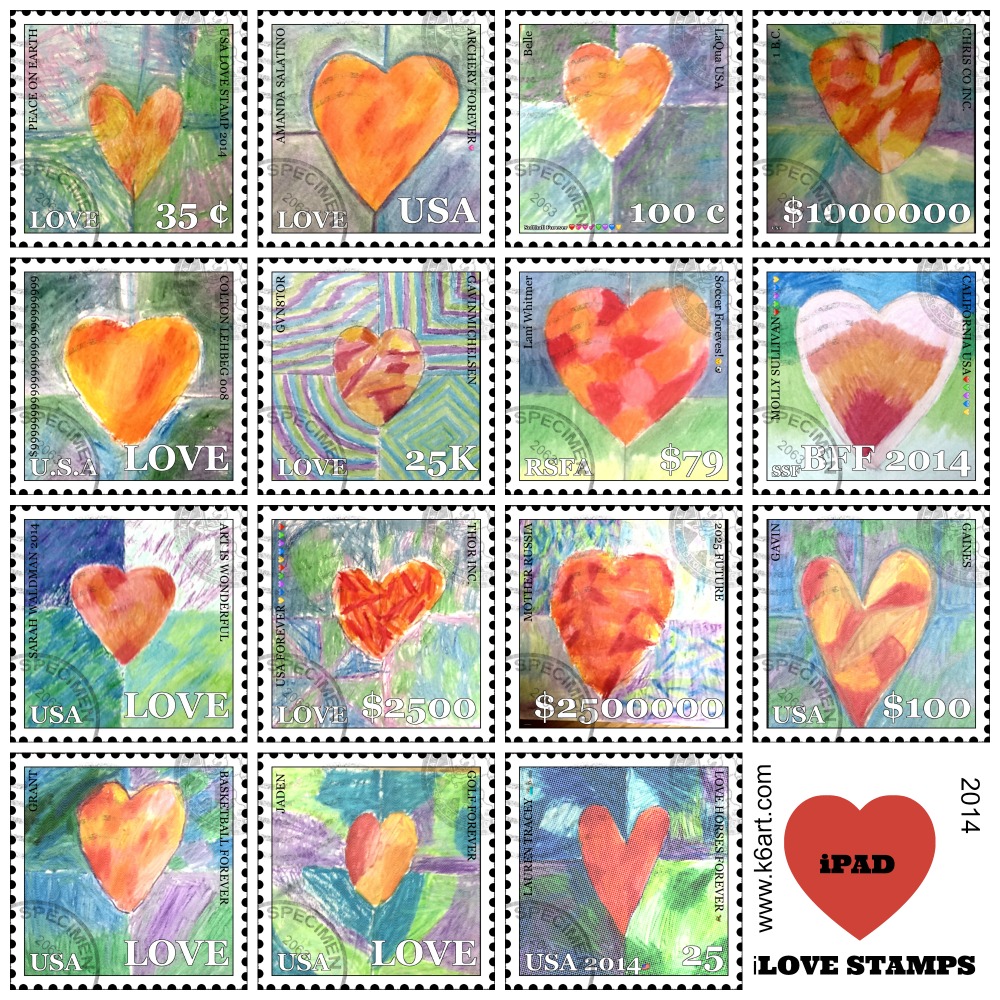
In honor of Valentine’s Day, our fourth graders created iPad LOVE stamps using the free Face on Stamp Booth app.

What are Love Stamps?

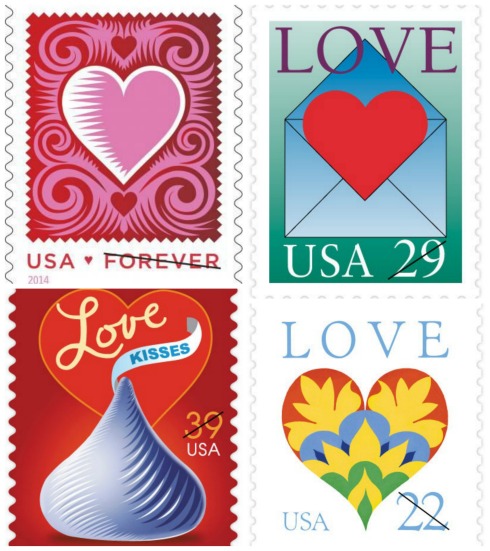
For 40 years, the U.S.Postal Service LOVE stamp series has featured a wide range of subjects, including flowers, Victorian lace, cherubs, swans, candy hearts, and abstract designs. I showed our students the U.S. Postal Service love stamp slide show. Then I told them we would be creating our own LOVE stamps!

The U.S. Postal Service issues an annual Love Stamp. The program began in 1973.

The U.S. Postal Service issues an annual Love Stamp. The program began in 1973.

Step 1: Create heart art

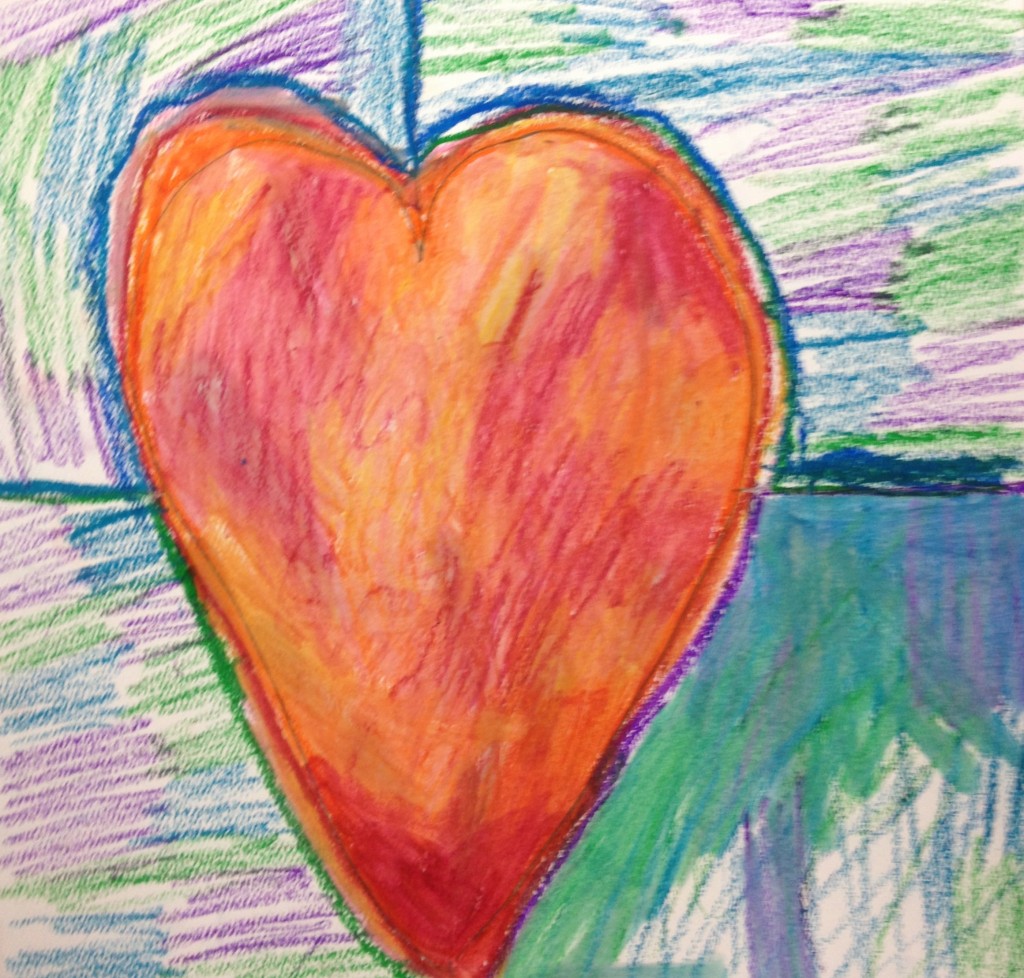
Fourth graders used oil pastels to create these hearts.

Fourth graders used oil pastels to create these hearts.

We started with a fine art project. We used oil pastels to create these hearts.  Instructions in my free Jim Dine heart art Keynote. This step took two 40-minute sessions.

Step 2: Use iPads and Face on Stamp app

After the students finished their heart drawings, they photographed their art using the Face on Stamp Booth app. Next they added text. I encouraged students to add text found on real postage stamps, such as USA, Forever, Love, date, and stamp price. A lot of kids added their favorite activities (soccer, archery, golf, cheer, basketball etc.) Click here to see even more iPad Love Stamps in our Artsonia gallery.

Step 3: Create a collage (‘sheet of stamps’)

After completing their iPad love stamps, students emailed them to me. I created a grid of the photos using my computer and the free Pic Monkey collage maker. You could also use an iPad and the free Pic Collage app.

Students uses fine art, free Face on Stamp Booth app plus iPads to create individual 'Love Stamps'.

Students uses fine art, free Face on Stamp Booth app plus iPads to create individual ‘Love Stamps’.

End result: wow! Students were very pleased both with their heart art and with their iPad love stamps.

Happy Valentine’s Day!

Enjoy!

  Do you have a favorite art project for Valentine’s Day project?

Wyland Ocean Mural

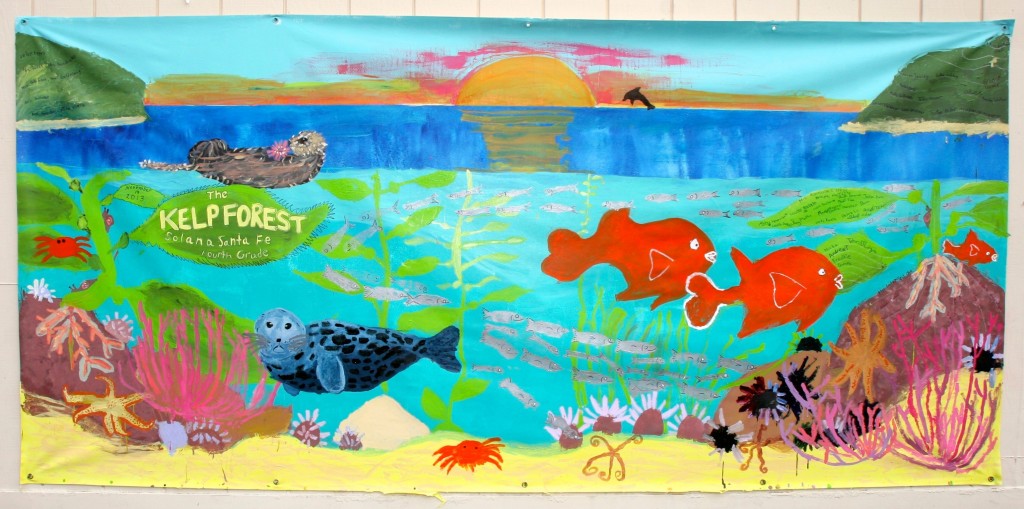
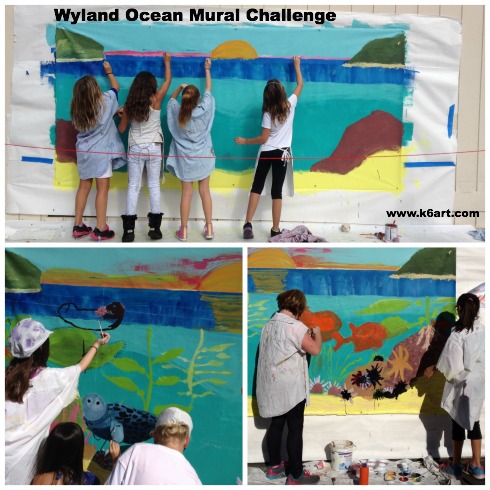
Inspired by aquatic artist Wyland, our fourth graders recently completed a great big ocean-themed mural. We recreated the California kelp forest for the Wyland Foundation’s ‘Water is Life’ Mural Challenge.

Our entry in the Wyland mural challenge

The completed kelp forest mural. Dimensions 5’x10′

Who is Wyland?

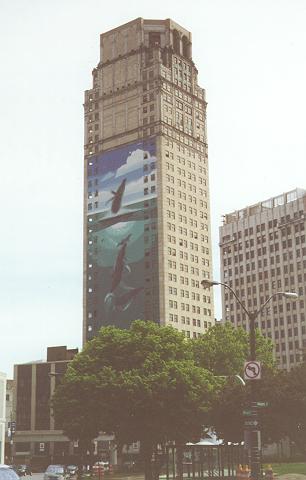
Wyland Whaling Wall in Detroit.
Photo source: Wahkeenah via Wikimedia Commons

Wyland is an American artist best known for creating life-size whale murals. He painted 100 of these ‘whaling walls’ around the world, as well as many more paintings of  aquatic life. As seen in the whaling wall photo, Wyland often paints a ‘two worlds’ view of the ocean (both above and below the sea). Wyland’s art is very popular and he is commercially successful.

Materials

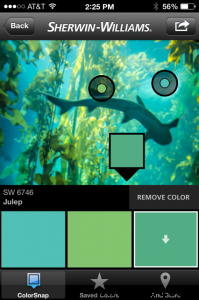
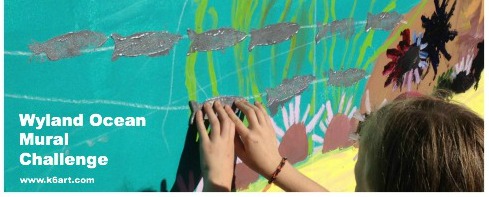
The Wyland Foundation provided us with a free kit, containing instructions, acrylic paints, brushes and a 5’x10′ Fredrix Paint It Yourself Classroom Mural Cotton Canvas Roll. We also used acrylic house paint and rollers. Blue painter’s tape was essential for getting a clean horizon line. We used Sharpies to sign the artwork and to add small details. We used soft-kut blocks and lino cutters to create fish stamps for our school of silvery fish. Tip: I matched our background paint to an undersea photo with the free Color Snap app.

The free Color Snap app is great for matching paint to a photo.

The free Color Snap app is great for matching paint to a photo.

Mural Process:

Brainstorming:

Students used their iPads to research the kelp forest and Wyland’s art. Students posted their  favorite images, plus  suggestions to an online board on Edmodo.

Painting:

We painted the mural in stages. Day 1: background, days 2 and 3 were for sea life and details.  A maximum of eight kids painted at one time; the rest made sea creature drawings at the adjacent lunch tables while they waited their turn to paint. We used several tricks to create the illusion of space in our mural, including size, placement, value, warm/cool colors and (most especially) overlap. This video shows six tricks artists use to show illusion of space.

We also had small teams of students on special assignment: team seal, team sea otter, official photographers, and fish stamp carvers.

Fourth graders add marine life to the kelp forest mural.

Fourth graders add marine life to the kelp forest mural.

Each student stamped a fish on the mural, creating our own school of Pacific Jack Mackerel.

Each student stamped a fish on the mural, creating our own school of Pacific Jack Mackerel.

Although we didn’t win the Wyland Challenge, we created a beautiful mural.  Everyone is so proud of it! We learned about the kelp forest, and how to create depth in art.  Thanks so much to the Wyland Foundation for all the art materials, and to our parent volunteers for all their help.

Want to learn more about Wyland? Watch 2007 video from the CBS Early Show.

Enjoy!

The mission of the Wyland Foundation is to help children and families around the nation rediscover the importance of healthy oceans and waterways through public art programs, classroom science education, and live events. Click here to see the winning 2013 murals and to find out about the 2014 Wyland ‘Water is Life’ Mural and Art challenge.

Helen Shirk Silhouette Necklace

helen shirk pinable

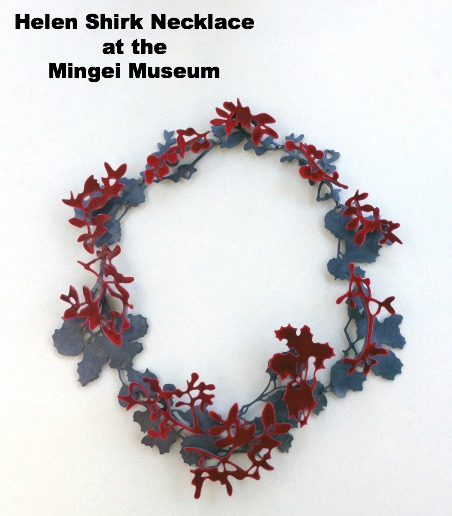
Helen Shirk is a San Diego artist and Professor of Art known for her metalwork and jewelry. I recently had the pleasure of viewing necklaces from Shirk’s Traces series on exhibit at San Diego’s Mingei International Museum. Even better – I got to participate in a Shirk-inspired paper jewelry activity taught by the Museum’s Education Department. The art project is so much fun – I just have to share their lesson!


'Crimson Glory' necklace by Helen Shirk, 2011. Steel, oxidized silver and china paint.

‘Crimson Glory’ necklace by Helen Shirk, 2011. Steel, oxidized silver and china paint.

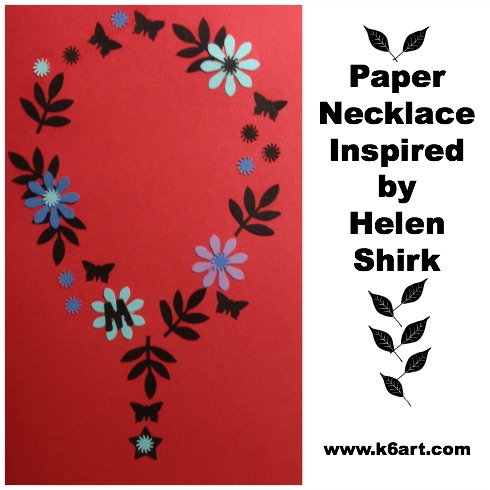
We had two options for our silhouette necklace project: 1) a quick, 30-minute project using paper punches or 2) an hour-long project using real traced leaves. Both options focus on organic shapes and repetition.

Materials for both projects

  • black construction paper
  • card stock
  • glue sticks
  • yarn
  • scissors
  • tape

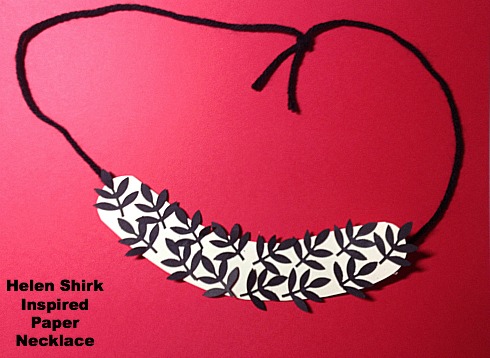
Project 1: 30-minute Punched Paper Silhouette Necklace

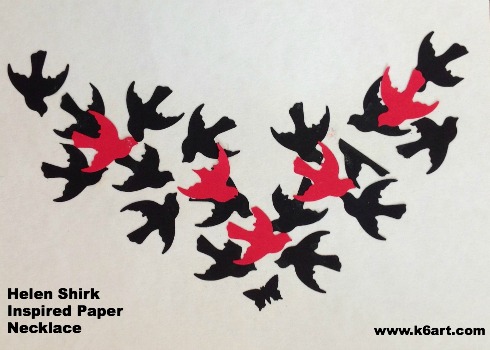
Additional material – paper punches in organic shapes (like these leaf , branchbutterfly, and dove  punches).

We punched paper shapes from black and colored papers, then glued them to a background and added yarn to form a necklace. Click here and here for the lesson plan, written by the excellent Education Department of the Mingei International Museum.

Shirk inspired necklace made with craft punches and card stock.

Shirk-inspired necklace made with craft punches and card stock. Teacher example.

Here is my Shirk inspired design!

Here is my Shirk inspired design!


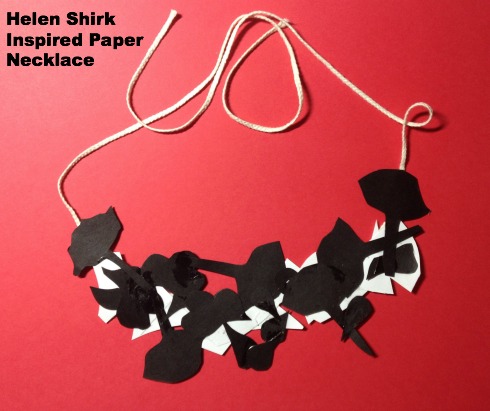
Project 2: Traced Silhouette Necklace

Additional material: natural materials such as leaves, twigs and flowers.

Students make tracings of each onto construction paper, then cut out and arrange into a necklace.  Click here for the Mingei’s curriculum guide including this project.

Hand cut paper necklace inspired by Helen Shirk's jewelry.

Shirk-inspired paper necklace made by tracing leaves onto black and white paper.  Teacher example.

Helen Shirk’s Trace necklaces are on display at the Mingei Museum through January 5, 2014 as part of the Allied Craftsmen Today exhibit. For more examples of Helen Shirk’s jewelry, click here.

I wrote about the Mingei’s Chihuly chandelier – click here to see their fabulous 30-Minute Chihuly Chandelier project.

Special Notice for San Diego Teachers and Parents:

  • Teachers: Do you want to take your class to the Mingei Museum? The Mingei provides free admission for all K-12th grade tours as long as they’re scheduled in advance.
  • Parents: The Mingei is free to San Diego county residents and military the third Tuesday of the month. Monthly Family Sundays offer admission and fun activities for just $5/family. Go to www.mingei.org for more details.

Enjoy!

Related Posts Plugin for WordPress, Blogger...