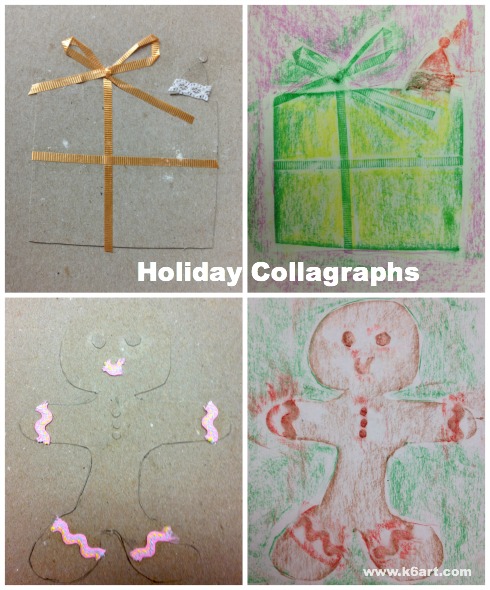
60-Minute Holiday Collagraph Crayon Rubbings

Textured curling ribbon tied in a bow looks great on this wrapped gift. The gingerbread man is trimmed in rick rack.

Textured curling ribbon tied in a bow looks great on this wrapped gift. The gingerbread man is trimmed in rick rack.

Need a fun and flexible holiday project? Try making you own collagraph crayon rubbings, using cardboard and scraps. The project takes about one hour and is adaptable to all sorts of holidays like Valentine’s Day and birthdays.

Materials:

  • light cardboard, 8.5×11″, two per student
  • scissors
  • pencil
  • glue stick
  • textured fabric trim such as ribbons, rick rack and lace
  • optional: hole punch
  • optional: ‘wavy’ craft scissors (like these scallop Fiskars Paper Edgers)
  • copy paper 8.5×11″ or other thin paper
  • peeled crayons

Create the collagraph rubbing plate

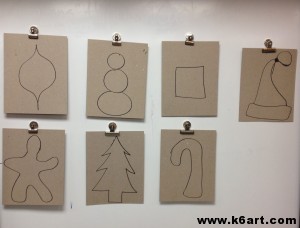
Students drew one holiday shape on cardboard, then cut it out.

Students drew one holiday shape on cardboard, then cut it out.

Select one holiday shape for the main part of the collagraph. Draw the shape on the first piece of cardboard and cut it out (note: for those students creating their own designs, emphasize that the design needs to be simple and stretched to the top and bottom of the page).

Glue the cut-out shapes to the second piece of cardboard using glue stick. You have now created a collagraph rubbing plate.

Now for the fun!

Cut decorations for your collagraph plate from your cardboard scraps and from fabric trim. Experiment with the craft scissors and the hole punch. Glue these decorations on top of and around your main shape. LAYERING IS GOOD! TEXTURE IS GOOD!

Now flip over the collagraph plate and place it face down on your chair. SIT ON THE CARDBOARD AND COUNT TO 30.  (It is so fun to do this step!) Now all the pieces are glued down are we are ready to rub.

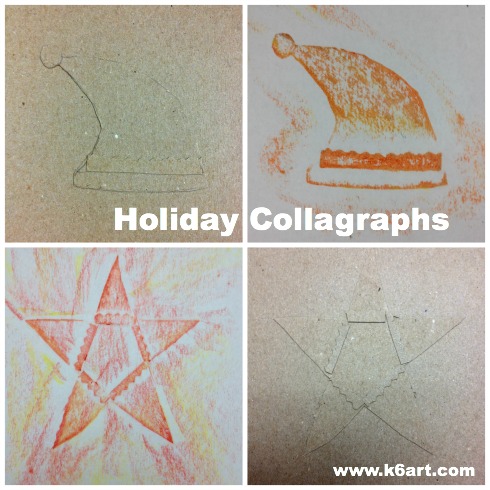
Santa hat and star, decorated with cardboard cut with Fiskar paper edgers.

Santa hat and star, decorated with cardboard cut with Fiskar paper edgers.

Creating the crayon rubbing

Place your collagraph face up on the table. Cover with the copy paper. Rub with a peeled crayon (note: it is helpful to have a partner hold the plate while the student rubs). Repeat with another crayon color.

Now trade collagraph rubbing plates with your neighbor. Or rotate tables so everyone comes away with a set of holiday cards.
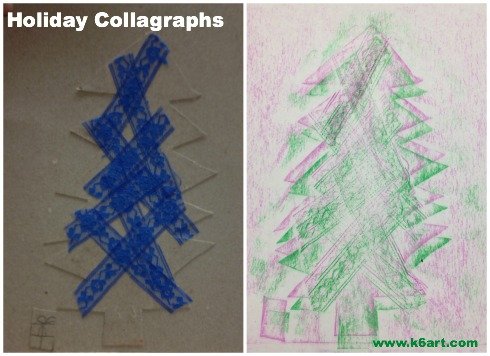
This students glued lace to her tree for texture. She did two rubbings with green and magenta crayons.

This students glued lace to her tree for texture. She did two rubbings with green and magenta crayons.

This technique would make awesome cards for birthdays – imagine a collagraph layer cake with rick rack candles. Imagine a textured doily rubbing plate for Valentine’s Day cards.

If you want to take this project a step further, you can roll printer’s ink on the collagraph and pull some prints. You can also color or paint the collagraph plate so it become an artwork.

Want more ideas? Check out my previous post on 30-minute collagraph printmaking.

Enjoy!


Do you have a fun way of making holiday cards?

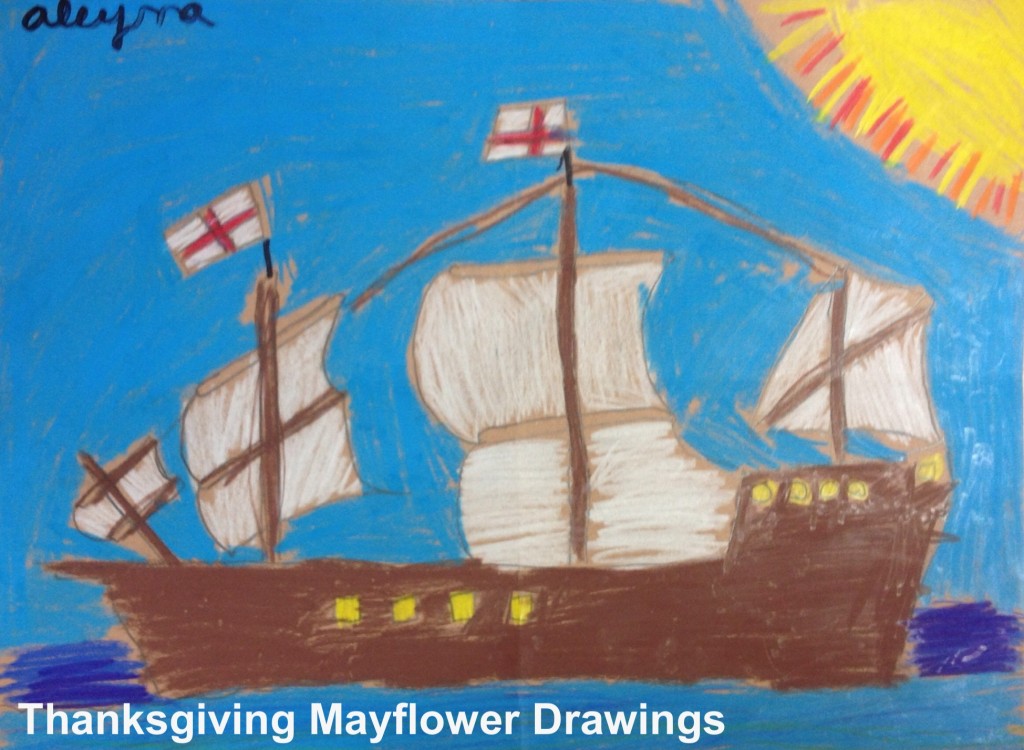
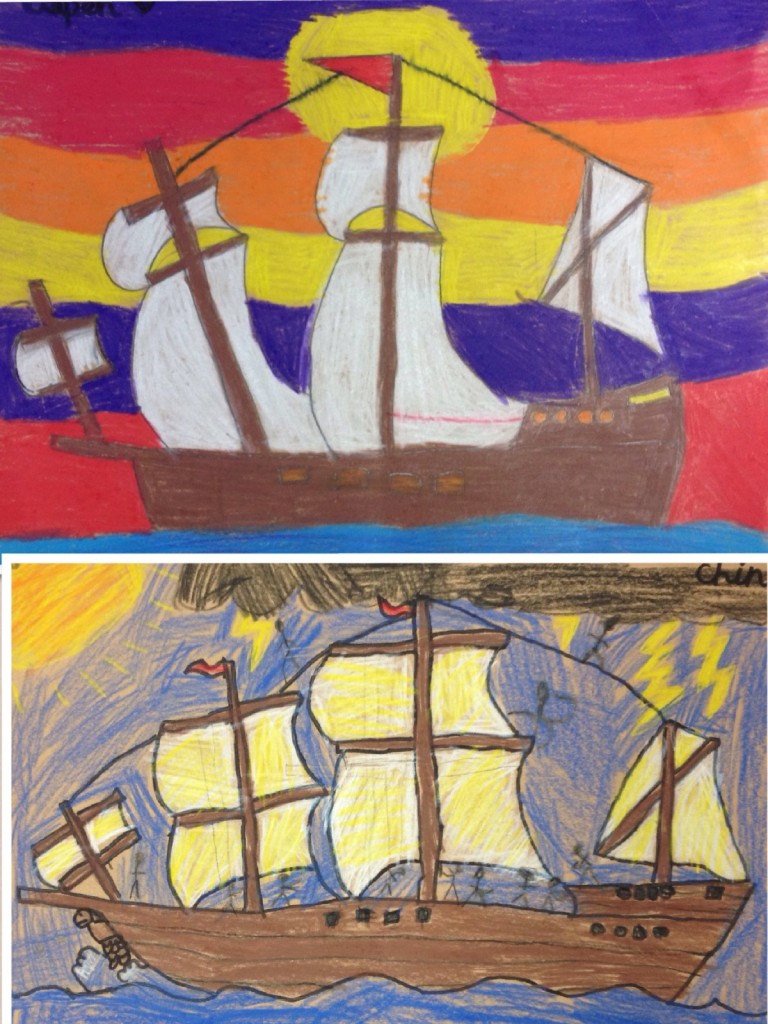
Thanksgiving Mayflower Drawings


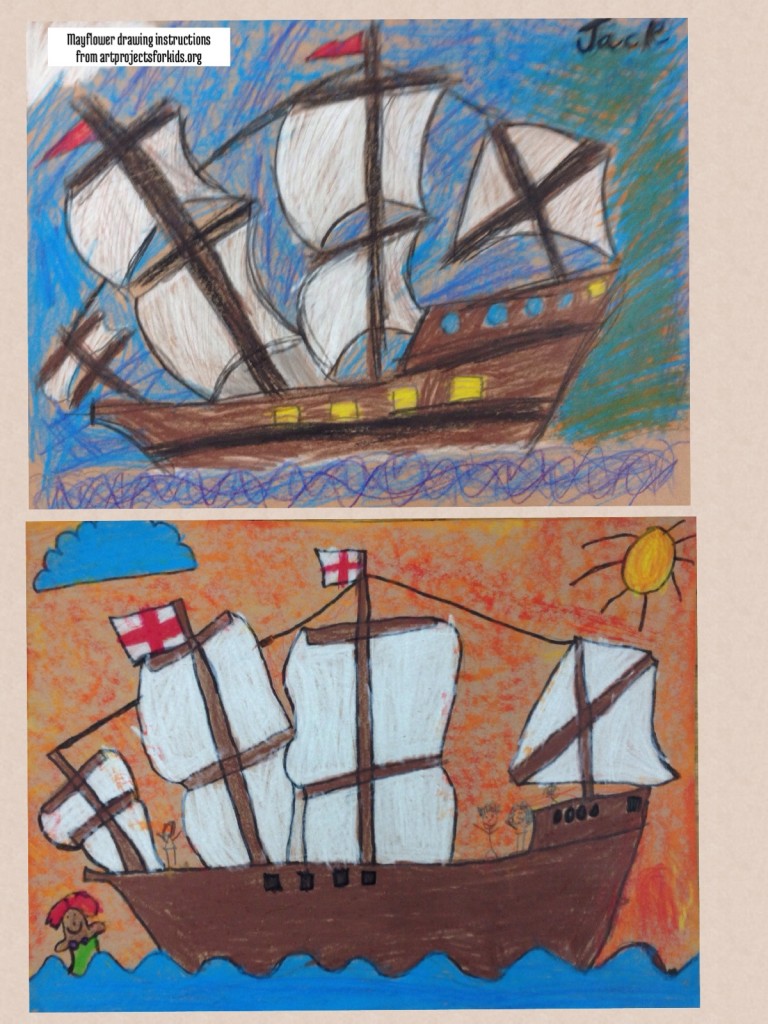
Mayflower drawing - instructions from Art Projects for Kids blog.

If you are looking for a super-successful step-by-step Mayflower drawing, head right over to Art Projects for Kids. I downloaded Kathy Barbro’s excellent instructions and taught the lesson to our third graders. Result: 100% success!!!! CLICK HERE for the instructions.

Materials:


Mayflower drawings - instructions at artprojectsforkids.orgMayflower drawing instructions at artprojectsforkids.org

I absolutely love Crayola Color Sticks for this project. The white sails really stands out on the light brown paper. Kids can layer colors, or create bright solid color areas using heavy hand pressure.

Have a happy holiday!

Enjoy!


If you are looking for a whole-class art project, artprojectsforkids.org also has nice downloadable murals for all the holidays.
www.dickblick.com

Deep in the Kelp Forest

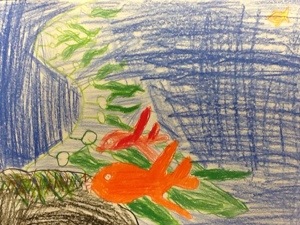
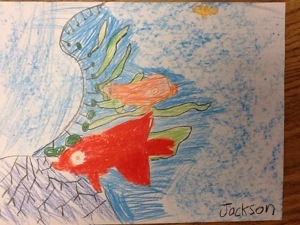
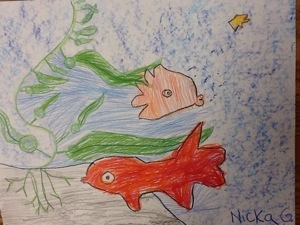
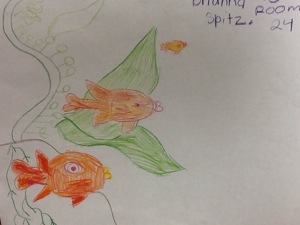
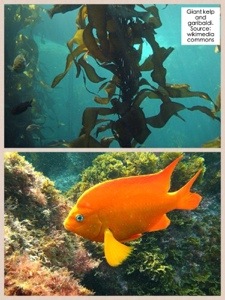
How do artists create an illusion of depth in their art? Muralists know how. Our fourth graders are creating a mural of the kelp forest habitat. To practice, we picked two items from the kelp forest – giant kelp and garibaldi (the California state marine fish) – and drew each one three times.

We started out by defining the foreground, middle ground and background. Next we talked about:

*placement (objects placed lower on the page appear closer)
*Size (larger objects appear closer)
*Overlap
*Warm and cool colors (warm colors come forward and cool colors recede)
*Value (lighter objects appear further away)

The students then viewed their completed sketches from a distance. They were happy to see the illusion if depth in their sketches.

20131031-214356.jpg

20131031-214439.jpg

20131031-214541.jpg

20131031-214605.jpg

Nice work! I think they are ready to paint the mural….

Enjoy!

20131031-224302.jpg

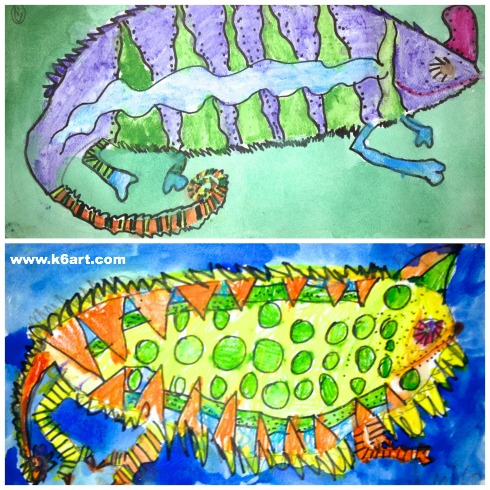
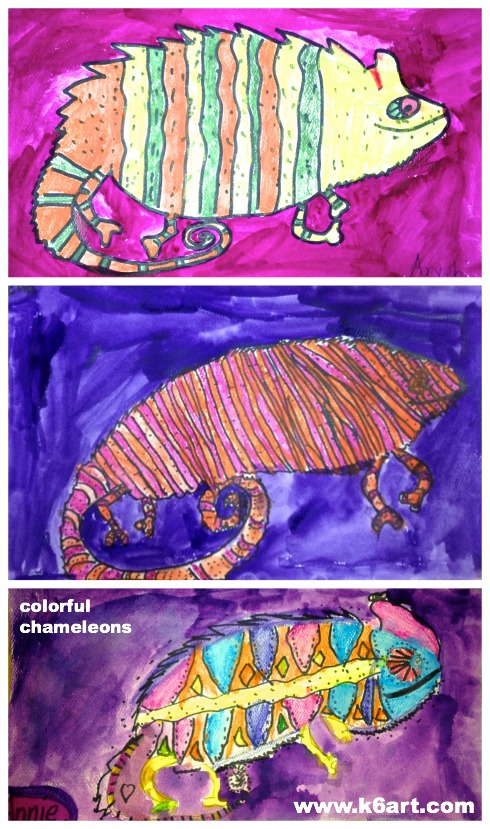
Colorful Chameleons

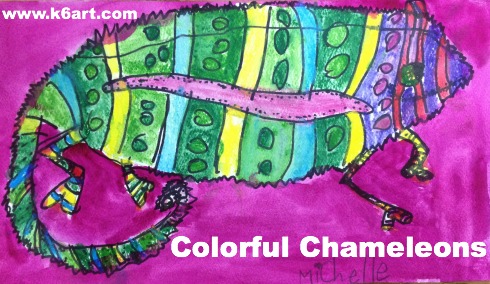
colorful watercolor chameleons


Kids love chameleons! They change color almost like magic. Our second graders just finished a very successful watercolor chameleon project.

Materials:

Day 1: Draw your chameleon

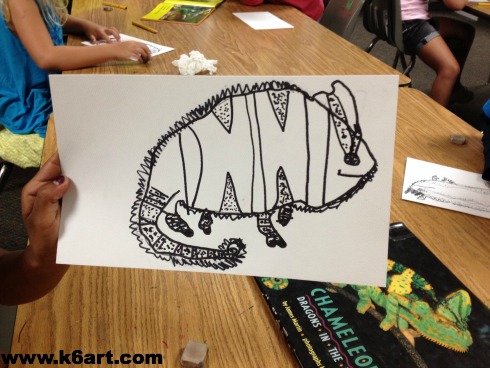
We watched the ‘Super Chameleon’ video on YouTube. The kids were amazed to see the chameleon change colors over and over. Then we took a close look at the chameleon books from our school’s media center. Next it was on to a directed draw. I modeled the basic contour of the chameleon’s head, body, tail and legs. Kids started in pencil, then outlined in Sharpie. They were free to use Sharpie to add their own details (stripes, patterns, dots, spikes) based on their reference photos.

chameleon drawing


Day 2: Color your chameleon

Kids used watercolor pencils dipped in water to color in the chameleons. The watercolor pencils were great for coloring in all the stripes and little spaces. The colors turned out really vibrant! The final step was to paint the background a single color using pan watercolors.

I encouraged everyone to stick to an analogous color scheme for their chameleons. Some kids did, some didn’t, but they all turned out beautiful.  After all, a chameleon can be any color.

blue and green chameleons

three watercolor chameleons

http://www.youtube.com/watch?v=KMT1FLzEn9I

We tried a similar chameleon project last year using Crayola markers: click here to see more results.

Overall this was a popular, super successful project with minimal prep and clean up. It was my first watercolor pencil project, but it won’t be my last.

Enjoy!

Here are two of the books we used for our lesson 

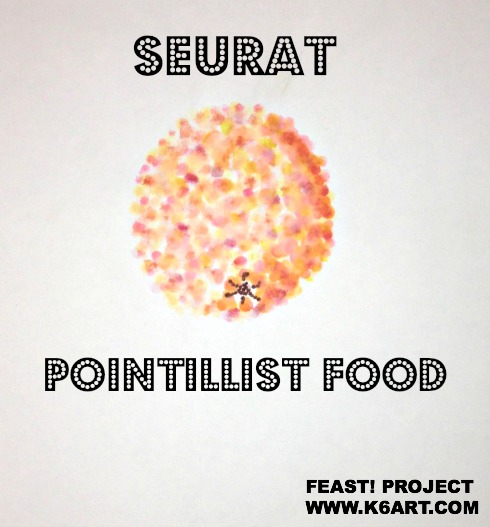
Seurat Pointillist Food

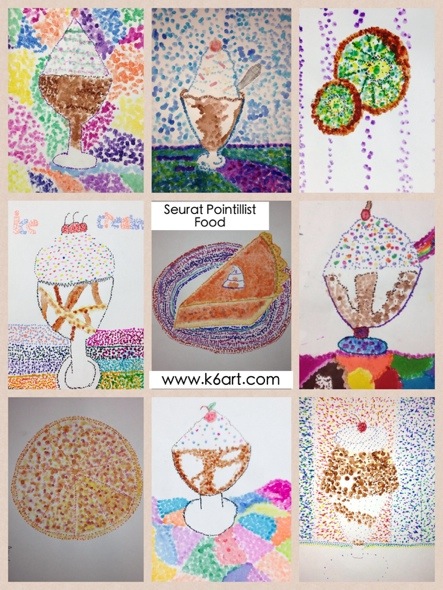
seurat pointillist food: Q-tips, pan watercolor and markers. Very successful!

Fourth grade just finished their Seurat pointillism art project. Our students used pan watercolors, Q-tips and markers to make pointillist food! The project was inspired by this project by Jessica Young at Miss Young’s Artroom.

Materials:

  • pan watercolors
  • Q-tips
  • colored markers (we used Crayola and Sharpie)
  • pencil/eraser
  • white paper, 9″x12″
  • reference photos (I found dessert images on Pinterest)
  • loups or magnifying glasses
  • pointillist note cards (like these – available at walmart.com and galison.com) or books

Day 1: Learn about pointillism

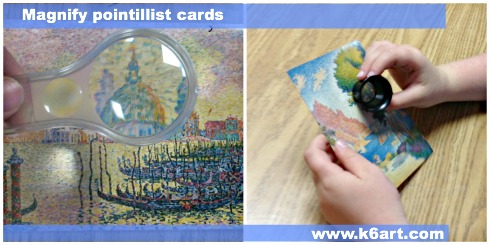
I passed out pointillist notecards and magnifying loups (borrowed from our science lab). It was a lot of fun to see the dots up close.

Next we watched the first half of an AMAZING video: ‘Get to the Point’ – Georges Seurat and Pointillism  by Artrageous with Nate.

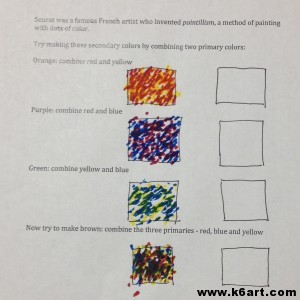
Finally  we completed a color mixing worksheet, using marker dots to make the secondary colors.

Use a magnifying glass or loop to examine pointillist art up close


homemade pointillist worksheet

Homemade pointillist worksheet

Day 2: Create dots with Q-tip or marker

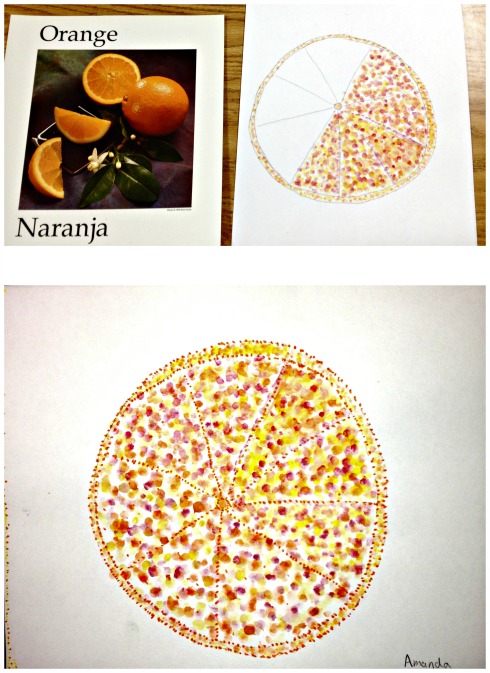
Students selected a food reference photo, then lightly sketched their basic food shapes on paper. They had the option of using Q-tip or marker to dot their papers.

(warning: we discovered you can’t erase pencil lines after they’ve been painted with pan watercolor. Remind kids to draw lightly!)
seurat pointillist orange

Day 3: Erase lines, add more dots

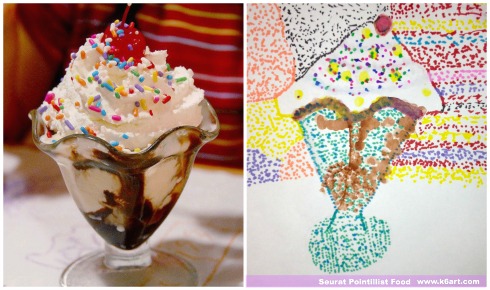
Students erased their pencil lines from last week, then added MORE DOTS! Some students added a background – a couple even added pointillist borders.

pointillist sundae


Fourth grade results:


20131015-223638.jpg


This was a VERY popular and successful project! I will definitely repeat.  Are looking for a group pointillism project? Please check out my earlier post for a Seurat mural.

Here’s the cool pointillism video by Artrageous with Nate

https://www.youtube.com/watch?v=LfALDoLHqU0


This is the first project of our food art series, in honor of the FEAST! exhibit at San Diego’s New Children’s Museum. This year we will be making food art projects at each grade level.

Do you have a favorite food art project?

Related Posts Plugin for WordPress, Blogger...