Art + Cooking Camp: Meringues and Degas

Today was Day Three of my Paris-themed art and cooking camp. We began by making meringues and ended by beginning our Degas-inspired sculptures.

Meringues:

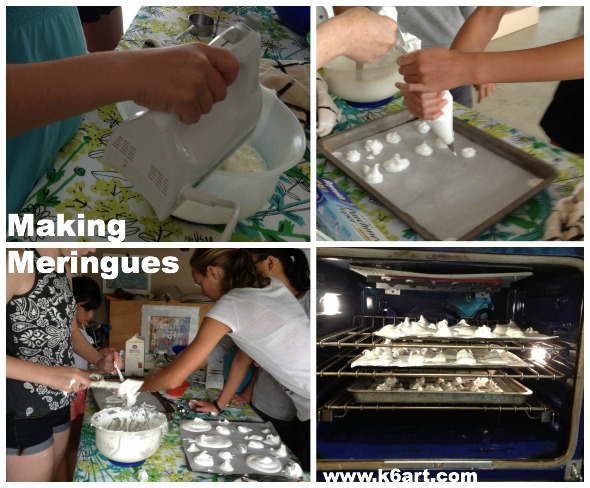
Meringues are really fun to make. CLICK HERE FOR THE RECIPE (AND VIDEO!). We had lots of practice separating eggs. Then we whipped those egg whites and sugar up, up, up into glossy peaks, and piped them onto the baking sheets using a pastry bag and a star tip. The kids had a lot of fun making ‘custom’ giant and mini meringues, and trying to make letter-shaped meringues.

making meringues

Unfortunately, meringues take forever to bake – at least two hours at 200 degrees F. Then they have to cool. So we won’t taste the completed meringues until tomorrow. Not the best choice for a three-hour AM camp. It was humid today – another meringue no-no. Oh well, at least we didn’t bake them on the last day of camp.

Degas-inspired Sculpture:

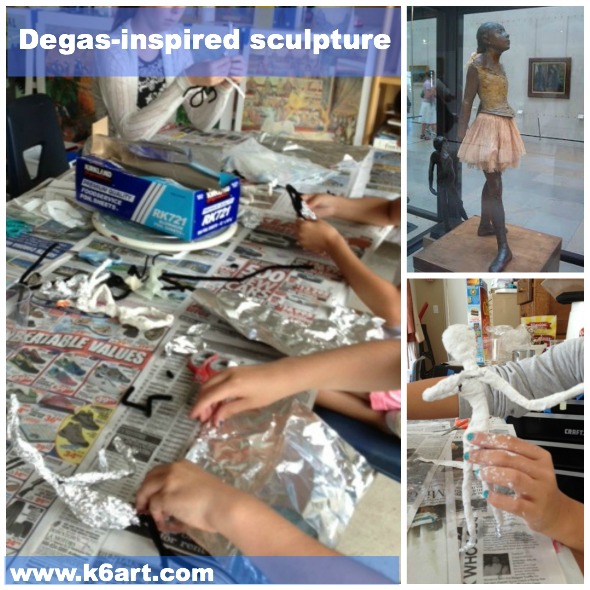
We talked about Degas. Degas was a French artist who is famous for creating snapshot-like pastel artworks of racehorses and ballet dancers. Unlike the other Impressionists, he did not focus on the quality of light, and created his work indoors (Actually, Degas did not consider himself an Impressionist). After his eyesight started to fail, he switched to sculpture. He initially sculpted his famous ‘Little Dancer Age 14’ in wax on a wire armature; it was later cast in bronze.

We created wire and foil armatures and covered them in plaster wrap. Some kids are creating dancers and some are creating animals. This took about an hour.
 

degas sculpture art campTomorrow we will make cherry clafouti and finish up our sculptures.

Enjoy (and bon appetit!)

Do you like to cook? Have you taught anyone to cook?

Art + Cooking Camp: Madeleines and the Eiffel Tower

Today was Day Two of my Paris-themed art and cooking camp. We made lemon madeleines and began a ‘Printed Paris’ Eiffel Tower project.

Madeleines

Our lemon madeleines were delicious. CLICK HERE FOR THE RECIPE. I bought my own silicone madeleine pan for this project. It worked perfectly – all the little cakes popped right out intact. The recipe made a lot of madeleines – we put the extra batter in cupcake papers and baked them up as little muffins. The kids doused them in powdered sugar. Really fun cooking project!

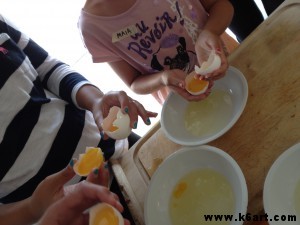
Separating eggs.

Separating eggs.

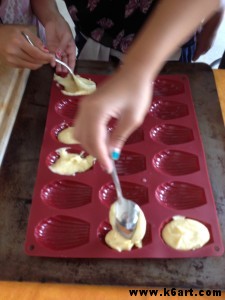
We used silicone madeleine molds.

We used silicone madeleine pans.

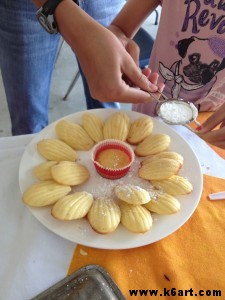
The little cakes popped out perfectly. Yum!

The little cakes popped out perfectly. Yum!

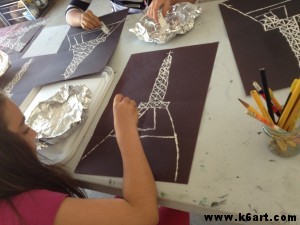
Printed Eiffel Towers

We started our printed Eiffel Towers.  The project was inspired by this fabulous post at the Cassie Stephens blog.

We used mat board scraps and white paint to print the Eiffel Tower.

We used mat board scraps and white paint to print the Eiffel Tower.

Tomorrow we will finish up the Eiffel Towers, make meringues, and start on our Degas project.

Enjoy!


Are you teaching art this summer?

Art + Cooking Camp: Crepes and Monet

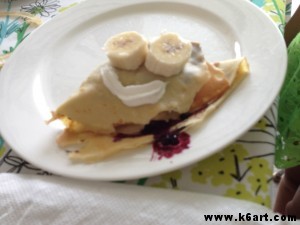
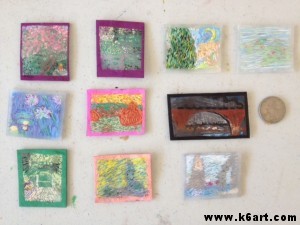
What fun!  I just finished Day One of my Paris-themed art and cooking camp.  Today we made Banana-Nutella crepes on a real Parisian crepe griddle. We ended the morning with Impressionistic ‘mini-Monets’, created with chalk pastels and Shrinky Dinks shrinkable plastic.

Crepes

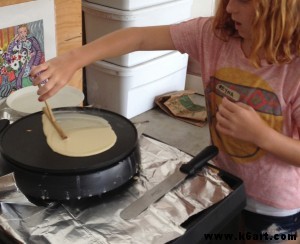
We started out by watching a YouTube video of a real Parisian crepe vendor. Then we mixed up the batter, all the while talking about how to measure out and combine the ingredients. CLICK HERE FOR THE RECIPE! I swear by my CucinaPro electric Crepe Maker for that real Parisian street food experience (note: compensated affiliate link).

Reyna tries her hand at crepe-making

R. tries her hand at crepe-making

Smile!

Smile!

‘Mini-Monets’

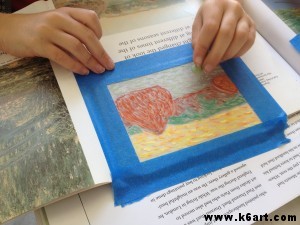
The ‘mini-Monet’ lesson from Blick is really fun and successful. You tape frosted Shrinky Dinks over an Impressionistic artwork, then trace over the brushwork using short strokes of chalk pastel. Shrink in a toaster oven and Voila!. We had 45 minutes for art – some kids made two pieces during that short time. Click here to see more examples.

Paige recreates Monet's haystacks in chalk pastel.

P. recreates Monet’s haystacks in chalk pastel.

Completed 'mini-Monets'. Not much taller than a quarter!

Completed ‘mini-Monets’. Not much taller than a quarter!

Tomorrow is Eiffel Tower day. Stay tuned for more photos later this week.


Enjoy!

(Note: this post contains compensated affiliate links)

Map Collage Self Portraits

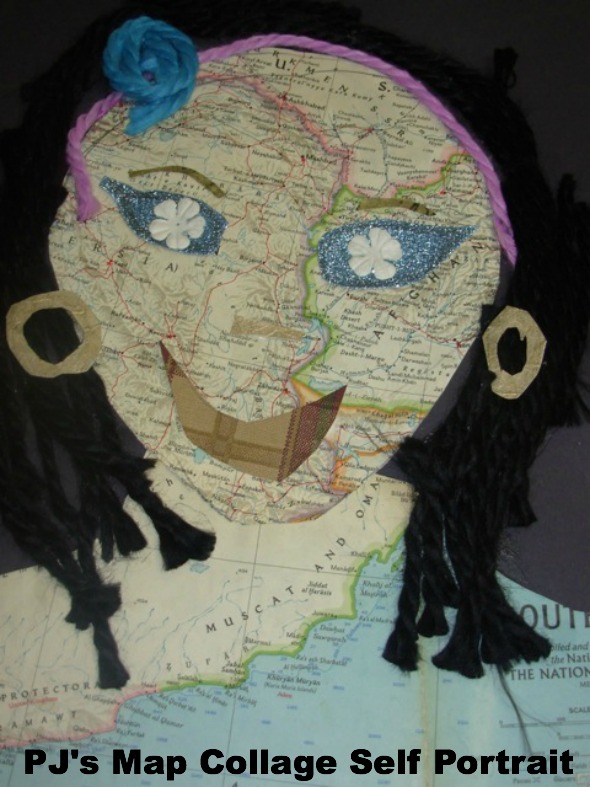
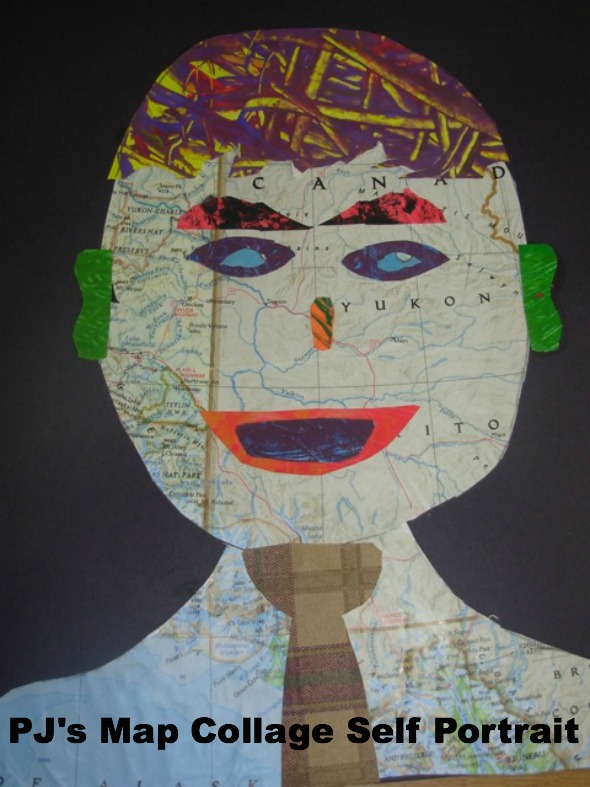
Looking for a fresh self-portrait project? Check out these map collage self portraits shared by PJ, art teacher extraordinaire at Carmel Creek school.

Map Collage self portrait 2

PJ got free maps from the used book sale at her local library  – most were old National Geographic maps. Students just picked an interesting portion of the map to cut up. They did not use a template, so the whole thing took 5 or 6 40-minute classes.  PJ provided painted paper and wallpaper for facial features. Some students braided the yarn, used more sequins etc.

PJs Map Collage Self Portrait

A little more about PJ: she teaches art grades K-4, and is a veteran art teacher in our district. PJ’s school has unique challenges: she has the district’s largest school and has the most multi-cultural student mix. Over a dozen languages are spoken by the students at her school! In addition to teaching art classes and doing recess duty, she teaches reading in the morning. She is absolutely unflappable, a real jewel in our district. Her students ARE SO LUCKY to have her as an art teacher: she brings creativity and enthusiasm to school with her every day. I am SO lucky to have her as a colleague.

Enjoy!

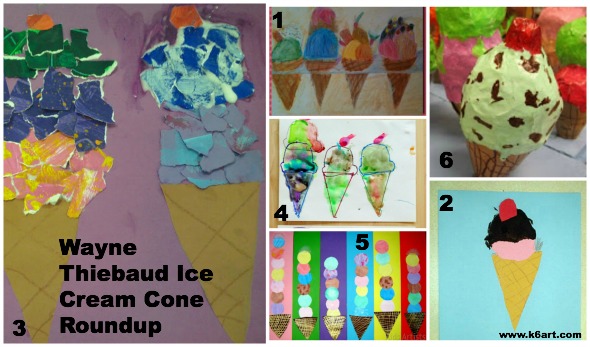
Wayne Thiebaud Ice Cream Cones Roundup

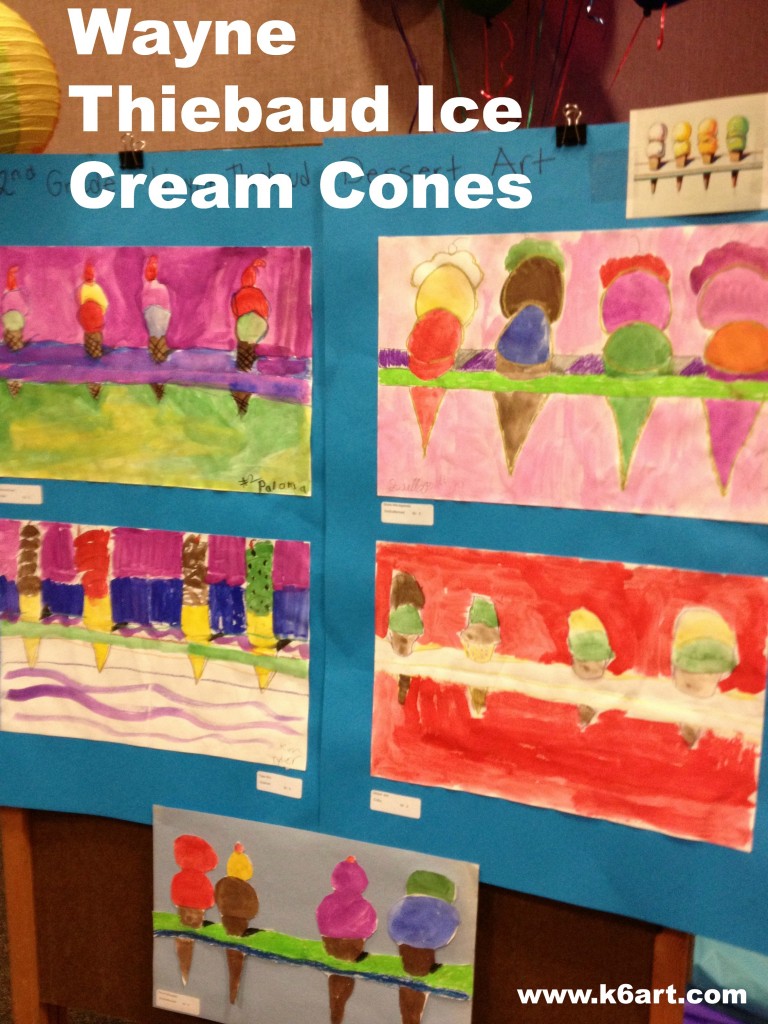
wayne thiebaud ice cream cones


Summer is almost here. Why not try a warm-weather twist on Wayne Thiebaud with an ice cream art lesson? Check out these ice cream cone lessons using paint, collage, papier-mache and more.

thiebaud cones

cone collage

Directed Draw/Paint:

  • 1. I discovered an entire Wayne Thiebaud unit at the fabulous Danish Fru Billedkunst (“Mrs. Fine Art”) blog. Click here for her step-by-step ice cream cone drawing diagram.

Our second graders began by folding their paper into quarters. The horizontal fold became the table edge. Students drew two cones on each side of the vertical fold. We used crayons and tempera cakes. Students had the option of painting a background, or cutting out their art and gluing it to construction paper. They looked so beautiful at our school art show (see photo at top of post).

Here are some more interesting ideas for Thiebaud-inspired ice cream fun:

Collage:

  • 2. Miss Young’s Art Room has a simple ice cream collage for kindergarten
  • 3. ARTASTIC! has a torn paper collage that would be great for using up all those paper scraps at the end of the year

Templates:

Group project:

  • 5. Kids Artists has a whole-class painted paper ice cream cone collage.

Papier Mache Sculpture:

  • 6. Phyl’s There’s a Dragon in My Art Room blog has an awesome papier-mache ice cream cone sculpture project using a paper water cone, newspaper, masking tape and art paste.

More resources

My Wayne Thiebaud Powerpoint includes repetition of simple shapes, variety, use of thick paint, horizon line and shadow.

I always show my ancient (circa 2000!) Behind the Scenes with Wayne Thiebaud [VHS] – it includes Mr. Thiebaud drawing an ice cream cone. Oh, why can’t I find a DVD or digital version??

Wayne Thiebaud video from CBS

Whatever project you choose, your students are bound to have fun!


Enjoy!


Do you have a favorite ice cream cone project?

Related Posts Plugin for WordPress, Blogger...