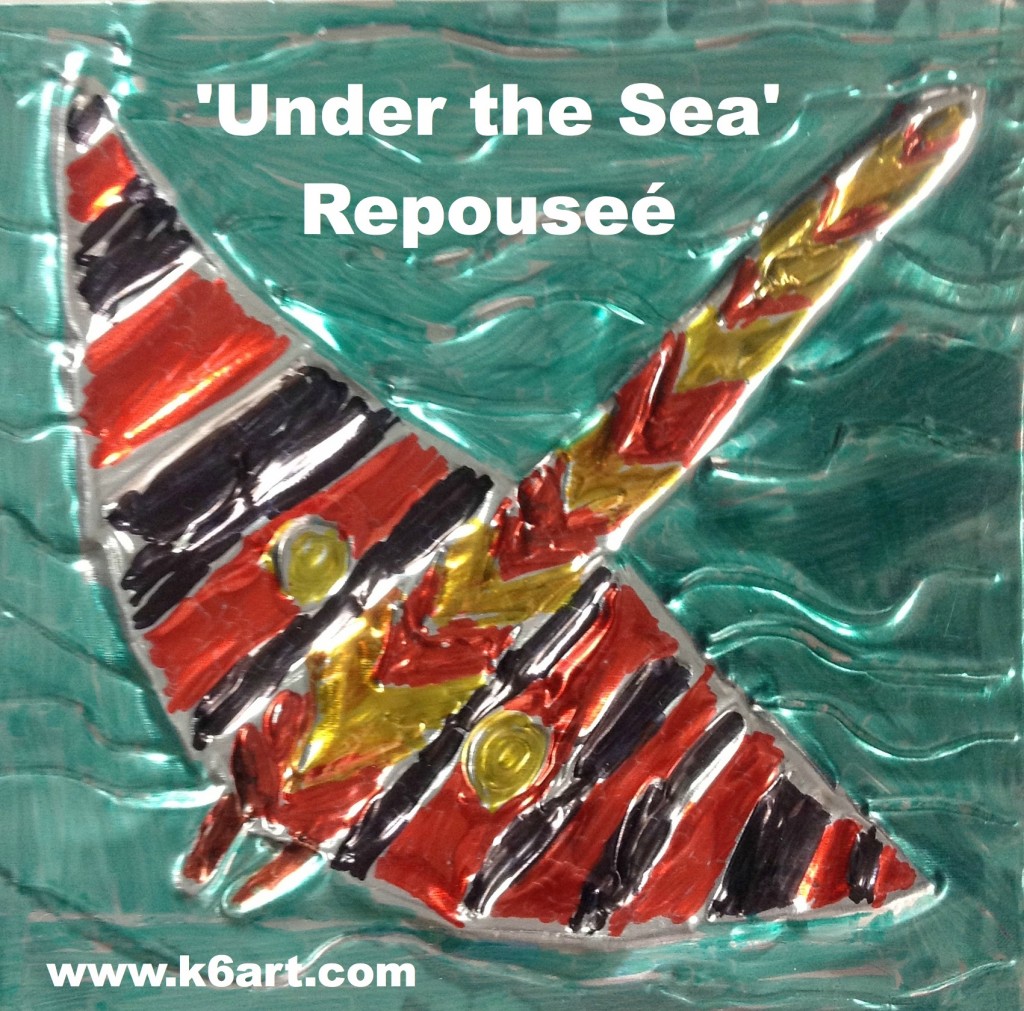
‘Under the Sea’ Repouseé

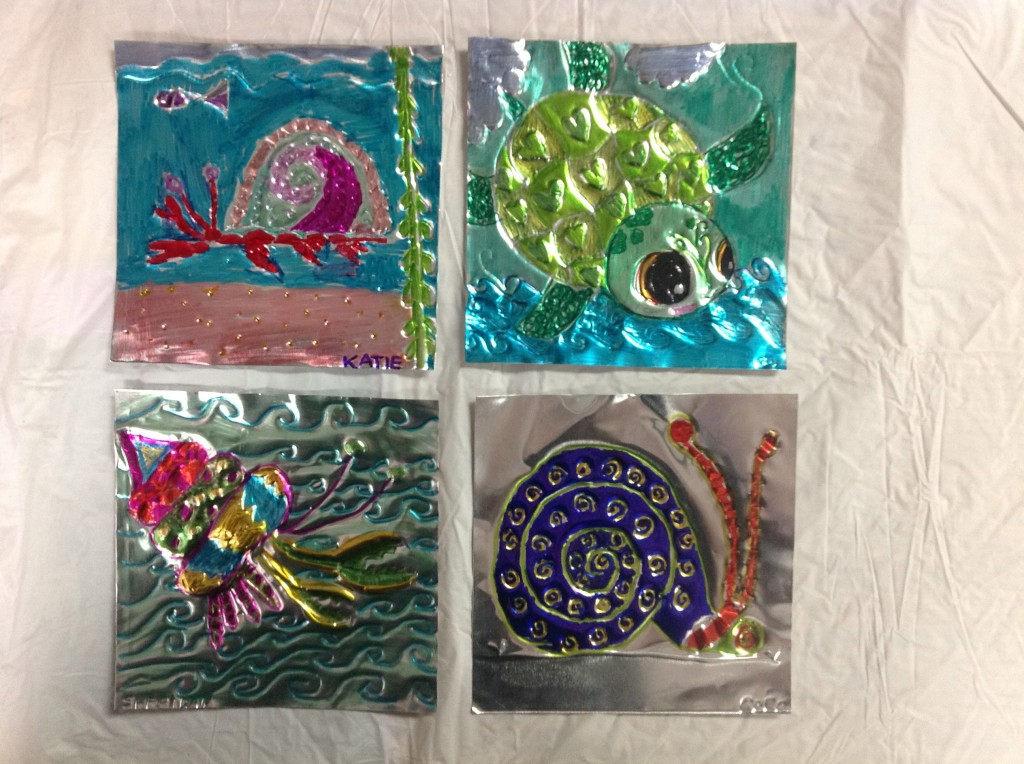
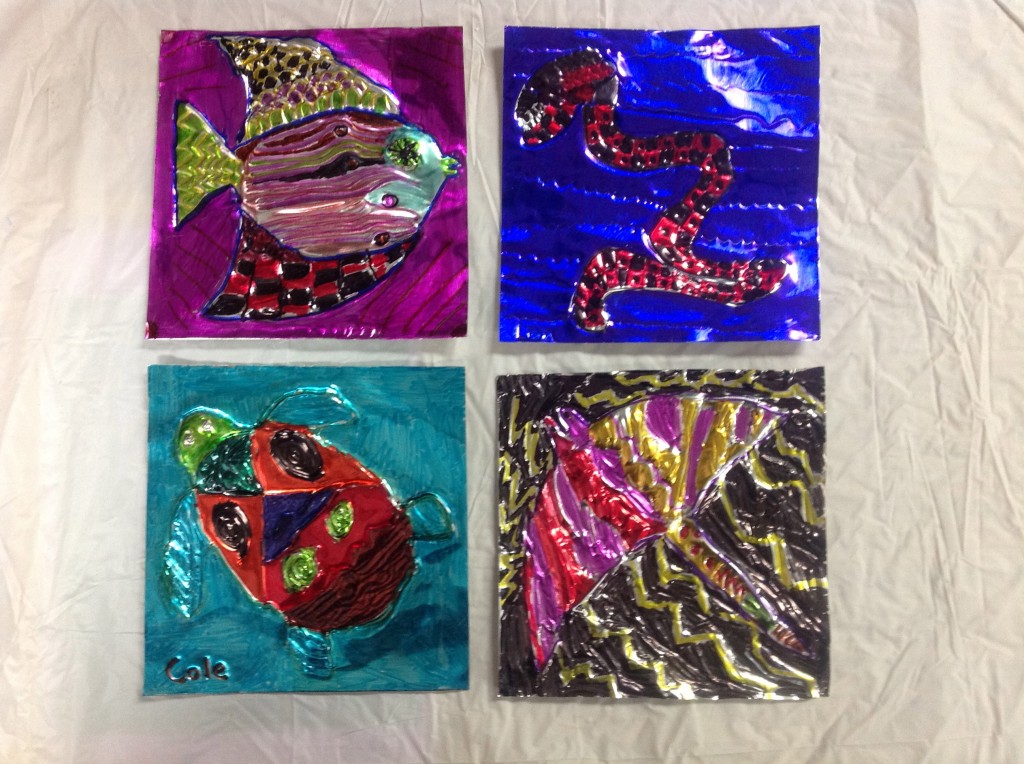
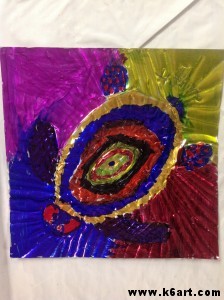
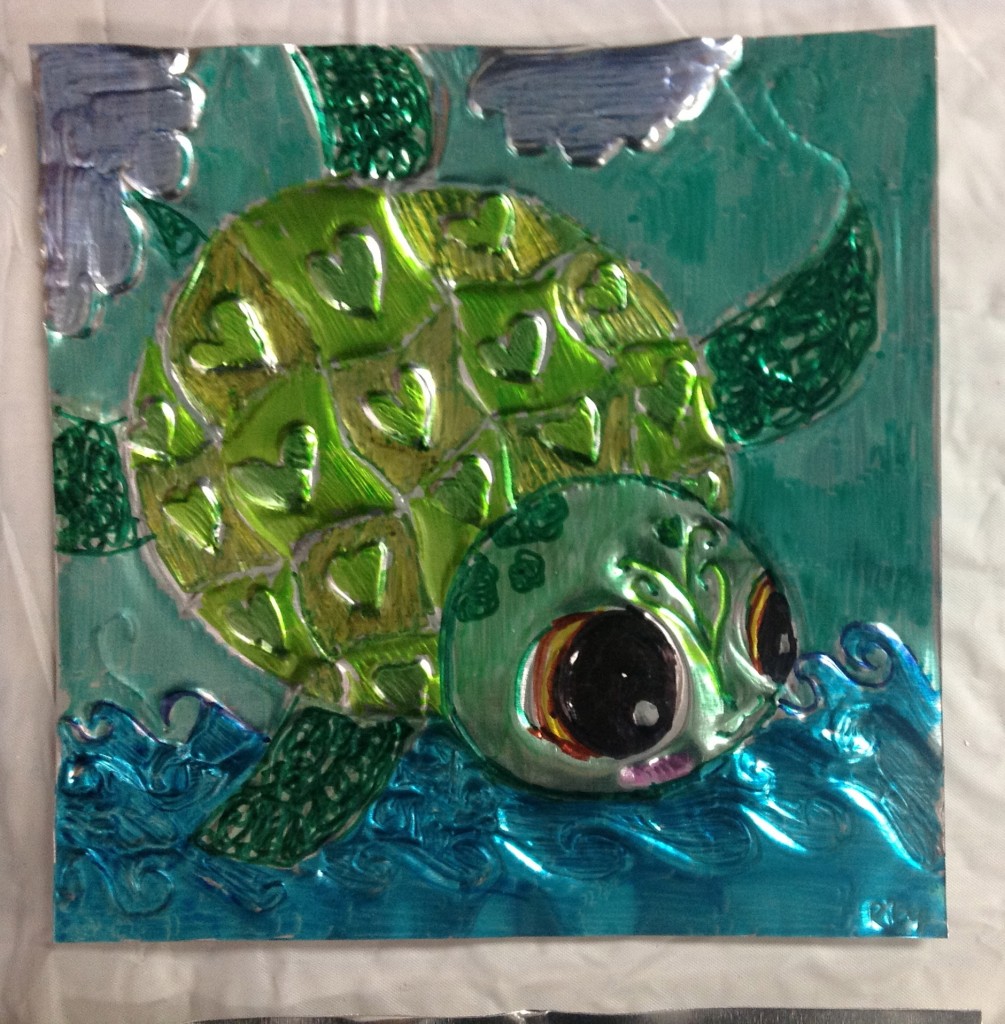
This week fourth grade finished their foil sea creatures. If you have never tried tooling foil repouseé, you simply must!  It is so much fun.  If you are unfamiliar with repouseé, check out this excellent post at A Faithful Attempt blog.

Materials:


Day 1

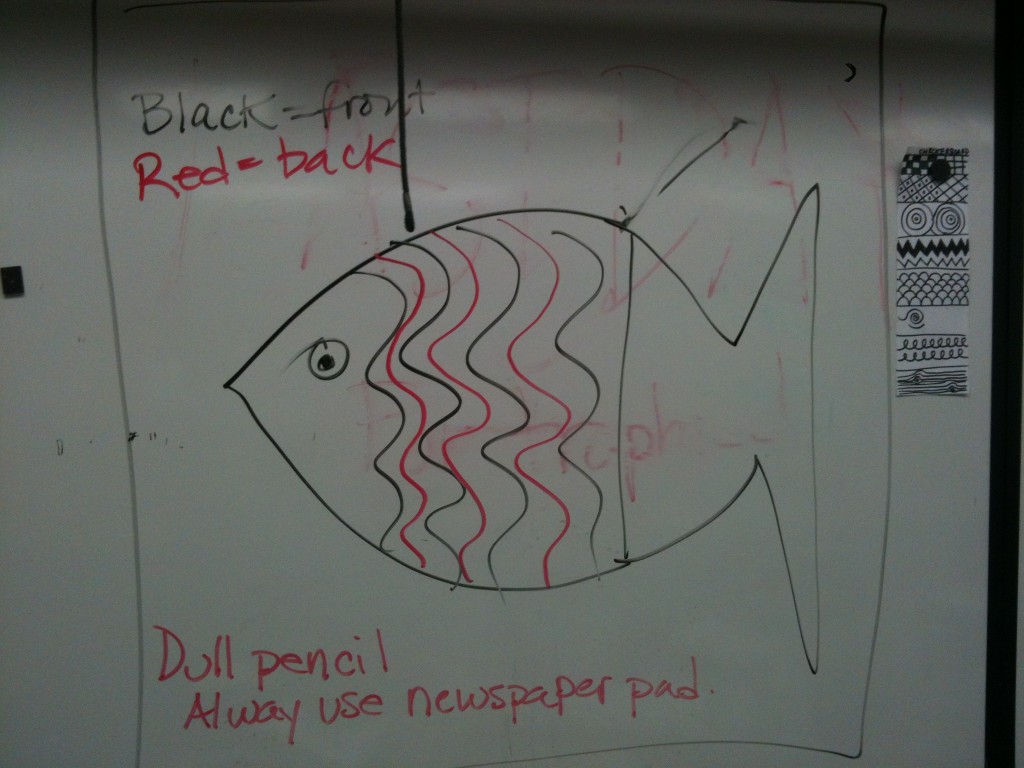
We talked about the repouseé process. We are going to use a pencil to shape and press lines and patterns into our foil. We will make texture. For practice, I gave kids a piece of heavy aluminum foil and we folded it four times. The number one rule: always keep the foil on the newspaper pad. The pencil will  bend the metal down into the pad.

We practiced drawing different lines (wavy, straight, zig zag) and patterns on our test foil.  I showed kids how to flip the foil to the back and press lines into the back of the foil. Once kids got used to working the foil front and back, they really enjoyed the process.

Day 2

I passed out square paper sketch sheets and templates (optional – I encouraged kids to make their own design so long as it filled the square). Goal: create a sea creature with a textured body and textured background. When the sketch was approved, I gave them a square of foil. They taped the sketch to the foil and retraced their lines. then they turned over the foil and pressed more lines into the back.

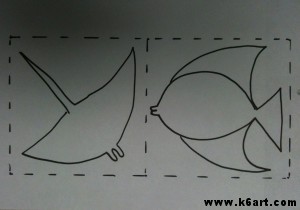
Optional templates ruled to fit foil squares.


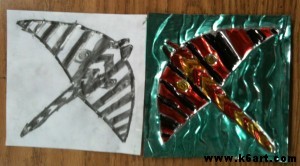
Pencil sketch and completed art


Day 3:

Color with colored Sharpies.  The color makes our repouseé art looks like jewels of the sea!

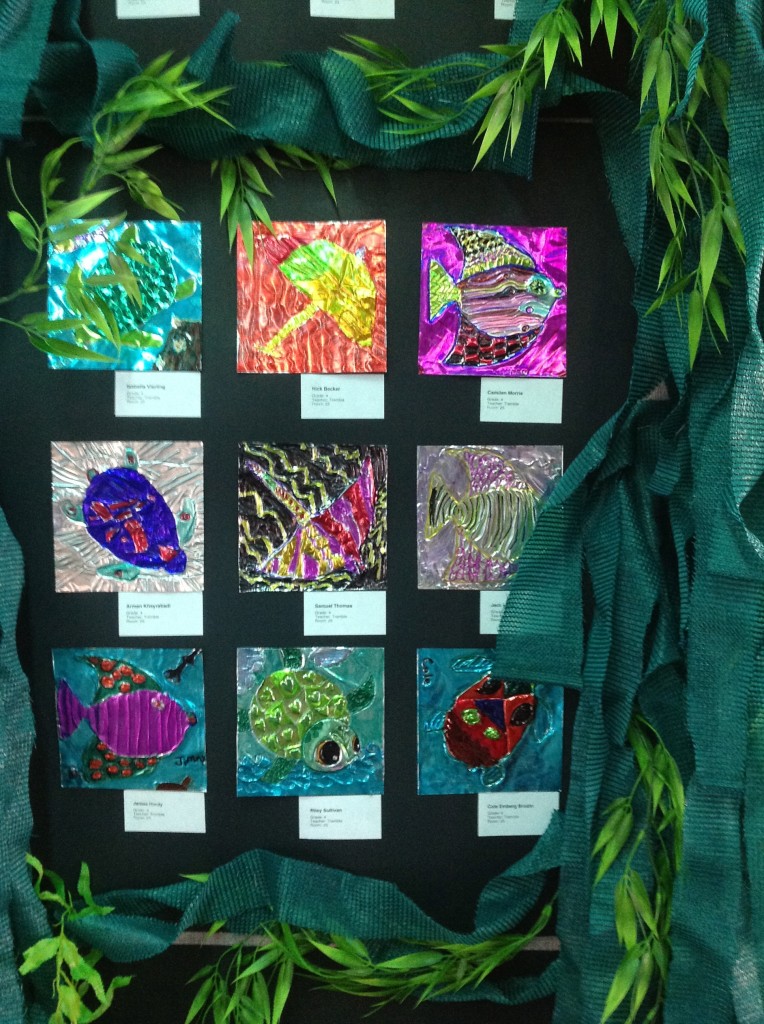
Here they are on display in the school lobby for our annual Ocean Week

Options:

Skip the background. Cut out the textured sea creature. Color on both sides and hang as a mobile.

Skip the pre-cut squares and do the project on folded heavy foil.

Have fun!

Affiliate of:

Calder Wire Sculpture Finale 2012

calder wire sculpture finale 2012

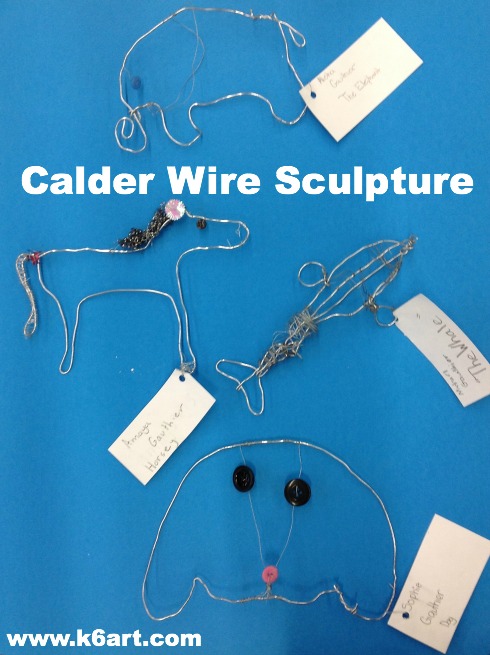
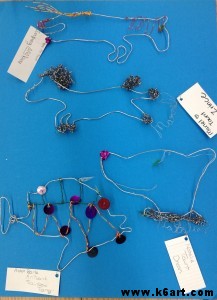
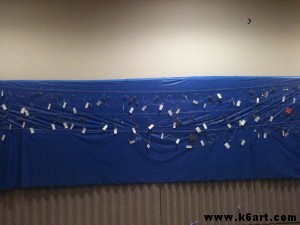
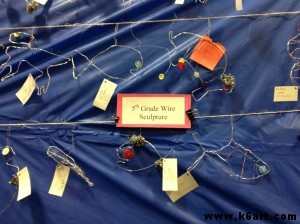
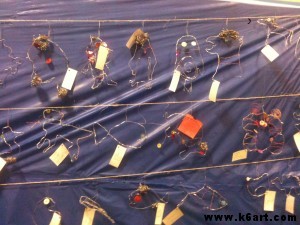
The 5th graders showed off their amazing wire sculptures at the art show last week.  We had about 70 – the biggest group to date. I want you to see some of the best examples, and how we displayed them.

Note: All our sculptures were made with 14 gauge Blick Armature and Sculpture WireClick here for project instructions.


Mariel (middle horse) and Natalie (dog) were able to sign their names in wire.

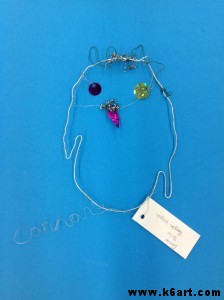
Connor was able to sign his name in wire.


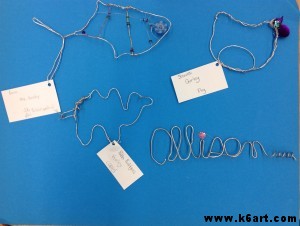
Fish, pig and camel. Early finishers made name art.

How to Display Wire Sculpture:

Our silver-colored sculptures look best against a solid, dark background. We hung blue vinyl table covering (from a roll) across a wall. We attached twine in front of the covering, and hung the sculptures using paper clips (opened to form an ‘S’ hook).

Completed wire sculpture display.

Great job fifth graders!!!

Kudos to the parent volunteers who helped out in the art room every week. We really appreciate your efforts.

Thanks to our fabulous art show chair and her husband for designing and installing this display. That was a lot of hard work!

Wire sculpture is so much fun, and it’s not messy. Learn about Alexander Calder, the famous (and fun!) artist whose work inspired this lesson. Want to know how? Check out my previous Calder wire sculpture and Calder wire portrait posts complete with PowerPoints. *NEW* Read two Calder books online for free!

Good luck!

I am an affiliate of Blick Art Materials.  I have been using Blick 14-gauge sculpture wire  for nine years and love it!

Note: post updated on 11/23/13.

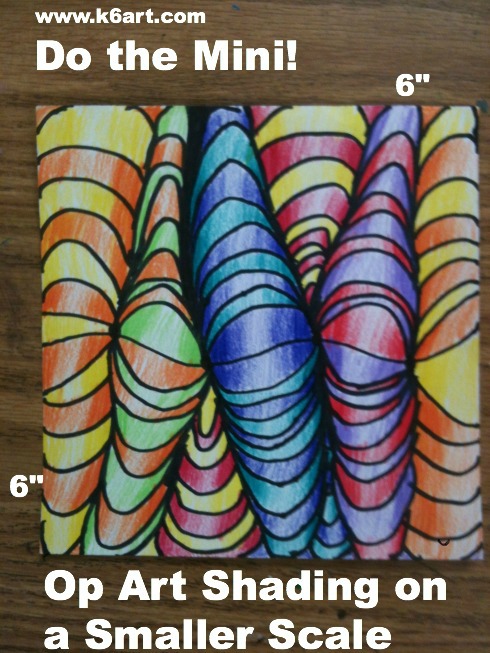
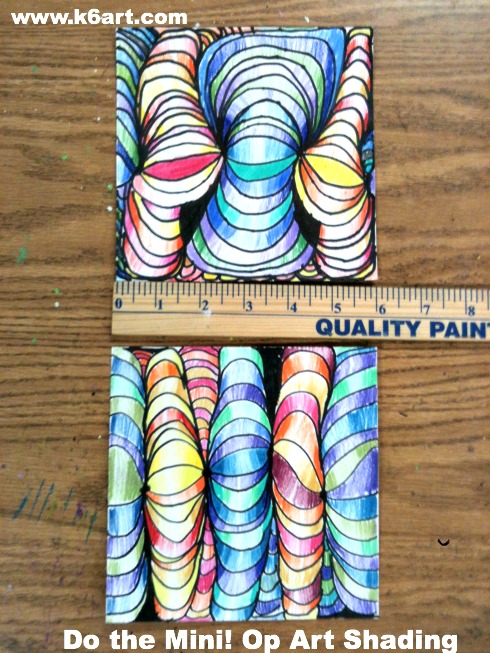
Do the Mini! Op-Art Line Shading Lesson on a Smaller Scale

do the mini! op art shading

This Bridget Riley-inspired colored pencil op-art line shading lesson is extremely popular. I first saw it on Art With Mr. E., then on Teach Kids Art, and finally a post on Artisan Des Arts with a teaching video (wow!). If you are unfamiliar with this project please start out by visiting these excellent blog posts.

My small contribution to all this awesomeness is …small. Last year I tried this project with 5th grade using 9″x12″ white paper. Well, it took a long time…too long. The full size project took at least 4 classes and many students lost interest.

I decided to try a smaller format. At Mr. E’s suggestion I went down to a 6″x6″ square. SUCCESS! The 4th graders were able to complete the 6″x6″ project in 2-3 40-minute sessions. They were very proud of their artworks.

For detailed instructions, please view the teaching video in the link above. However, for the mini 6″ version of this project, start with 4 dots on the wavy line

Give it a try in any format.

More Bridget Riley op-art resources

Bridget Riley 6 Op Art Shading project

Enjoy!

Related Posts Plugin for WordPress, Blogger...