Chalk Pastel Stencils – Quick, Easy and Beautiful

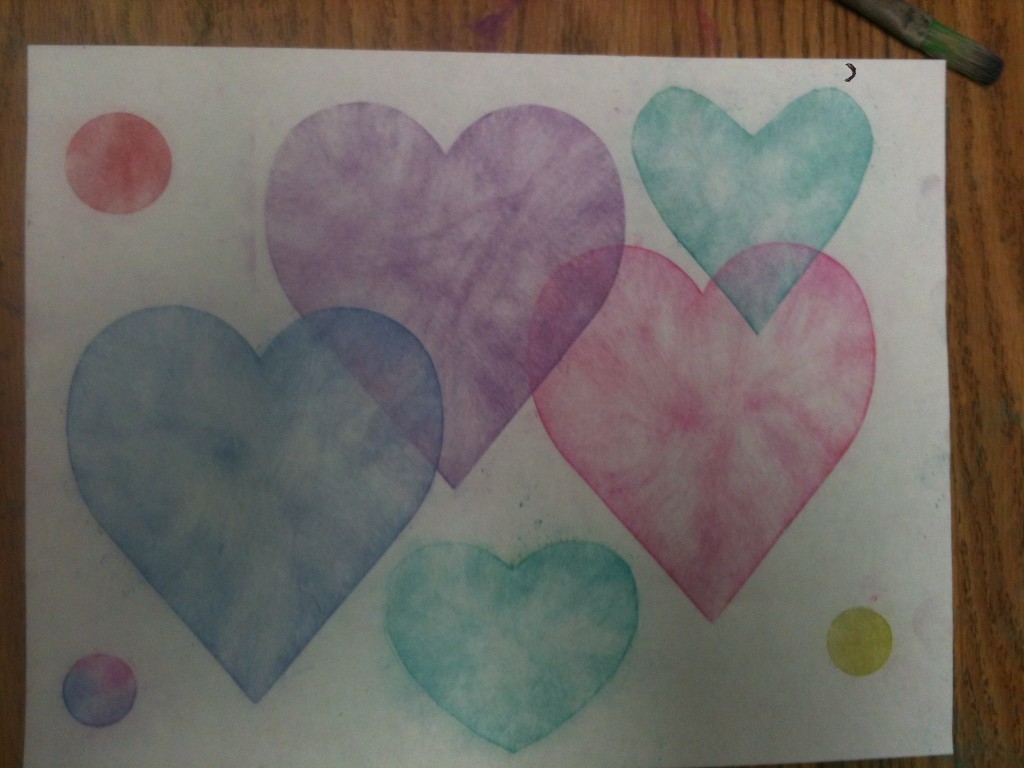
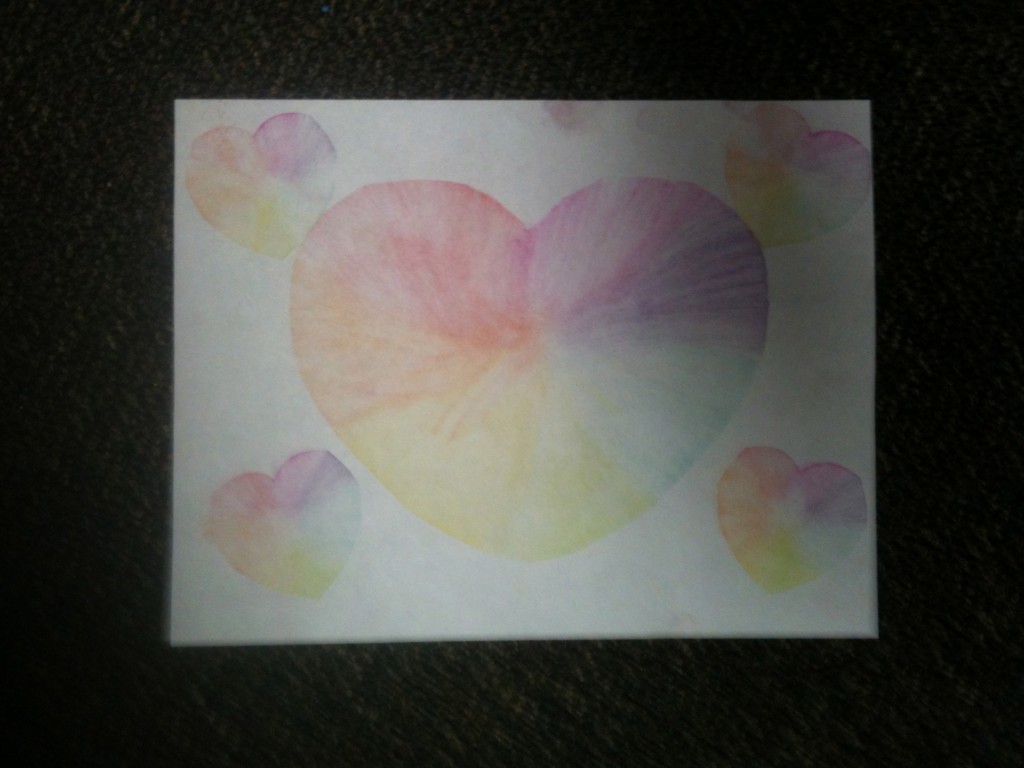
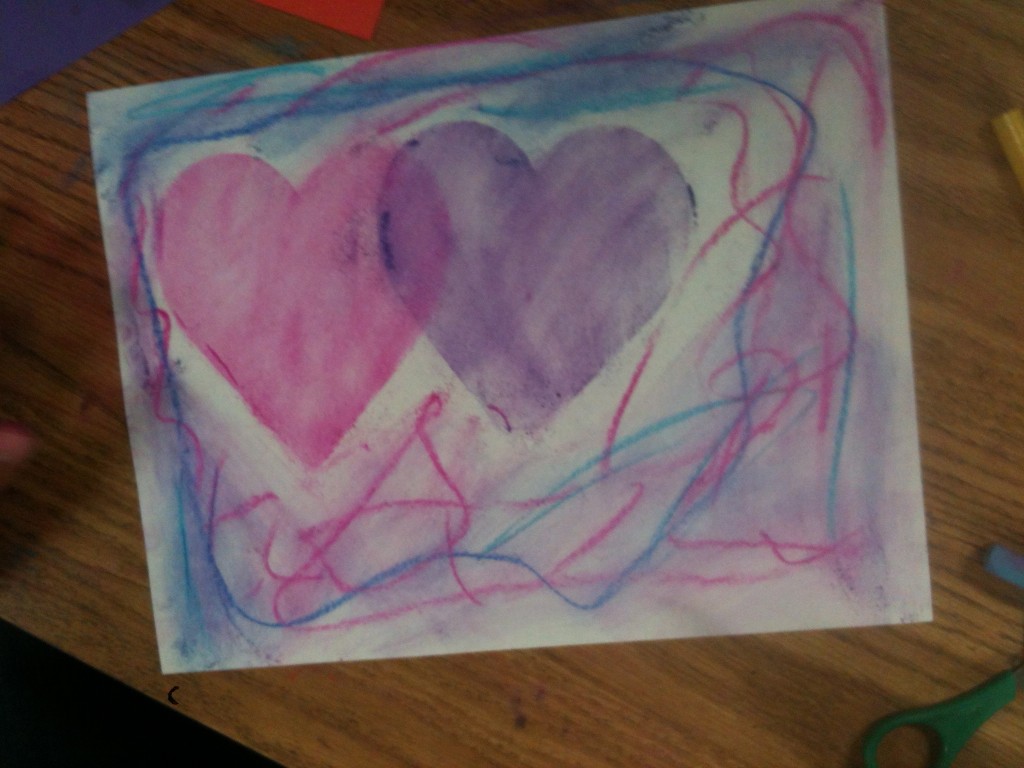
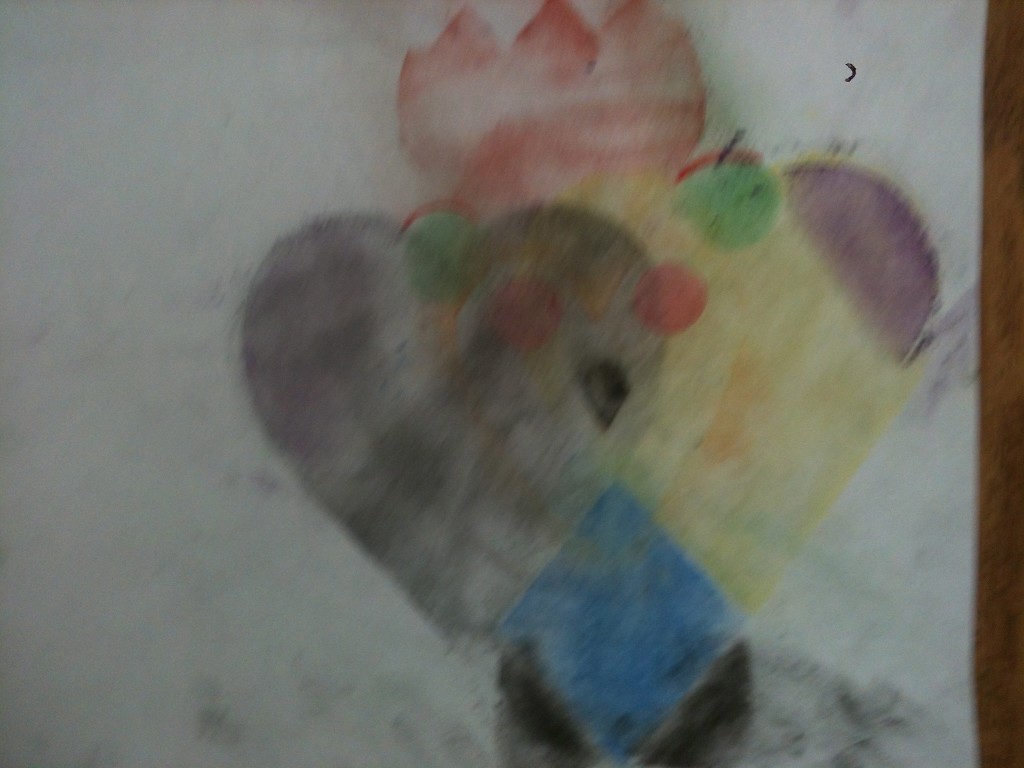
5th graders used chalk pastels and cut paper stencils to make overlapping hearts.

These beautiful chalk pastel stencils take only one 40 minute session!

Materials:

  • Chalk Pastels
  • Stiff brush (we use our old tempera brushes)
  • scissors
  • construction paper for background (we used white 9″x12″)
  • construction paper cut approx. 4″x6″ for making stencils
  • optional: ready-made stencils

Instructions:

Fold the small rectangle in half. Draw a half heart on the fold and cut out.

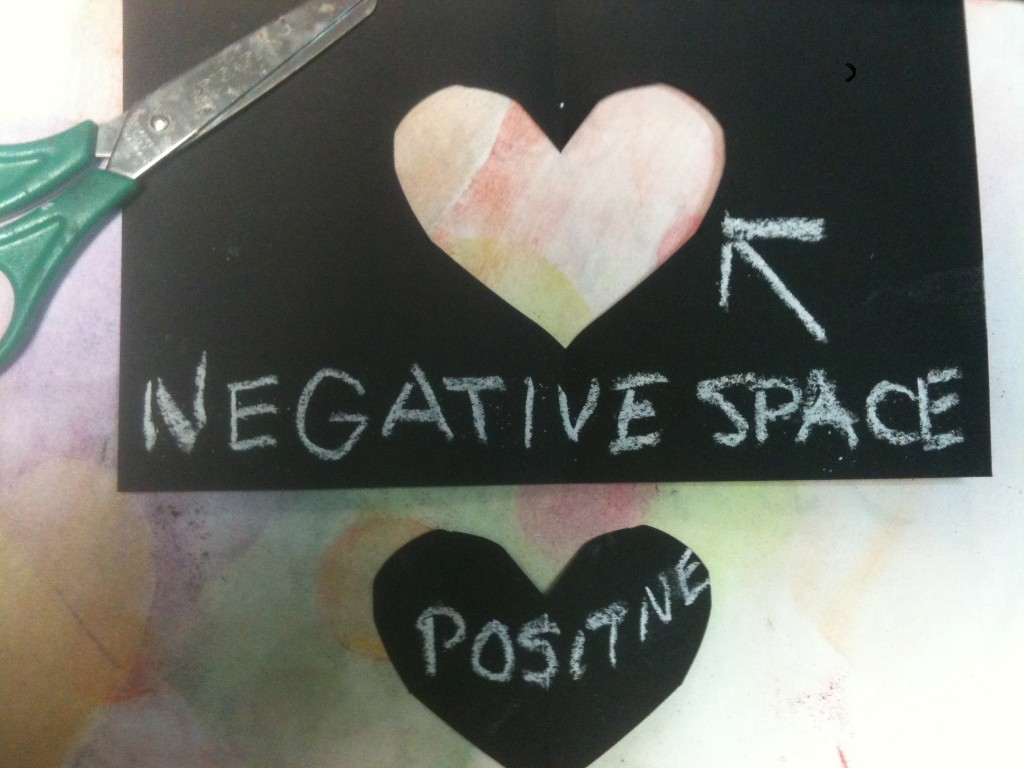
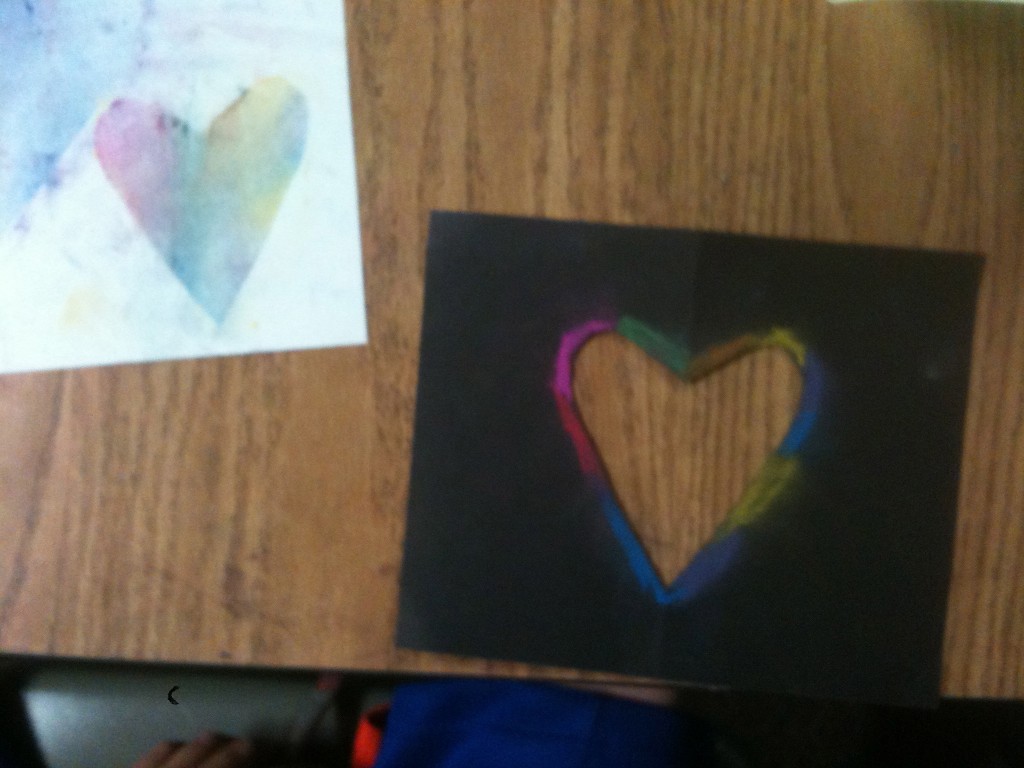
Students can use both the positive and negative shapes from homemade stencils.


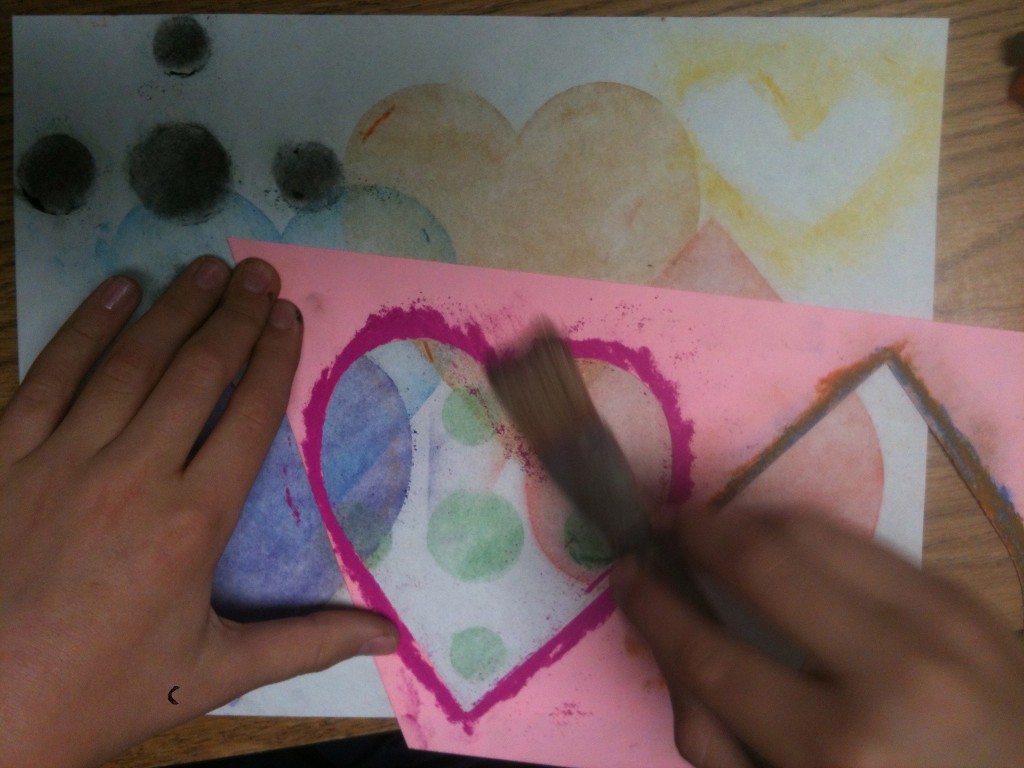
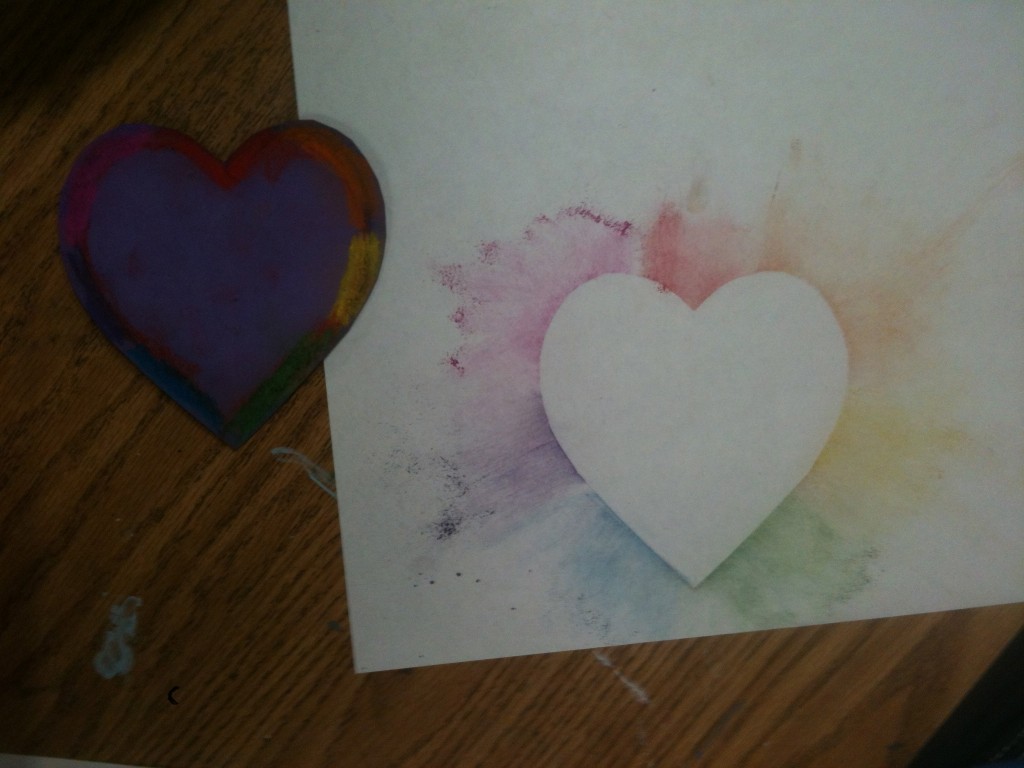
Color around the edges of the cut out 'window'.


Now take the stiff brush and brush the colored pastel into the stencil ‘window’.

These pink hearts 'stencils' were made on the school die-cut machine.


Lift up the stencil. Students will ooh and aah if they have never tried this process before! Now shift the stencil and repeat the process.  Encourage students to overlap.

Now take the positive shape and color the edge with pastel. Place on the background paper, and brush the color outward onto the paper.
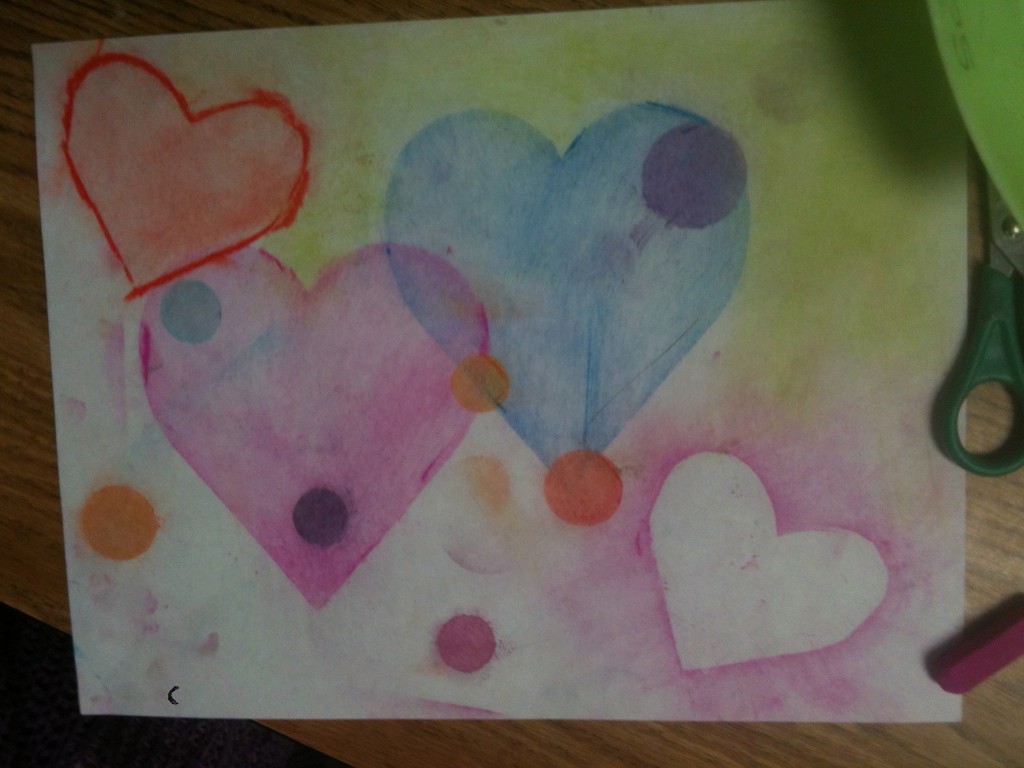
Positive shape can be used as a stencil.


Nice composition and color.


We reused our die-cut stencils for three classes. We just colored and colored again around the edges. Tell the students to relax – it’s going to look beautiful.

Students can also color the background.


Another stencil made on the school die-cut machine.

This student used his stencils to make a bird.

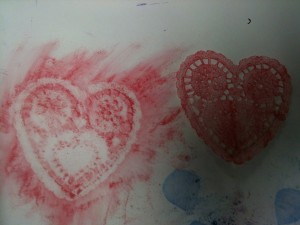
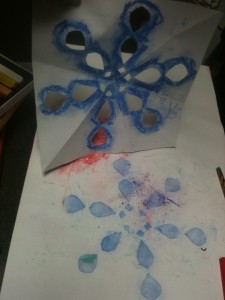
This method would be very interesting with cut paper snowflakes or doilies.

Experiment with doilies.

Try a homemade snowflake stencil.


Minimize the mess: ask students to tap their excess chalk pastel dust onto a piece of newspaper.

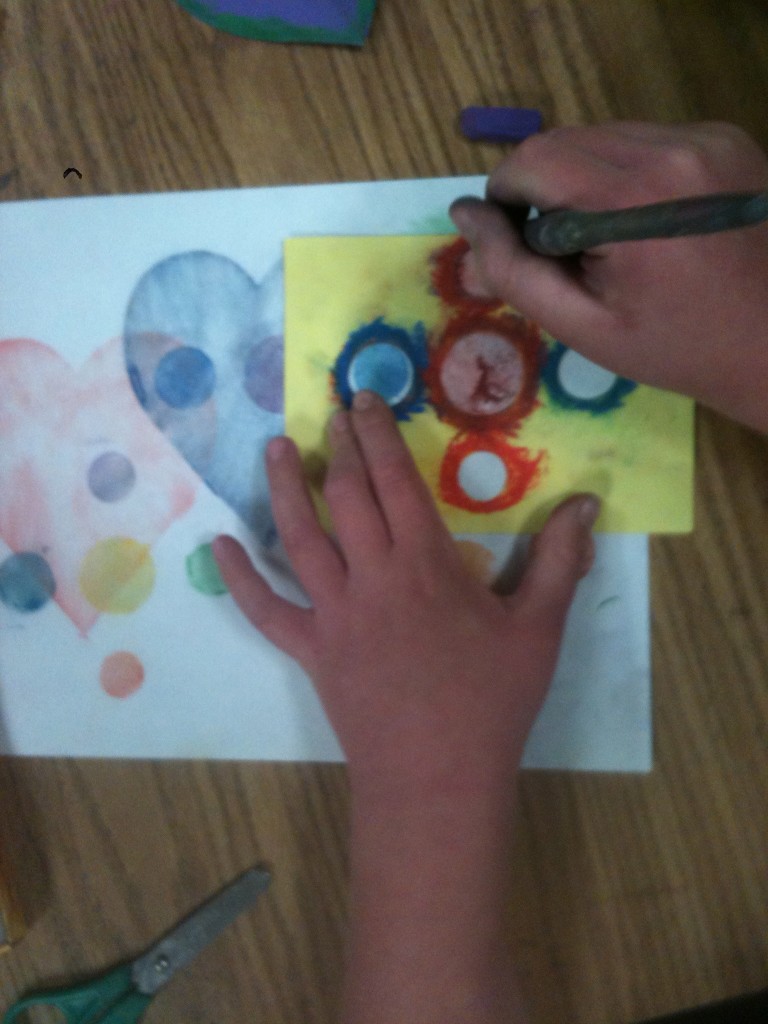
What to do with all those used colorful stencils? Try this used stencil collage project. Double the art fun!

This method came from the San Diego Museum of Art  2010 Educator’s Art Fair. The lesson can easily be adapted for all grades K-6.

Eraser Stamps for Sixth Grade: Abstract Design

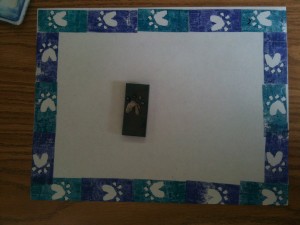
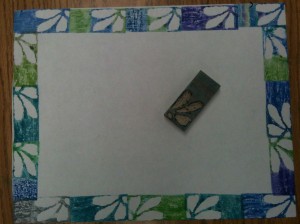
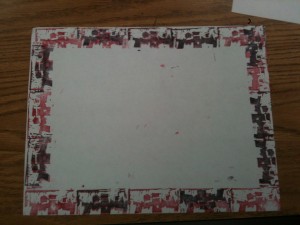
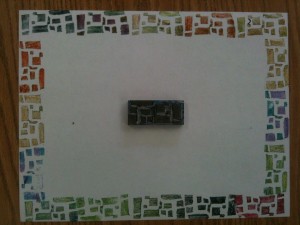
Sixth graders carve erasers with their own abstract design and use them to print individual and group artworks.
Sixth grade is making eraser stamps.

I learned the method from Geninne’s Art Blog. Geninne has a fabulous tutorial on stamp-making including an instructional video. This assignment has two parts….1) create an abstract design stamp and 2) create a stamp based on your initials.

Part 1: Abstract Design

Materials:

  • Magic Rub vinyl erasers
  • Pencils
  • Paper (copy paper is fine)
  • Tracing paper
  • Popsicle stick or ruler
  • Lino cutter (student grade – we used the ones from this Soft Kut class pack)
  • Stamp pads
  • Watercolor markers (we used Crayola)

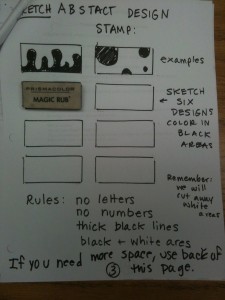
I teach this assignment with a packet of handouts…

Explain to students we will be cutting away the white portions of their design…..since they are beginners, the design should be fairly simple. No letters, no words, no numbers!!!!

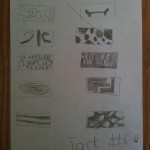
Here are some sketches…I have to approve their final designs before they cut.

After approval, students transfer design to eraser. Placed traced design ‘dirty side down’ on the eraser and rub with edge of Popsicle stick to transfer.

Carve eraser:

Rules:

  • Stay seated.
  • Keep eraser flat on the table.
  • Grip cutter as if it was a pencil.
  • Make shallow cuts, not deep.
  • Your cutting hand should stay low, close to the table. Your wrist can go up about an inch above the table.
  • Direct cuts away from your body.
  • Rotate eraser so that cuts are directed away from your hand.
  • Cut away white portions of design.

Printing:

Time to print! Students could use a stamp pad or color their erasers with watercolor markers (we used Crayola markers). The stamp pad method is quick, but the marker method allows more variety.

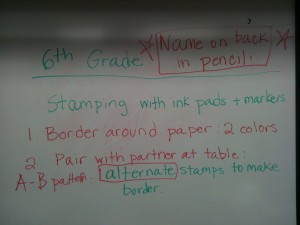
Instructions on the board.....

Student Results:

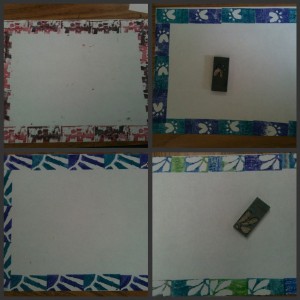
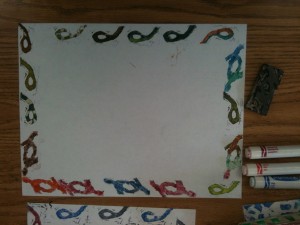
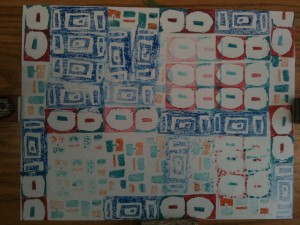
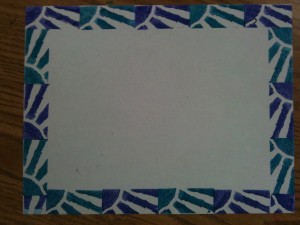
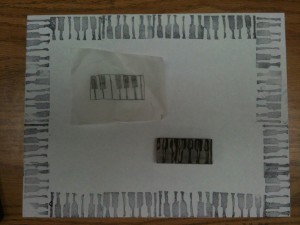
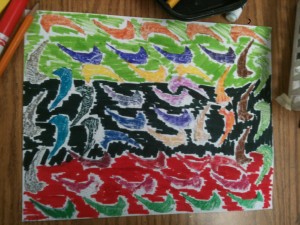
Carved eraser stamps inked with watercolor marker.

6th grade artist thought overlapping colors 'looked 3D'

This student hand-colored her stamp with markers.

Group project with three stamps (hand-colored with markers).

Student hand-inked design inspired by Nike logo and colored negative space with marker.

Many students said this was their favorite project ever!!!! They are clamoring to go on to part 2, a design based on their initials. To be continued!

It is also a special joy for me to see the 6th graders complete the project – I have had about 25% of these kids since they were 5 years old and learning how to write their names.

This printmaking project is also great opportunity to discuss art principles and elements: repetition, unity, and variety. It is appropriate for grades 6-12.

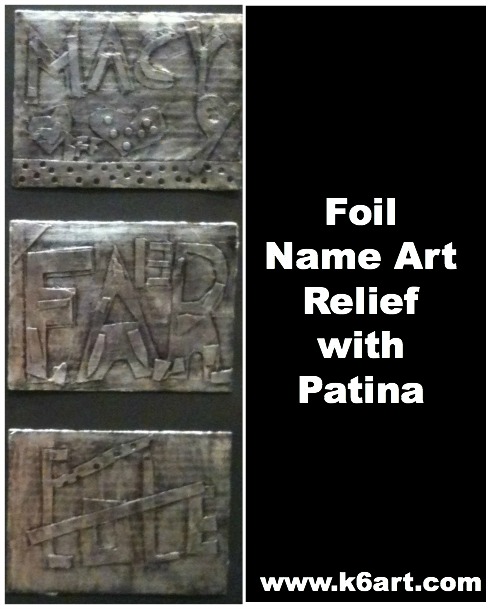
Foil Name Art Relief with Patina

foil name art relief with patinaName art: what a great idea for the first art project of the school year. The sixth grade recently finished their foil name art reliefs. You can download my foil relief Powerpoint here.

Materials:

  • sturdy cardboard for background
  • foil (I used pre-cut foil Pop-up Sheets and cut my background cardboard a bit smaller than the foil)
  • light cardboard or tagboard  in two colors (I used red and gold)
  • pencils and erasers
  • scissors
  • hole punch
  • glue stick
  • spray glue
  • permanent black marker (I use Marks-A-Lot Large Chisel Tip Permanent Marker)
  • fine steel wool

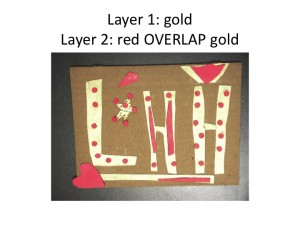
Days 1-2: Design a two-color relief

We started by layering two colors of light cardboard to create a name art collage. Students could use their name, initials, or nickname. Students used hole punches to add interest to their designs.

It really helps to work with two colors of light cardboard when creating the relief.

Day 3: Cover relief with foil and black marker, buff with steel wool

I had students bring their reliefs outside. I sprayed the cardboard with spray glue, then slapped on a sheet of pre-cut foil. Alternately, you could glue foil to a whole stack of reliefs during your prep time. Or you could let kids cover the relief with glue stick and lay on the foil themselves.

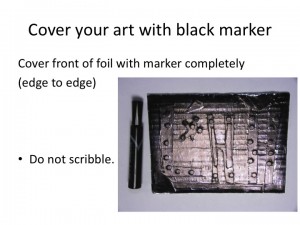
Next, we covered the foil completely with black permanent marker.

Students covered the foil with permanent black marker.

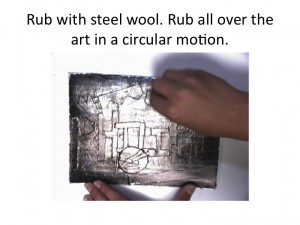
Finally we rubbed off the marker with steel wool to create an attractive patina.

Use fine steel wool.


All the students loved this project!  They felt the resulting patina looked like old metal.

Sixth grade examples:

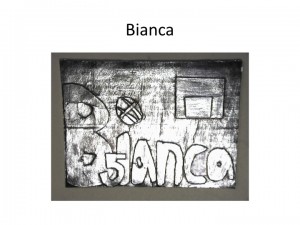
Biana added a basketball, hoop, and her jersey number to her name art relief.

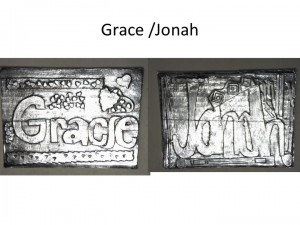
Grace used a heart shape hole punch to add interest to her design. Jonah added layered geometric shapes.

Extensions:

After their reliefs were complete, students did crayon rubbings of their name art. Some did rubbings of their friends’ art on large tag board and used it to create their portfolios.

Want more name art ideas? Check out my other name art posts:

Enjoy!

Do you have a favorite name art project for the beginning of the year?

 NOTE: Post update 1/3/14

This post contains affiliate links.


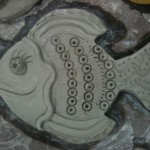
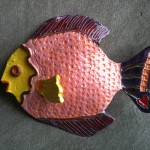
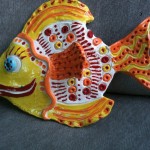
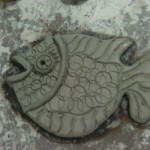
Clay Fish from Templates Swim into Sixth Grade

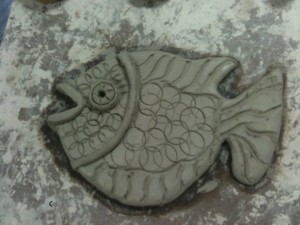
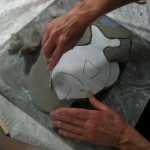
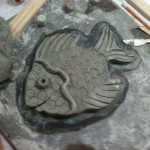
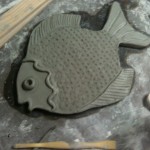
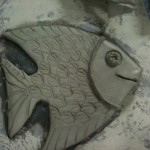
Today my fabulous colleagues stayed after school for a clay session. We made clay fish using slabs and templates. The sixth grade does this project in the spring.  Allow three 40+ minute sessions for this lesson.

Day 1: Select template. Roll slab and cut fish. Wrap in wet paper towels and store in gallon Ziploc bag

Day 2: Add details and texture.

Allow to dry.  Bisque fire…..then

Day 3: Glaze.

Texture tools include pencils, marker caps, glue caps and tips, and carved rubber stamps


Related Posts Plugin for WordPress, Blogger...