Kandinsky Circles Mural

kandinsky circles mural

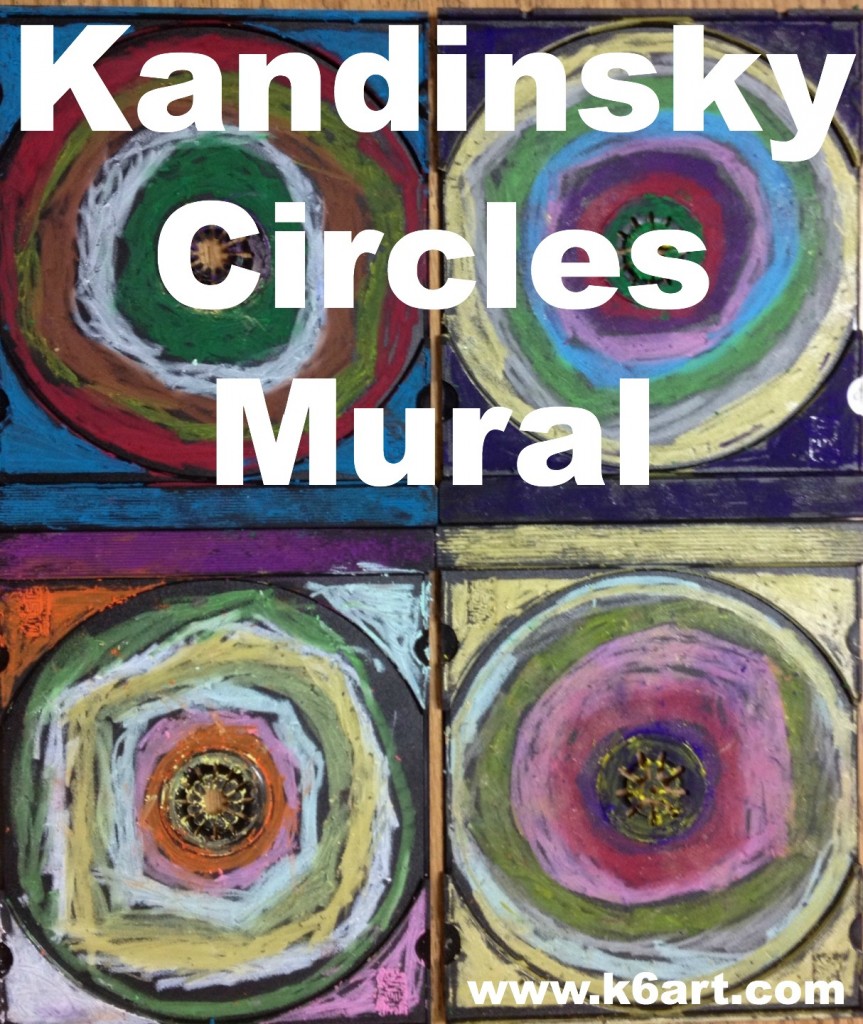
Here is a twist on the popular Wassily Kandinsky circles project: a group art mural made from recycled CD case trays. This project is perfect for Earth Day, but it does require advance planning.
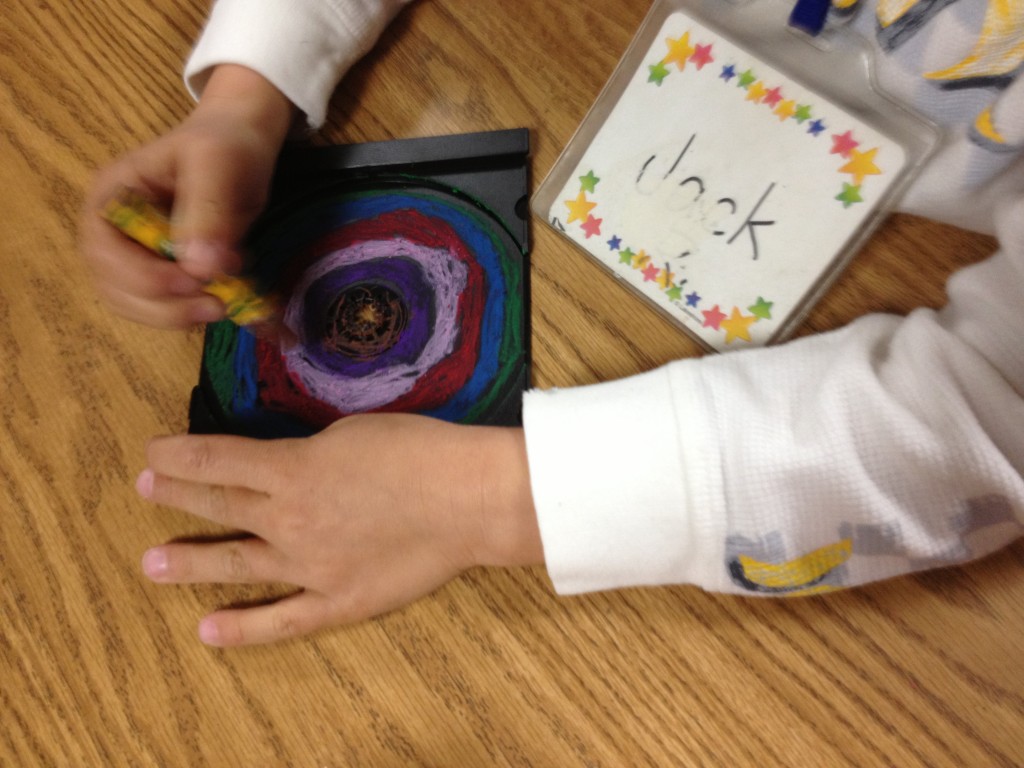
Kindergarteners use oil pastels to draw concentric circles in CD inserts. Allow one 40 minute class, plus time to assemble mural.

Kindergarteners use oil pastels to draw concentric circles in CD trays. Allow one 40 minute class, plus time to assemble mural.

Materials:

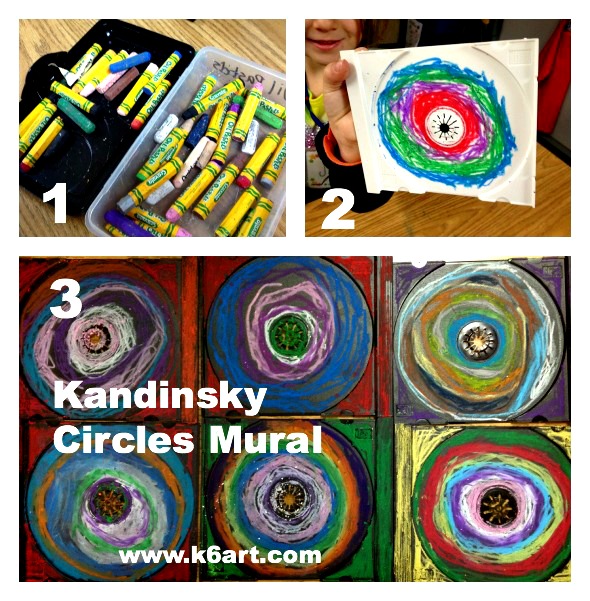
  • CD Jewel Case insert trays, preferably donated, one per student
  • Oil Pastels (we used Crayola)
  • glue and backing for mounting (see below)

Prep:

  • Source CD jewel cases. I got 250 CD jewel cases via the ‘for sale – free’ section on Craigslist. Like many others, the donor had switched from CDs to MP3s and didn’t want the old CD cases going to a landfill. Score!!!! Free art materials AND trash kept out of the landfill.
  • Pry off the colored plastic CD trays from the clear jewel cases (a parent volunteer helped me with this step). Save the clear cases for another project.

The Art Lesson:

I introduced Wassily Kandinsky to the kindergarteners. We looked at several of his famous artwork including Color Study: Squares with Concentric Circles. We noticed Kandinsky liked to make paintings with bright colors and shapes – not landscapes or paintings of people. Here are two brief YouTube videos I showed the kinders.

http://www.youtube.com/watch?v=Pa6WK6IWrkU


kandinsky circles how to

The Art Project

The art project couldn’t be easier:

1. Pass out oil pastels and CD case insert trays. Flip trays so central ‘bump’ is up.

2. Students start by coloring a fat ring around the center bump. They trade colors with a neighbor, then color another concentric circle. Repeat until the entire plastic circle is colored. Finally, they color the edges.

3. Group completed insert trays and mount

So easy and fun!  100% of kindergarteners had success with this project.

Mounting:

I plan on using four glue dots per CD tray and mounting on foam core.

UPDATE: The glue dots failed immediately. I had better luck with strong spray glue (3M Super 77 Spray Adhesive – use it outside or in a well-ventilated area). One week after the art show, I was able to remove the plastic circles to hand back to the kids.

However, you may choose to use a different adhesive and base depending on the number of circles you have, and the length of time you want the mural on display. Because I have 45 circles and only want the mural on display for one week, I am creating a display that can be easily dissembled.

UPDATE:  If you want to a more powerful adhesive for long-term mounting, try 3M Scotch Heavy Duty Mounting Tape. I created CD case mural using the mounting tape, and sent it off to a museum show. The mounting tape worked beautifully.

 Another option: keep the plastic insert inside the jewel case. Color, then close and mount each case to display surface (I separated the insert tray from the jewel case because I needed the clear cases for another project).

This would be a great activity for an Earth Day event – each participant can make a square for the mural. The entire activity, including the videos and clean up, took only 40 minutes.  I also see this as a fun art activity booth at an art fair or school carnival.

Enjoy!

Do you have a great resource for free art supplies?

 Do you have a favorite recycled art project?

Kindergarten Clay Handprints

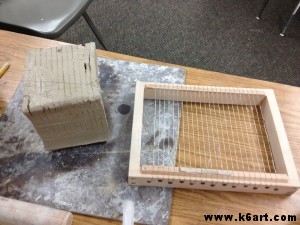
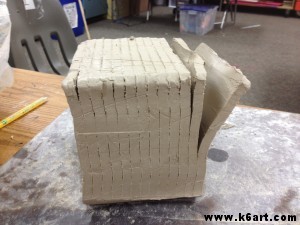
Want to make clay handprints for a crowd but don’t have a slab roller? Save yourself some time –  get a multi-slab cutter.

The multi-slab clay cutter.

Multi-slab cutter easily slices a 25-lb. bag of clay into identical tiles.

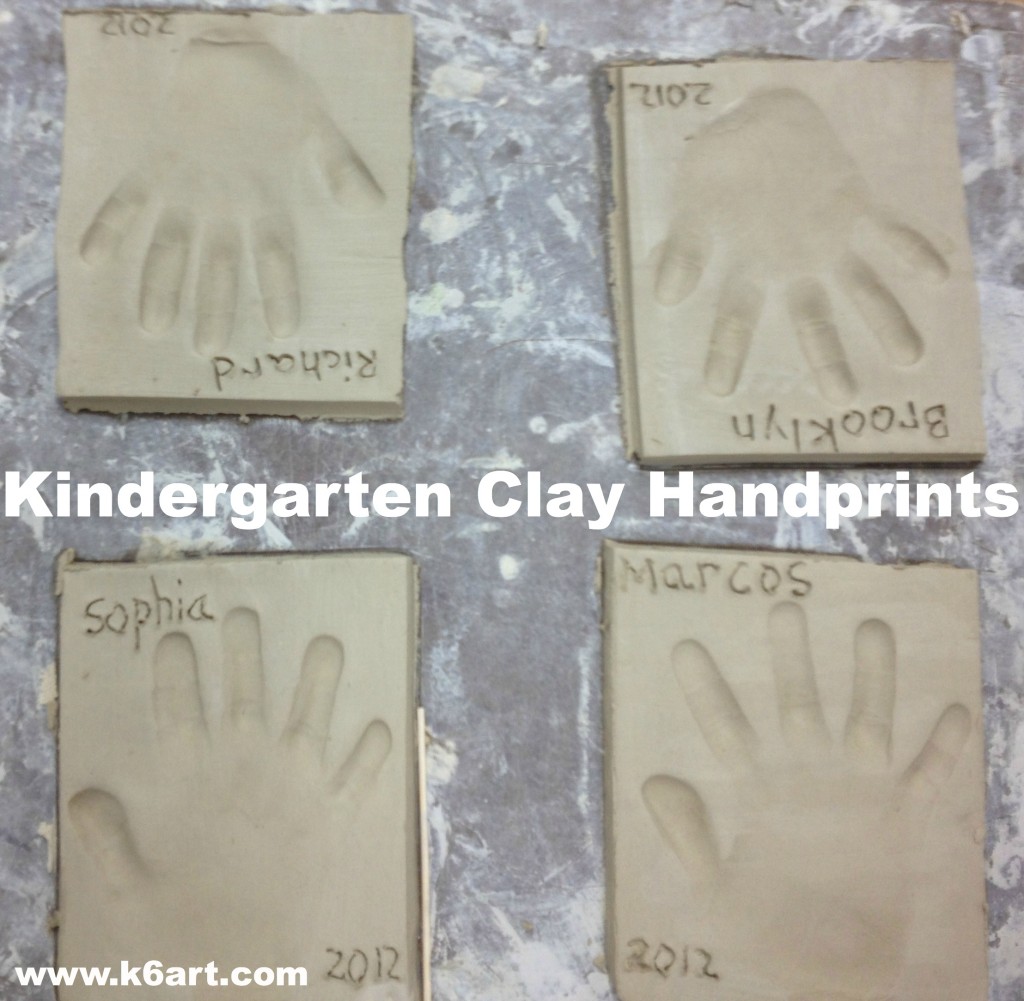
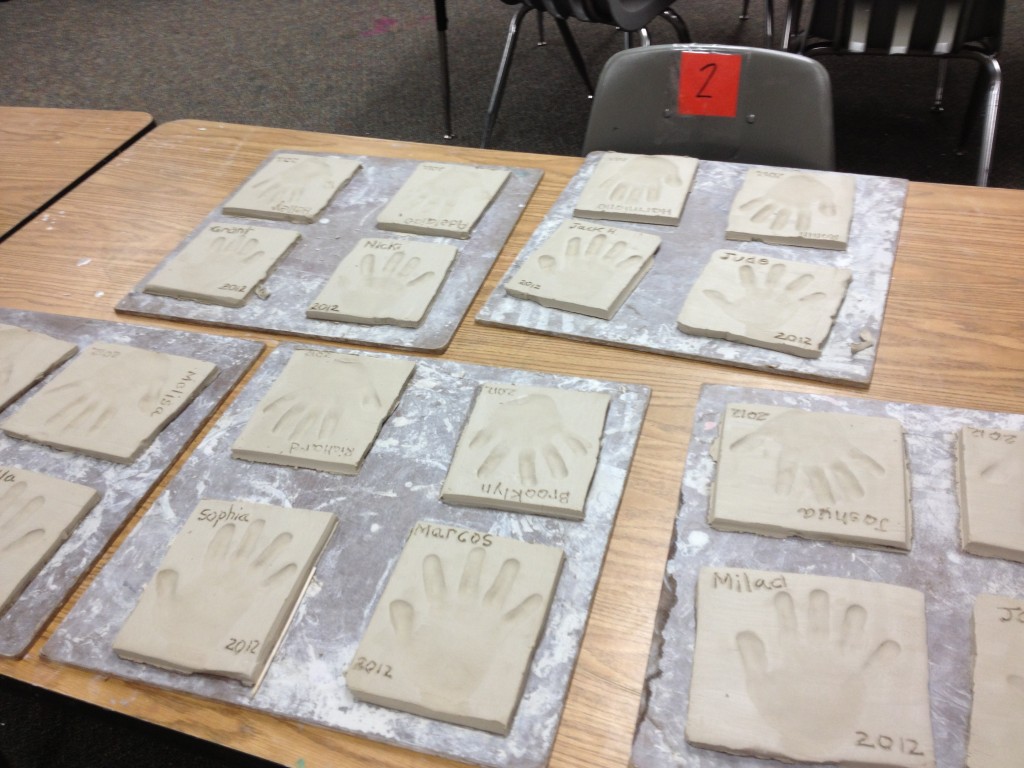
Prep for the handprints was a breeze: cut the clay, smooth with damp sponge and print!  I added name and date with a wooden skewer. The tiles are not perfectly square so I gave some a quick trim with a metal-edged ruler.

Kindergarten handprints

The multi-slab cutter makes 24 tiles at once and is a HUGE time saver compared to rolling and cutting out each tile individually. If you don’t have a slab roller this is the way to go.

I will let these dry 7-10 days, then bisque fire. They should be glazed and ready to go in time for the holidays. Parents love them as a holiday gift.

I read about the multi-slab roller on Deep Space Sparkle and Mini Matisse. Thanks so much for the tip!

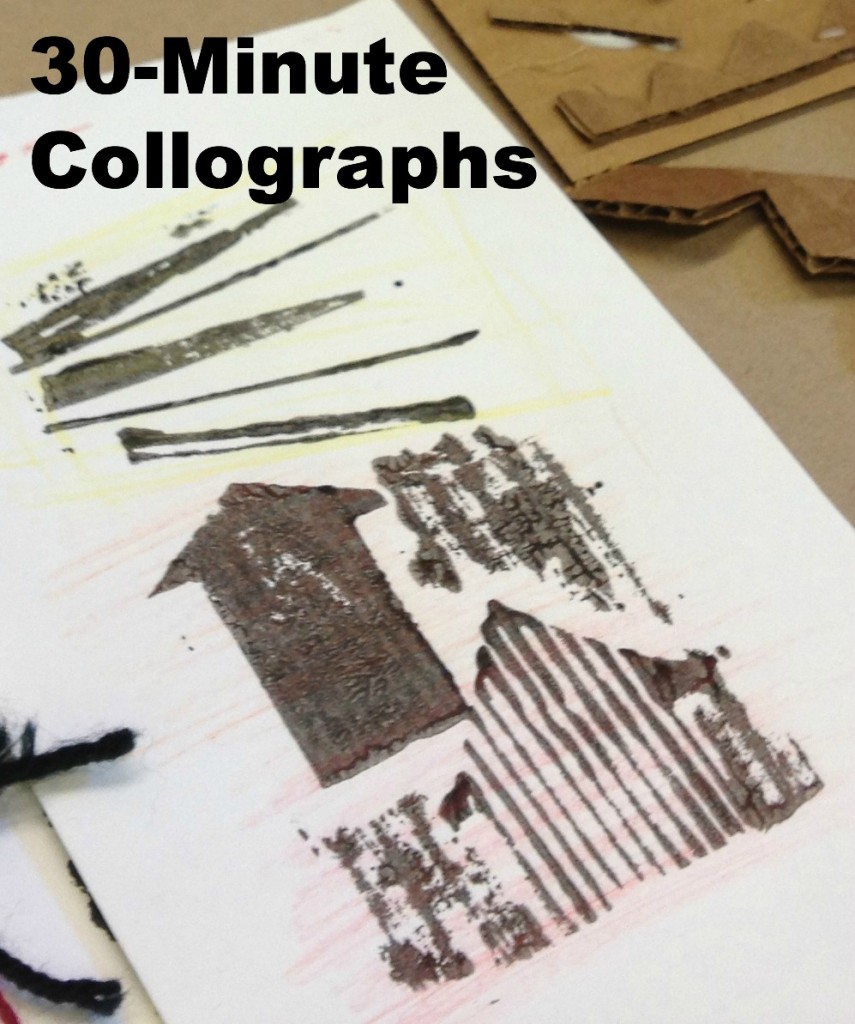
30-Minute Collograph Printmaking


Want to try a printmaking project that is quick, fun, versatile and inexpensive? Try collographs.


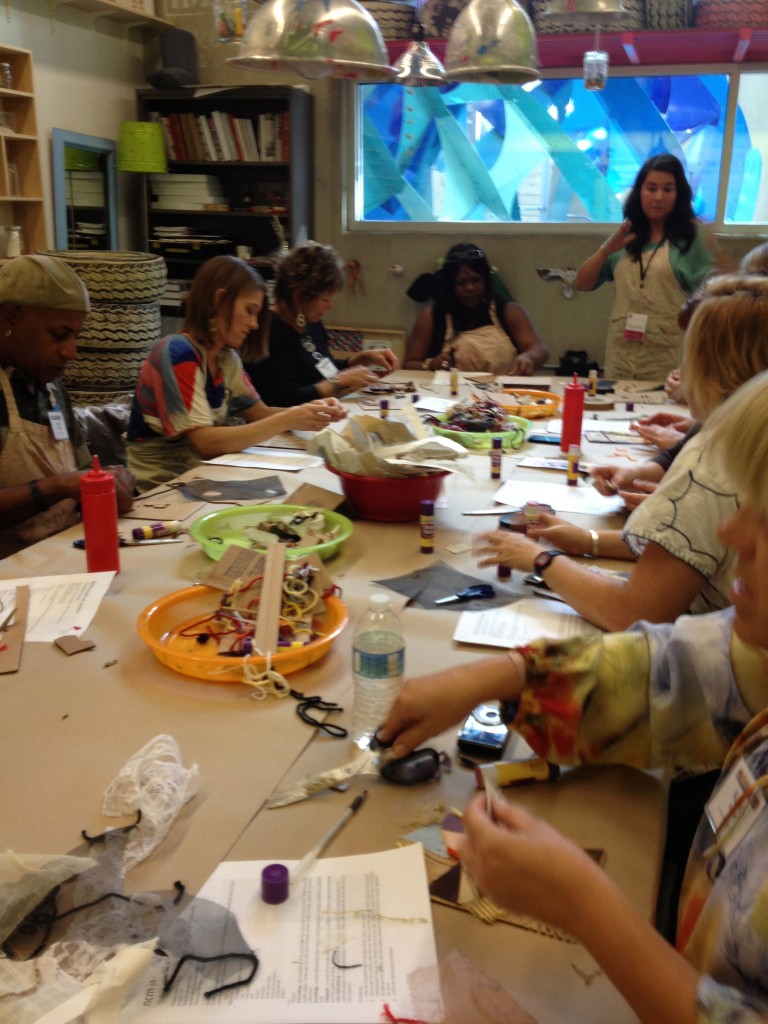
Maxi Moraga leads collograph workshop in NCM’s art education room.

I took Maxi Moraga’s fabulous collograph workshop last month at San Diego’s New Children’s Museum. This workshop tied in to the NCM’s current exhibition, TRASH, so we used lots of recycled/discarded items to create our printing plates.

Materials:

  • cardboard rectangles (we used corrugated)
  • bits of textured fabric, including mesh and screening
  • yarn
  • cardboard
  • masking tape
  • glue sticks
  • white glue
  • scissors
  • printer’s ink in assorted colors
  • brayers
  • trays for ink
  • paper for printing (cardstock is OK)
  • colored pencils

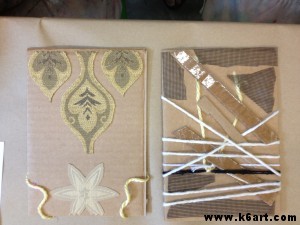
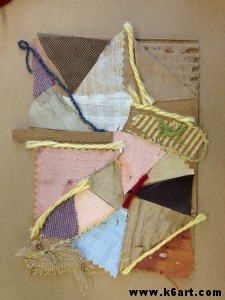
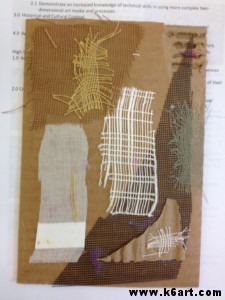
We began by creating printing plates. We collaged various items to our cardboard rectangles (note: Maxi strongly encouraged us to use glue stick).  Here are some of the plates:

Collograph plates. Yarn is simply wrapped around the plate.

Tip: after completing plate, ask students to flip plate upside down on their chairs and sit on them for 60 seconds! Now your plate is really glued down and ready to print.

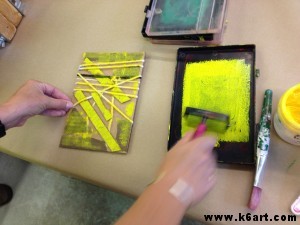
Next, we applied printer’s ink to our plates using these mini-brayers and recycled plastic trays. I love that the tray has a lip to keep the brayer constrained. Great when you are printing with young children!

Apply printer’s ink with a brayer.

We didn’t use a press. We simply put the paper over the inked plate and rubbed the paper carefully with our hands.

Options:

  • use a paper towel to selectively remove ink from the plate before printing.
  • create a print using two or more colors of ink
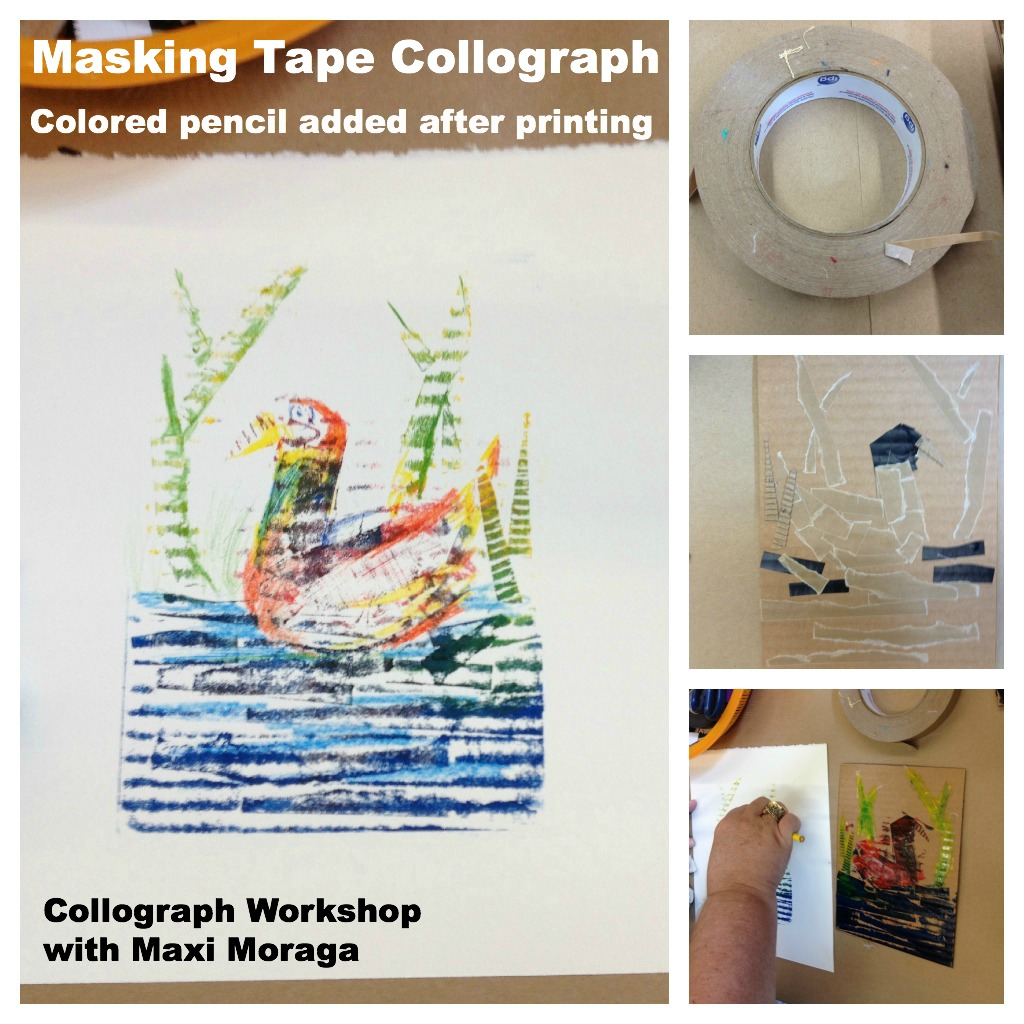
  • color the paper before and/or after printing.

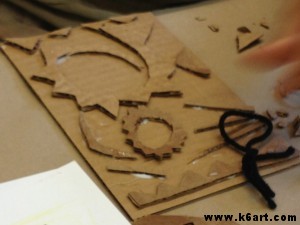
My favorite piece is the masking tape collograph made with corrugated cardboard.

Because of the emphasis on recycled materials, this would be a nice Earth Day project as well!

Whether you are a parent or a teacher, be sure to check out the New Children’s Museum when you visit San Diego. The museum offers art-making activities for children EVERY DAY. I wrote more about the museum in this post.

Do you have a favorite printmaking project?
UPDATE: 12/16/13: Check out my new post – ‘Holiday Collagraph Crayon Rubbings’

Enjoy!

Kindergarten Birthday Cake

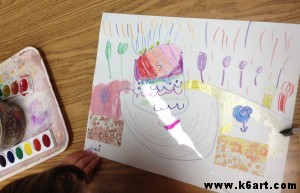
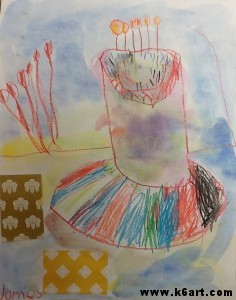
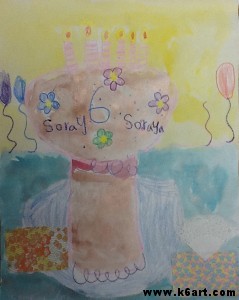
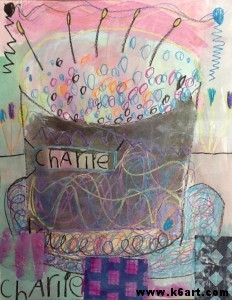
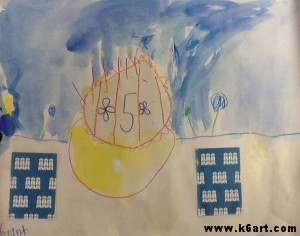
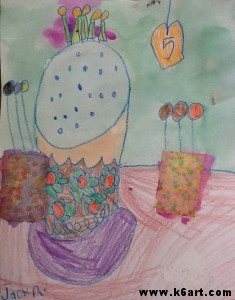
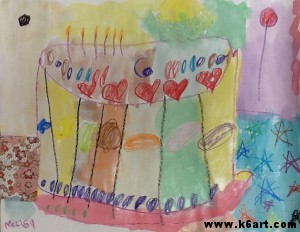
We all know kindergarteners love birthday parties. Cake, presents, decorations – what’s not to love? So it was no surprise that this  birthday cake art project was super-popular with the kinders.

Day 1:

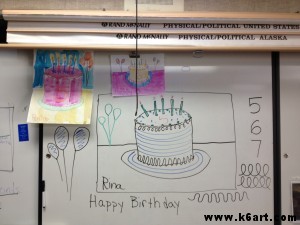
Kindergartens started by viewing my birthday cake powerpoint  (note: if art class is before lunch your students will say they are hungry!). We discussed the lines and shapes we saw on the cakes, and in the frosting and decorations.

Cake drawing emphasizes lines and shapes.

Kinders drew the cakes with crayon. I emphasized that they didn’t have to color the large areas with crayon because we would paint the cakes next week. However, they should use crayon to color in the small areas such as candles, flames, balloons, numbers, etc.

Day 2:

We added cut paper birthday gifts with glue stick, then painted with regular and metallic pan watercolors.

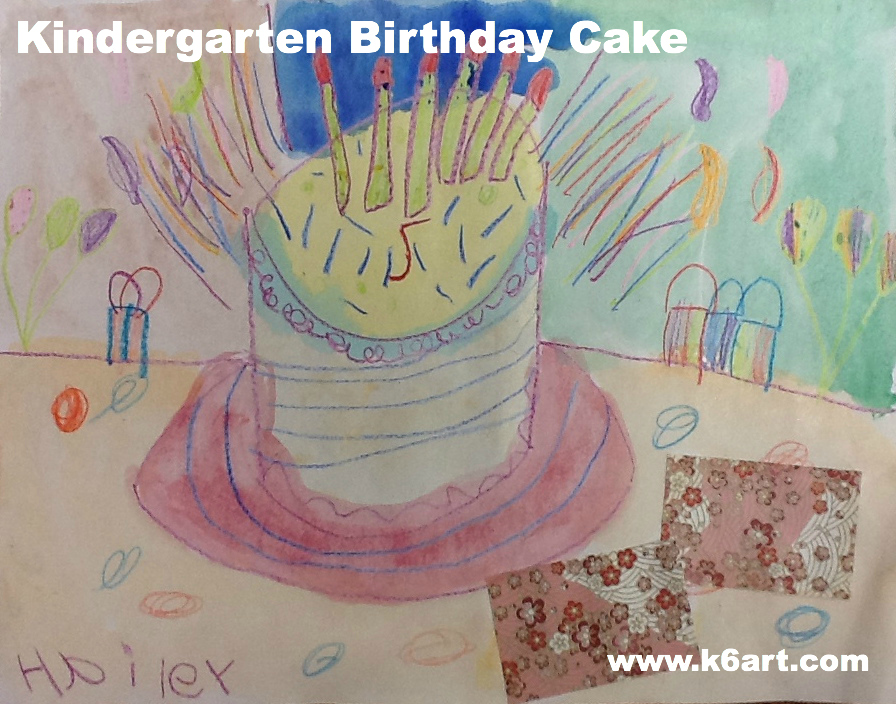
Kindergarteners painted their crayon drawings with regular and metallic pan watercolors. Allow two 40-minute sessions.

Completed birthday cakes:

This would be a great end-of-the-year lesson to celebrate all the ‘summer’ birthdays that occur when school is out of session. This could also be a nice project for a Wayne Thiebaud lesson.

How about adding a book to the project? When I was little, Dr. Seuss’ Happy Birthday to You! was one of my favorite books and I still remember reading it on my 6th birthday (I also remember Baskin-Robbins clown cones plopping all over the back yard at the birthday party, but that is another story).
I’d love your suggestions on a book to read along with this project.

Do you have a special birthday-themed book for primary students?


Playground Name Art

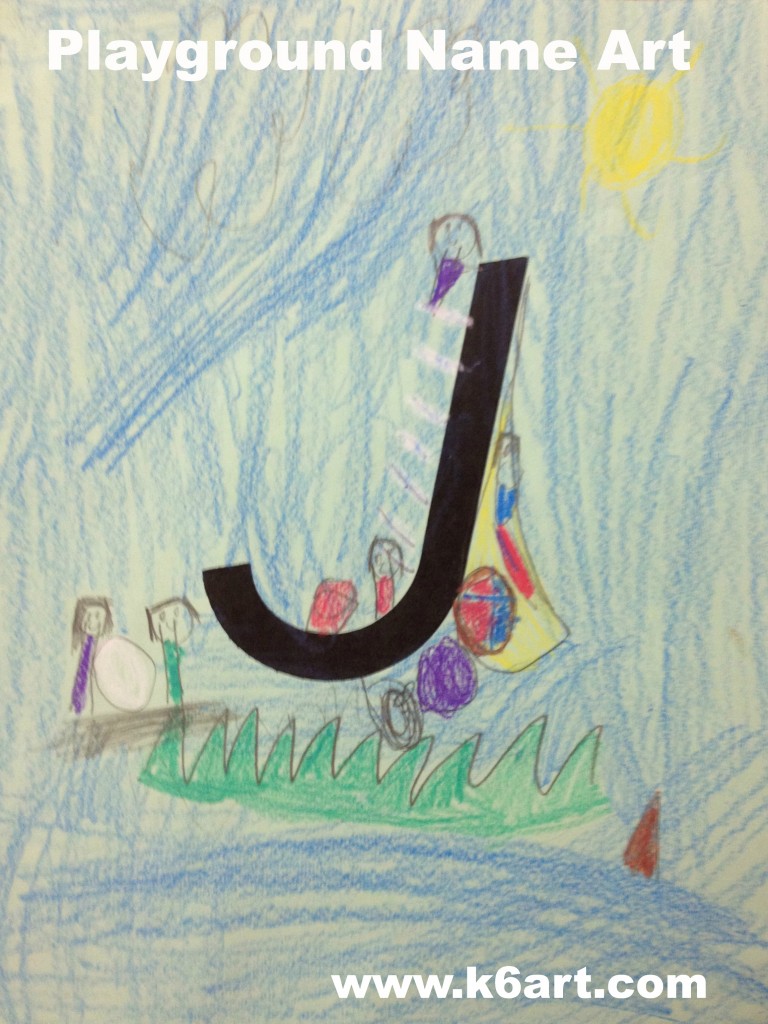
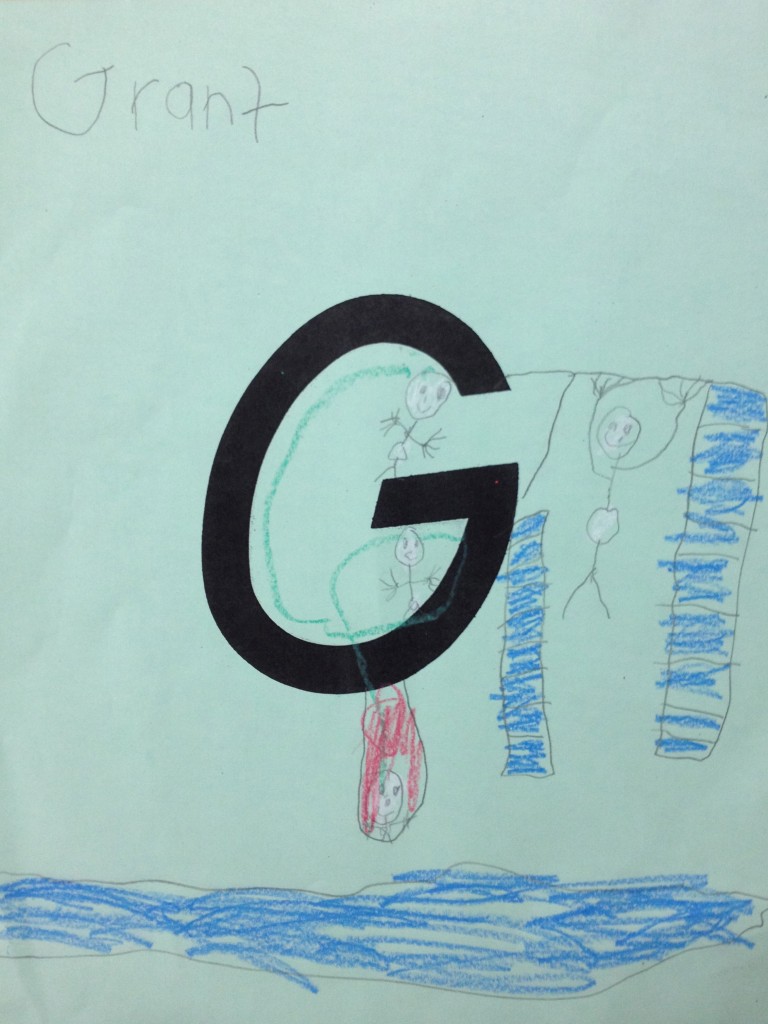
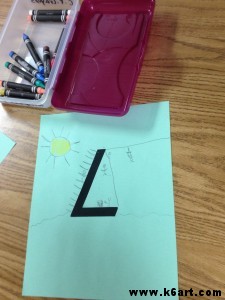
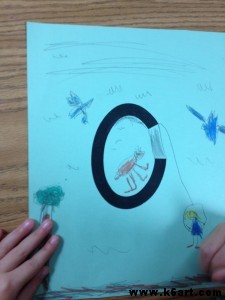
Looking for a fun kindergarten project? Try this simple but engaging playground name art project based on the student’s first initial.

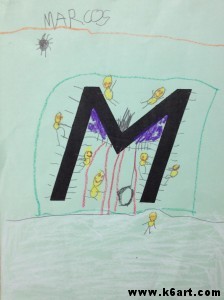
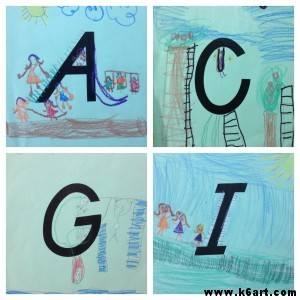
Kindergarteners make playground drawings incorporating their first initial. Allow one 40-minute period.

Students turned their first initials into playground equipment.

We talked about all the things we see on the kindergarten playground: ladders, swings, slides, sand, balls, jump ropes, hula hoops, monkey bars etc.

Then we talked about all the extra things we might see on the best playground in the world. Students wanted zip lines, trampolines, water slides, forts and mini trains.

Each child received a paper with a photocopied initial (letters were made on school die-cut machine). They drew with pencil and colored with construction paper crayons.

This kindergartener has a horse in her playground.


M for Marcos

This project was inspired by this post on the Art Cart blog.

This would be a nice kindergarten sub plan.

Do you have a favorite name art project for the beginning of the year?

Related Posts Plugin for WordPress, Blogger...