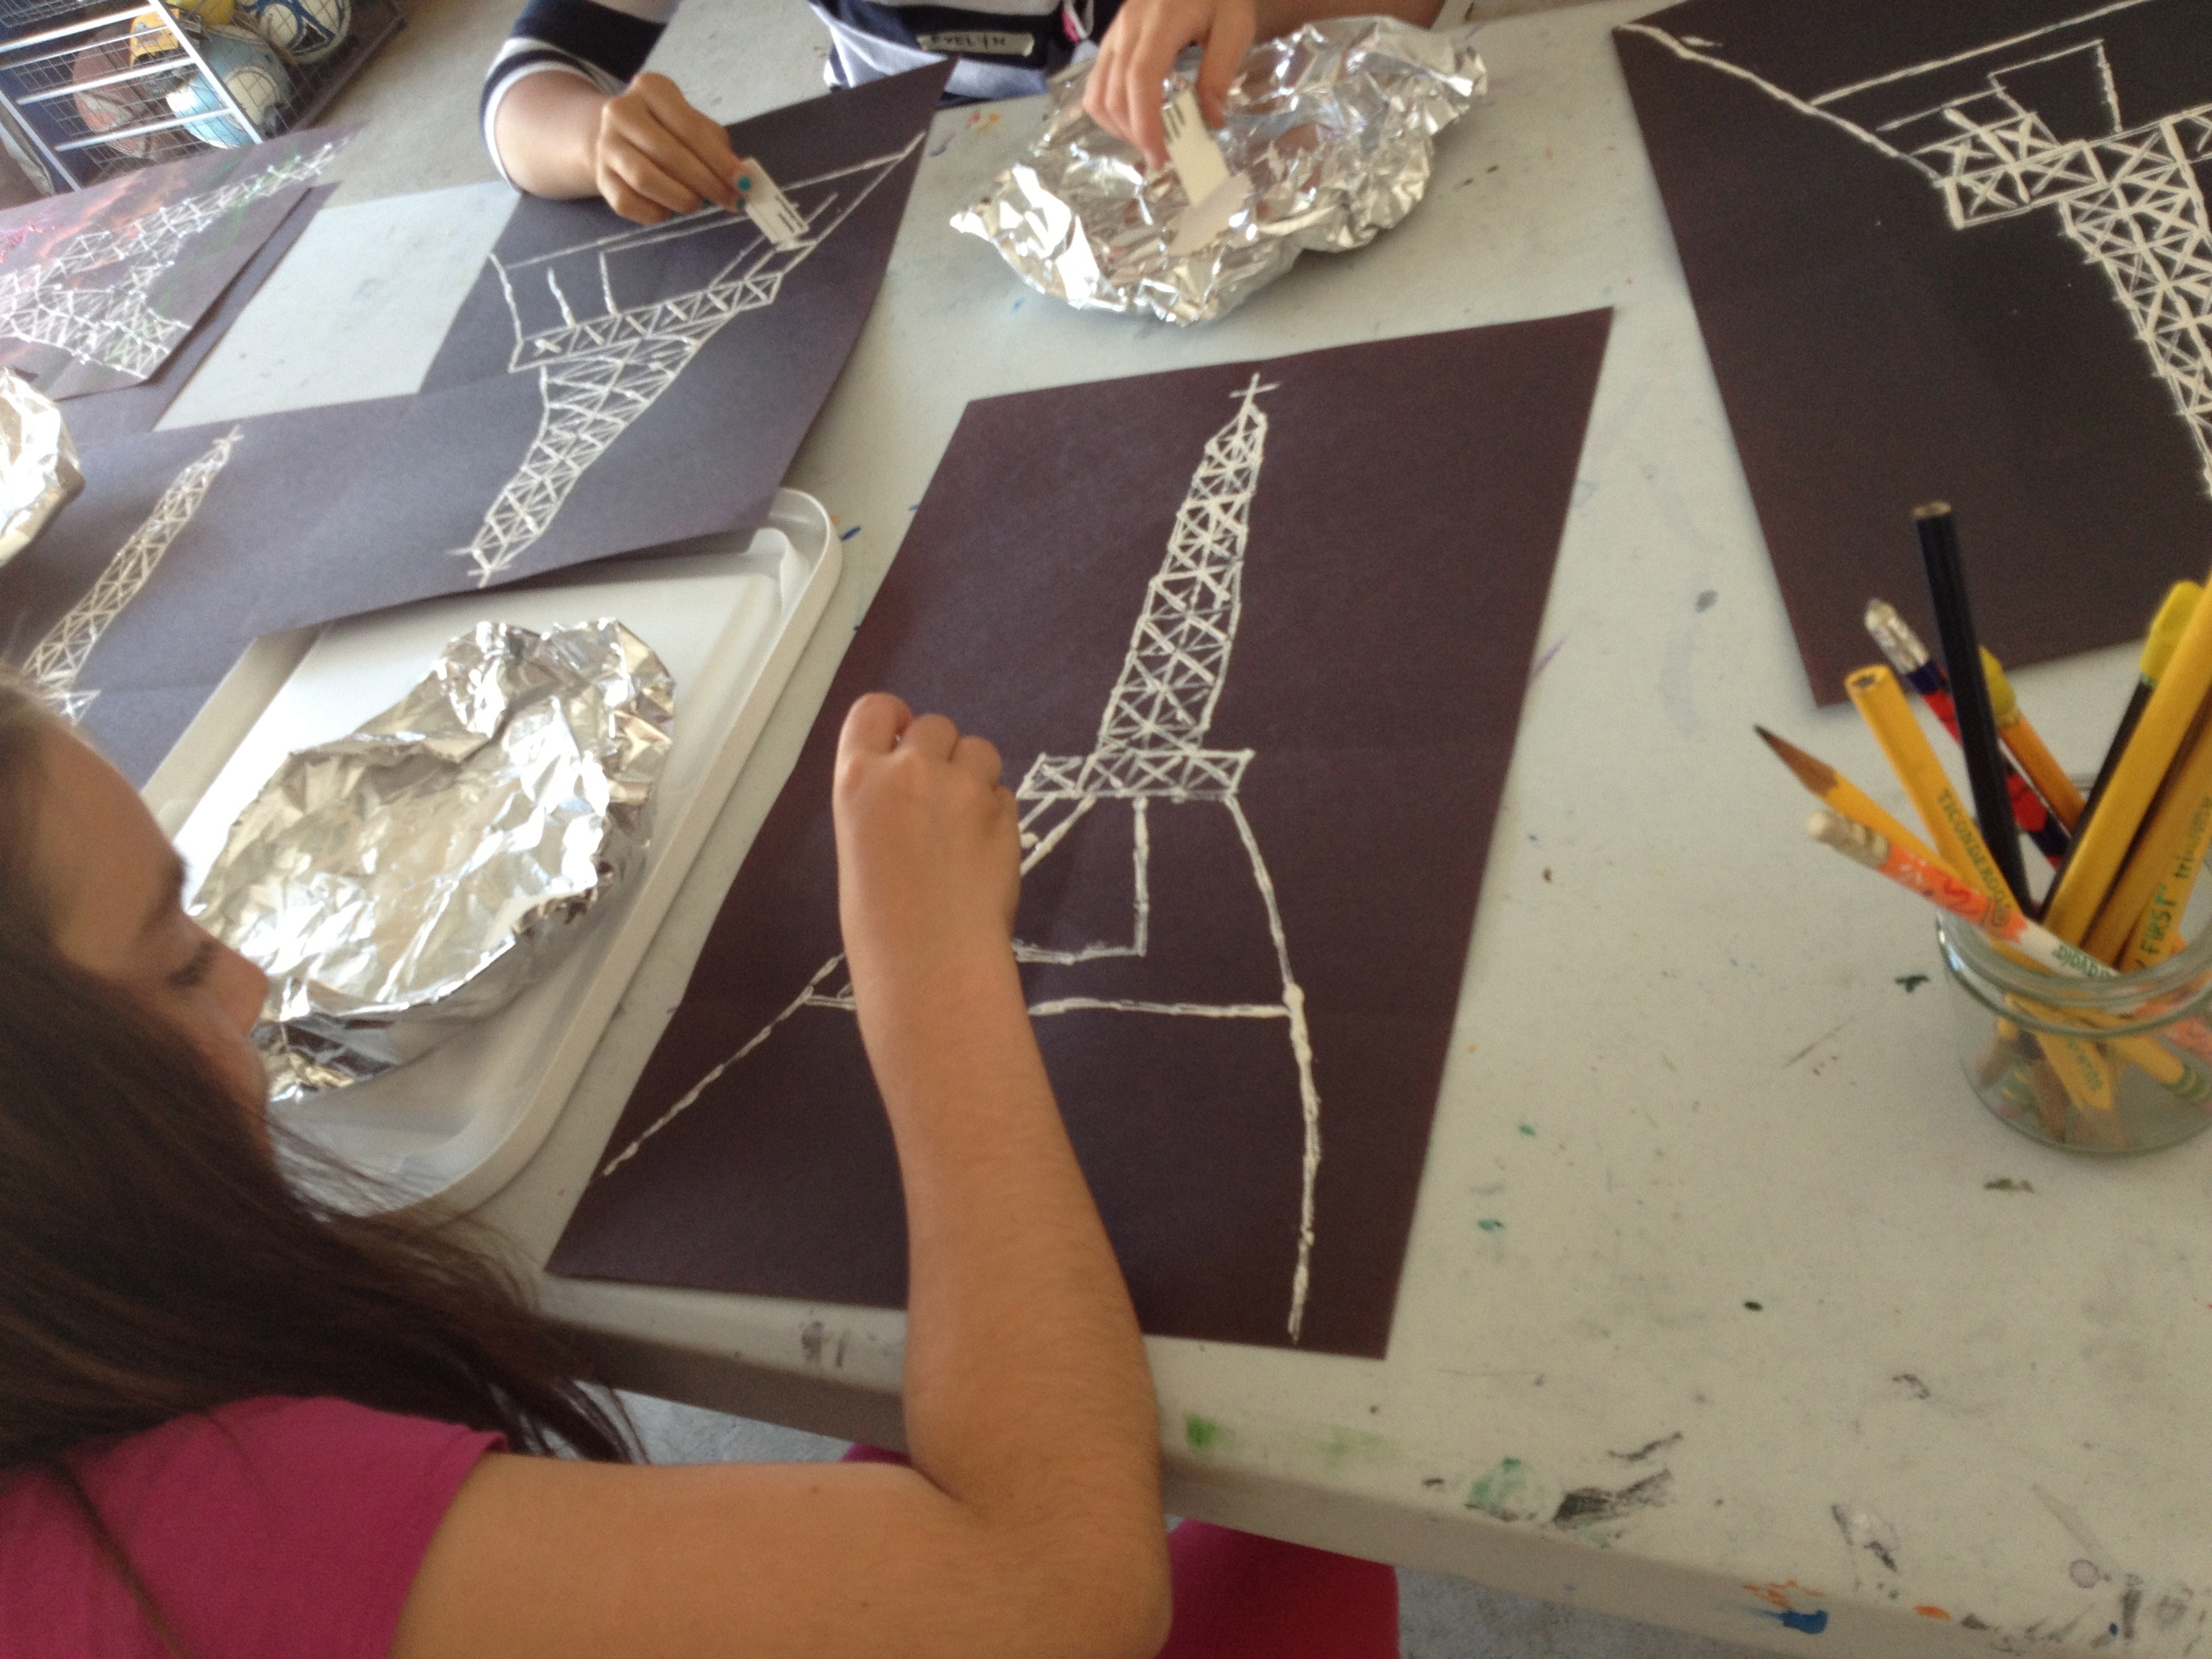
Today was Day Two of my Paris-themed art and cooking camp. We made lemon madeleines and began a ‘Printed Paris’ Eiffel Tower project.
Madeleines
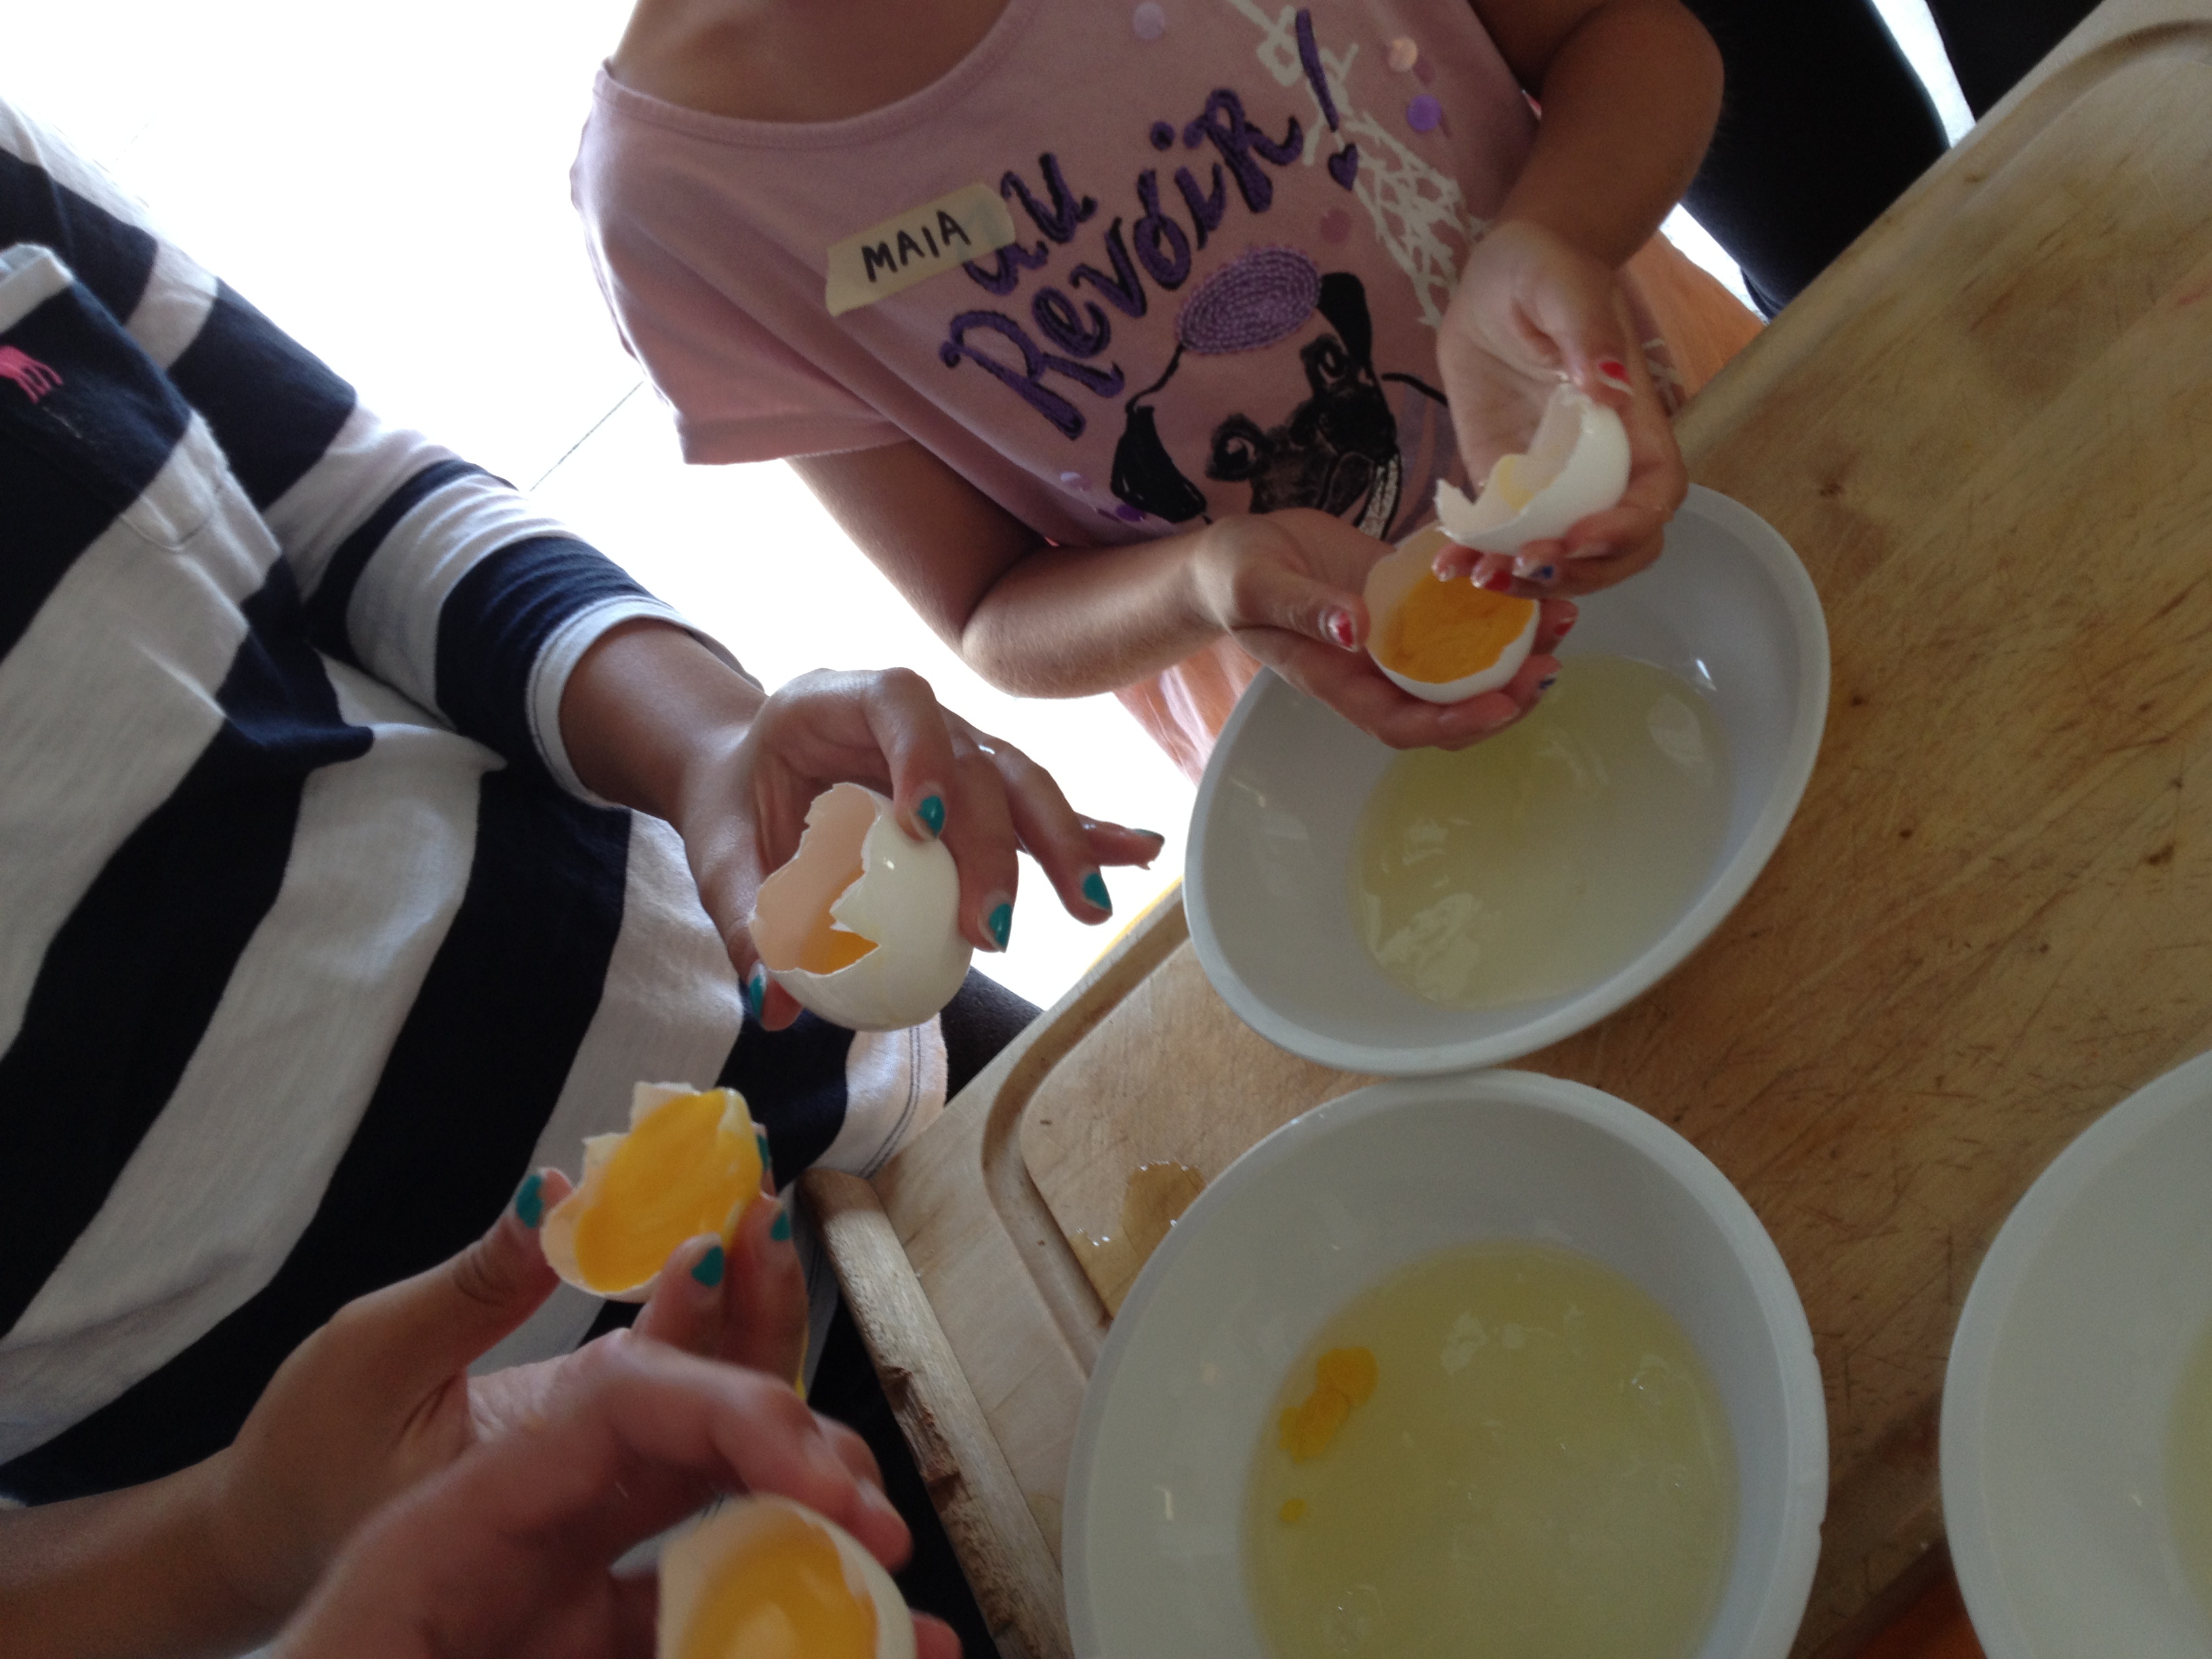
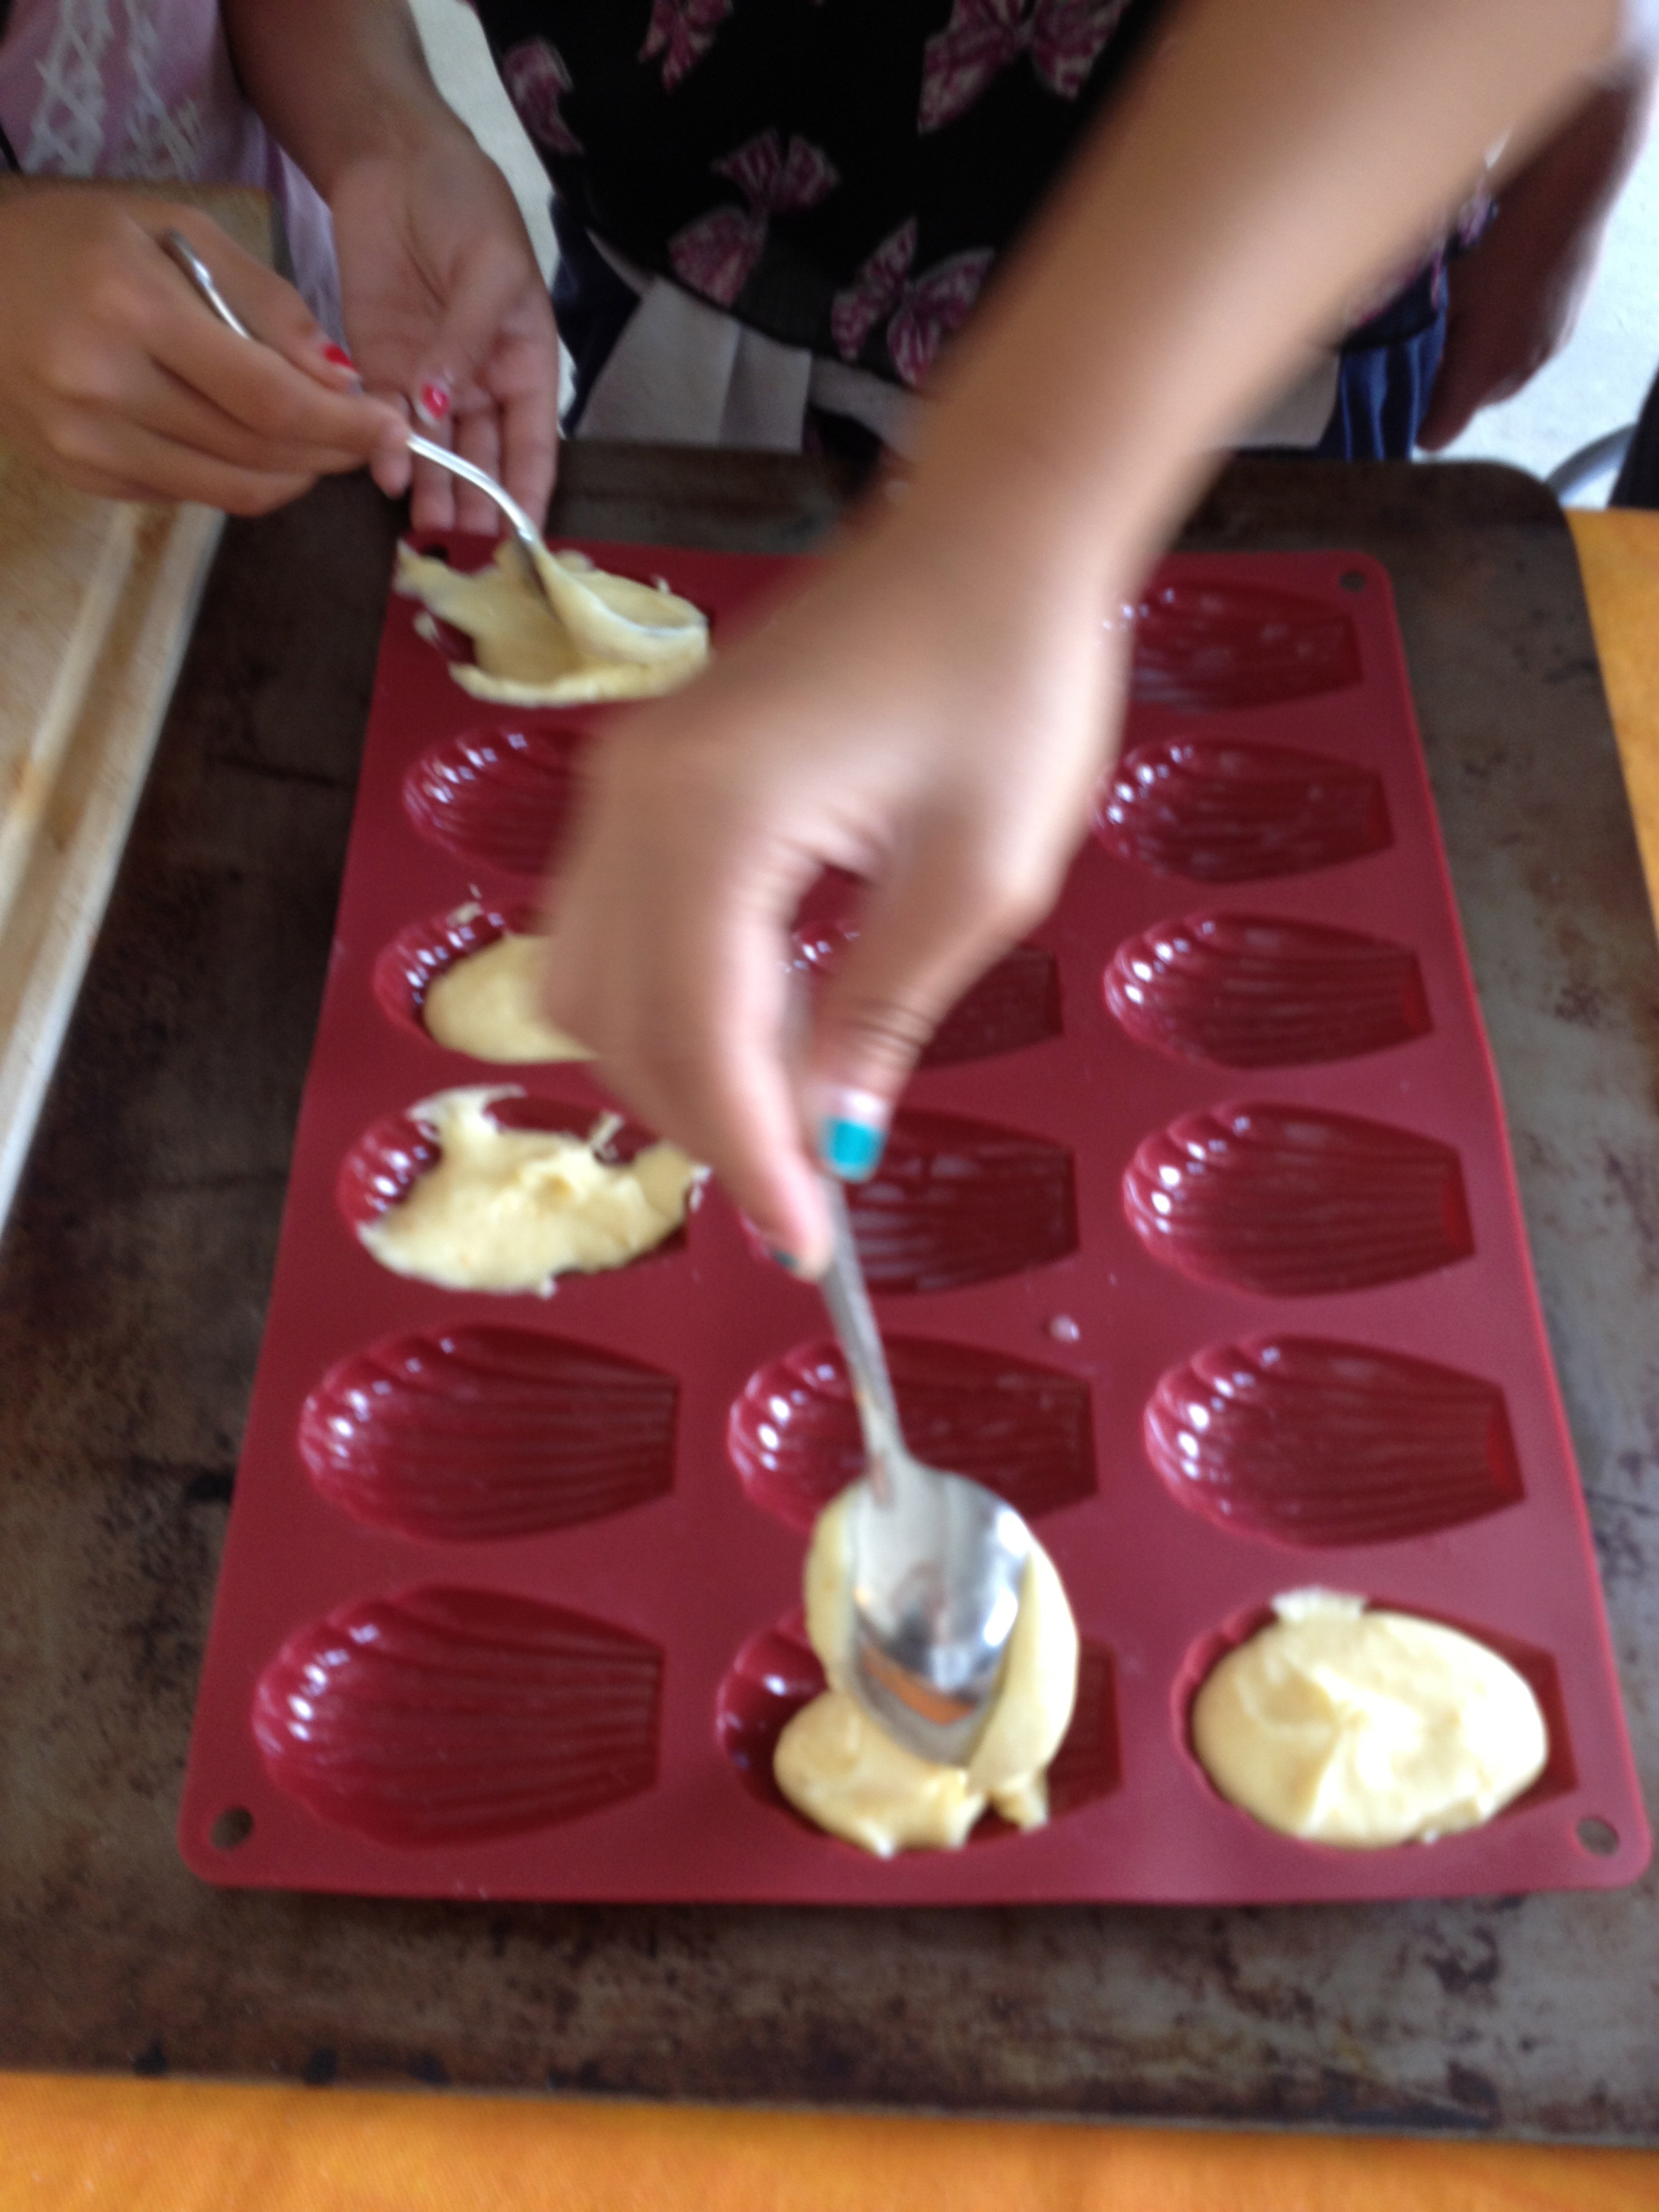
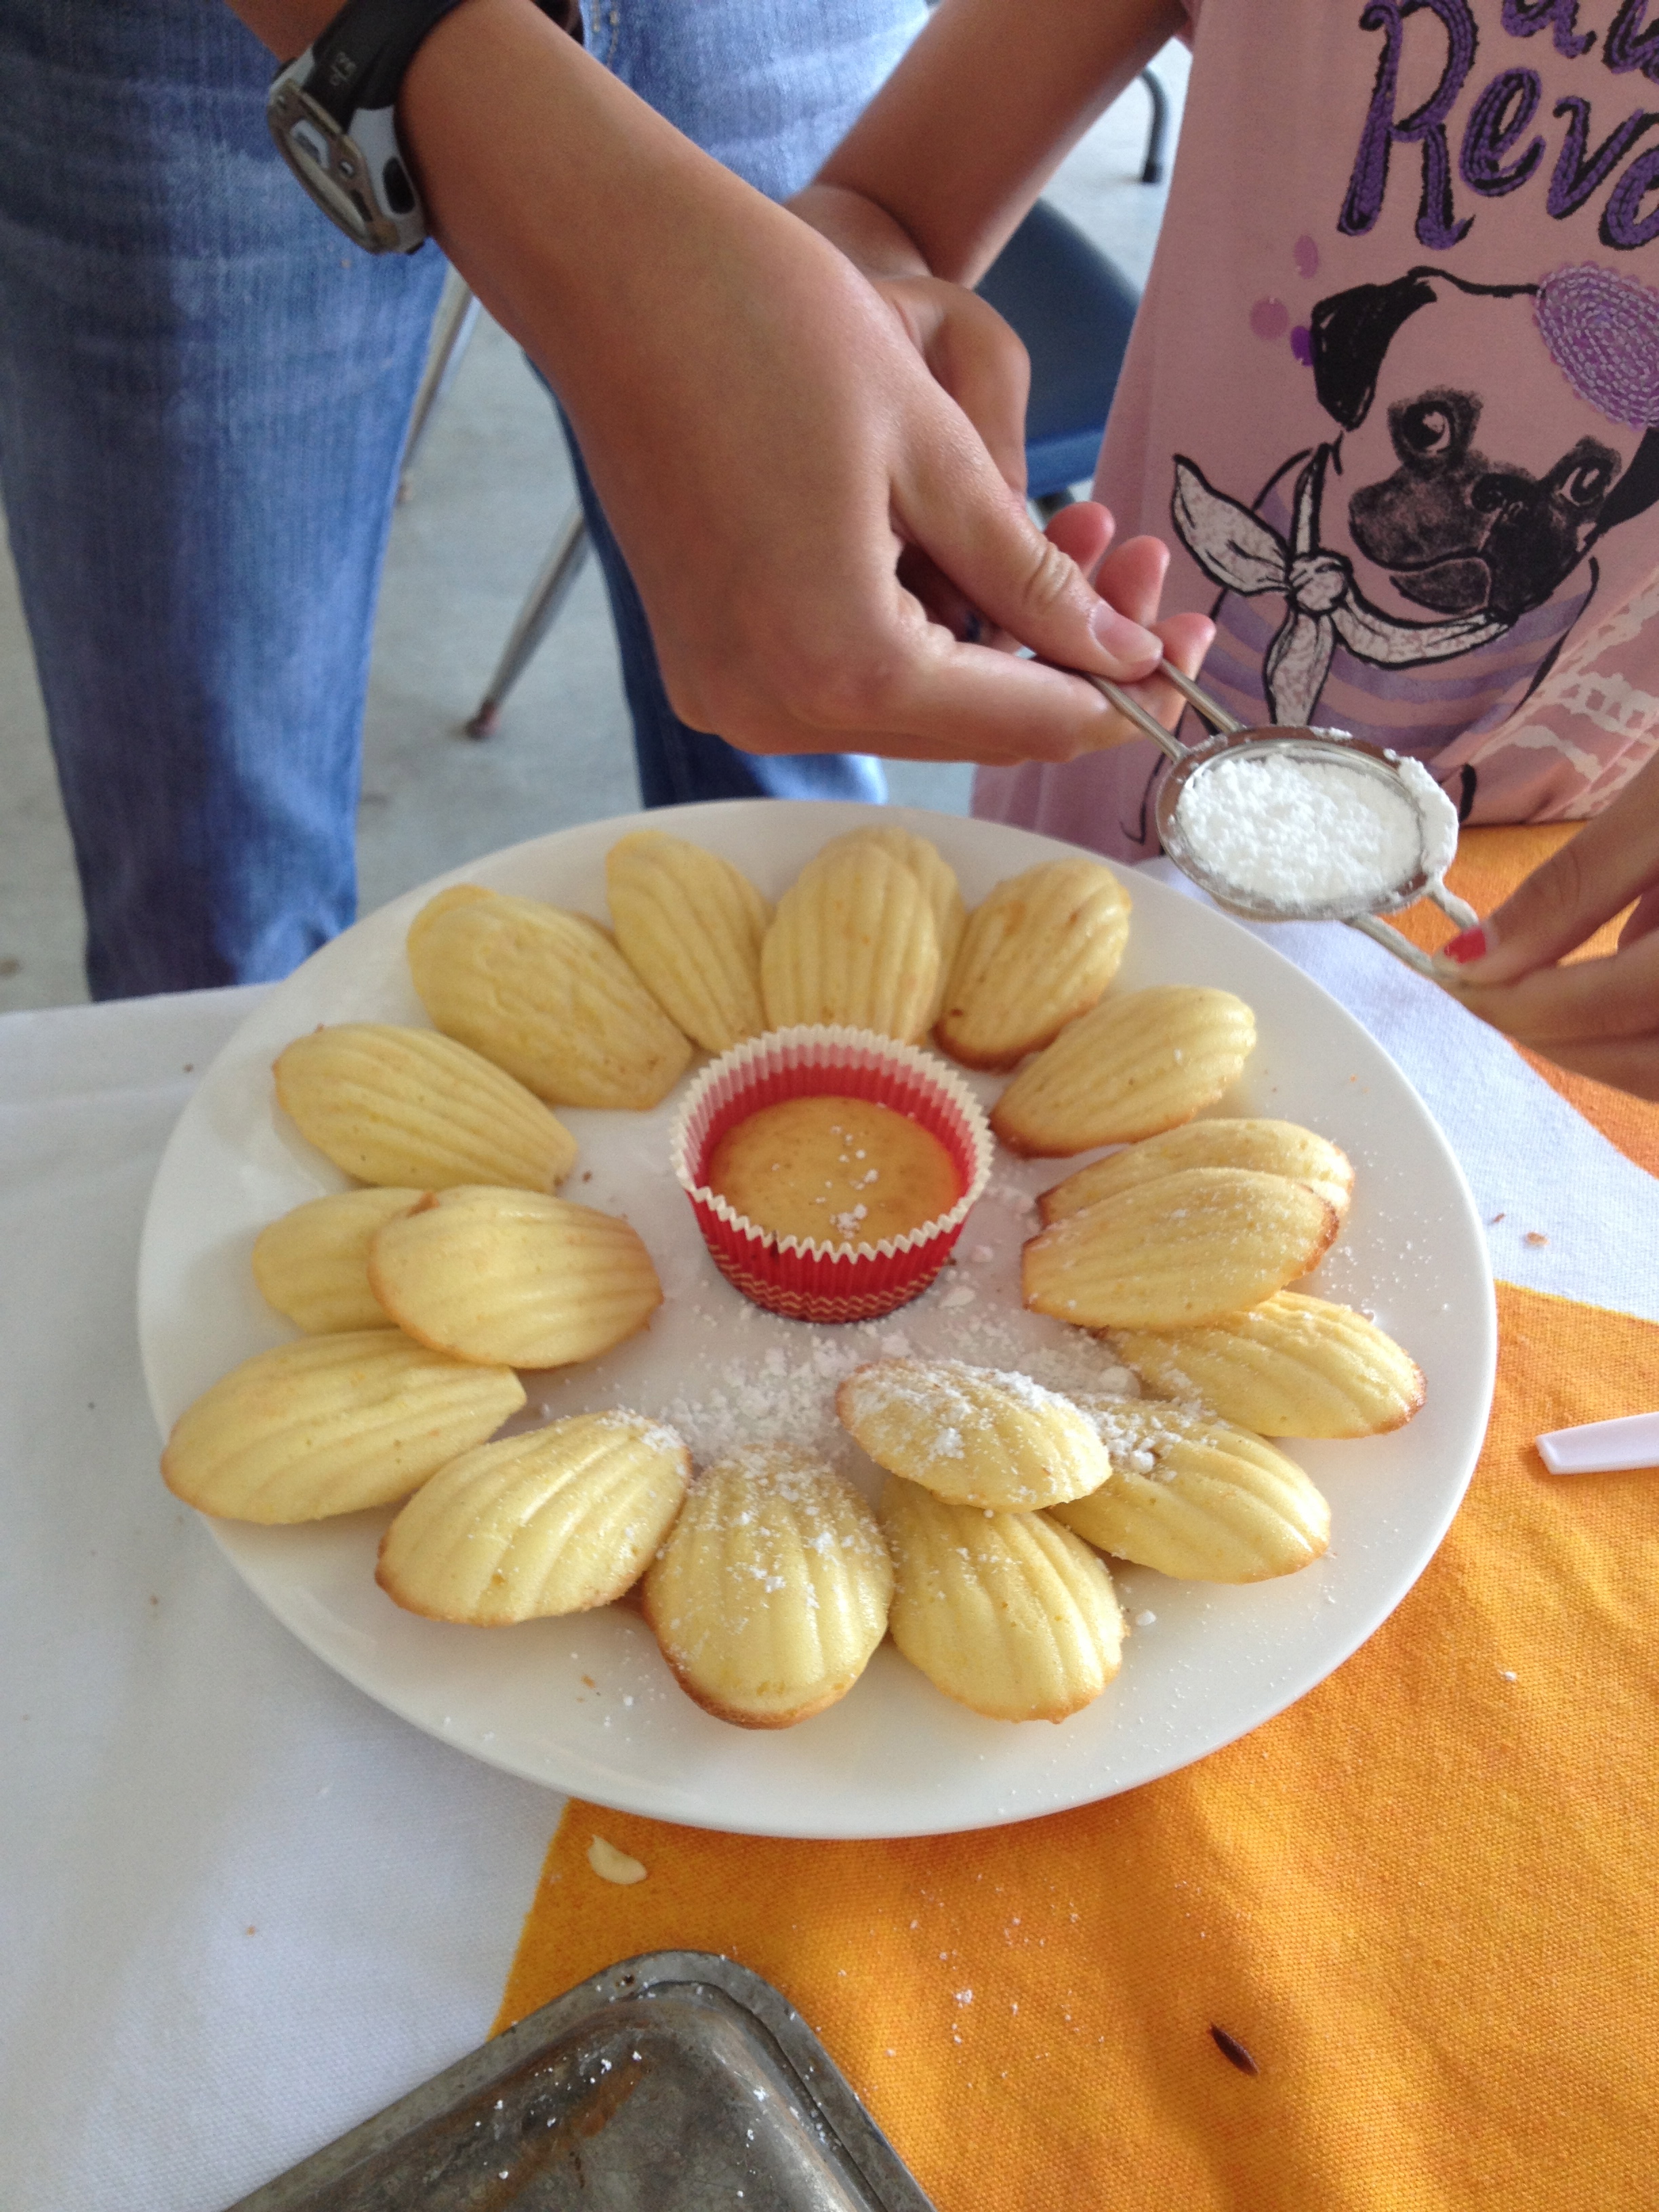
Our lemon madeleines were delicious. CLICK HERE FOR THE RECIPE. I bought my own silicone madeleine pan for this project. It worked perfectly – all the little cakes popped right out intact. The recipe made a lot of madeleines – we put the extra batter in cupcake papers and baked them up as little muffins. The kids doused them in powdered sugar. Really fun cooking project!
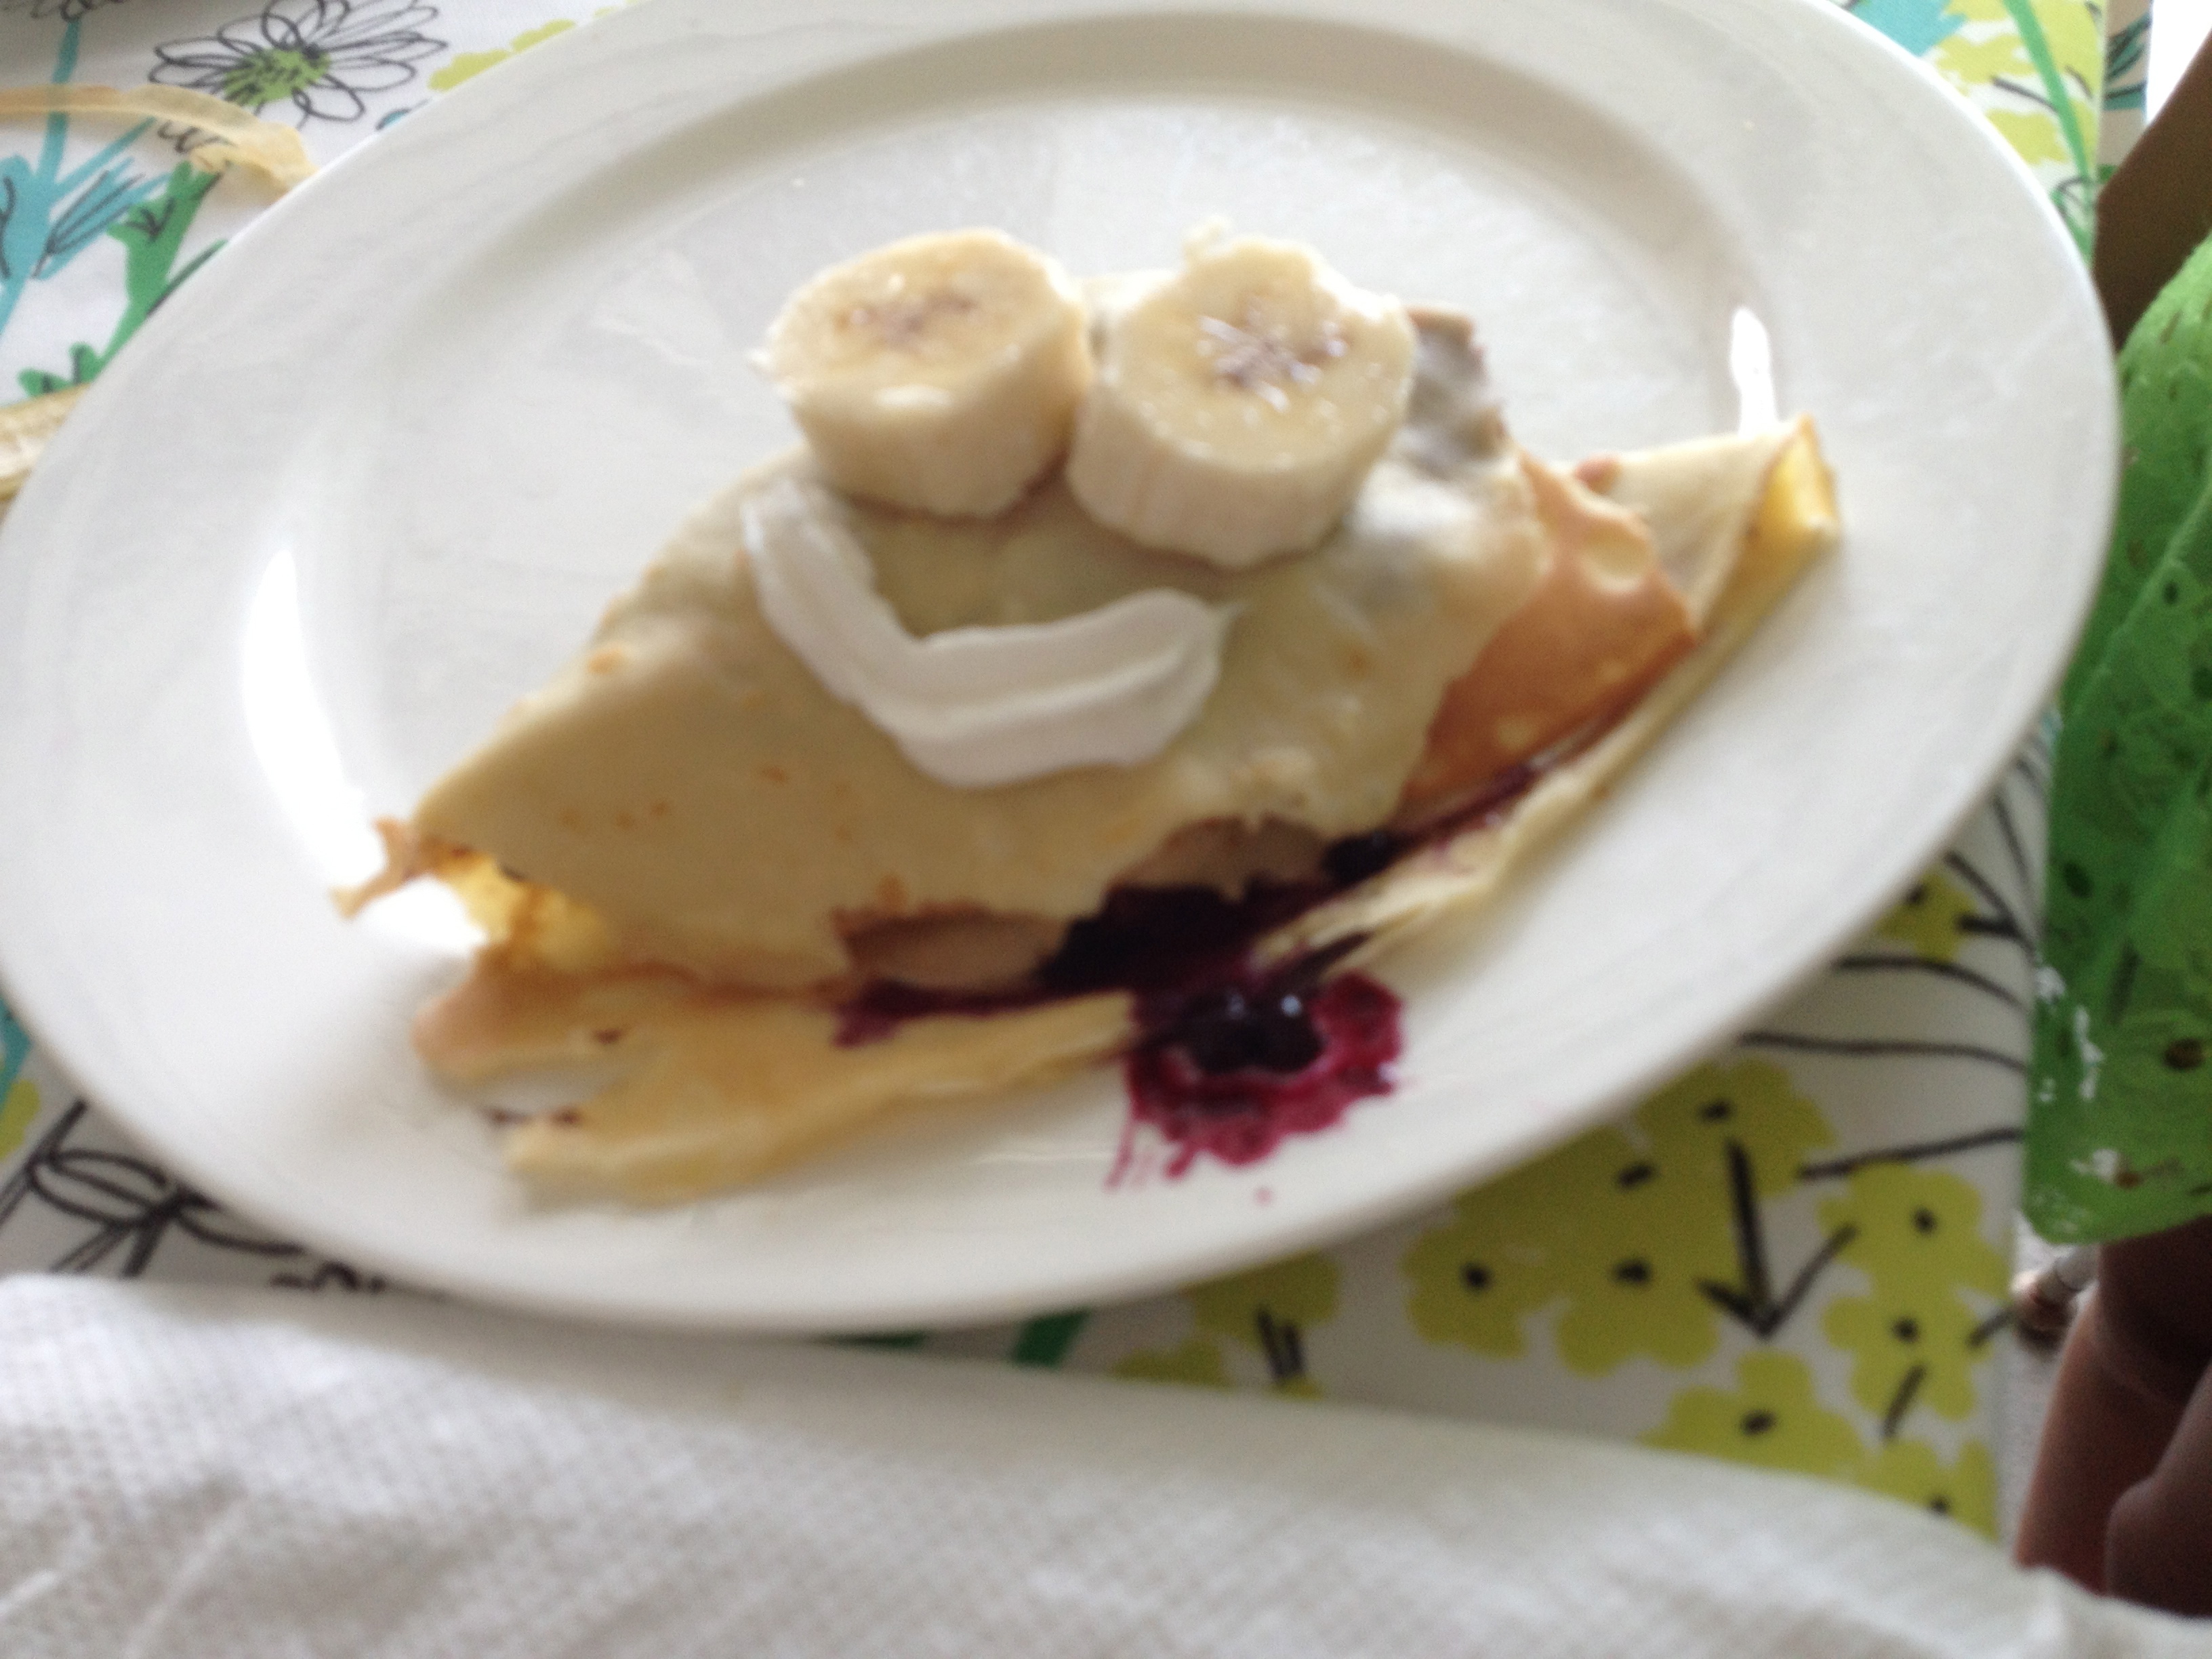
What fun! I just finished Day One of my Paris-themed art and cooking camp. Today we made Banana-Nutella crepes on a real Parisian crepe griddle. We ended the morning with Impressionistic ‘mini-Monets’, created with chalk pastels and Shrinky Dinks shrinkable plastic.
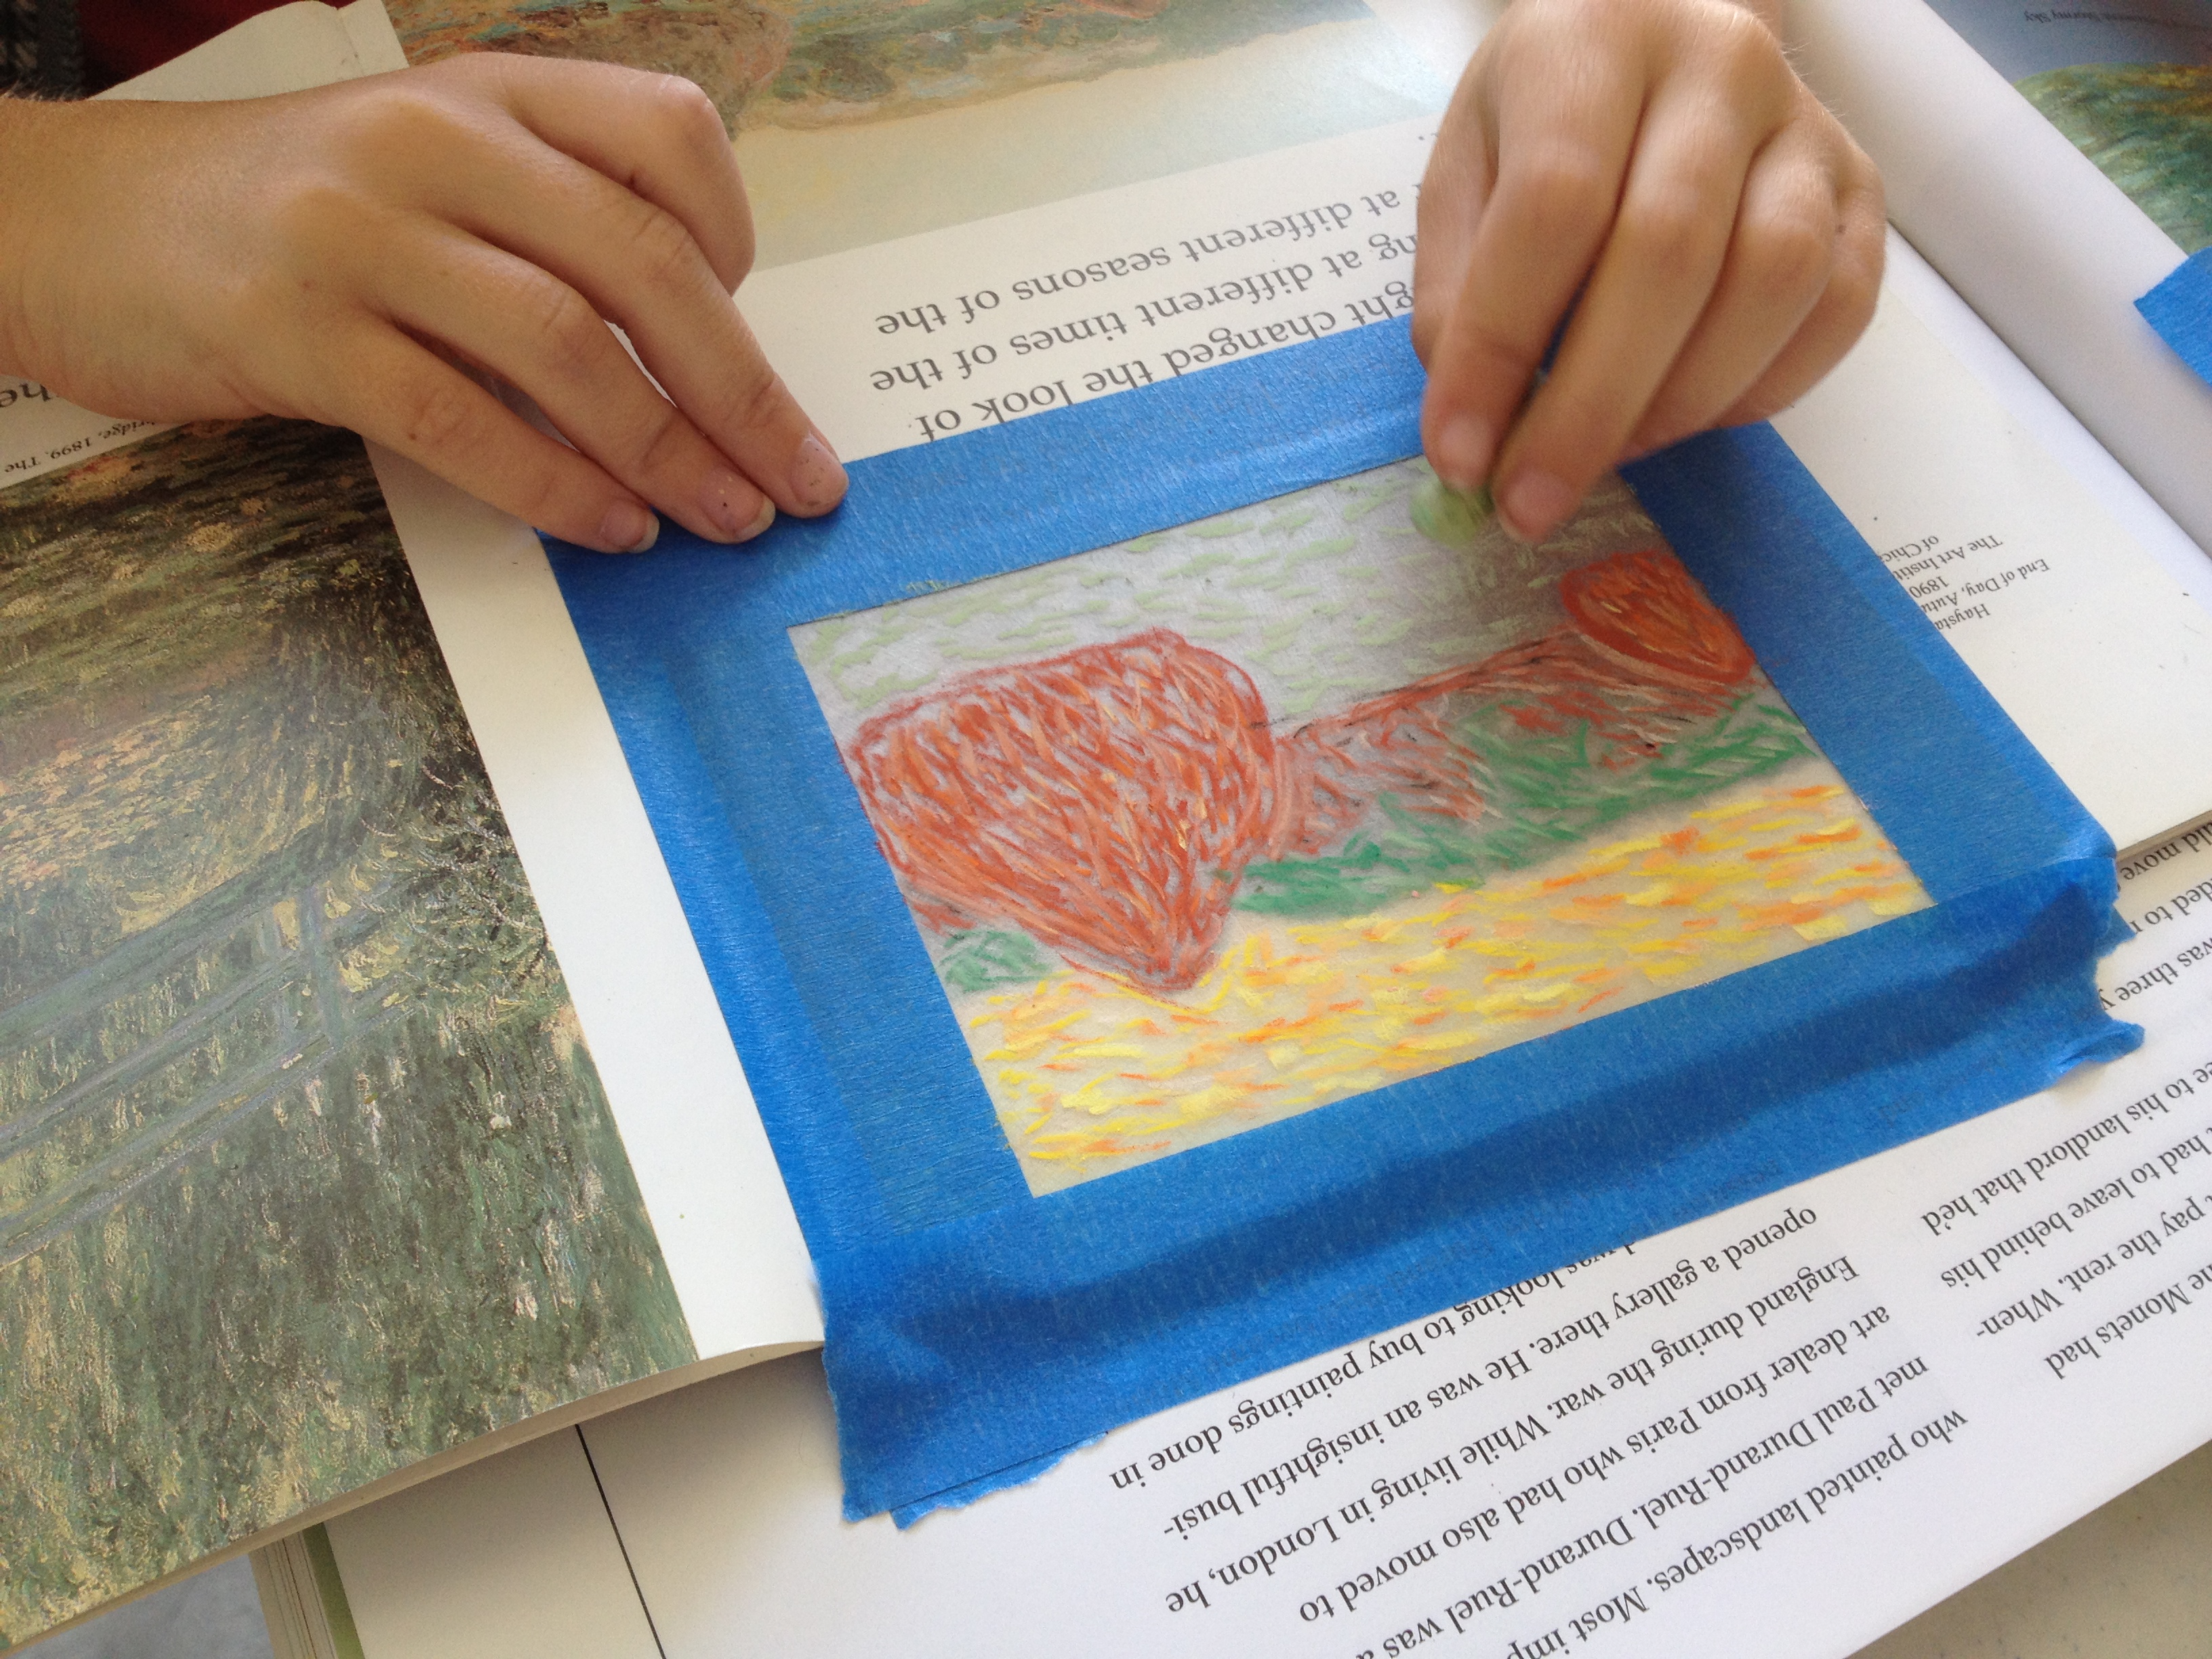
The ‘mini-Monet’ lesson from Blick is really fun and successful. You tape frosted Shrinky Dinks over an Impressionistic artwork, then trace over the brushwork using short strokes of chalk pastel. Shrink in a toaster oven and Voila!. We had 45 minutes for art – some kids made two pieces during that short time. Click here to see more examples.
P. recreates Monet’s haystacks in chalk pastel.
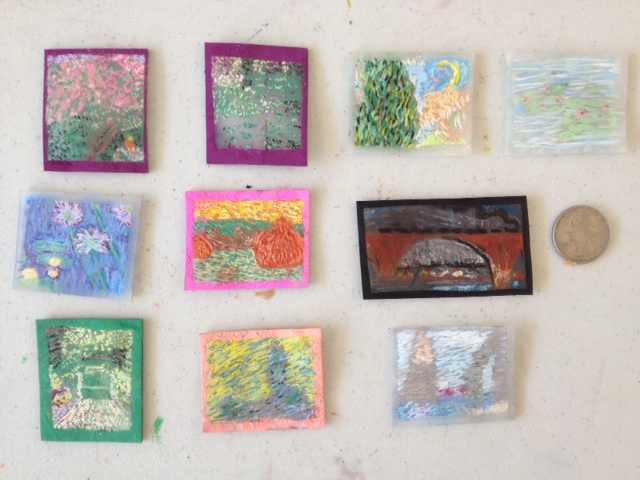
Completed ‘mini-Monets’. Not much taller than a quarter!
Tomorrow is Eiffel Tower day. Stay tuned for more photos later this week.
Enjoy!
(Note: this post contains compensated affiliate links)
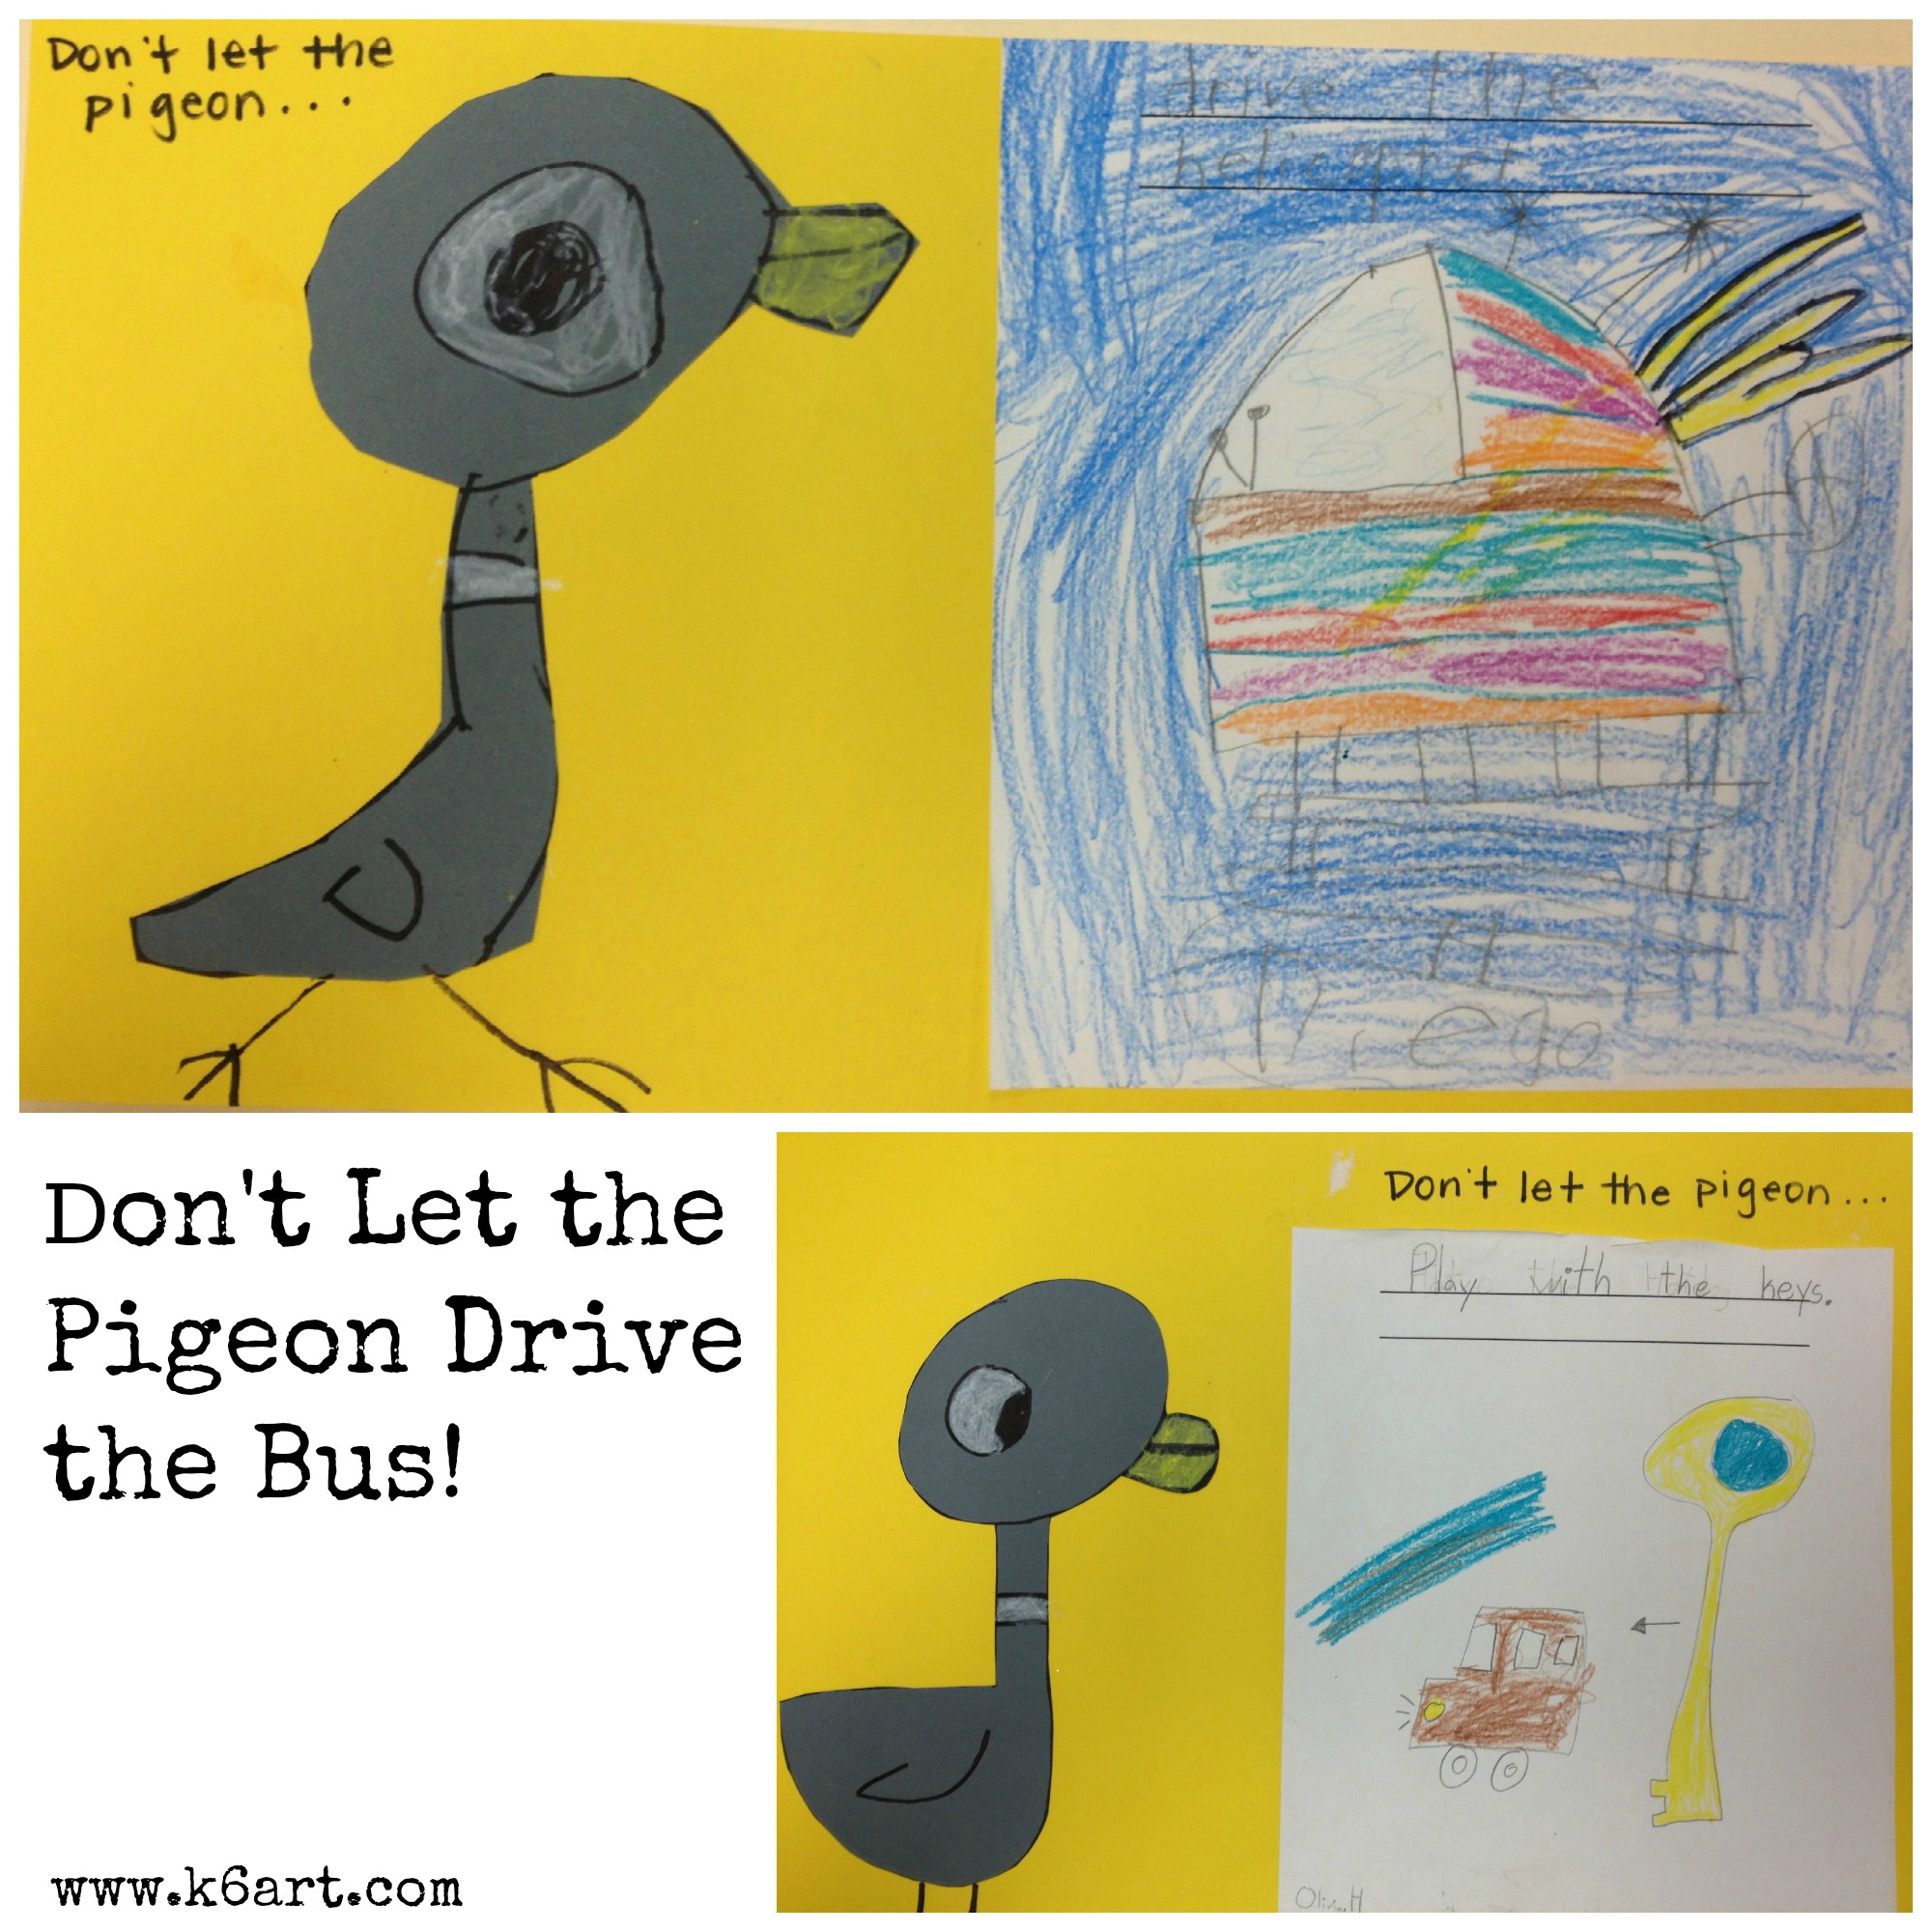
Don’t let that naughty pigeon drive your helicopter or play with the car keys!
Apparently I am the last parent on earth who hadn’t read Don’t Let the Pigeon Drive the Bus! by Mo Willems. I will use the lame excuse that my sons are teenagers, and that this hilarious book wasn’t yet written when they were in their prime story time years. I became enlightened when I saw this post on the Shine Brite Zamorano blog.
This book is hilarious. The pigeon is simple to draw – he is a nice collection of circles and lines. I’ve included a YouTube video so you can do this project right now.
Day 1: Read book. Discuss naughty pigeon behavior! Pass out copy paper. Use your crayons or markers to draw something the pigeon should not be touching.
Day 2: Draw pigeon on gray construction paper using Sharpie. Note circular eye and pupil, egg-shaped head, and simple half circle for the body. Skip the legs. Color in the eye, beak and neck band with construction paper crayons.
Now cut out the pigeon. Glue the pigeon and drawing to a large piece of colored construction paper. Use Sharpie to draw legs on the paper.
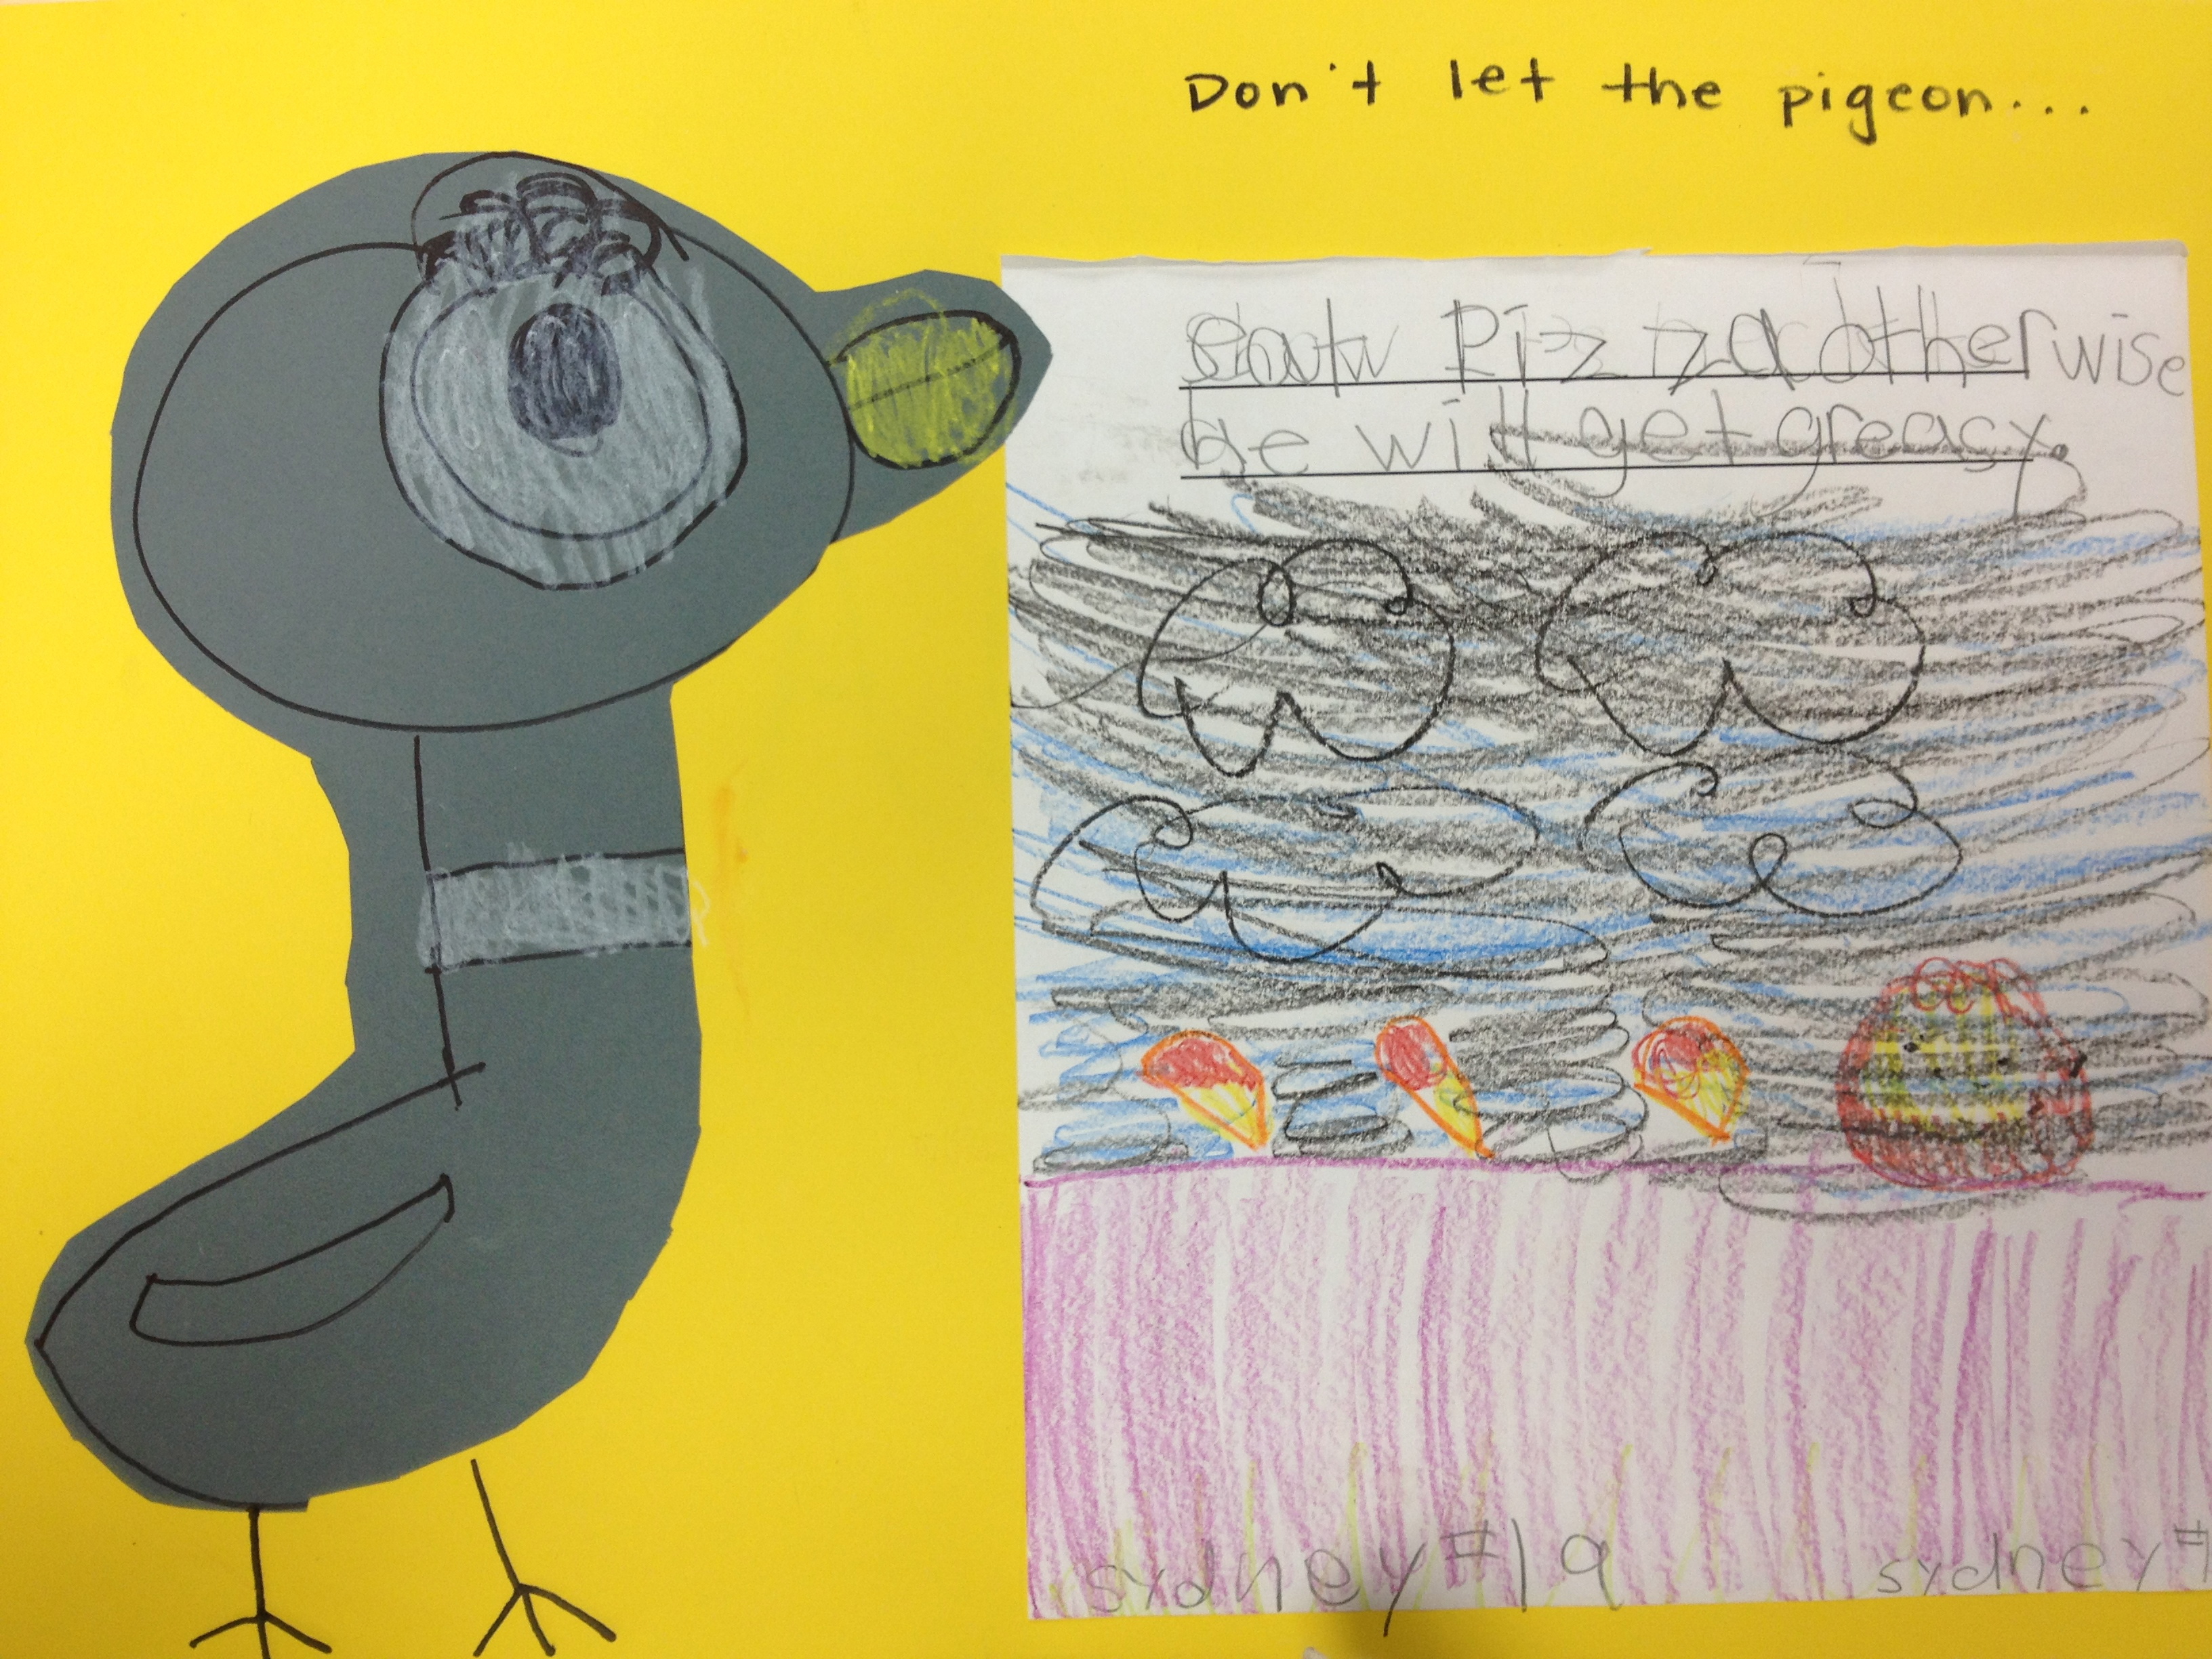
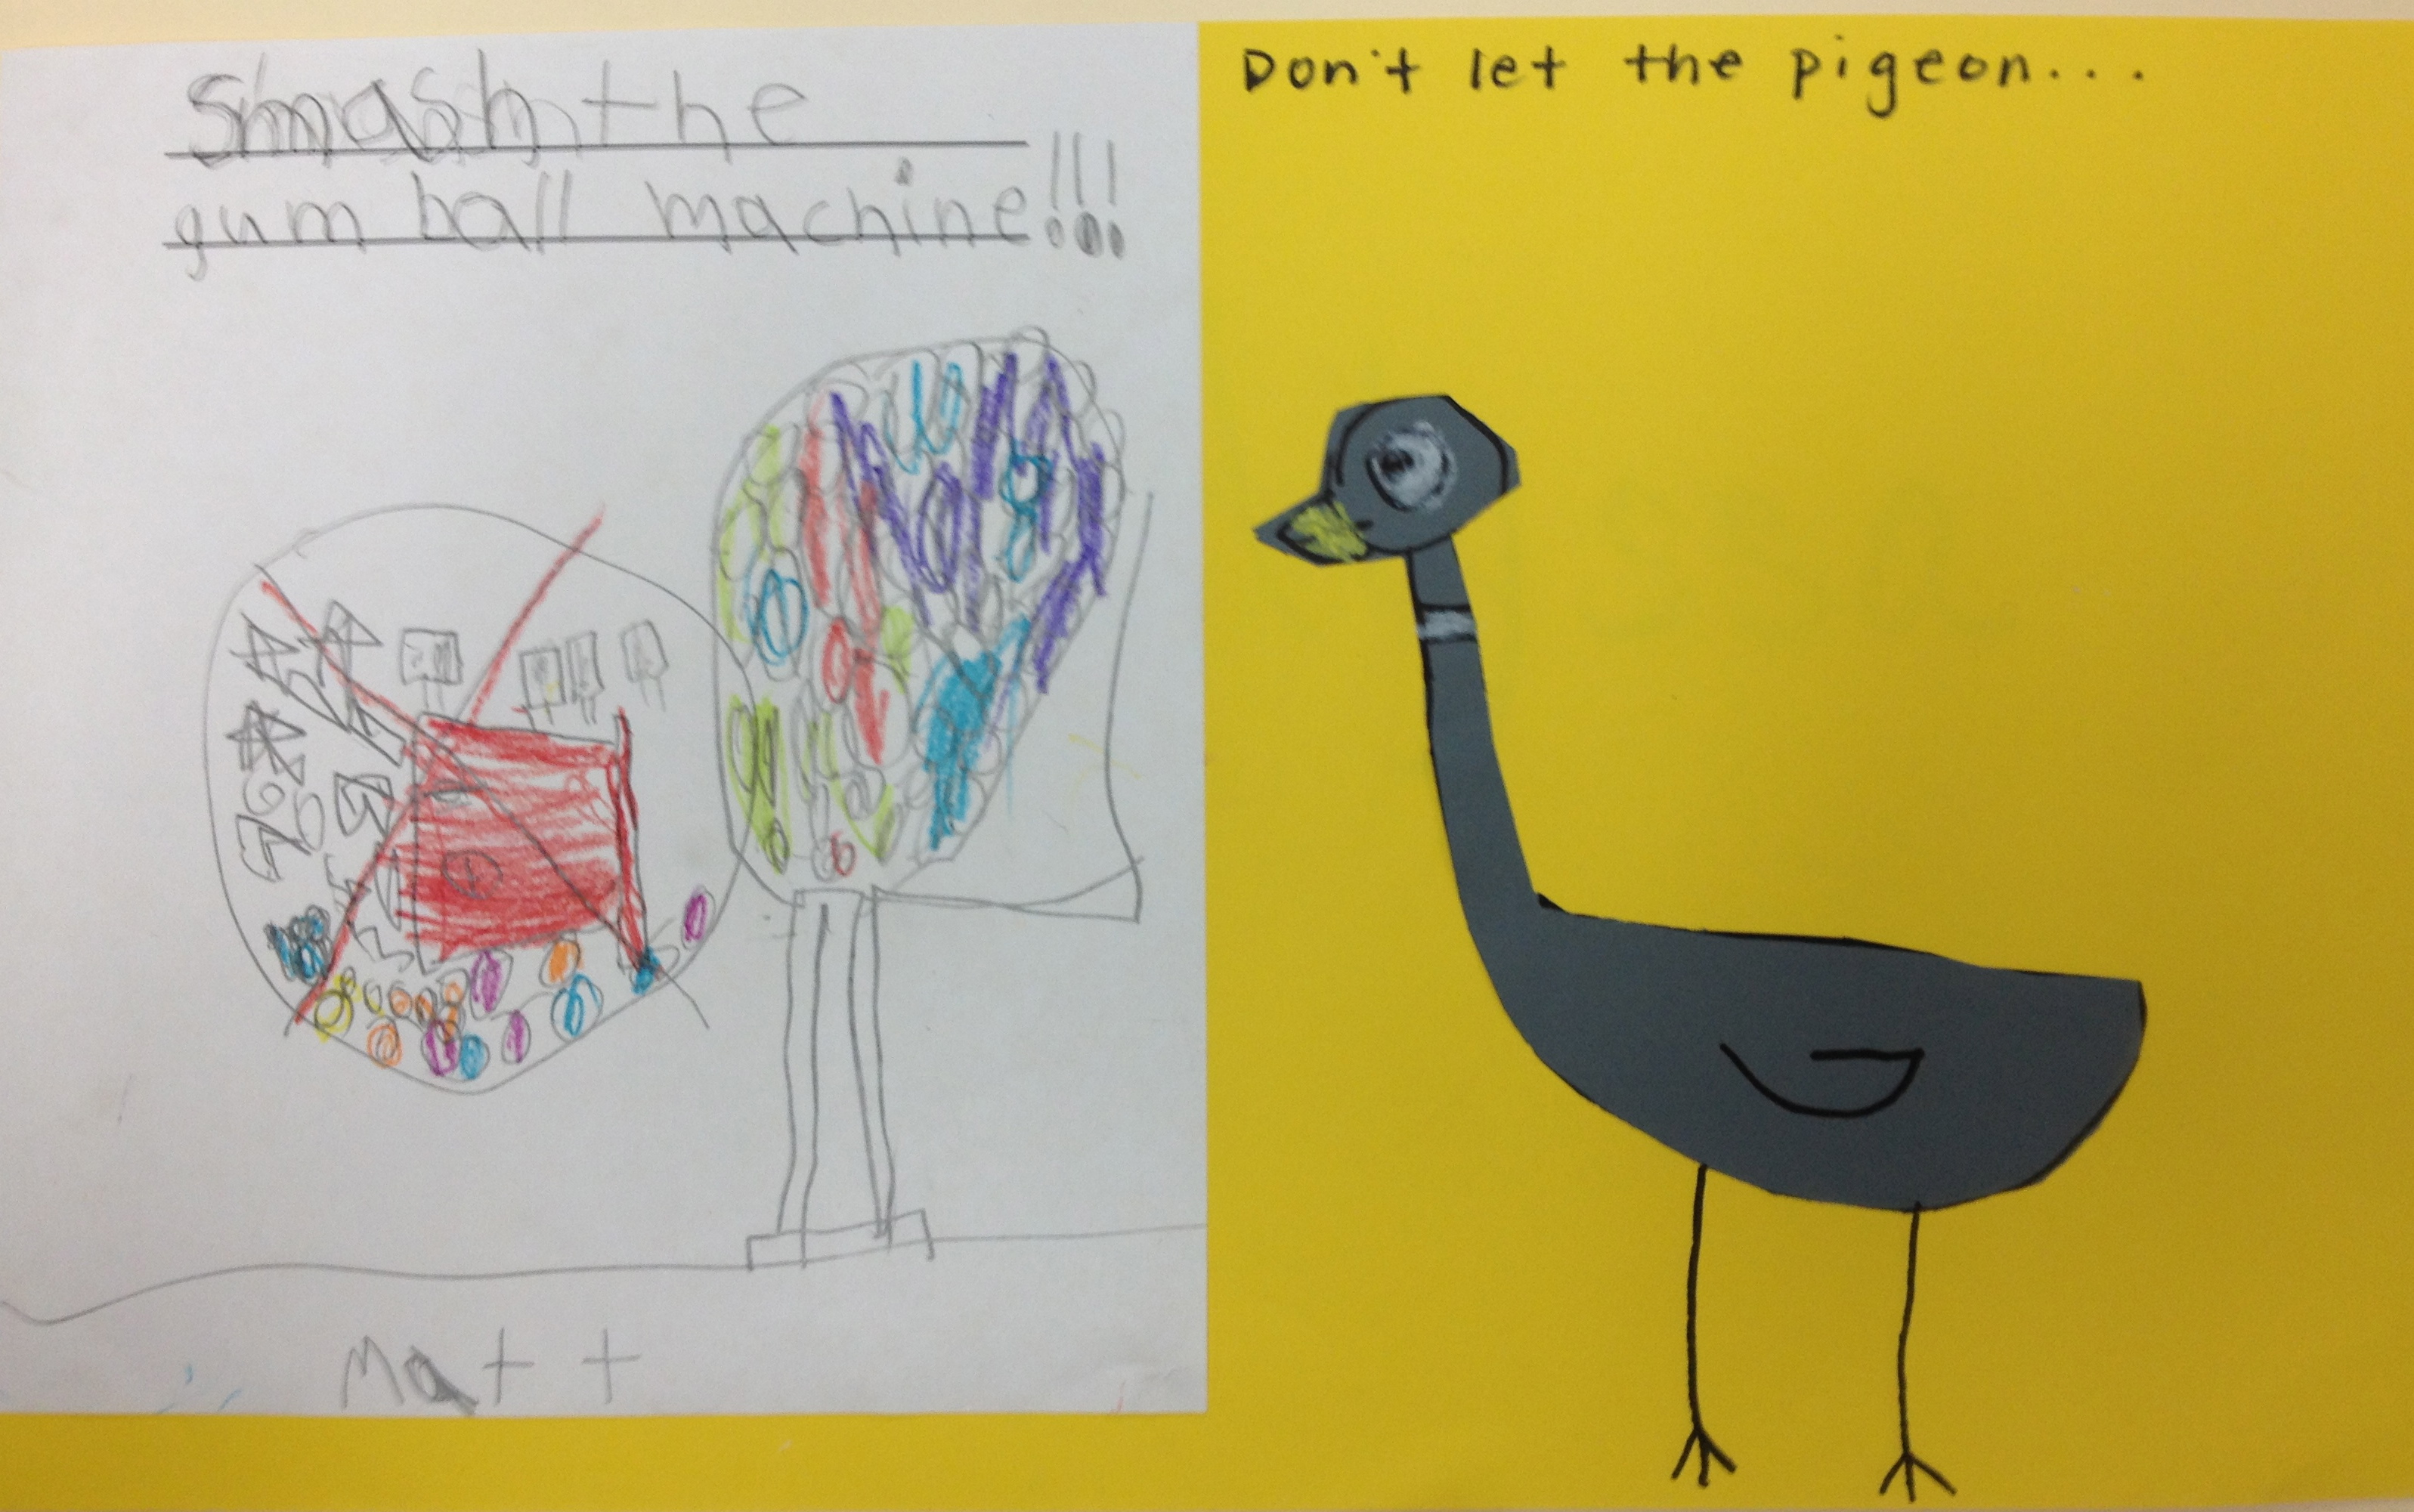
Hilarious first grade results:
‘Don’t let the pigeon eat pizza otherwise he will get greasy’
Don’t let the pigeon smash the gum ball machine.
This could definitely be modified for a sub plan: 1) show the video/read the book 2) do a directed draw of pigeon 3) have students show pigeon doing something naughty.
If you want to know a little more about author Mo Willems, check out this video:
chalk pastels, colored and skin tone (for skin tones I like this earthtones pastel set from Blick)(note: compensated affiliate link)
black oil pastels
newspaper to cover tables
white glue (optional)
Day 1-2
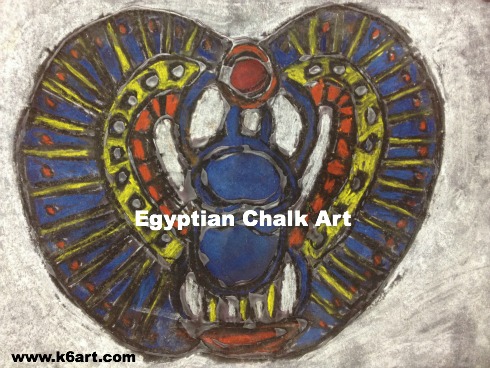
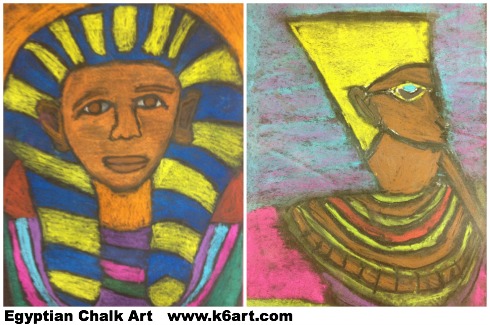
Our sixth grade students study ancient Egypt as part of their ancient civilizations social studies unit. They have a lot of pre-existing knowledge of Egypt. I build on this by showing photos of treasures from King Tut’s tomb, such as scarab jewelry and Tut’s golden sarcophagus. They had heard of the Book of the Dead – now they had the opportunity to look at all the figures in it draw one. We noticed all the figures were stylized: the head drawn in profile, with the eye looking straight ahead.
Students had the option of drawing ancient god/goddess, tomb artifact, or portrait. They (lightly) drew an image using pencil on black paper. Some kids found it easier to use white chalk for the sketch. Then they went over their lines with black oil pastel.
Day 2-3
The students colored in with chalk pastels, and tried to avoid coloring over the black oil pastel lines.
Minimize the mess: encourage kids to tap excess chalk onto newspaper instead of blowing it around.
Day 3
After coloring with chalk pastels, students went over the black lines one more time with oil pastel.
OPTIONAL FOR EARLY FINISHERS: ADD DETAIL WITH WHITE GLUE
I used to teach this as a white glue/chalk pastel project, and had lots of old examples for students to see and touch. A number of kids really liked the glue lines. After completing the project, some students asked if they could add glue lines OVER their artwork as a final step. Surprise! We found out their glue lines dried fairly dark even if they were applied over chalk.
White glue hieroglyphics and outlines.
In the above portraits, one girl added white glue hieroglyphics as a final step. The other outlined her portrait in white glue.
I sprayed the completed chalk art with hairspray to keep the pastels from smearing.
If you do use white glue, don’t make the same mistake I did years ago….
Don’t let them dry on the tables! I tried this once. Some glue blogs seeped through the paper overnight. The next morning I found several artworks glued firmly to the table. I had to pry them off, and repair the rips 🙁 Live and learn!
Enjoy!
Parts of this lesson were adapted from the excellent Arts Attack curriculum.
This is the first year I offered art club. It was so much fun! Small group. Motivated kids – sixth grade only. Friday afternoon. Ahh…
We did block printing and the kids who learned this skill were enthralled. They kept popping by the art room every day, hoping to carve a little more. They skipped recess to carve. They hung around Friday after the bell rang.
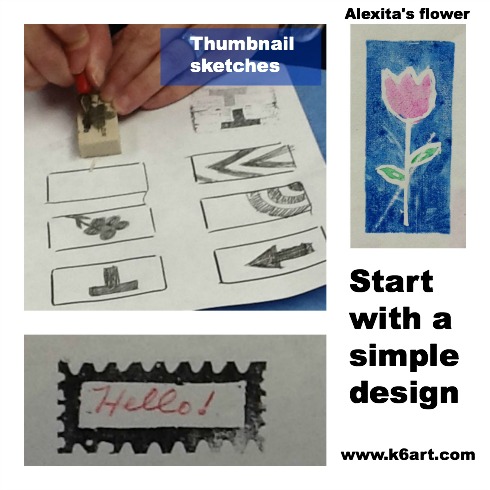
Students started by sketching a variety of simple designs using pencil and copy paper. They traced their favorite design onto tracing paper, then transferred the design to the eraser. Then they carved out the white parts of the design using a lino cutter. CLICK HERE to see an excellent carving video. I did this project with sixth grade last year – read more in this post.
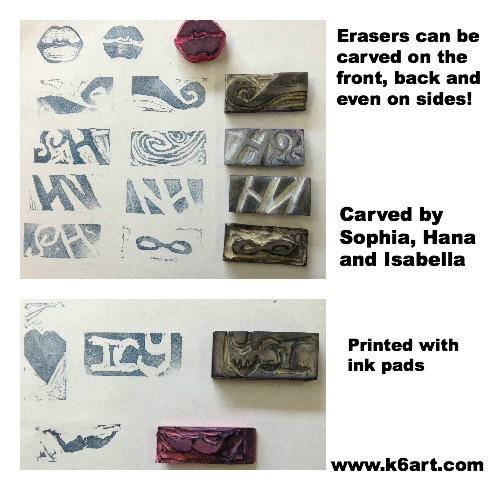
Once students had a little carving experience, they moved on to more complex designs on the back of their erasers.
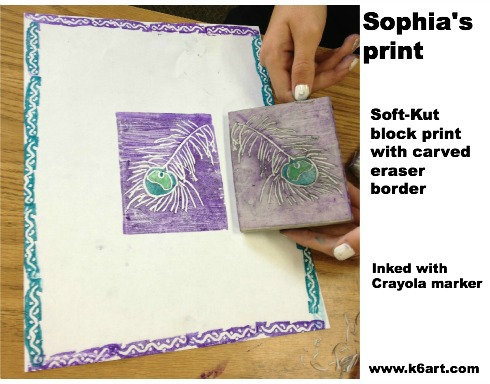
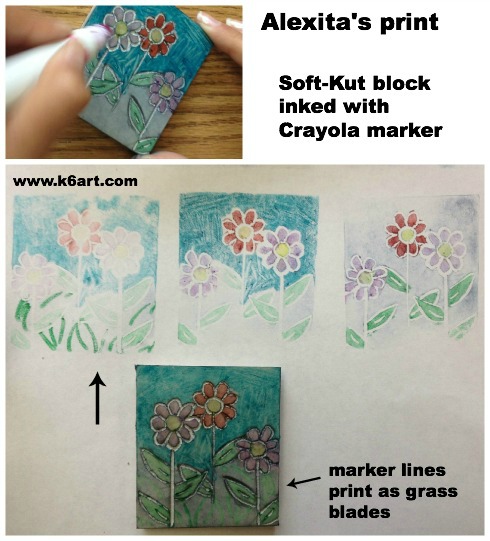
Soft-Kut Blocks
Students used the same techniques to transfer their designs onto the larger blocks. Some students used Crayola markers to ink their blocks (I think the inked blocks are beautiful on their own!).
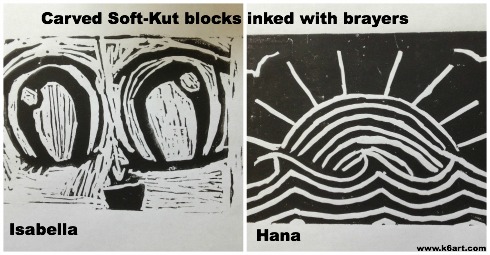
Others used block print ink applied with a brayer.
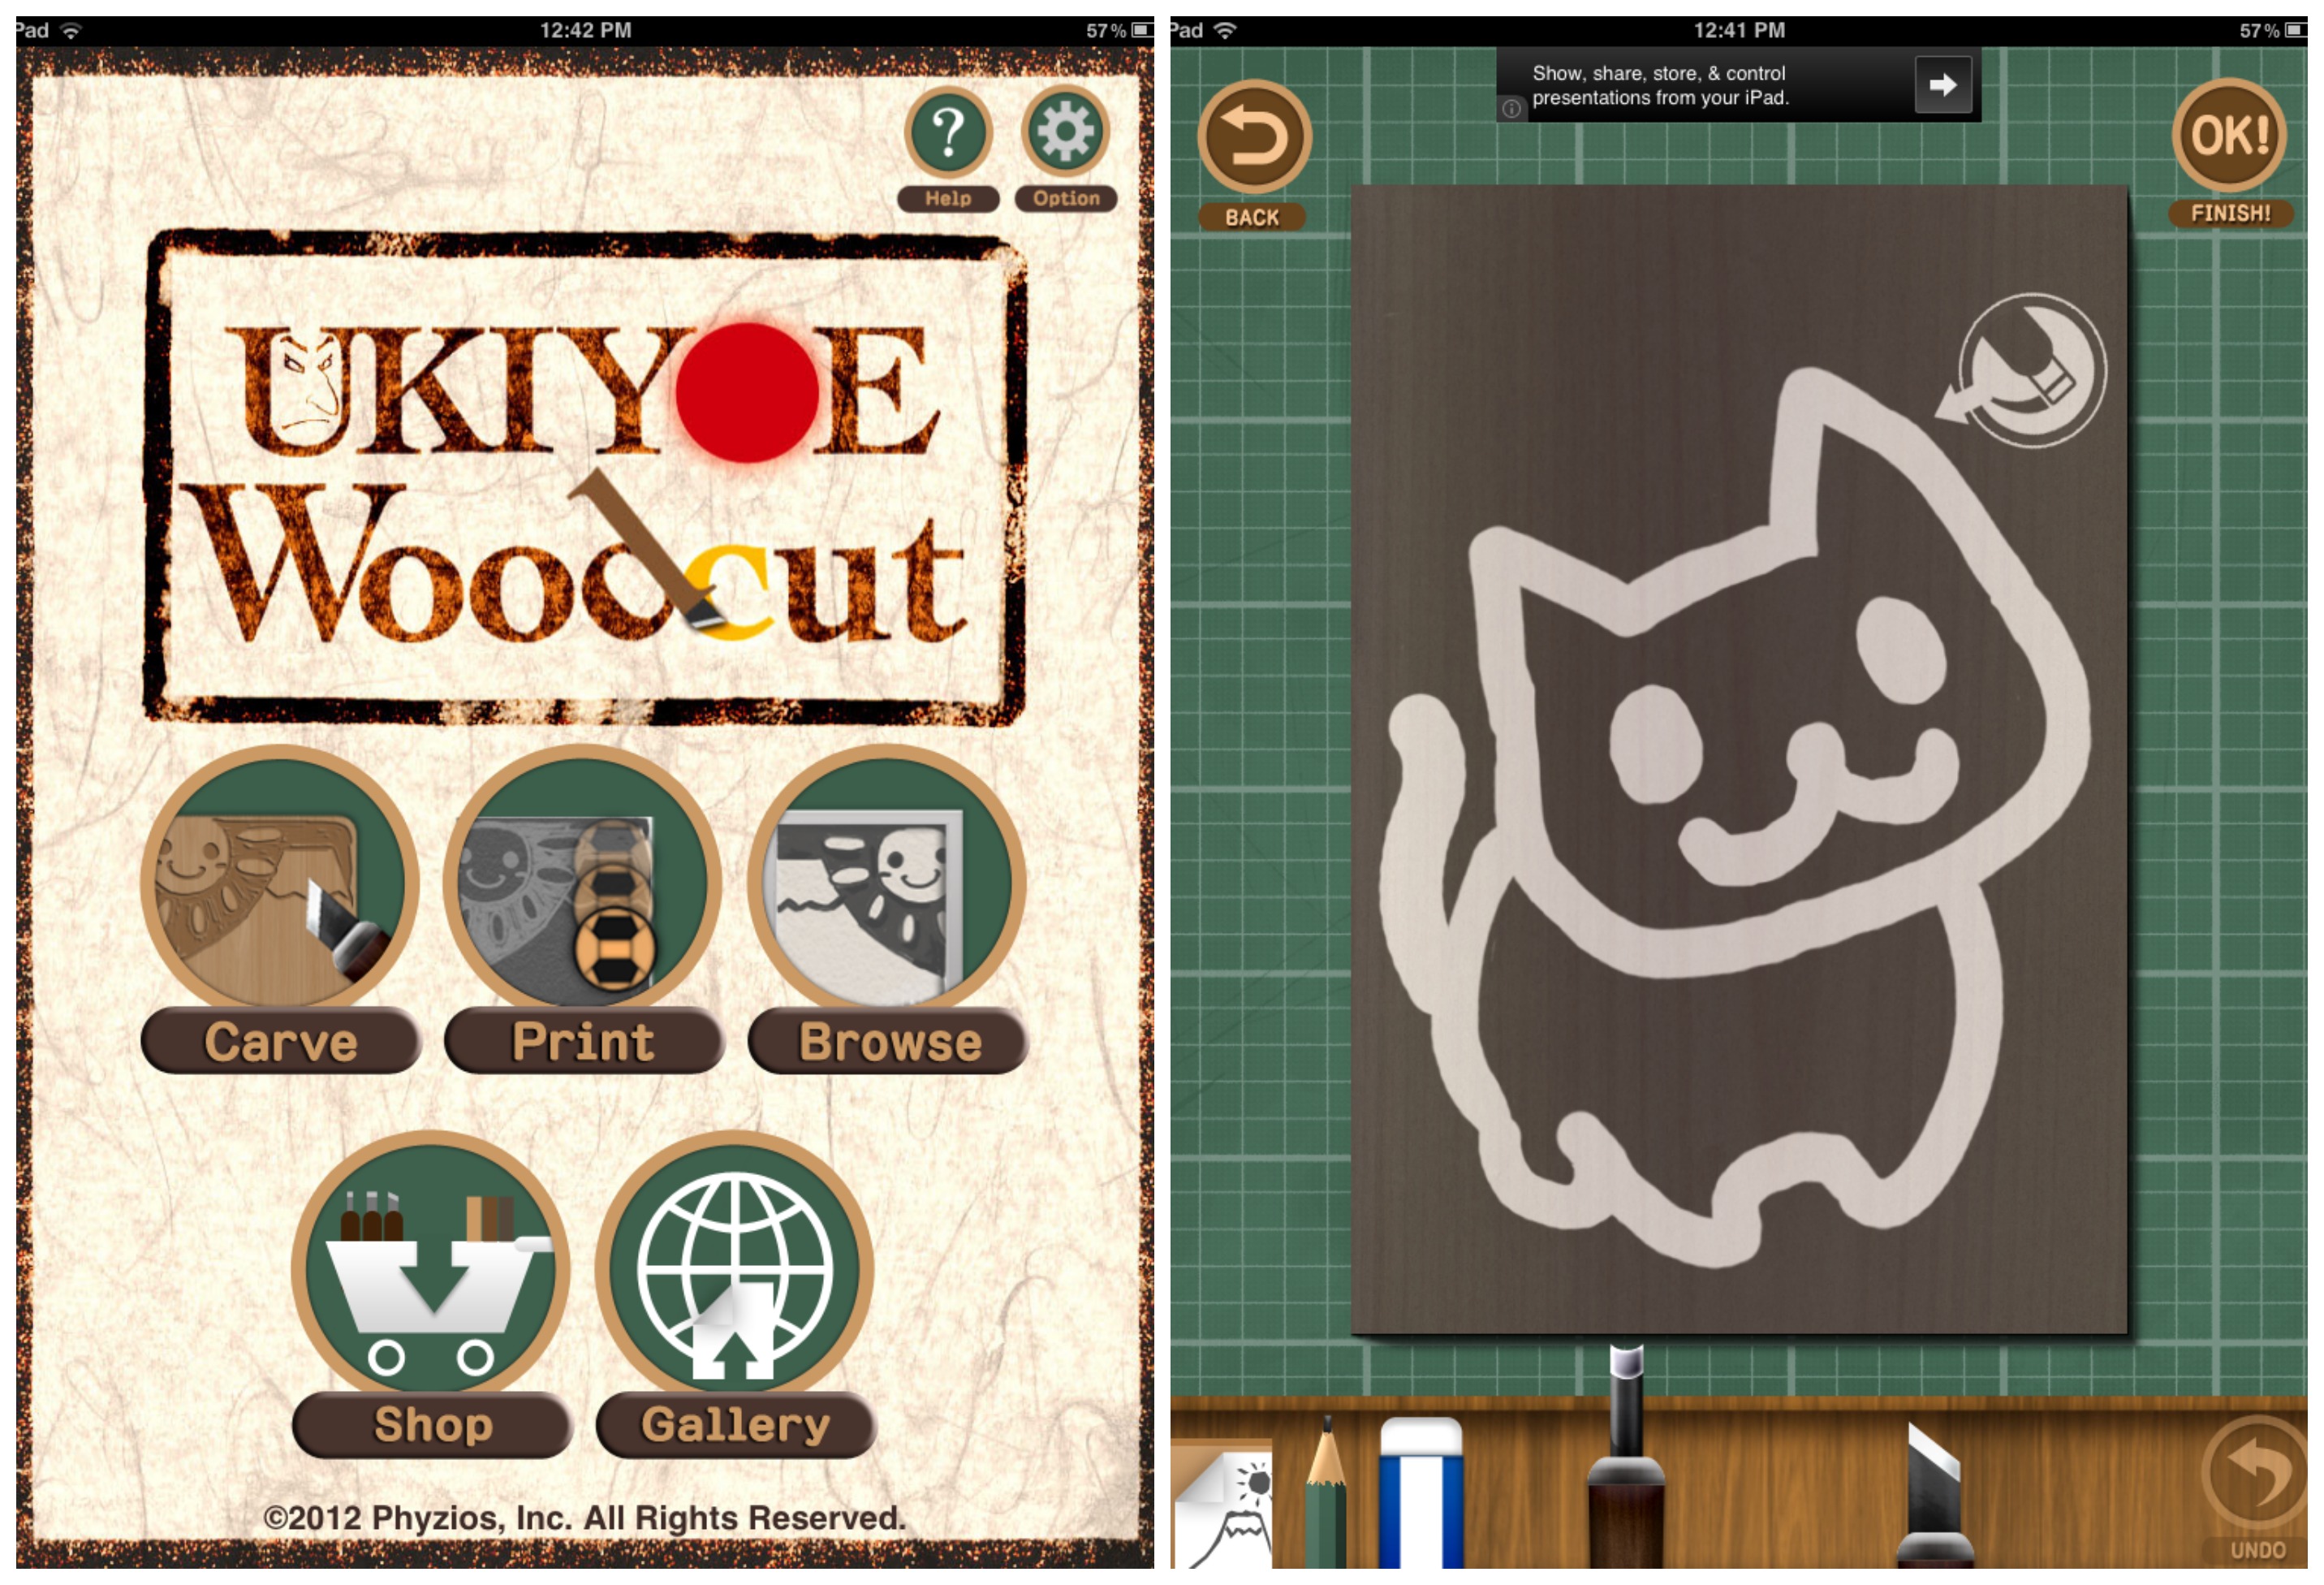
iPad in the art room:
We used iPads two different ways for this project.
Looked at images of linoleum carvings on Google images
Had fun testing out the carving process using the free Ukiyoe app (available on the app store).
Art club was a hit. Carving was a hit. I will definitely offer it to my sixth graders next year.
Do you offer art club at your school? What sort of projects do you do?