Laurel Burch Complementary Color Cats

complementary color laurel burch cats

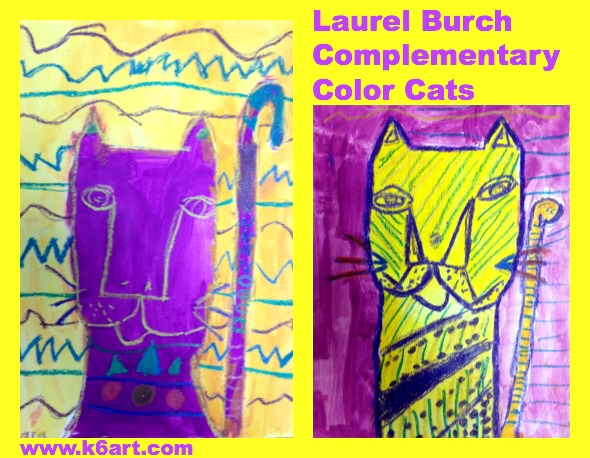
This Laurel Burch-inspired cat art project covers complementary colors, pattern and negative space. Tempera cakes and construction paper crayons are all you need for this project – quick, easy and neat!
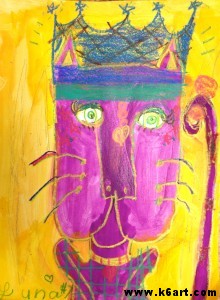
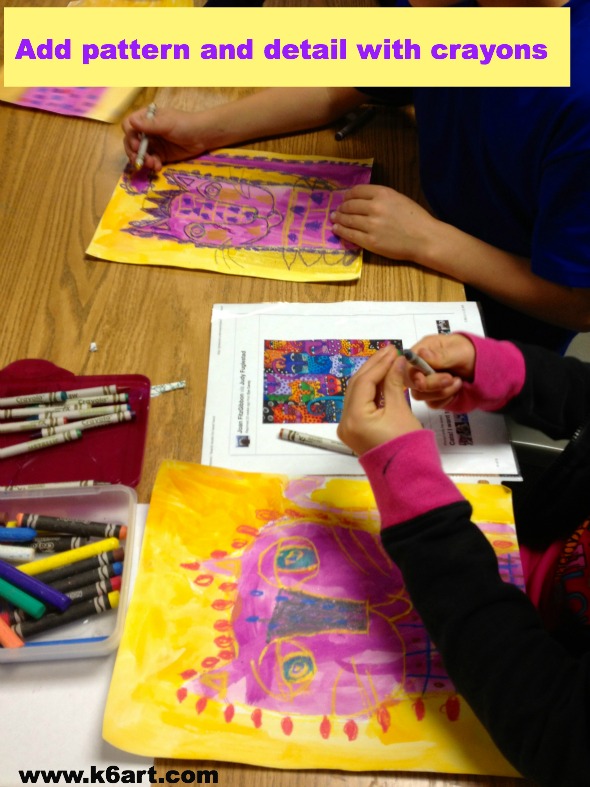
Second graders learn about the complementary colors, then draw and paint a cat in the style of Laurel Burch. When dry, they add pattern and detail with a variety of crayons. Allow two 40-minute classes.

Second graders learn about the complementary colors, then draw and paint a cat in the style of Laurel Burch. Allow two 40-minute classes.

Meet Laurel Burch
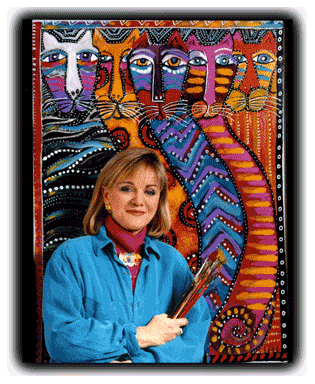
Laurel Burch. Photo source: laurelburch.com

Laurel Burch. Photo source:

Laurel Burch was a self-taught  jewelry designer and painter. She was extremely successful despite serious illness. The Laurel Burch website has every resource you could want, including a great biography video and ‘fantastic feline’ slide show. We took a close look at the cat illustrations, and noticed the simple shapes, lines and patterns.

complementary color wheel

The Complementary Colors

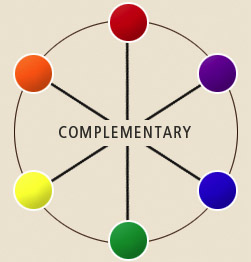
I displayed the color wheel and we discussed the complementary colors (see this post). The complementary colors are directly across from each other on the color wheel.

There are three complement pairs: red/green; purple/yellow; and orange/blue. When two complements are displayed together, the colors contrast and ‘pop’.


The Art Project

Materials:

  • white sulphite drawing paper, 9″ x 12″ (or other white paper strong enough for painting)
  • primary and secondary color tempera cakes
  • brushes
  • water
  • examples of Laurel Burch cat illustrations
  • construction paper crayons
  • optional: metallic crayons

(note: this post contains compensated affiliate links)

Day 1: Draw and Paint the Cat

  1. Choose a complementary color pair.
  2. Draw the cat using a single construction paper crayon.
  3. Add eyes and other facial features, but do not add pattern or other detail.
  4. Paint the inside of the cat one of the complementary colors.
  5. Paint the negative space (background) in the other complementary color.
  6. Let dry.

Day 2: Decorate the Cat

  1. Hand out examples of Laurel Burch cat illustrations and construction paper crayons.
  2. Look at the patterns and other details on the cats and in the negative space (background).
  3. Do a quick review of the complementary colors.  Ask “What color is your cat? Find a crayon that is a complement of the cat color”.
  4. Retrace the cat’s original lines with that crayon.
  5. Use all the colors of construction paper crayons to color in the eyes, add designs and patterns. .
  6. Optional: add a little sparkle with metallic crayons.

color Laurel Burch paintings with crayons

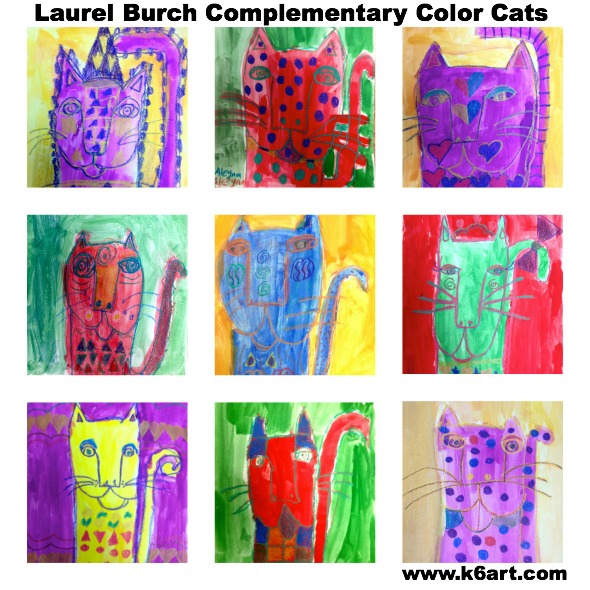
 Second Grade Results:

Laurel Burch Complementary Color Cats gallery

I just love the way the complementary colors pop against each other. I also love how the opaque construction paper crayons pop atop the tempera paint!

I used tempera cakes and construction paper crayons because they were quick to set up and clean up. You could easily substitute regular tempera and oil pastels, or watercolor and regular crayons.

No matter what materials you use, this is a fun and successful project your students will really like.


Enjoy!


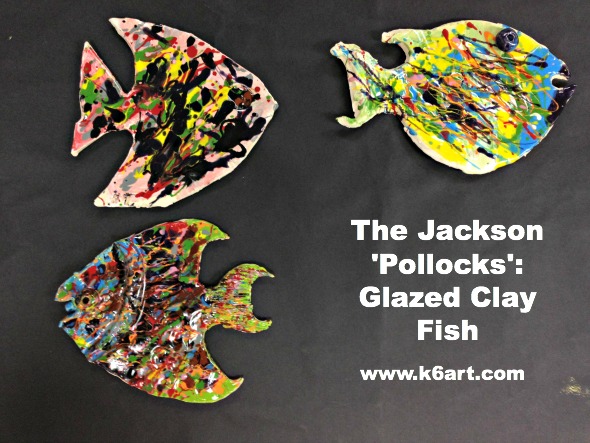
The Jackson ‘Pollocks’: Glazed Clay Fish

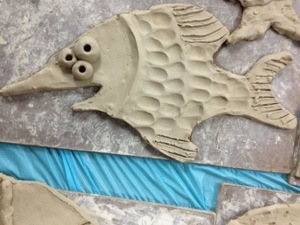
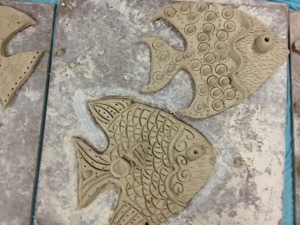
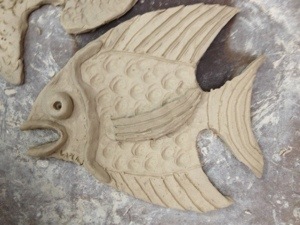
Jackson Pollock glazed clay fishSixth grade just finished the clay fish project. The students had open use of my glazes – some chose to do an ‘Action Jackson’ Pollock-inspired pollock.  The fish were base coated with a solid coat of underglaze, then splattered with a variety of underglazes. No clear top coat necessary.

This technique worked best on untextured clay.

The entire project took three class periods. You can read about the entire clay fish process here and here.

More glazing techniques next week!

Peter Max Statue of Liberty Round Up

I just finished up a Peter Max Statue of Liberty project with my first graders.  To plan this lesson, I took a look at a lot of elementary-level Peter Max lesson plans on the internet. All my research is contained in the Round Up collage above.

Do you like this collage? Click on the collage. Hover over each image and you will see an arrow.  Click on the arrow to link directly to the lesson.

I made this graphic using a free website called ThingLink.  It allows users to make images interactive. I learned about ThingLink on the Free Technology for Teachers blog.

Here are some more resources you can use for your lesson:

Meet Peter Max:

Wikipainting.org has a great selection of Peter Max artworks, including a Liberty Head, psychedelic artwork from the 1960s, and Warhol-like portraits of famous people.

Our students watched Peter Max prep his canvases this EXCELLENT 2008 video from CBS This Morning. (Requires flash. Reading this on an iPhone or iPad? Click here)

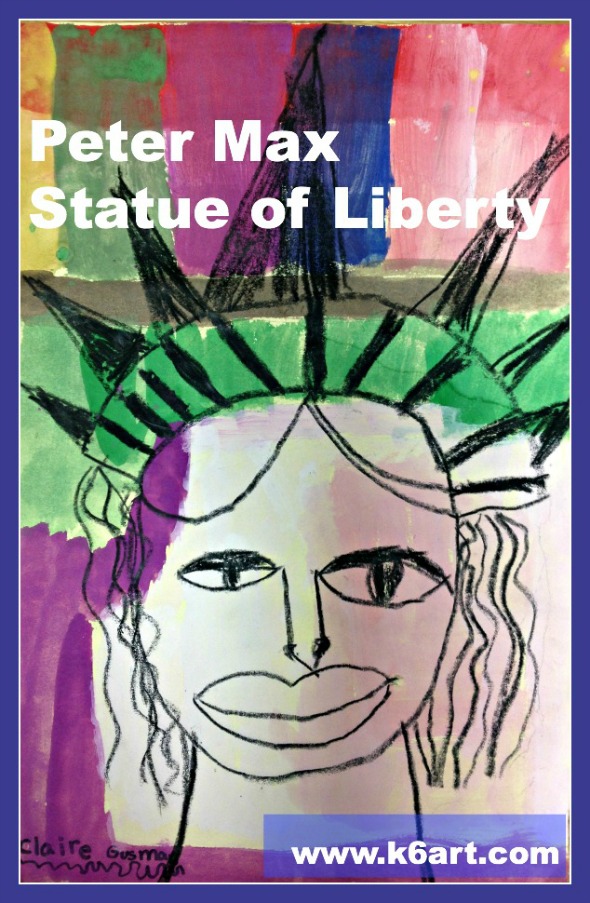
Our Art Project: We ended up doing a two-day art project using  tempera cakes and black crayon on 12″x18″ sulphite and manila paper.

Day 1:Paint backgrounds in style of Peter Max. Students made patches of color, stripes or even polka dots.

Day 2: Use black crayon or oil pastel in directed draw of Statue of Liberty head. BE SURE TO TELL STUDENTS TO GO BACK OVER THEIR LINES SO THEY ARE THICK AND BLACK.

Here is one of our first grade artworks:

peter max statue of liberty


Enjoy!

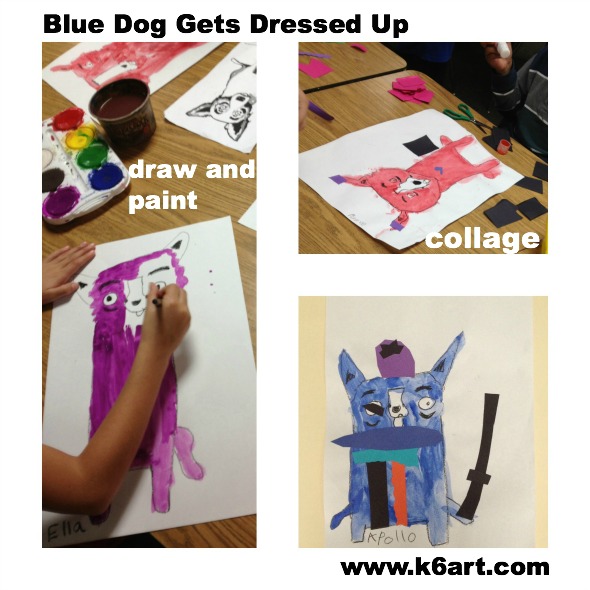
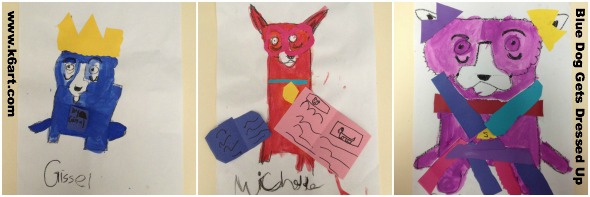
Blue Dog Gets Dressed Up

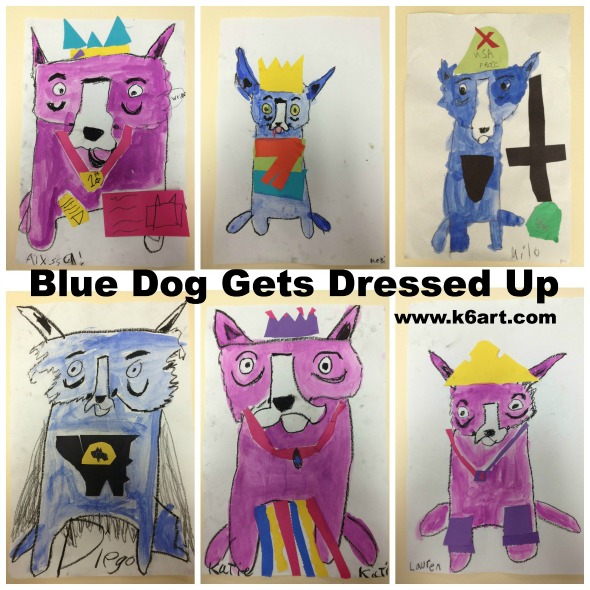
blue dog gets dressed up 2Our first graders learned about artist George Rodrigue’s Blue Dog. They had a fabulous time creating their own blue (or green or magenta) dogs and dressing them up in paper collage. The George Rodrigue Foundation website has every resource you could possibly need.  I downloaded the Blue Dog PowerPoint slideshow, and learned the Blue Dog was inspired by Rodrigue’s late dog, Tiffany. The PowerPoint  has lots of  ‘dressed up’ Blue Dog paintings, including a secret agent dog, hula dog and motorcycle dog. Of course the first graders LOVED that! I also showed students the first few minutes of this video from CBS Sunday Morning.

Now on to the art project!

Materials

  • white sulphite drawing paper – 12″ x 18″ (or other white paper that is strong enough for painting)
  • black crayons
  • tempera cakes
  • water cups and brushes
  • glue sticks
  • scissors
  • colored construction paper scraps

Day 1: Students watched Blue Dog PowerPoint, then did a directed draw of the blue dog using black crayon. Next they painted the dog in a single solid color using tempera cakes. Amazingly, this took only 40 minutes thanks to the easy-to-handle tempera cakes.

Day 2: Students decorated their dogs using scrap paper and glue stick. blue dog 123   blue dog pin ableThis was a popular and super successful project with easy clean up. I will definitely repeat next year.

Enjoy!


Bonus: FREE Blue Dog app on the iTunes store!

Blue Dog Books You Might Like:

Related Posts Plugin for WordPress, Blogger...