Monster Silhouettes 2016


I’m doing shadow puppets with my 5th grade students this fall. The preliminary lesson focuses on creating interesting silhouettes in black paper and simply gluing them down to a piece of white paper.

This was a big hit back with the 5th graders back in 2014. This time around, I’m planning my lessons using the online tool smore.com. I’ve shared my monster silhouette smore ‘flyer’ below.

From a lesson planning perspective, smore.com flyers rock the house. I can quickly assemble a lesson with text, video and photos and project it. I can email it, tweet it and share through my K6art facebook page. I can share it with students who were out and need to make up the lesson.

Check it out:

I learned about the shadow puppet process (and this exact lesson) from master art teacher Grace Hulse at the 2014 NAEA conference. At the very same conference, I learned about smore.com as a means to organize all the resources in my lesson plans.

I will be posting many future lessons organized with the smore.com tool.  Let me know if you find them useful.

Enjoy!

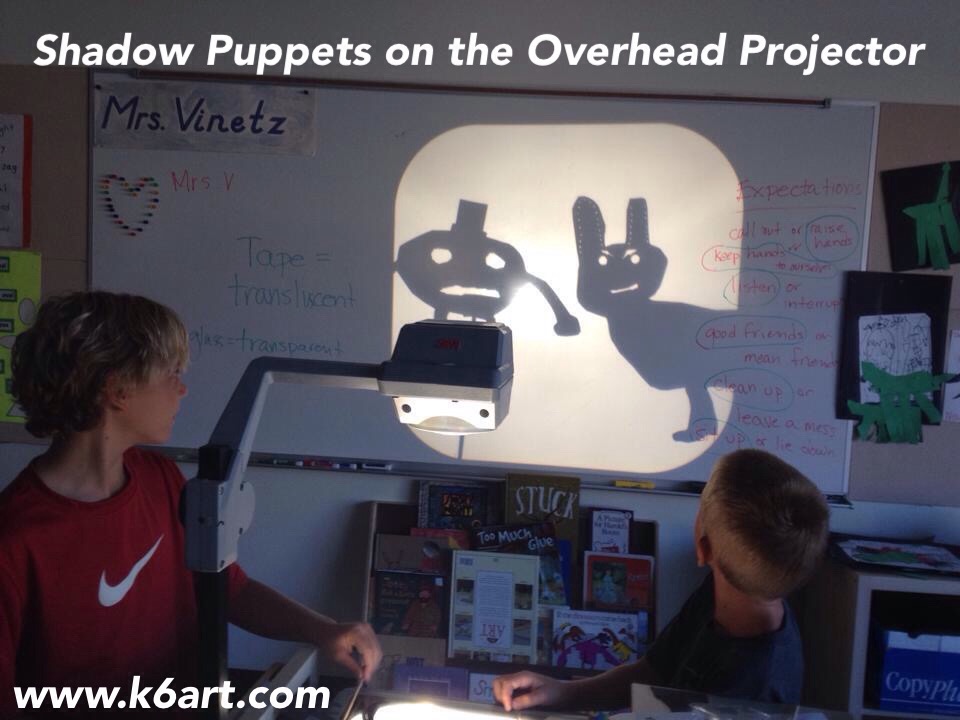
Shadow Puppets on the Overhead Projector

Shadow puppets on the overhead projector

Our fifth graders just completed a shadow puppet unit. We had a lot of fun creating shadow puppets and performing with them on our old overhead projector.  If you’ve got one (or more) of these old projectors at school, grab them! Your students will have a blast making shadow puppets.

Materials:

  • overhead projector
  • tagboard or construction paper
  • pencils/erasers
  • scissors
  • bamboo skewers
  • tape
  • decorative punches
  • push pins
  • wax paper
  • overhead transparencies
  • colored Sharpie permanent markers

Create a puppet:

Draw a character on tagboard or paper. Encourage kids to make puppets with interesting silhouettes. Cut out. Use the punches to add a decorative edge. Students can also cut out slits or interesting shapes within the puppets. They can also pierce the puppets with a push pin to make tiny dots of light (look carefully at the octopus below to see this effect). Tape on a bamboo skewer and you are ready to go!


Students created shadow puppets from black paper and bamboo skewers

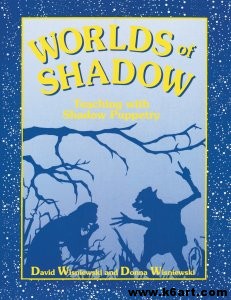
You can learn to create a shadow puppet show step-by-step in the book Worlds of Shadow: Teaching with Shadow Puppetry. The book has great direction for making puppets with movable joints as well.

Worlds of Shadow

Worlds of Shadow

Backdrops:

Wax paper:

We used wax paper as a backdrop. It makes a smokey, translucent shadow when placed on the overhead projector. We used cut wax paper to make ocean waves and torn wax paper to make mountain tops.

Overhead transparencies + colored Sharpie:

Students made a lot of beautiful backdrops on transparencies. Here is a brief video that shows the vibrant color:

http://youtu.be/nEPpR5EmBEk

I wrote about part one of our shadow puppet unit in this post.

I learned how to create shadow puppets from Baltimore art teacher Grace Hulse – you can see Grace’s shadow puppet Prezi and video in this post.

Enjoy!

Related Posts Plugin for WordPress, Blogger...