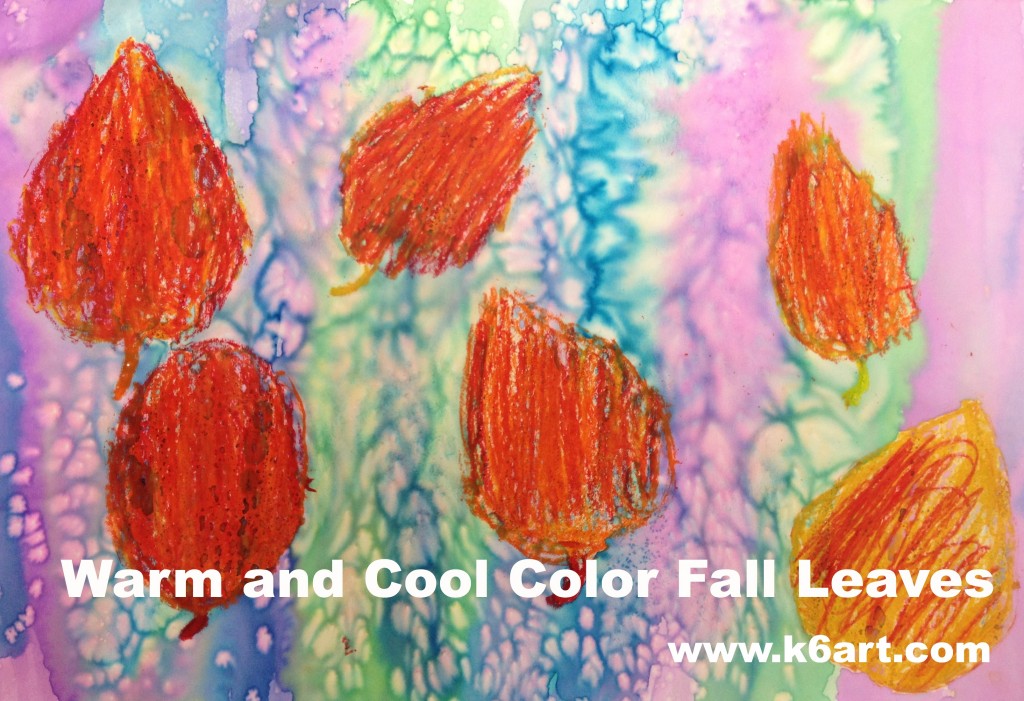
Warm and Cool Color Fall Leaves

It’s fall – time for a fall leaf project! This lesson takes just two 40-minute sessions and covers:

  • warm and cool colors
  • stenciling
  • organic shapes
  • positive and negative space
  • symmetry

Materials:

  • cardstock, cut into rectangles
  • pencils and erasers
  • scissors
  • white construction paper
  • oil pastels in warm colors (red, orange, yellow) (note: compensated affiliate link)
  • liquid watercolors in cool colors (purple, blue, green)
  • kosher salt (optional)

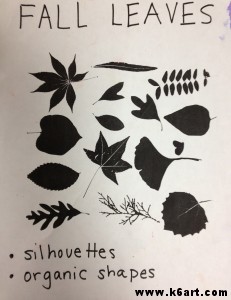
Leaf silhouettes


Session 1:

We looked at the silhouettes of fall leaves. We talked about the variety of leaf shapes. We discussed the difference between the organic leaf shapes and geometric shapes.

Next we created our stencils: students folded their cardstock, and drew a simple 1/2 leaf on the fold (note: don’t bother with a stem in your stencil design).

About 90% of second graders were able to design and cut a simple leaf stencil independently on their first attempt. As an alternative, you could cut stencils for your students.

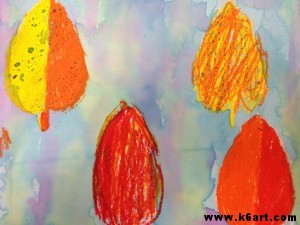
Once we created the stencils we noticed they were symmetric. We also defined the leaf-shaped hole as the negative space and the leaf piece as the positive space.

Students stenciled multiple leaves . Some swapped stencils with their friends. After stenciling, they added a stem line to each leaf.

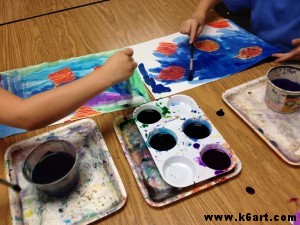
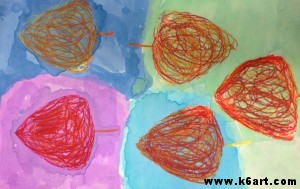
Paint leaves with cool color watercolors.

Session 2:

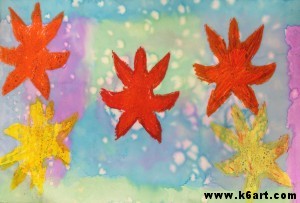
Students painted the leaves with liquid watercolors. They loved to see the oil pastel resist the paint. After painting, they had the option of sprinkling kosher salt on their wet art before placing their art on the drying rack.

Second grade results

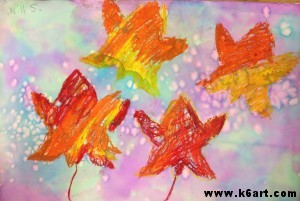
Fall leaves with salt added.

Fall leaves with salt added.

The project was extremely successful. The students really enjoyed the process, and reviewed a lot of art concepts.

This lesson was inspired by  this post on Kids Art Market and this post on Use Your Colored Pencils.

Do you have a favorite fall leaves project?

Fun Foam Prints: Quick and Easy!


Love printmaking? Try making your own stamps with self-adhesive fun foam stickers. It’s quick, easy, NEAT, inexpensive and 100% successful.

Materials:

  • cardboard squares, 3″x3″
  • self-adhesive foam stickers in various shapes such as these
  • scissors
  • hole punches
  • water-based markers (we used Crayola)
  • water-based stamp pads
  • paper for printing (we used copy paper)

Design the stamp:

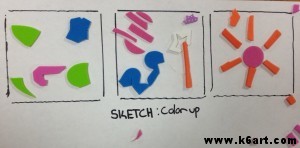
Students began by tracing their cardboard square three times on a sheet of copy paper. Then they arranged their foam pieces within the squares until they found a pleasing composition.

Students rearrange cut-up craft foam stickers until they find an arrangement they like. Don’t peel the stickers yet!

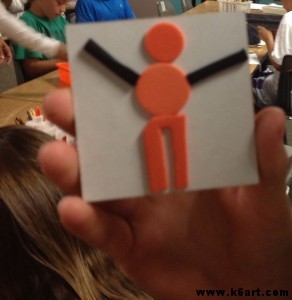
I had a random assortment of stickers on hand – letters, animals, stars, ovals….I encouraged the students to cut up/hole punch their stickers so that the stickers no longer resembled their original shapes. No letters or numbers allowed! Once they found a good arrangement, they peeled their stickers and stuck them on the cardboard squares.

Assignment 1: print with colored markers

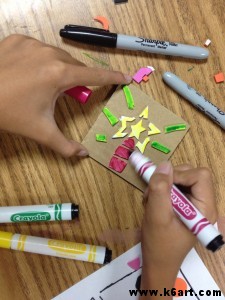
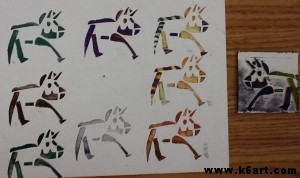
Next students inked their stamps with Crayola markers and printed on a clean piece of paper.

Ink the foam with markers. Use a variety of colors.

Print! Then re-ink and print again. You go over the stamp with another color of ink for subsequent printings.

Inking plate with multiple colored markers allows students to make some beautiful color combinations.

Triceratops print.

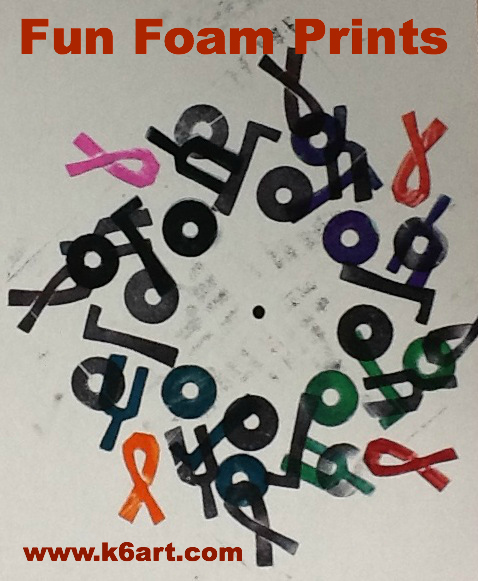
Assignment 2: Radial design print

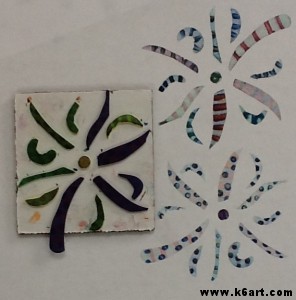
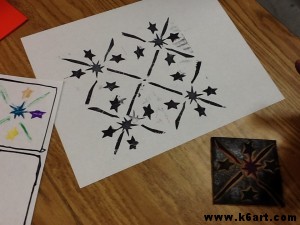
Place on dot in the center of a clean piece of paper. Flip stamp over to back and draw arrow on cardboard pointing to one corner.

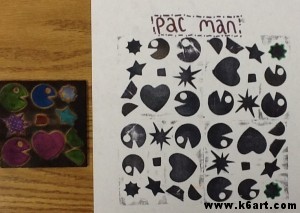
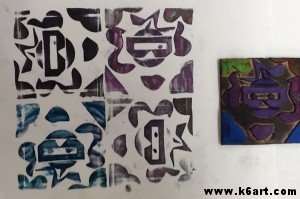
Ink stamp with stamp pad. Print so arrow points to the center dot. Re-ink and print again, rotating stamp so arrow always points towards center dot.

Pac Man

Thumbs up!

Color radial print.

The galaxy.

So much fun! 100% of sixth graders had success with this project. I think third graders and older could succeed with this project.

20121111-062923.jpg

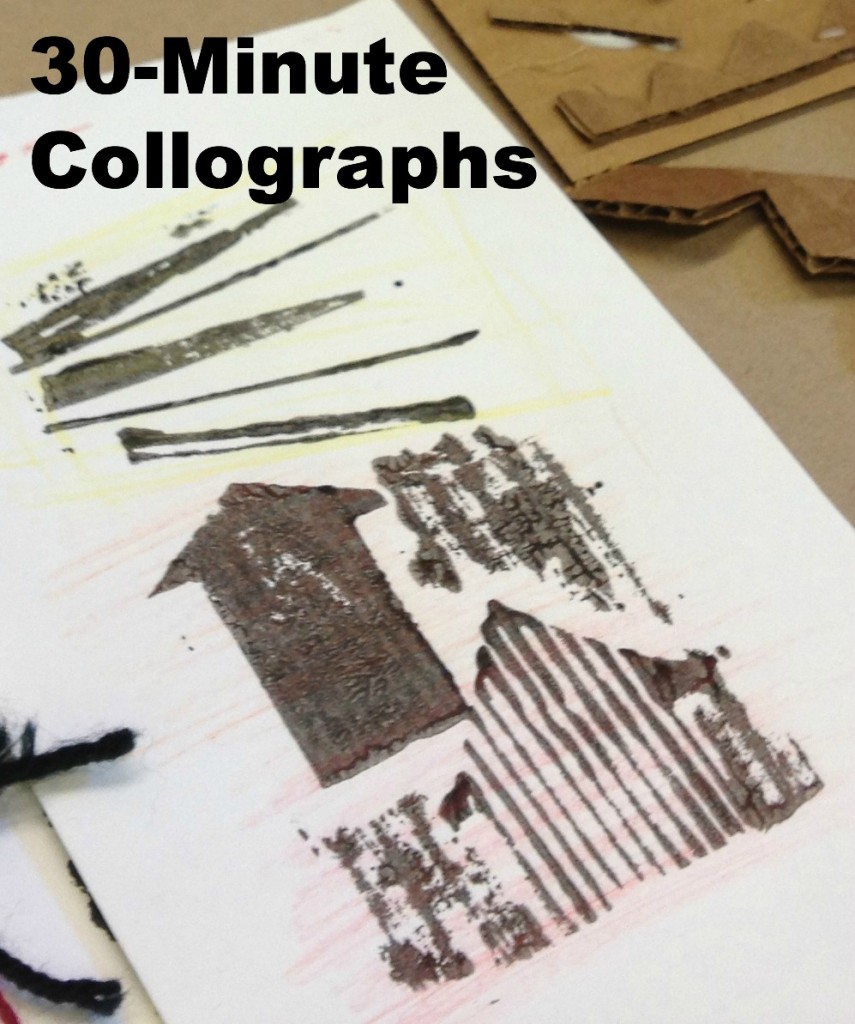
30-Minute Collograph Printmaking


Want to try a printmaking project that is quick, fun, versatile and inexpensive? Try collographs.


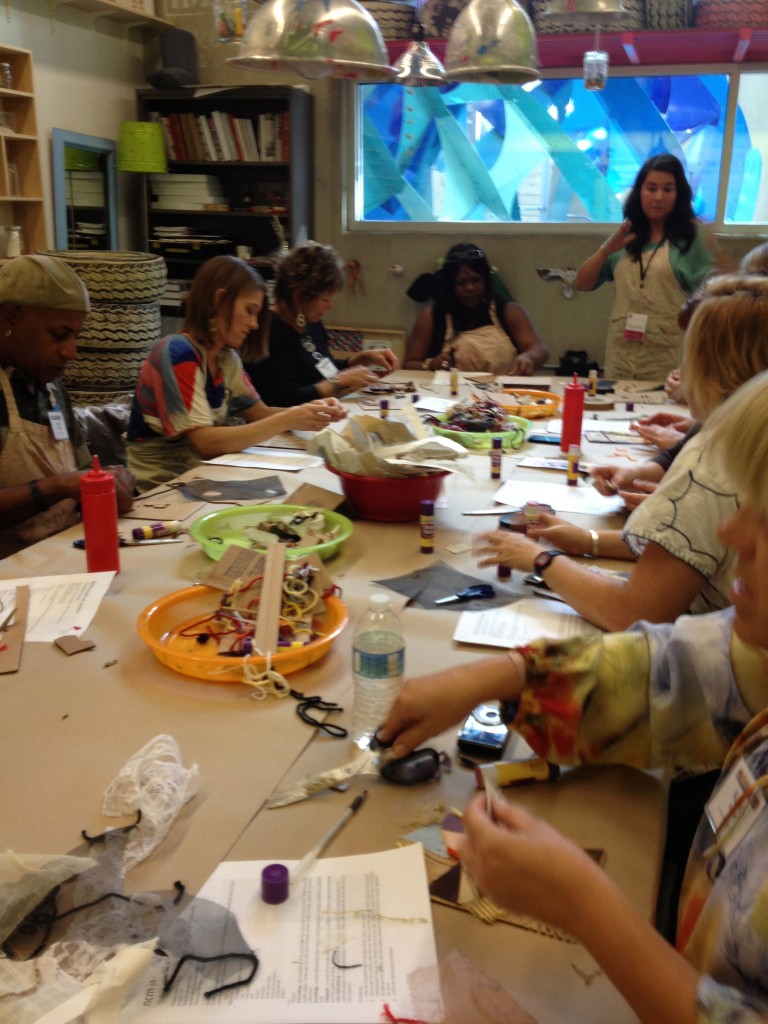
Maxi Moraga leads collograph workshop in NCM’s art education room.

I took Maxi Moraga’s fabulous collograph workshop last month at San Diego’s New Children’s Museum. This workshop tied in to the NCM’s current exhibition, TRASH, so we used lots of recycled/discarded items to create our printing plates.

Materials:

  • cardboard rectangles (we used corrugated)
  • bits of textured fabric, including mesh and screening
  • yarn
  • cardboard
  • masking tape
  • glue sticks
  • white glue
  • scissors
  • printer’s ink in assorted colors
  • brayers
  • trays for ink
  • paper for printing (cardstock is OK)
  • colored pencils

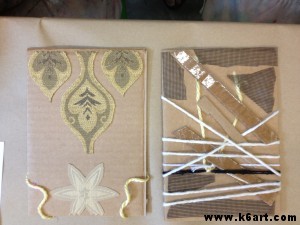
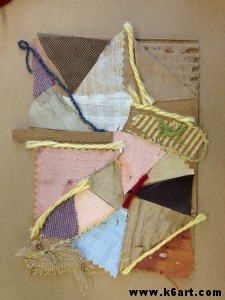
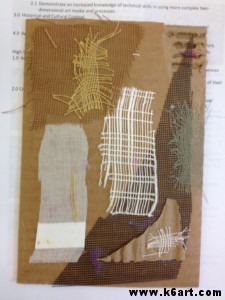
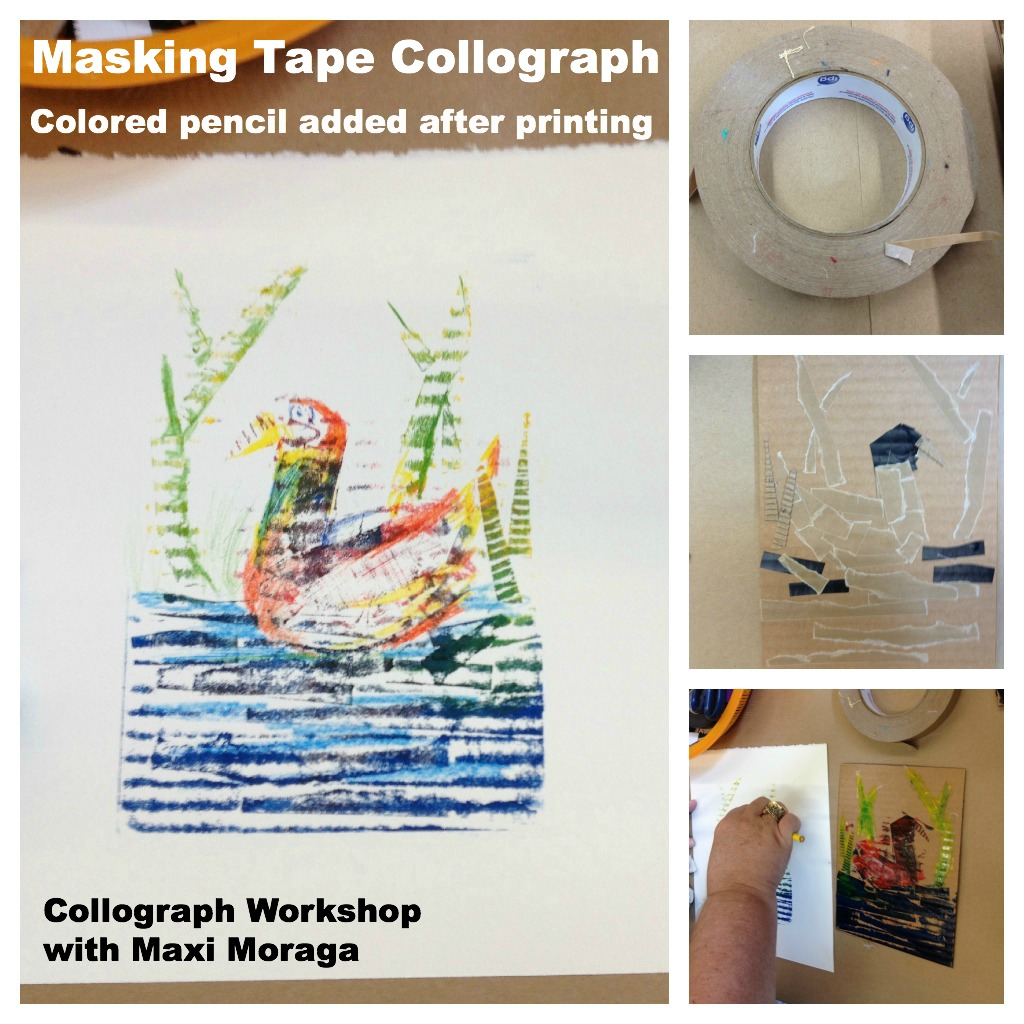
We began by creating printing plates. We collaged various items to our cardboard rectangles (note: Maxi strongly encouraged us to use glue stick).  Here are some of the plates:

Collograph plates. Yarn is simply wrapped around the plate.

Tip: after completing plate, ask students to flip plate upside down on their chairs and sit on them for 60 seconds! Now your plate is really glued down and ready to print.

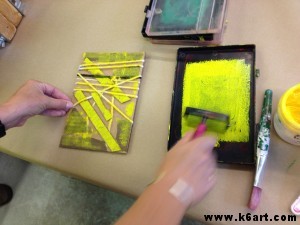
Next, we applied printer’s ink to our plates using these mini-brayers and recycled plastic trays. I love that the tray has a lip to keep the brayer constrained. Great when you are printing with young children!

Apply printer’s ink with a brayer.

We didn’t use a press. We simply put the paper over the inked plate and rubbed the paper carefully with our hands.

Options:

  • use a paper towel to selectively remove ink from the plate before printing.
  • create a print using two or more colors of ink
  • color the paper before and/or after printing.

My favorite piece is the masking tape collograph made with corrugated cardboard.

Because of the emphasis on recycled materials, this would be a nice Earth Day project as well!

Whether you are a parent or a teacher, be sure to check out the New Children’s Museum when you visit San Diego. The museum offers art-making activities for children EVERY DAY. I wrote more about the museum in this post.

Do you have a favorite printmaking project?
UPDATE: 12/16/13: Check out my new post – ‘Holiday Collagraph Crayon Rubbings’

Enjoy!

Best. Conference. Ever.

What makes a good conference? Great workshops and networking, of course. Hold it in a drop dead AMAZING setting like San Diego’s New Children’s Museum (NCM) and you have a home run hit! San Diego Art Education Association held its first annual Visual Arts Educators Conference this month at the museum. After introductions by energetic new SDAEA president Ron Jessee and a keynote address, Tomoko Kuta, NCM’s Director of Education & Exhibitions, took us on a tour.

The New Children’s Museum is one of the only children’s museum in the United States dedicated to commissioning artists to create site-specific works for a youth audience.

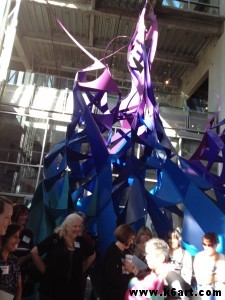
Staff held a kiddie yoga class under this Layer sculpture the day we visited.

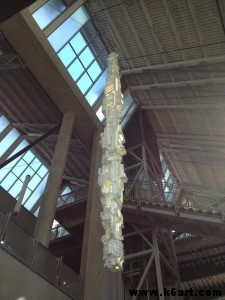
Jason Rogene’s sculpture/light fixture made of styrofoam packaging.

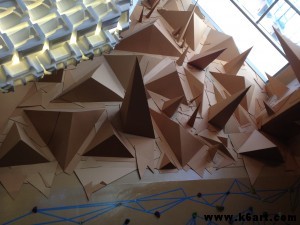
Jason Rogenes’ Megalitransponder includes kiddie climbing wall topped with cardboard installation.

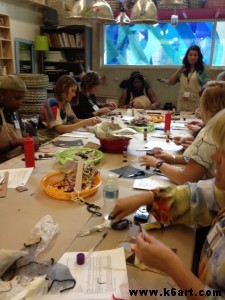
I got to attend three workshops, all tied in to NCM’s current exhibition, TRASH. They were held in the museum’s art education studios.

  • ’30-minute’ collograph printmaking with the museum’s art educator, Maxi Moraga
  • sculpture/drawing project based on the art of Peter Opheim by fellow San Diego elementary art teacher and blogger Don Masse of Zamorano Arts Academy
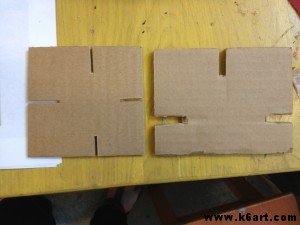
  • cardboard climbing squares group sculpture based on Charles and Ray Eames’ House of Cards, again by Maxi Moraga

Maxi Moraga leads collograph workshop.

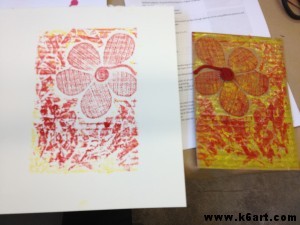
Collograph print. No press required!

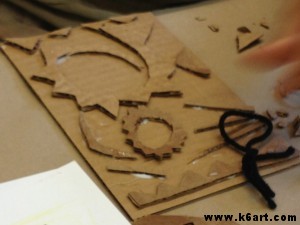
Sculpt/draw with Don Masse. I really admired this project when I first read it on his blog. So thrilled to try it out myself!!

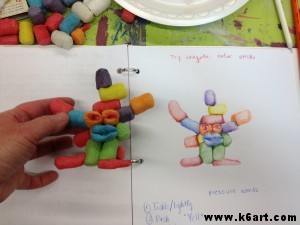
Starting point for the house of cards sculpture. We collaged/painted our pieces, then assembled. This would be a great whole class or whole grade project.

As if all this wasn’t enough, we had a fabulous lunch from Urbane Cafe, gift bags with goodies from Blick and Artists and Craftsmen and a raffle with prizes donated by Blick, A&C and area education and arts organizations.  I won tickets to the City Ballet! Thanks also to local arts advocacy group art pulse.

A lot of foks in SDAEA, SD County Office of Education and NCM put together this amazing event. Thanks so much for a perfect day.

Like I said:

BEST. CONFERENCE. EVER.

 UPDATE: San Diego County art educators: check out our new SDCAEA Facebook page!

Birds on a Wire: Thumbprint Art for Kindergarten

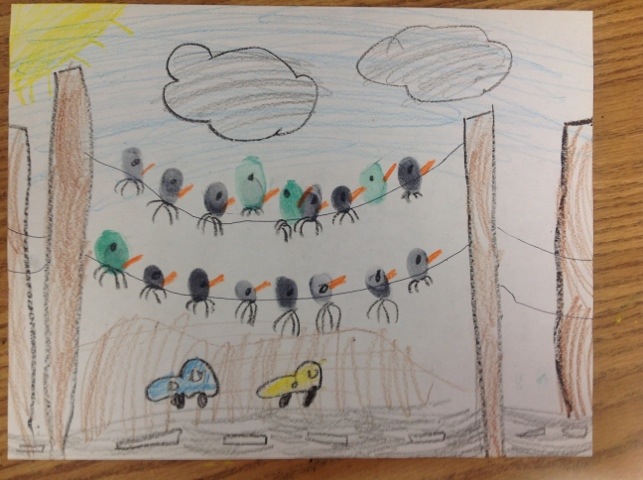
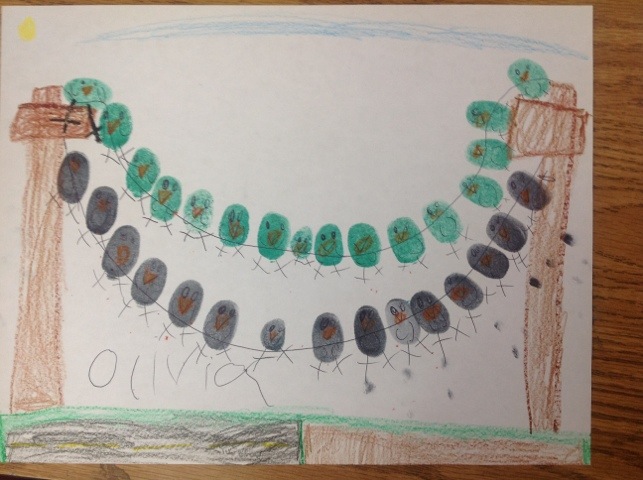
Looking for a quick 40-minute project? Get out your stamp pads. Kindergarteners used crayon, stamp pads and ballpoint pens to create these cute thumbprint birds on a wire.

20120517-071335.jpg

20120517-071421.jpg

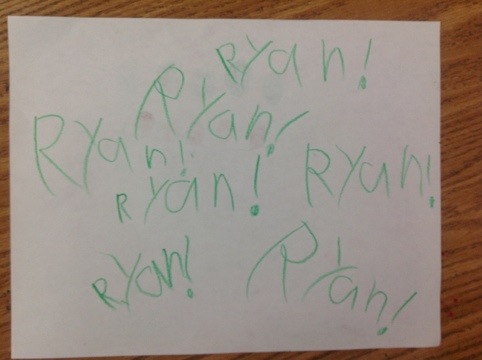
And just for fun….look how Ryan signed the back of his art! He must be very proud of his writing skills. These kids have come so far since the fall. What a joy!

20120517-071619.jpg

Inspiration came from Mrs. Weber’s Art Class blog via Pinterest.

Related Posts Plugin for WordPress, Blogger...