Clay Project Ideas from Prague

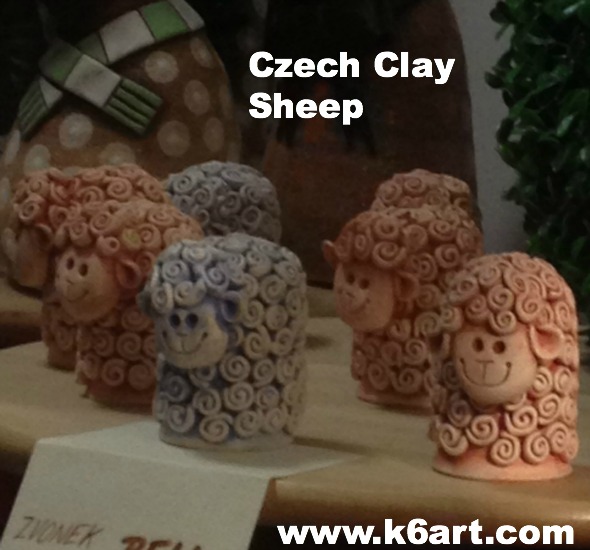
I just came back from Prague. WOW. In addition to castles, cathedrals and pastry, I had the joy of checking out hand-made crafts in small shops throughout the city. These clay sheep and owls were so adorable I just had to try them myself!!!

czech clay sheep

I saw these charming clay sheep tiny gift shop on the Charles Bridge. The shop was so tiny only two people could enter at a time! The ceramic sheep are wheel-thrown clay bells, covered in clay spiral ‘wool’. They are unglazed.

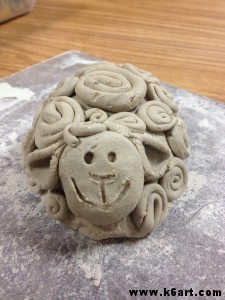
My version of the Czech sheep:

spiral clay sheep

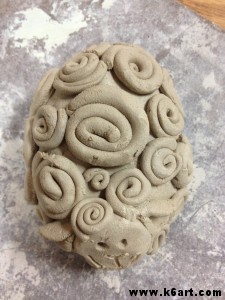
Top view

Top view

I started with an inverted pinch pot, stuffed it with newspaper, and added face, ears, and spirals. I will let them dry, bisque fire, then do a cold finish by painting with tempera or watercolors, then rinsing off in the sink.

I think this would work for grades 4-6, and take around 45 minutes -1 hour to teach.

Verdict: I showed my sample to my 6th grade helpers: they LOVED it.


czech clay owls

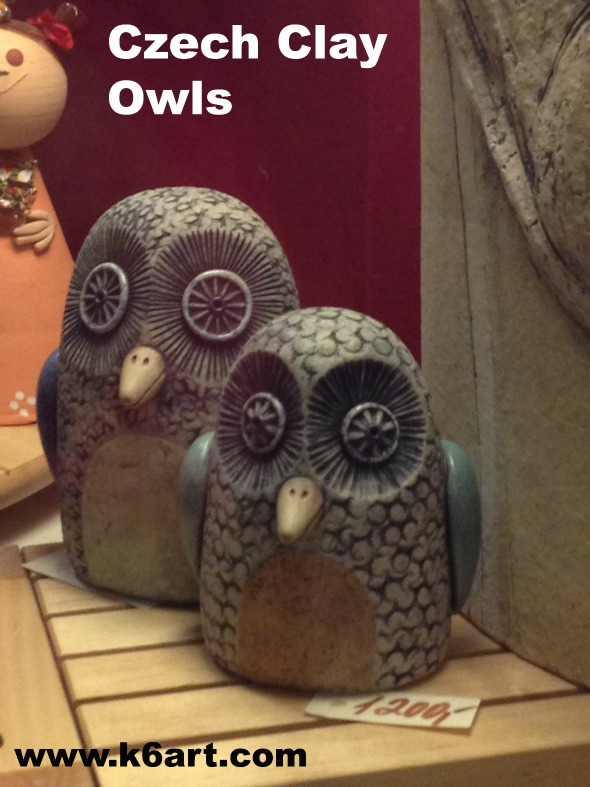
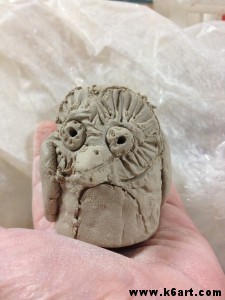
The Czech Owls:

These beautiful, textured clay owls were hollow clay cylinders with closed bases. A hole was poked in the base to keep the owl from exploding in the kiln.

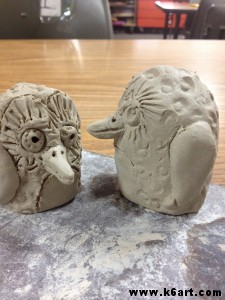
My version of the Czech owl:

I started with two pinch pots, stuffed them with newspaper, and sealed together to form a cylinder. I smoothed the cylinder by rolling it back and forth on a board. Next I tapped the bottom on the board to flatten. Finally I wiped the cylinder with a damp sponge to smooth it out.

I textured the clay, and added wings and a beak. I would have liked to have some different texture stamps for the eyes….still, they turned out OK.

I poked a skewer through the bottom to let air escape when firing.

I will let dry, and bisque fire. These owls could be glazed, or just painted with watercolor and sprayed with clear gloss.

clay owl 1

IMG_3517

These would take about an hour to make. Sixth grade and middle school.

You could also simplify this by using a single inverted pinch pot for the owl body. Be sure to stuff with crumpled newspaper before adding texture. This could work for grades 4-6.

Verdict: my 6th grade helpers thought my owls looked like penguins!!! They recommended making smaller eyes and bigger wings. They definitely preferred the sheep.

Although I did not bring home the Czech clay sheep or owls, I couldn’t leave that awesome gift shop empty-handed! I left with this fabulous Beethoven sgraffito mug as a gift for my husband.

sgraffito mug


Well, spring break was awesome but it’s over. Back to work!

Enjoy!


Charming Design at the Berlin Zoo

Who knew the Berlin Zoo is full of interesting sculpture and design? I’m here in Berlin for spring break. Here are just a few of the gems I saw at this incredible zoo.

20130408-060142.jpg

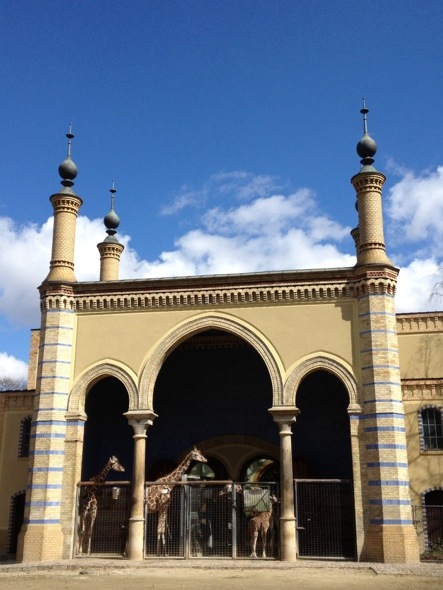
The giraffe house has Moorish arches, spires, and tile.

20130408-060321.jpg

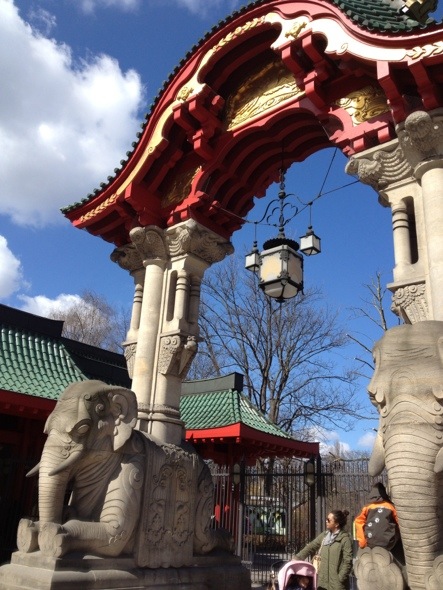
Berlin Zoo elephant gate entrance pagoda. Designed in 1899.

20130408-060612.jpg

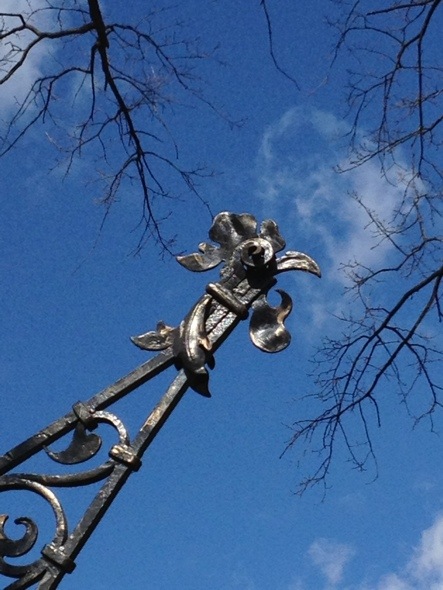
Wrought metal roosters on the hen house fence. I love the spiral eye.

20130408-062434.jpg

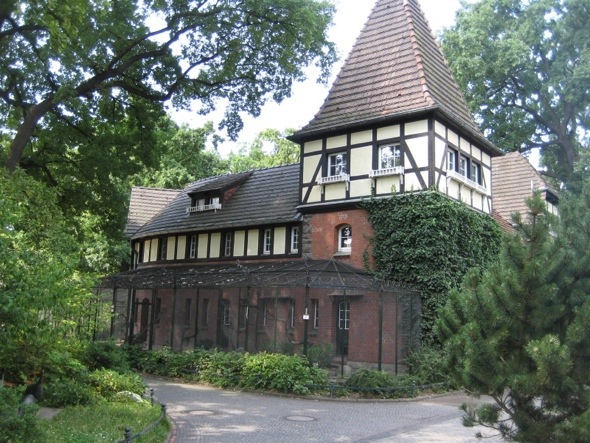
The hen house looks like a real house! Designed around 1905.

20130408-063436.jpg

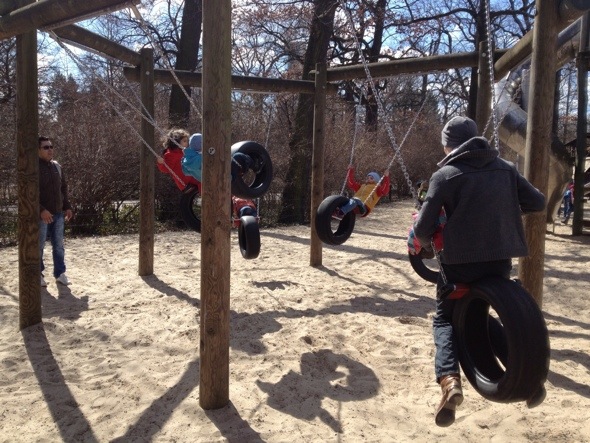
The zoo has a big playground for kids. This crazy swing set is designed so the kids can’t collide in the center (but they will try!).

Hope you are having a great spring!

Enjoy!

Rainbow Fish: Glazed Clay Fish

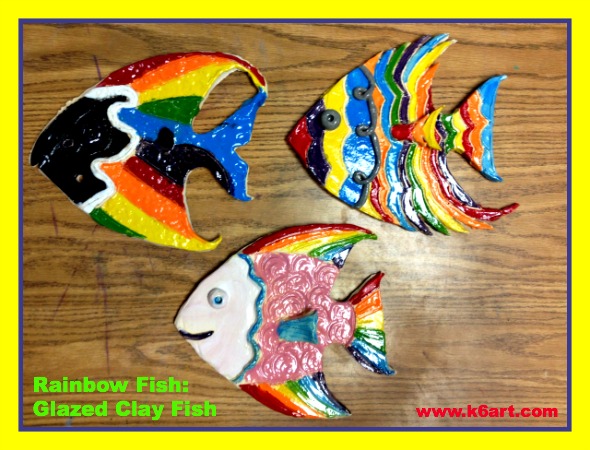
rainbow glaze clay fish

So many fish in the sea!

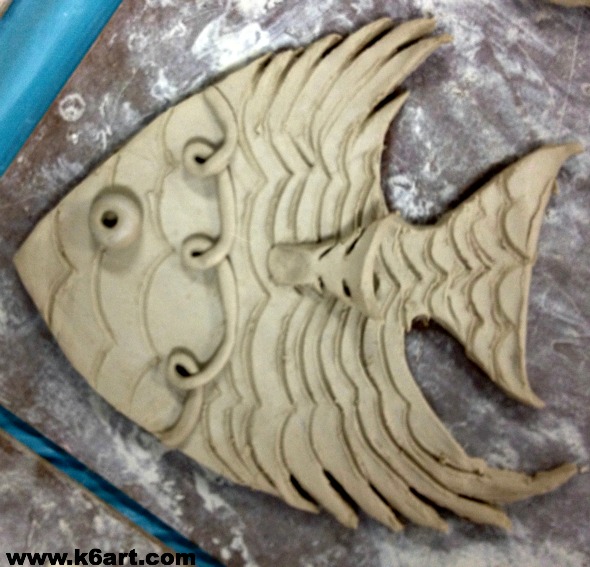
Our sixth grade finished the slab clay fish project. Although I provided a choice of  just three templates, students were able to customize them through re-shaping, texture, and glaze. We ended up with a wide variety of fish.

These three rainbow fish started from the same template. Artists scratched lines into the wet clay to make stripes. Later they painted these defined areas. Students who did this technique ended up with neatly glazed fish. Caution: avoid scratching a line across the narrowest part of the tail – it will be more likely to break.

mariel's fish

Want to make a rainbow fish? Make shallow lines in wet clay with a skewer. Glaze fired clay – try to stay inside the lines!


Morgan's fish

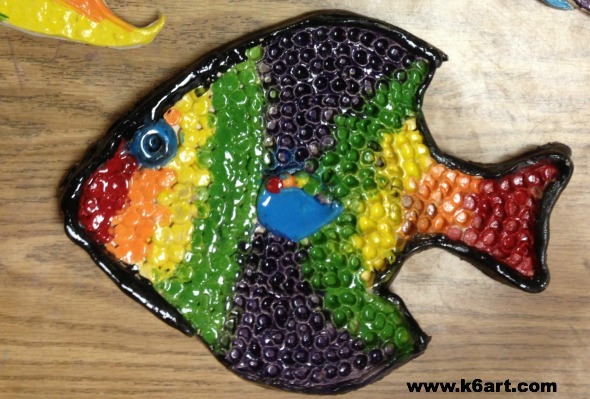
Here is a different rainbow fish.  The artist used a different template, then created texture with tiny balls of clay and the eraser tip of pencil. The fish is trimmed with a thin clay coil, which the artist later glazed shiny black.

NICE WORK SIXTH GRADERS!!!

I wrote how to roll and cut the fish here and here. More glazing examples here. More examples next week!

Laurel Burch Complementary Color Cats

complementary color laurel burch cats

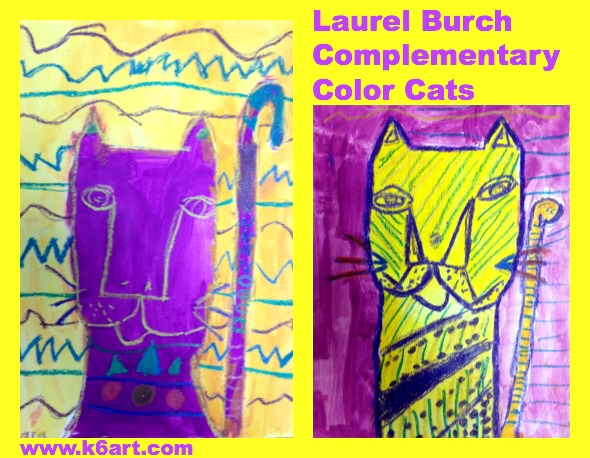
This Laurel Burch-inspired cat art project covers complementary colors, pattern and negative space. Tempera cakes and construction paper crayons are all you need for this project – quick, easy and neat!

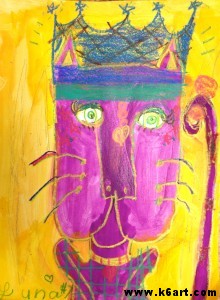
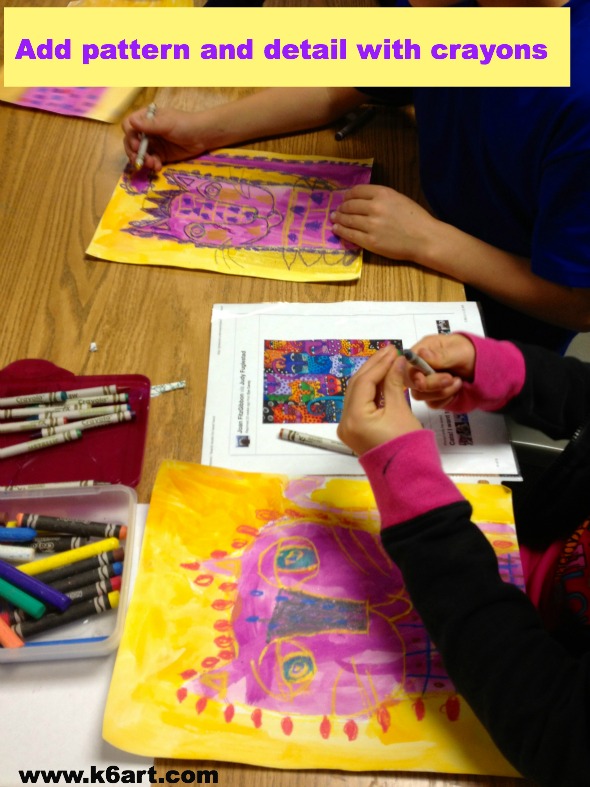
Second graders learn about the complementary colors, then draw and paint a cat in the style of Laurel Burch. When dry, they add pattern and detail with a variety of crayons. Allow two 40-minute classes.

Second graders learn about the complementary colors, then draw and paint a cat in the style of Laurel Burch. Allow two 40-minute classes.

Meet Laurel Burch

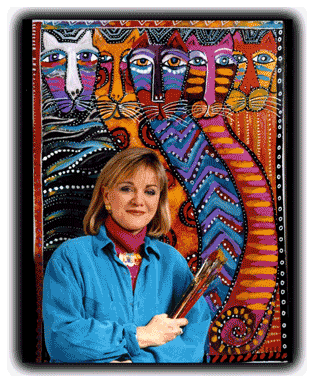
Laurel Burch. Photo source: laurelburch.com

Laurel Burch. Photo source:

Laurel Burch was a self-taught  jewelry designer and painter. She was extremely successful despite serious illness. The Laurel Burch website has every resource you could want, including a great biography video and ‘fantastic feline’ slide show. We took a close look at the cat illustrations, and noticed the simple shapes, lines and patterns.

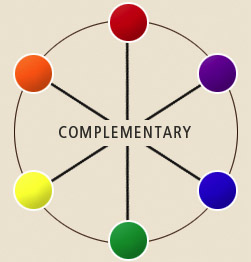
complementary color wheel

The Complementary Colors

I displayed the color wheel and we discussed the complementary colors (see this post). The complementary colors are directly across from each other on the color wheel.

There are three complement pairs: red/green; purple/yellow; and orange/blue. When two complements are displayed together, the colors contrast and ‘pop’.


The Art Project

Materials:

  • white sulphite drawing paper, 9″ x 12″ (or other white paper strong enough for painting)
  • primary and secondary color tempera cakes
  • brushes
  • water
  • examples of Laurel Burch cat illustrations
  • construction paper crayons
  • optional: metallic crayons

(note: this post contains compensated affiliate links)

Day 1: Draw and Paint the Cat

  1. Choose a complementary color pair.
  2. Draw the cat using a single construction paper crayon.
  3. Add eyes and other facial features, but do not add pattern or other detail.
  4. Paint the inside of the cat one of the complementary colors.
  5. Paint the negative space (background) in the other complementary color.
  6. Let dry.

Day 2: Decorate the Cat

  1. Hand out examples of Laurel Burch cat illustrations and construction paper crayons.
  2. Look at the patterns and other details on the cats and in the negative space (background).
  3. Do a quick review of the complementary colors.  Ask “What color is your cat? Find a crayon that is a complement of the cat color”.
  4. Retrace the cat’s original lines with that crayon.
  5. Use all the colors of construction paper crayons to color in the eyes, add designs and patterns. .
  6. Optional: add a little sparkle with metallic crayons.

color Laurel Burch paintings with crayons

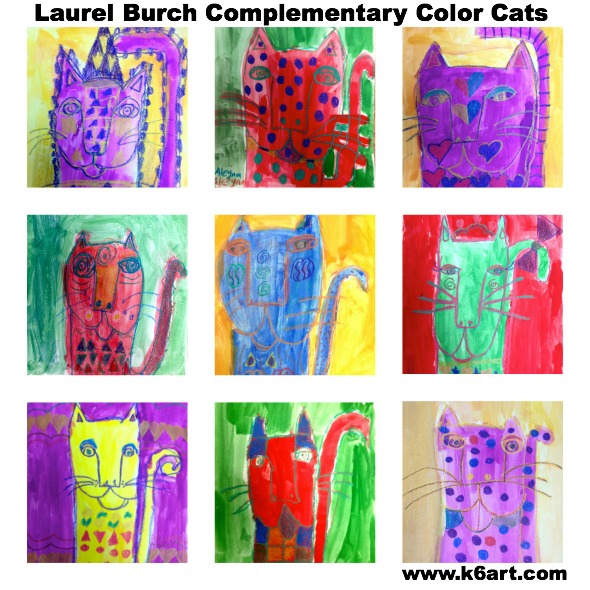
 Second Grade Results:

Laurel Burch Complementary Color Cats gallery

I just love the way the complementary colors pop against each other. I also love how the opaque construction paper crayons pop atop the tempera paint!

I used tempera cakes and construction paper crayons because they were quick to set up and clean up. You could easily substitute regular tempera and oil pastels, or watercolor and regular crayons.

No matter what materials you use, this is a fun and successful project your students will really like.


Enjoy!


Human Color Wheel Helps Teach Complementary Colors

complementary color clothes


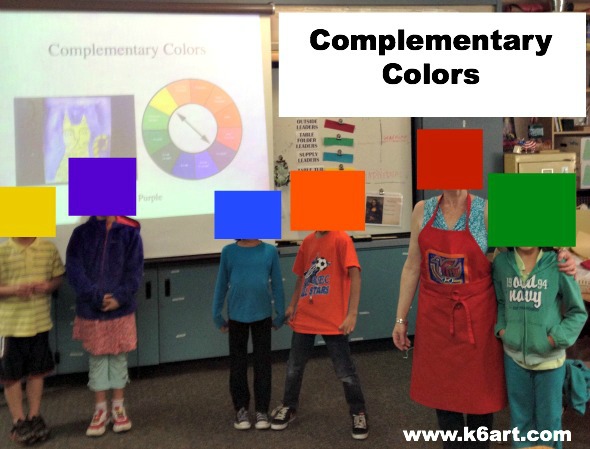
We learn about the complementary colors in second grade. This year I noticed a lot of my students were wearing solid color clothing in the primary and secondary colors. I had the kids pose with their complementary color partner. This was a lot of fun, and a great kinestetic learning aid. Just think – they could arrange themselves into cool and warm color groups, analogous, etc. Wouldn’t that be fun to do outside on a beautiful day?

Enjoy!

Do you incorporate movement into your lessons?

Related Posts Plugin for WordPress, Blogger...