Tie Dye Snowflakes

tie dye snowflake collage 3

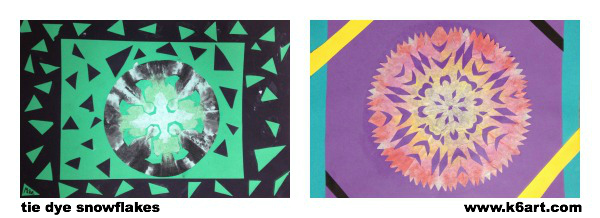
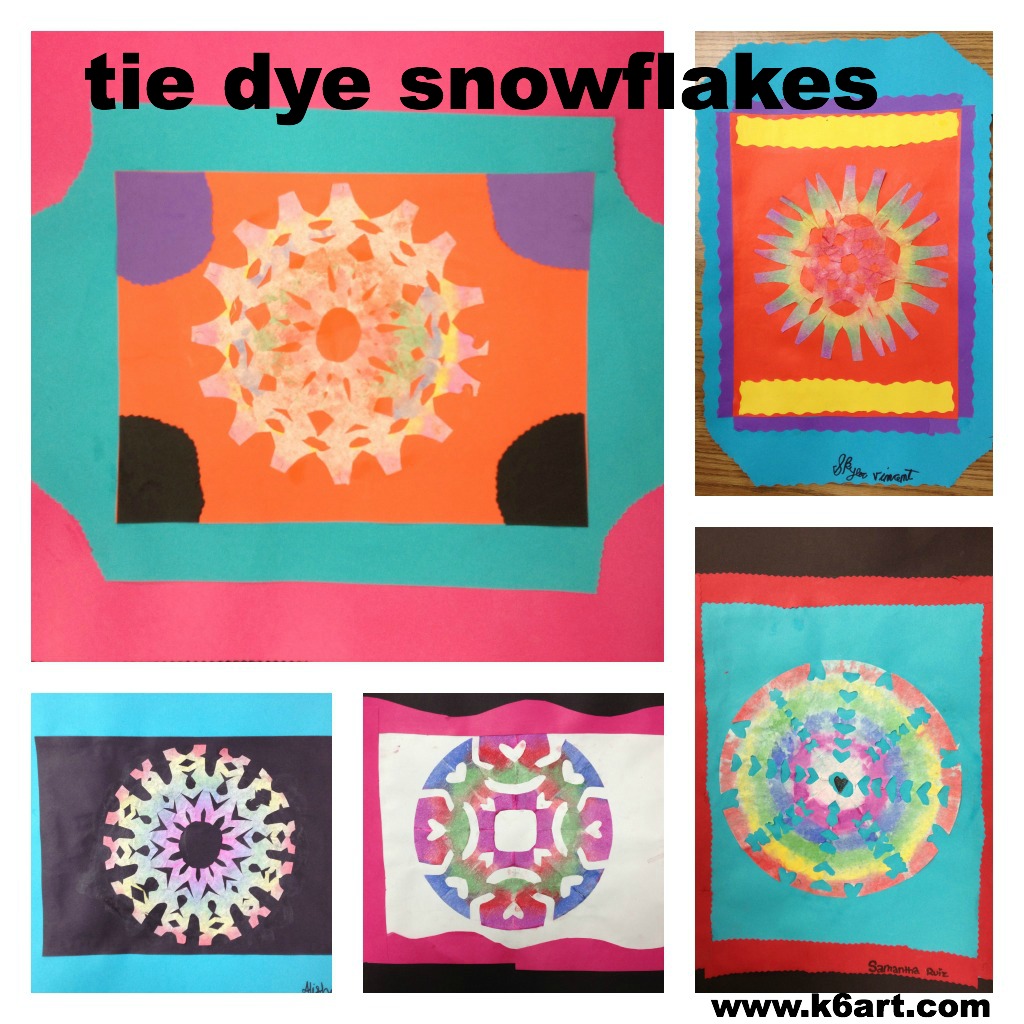
Give your snowflake project a colorful twist – ‘tie dye’ them! Sixth grade just finished their tie dye snowflake collages, made with coffee filters and painted with tempera cakes. This lesson was inspired by this post at A Faithful Attempt blog.
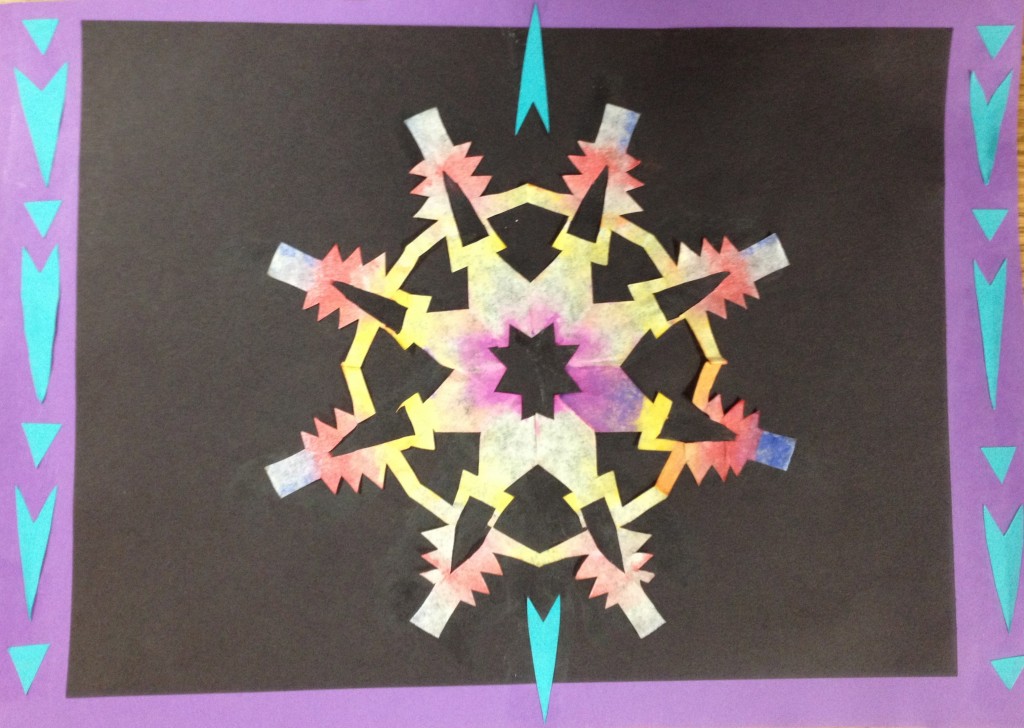
Sixth graders cut and paint coffee filter snowflakes, then use them in a collage. Allow two 40-minute classes.

Sixth graders cut and paint coffee filter snowflakes, then use them in a collage. Allow two 40-minute classes.

Day 1:

We began by viewing all the excellent student examples on the Faithful Attempt blog. Next, we folded our coffee filter rounds and cut our snowflakes using this method. NOTE: DO NOT OPEN THE PAPERS AT THIS TIME! Students painted their folded snowflakes with tempera cakes, then clipped on a numbered clothespin.

Students were allowed to make multiple snowflakes, so long as the folded flakes could fit stacked up in a single clothespin. One student was able to fit three painted snowflakes in a single clothespin. I let the papers dry on a sheet of cardboard.
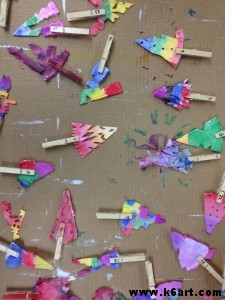
Label each snowflake with a numbered clothespin.

Label each snowflake with a numbered clothespin. If you have multiple classes, use a different colored number for each class.

Day 2:

The sixth graders carefully opened their papers. THEY LOVED THE RESULTS! They mounted the snowflakes on construction paper using glue stick (tip – glue down the center first and carefully work your way out to the edges).

I was going to stop the project at that point, when someone asked me if she could double-mat their work. Then someone asked me if he could make a decorative border. I pulled out the ‘fancy’ scissors and the scrap paper bin, and gave them free rein. Our snowflake project turned into a collage project!

Sixth grade results:

tie dye snowflake collage 1tie dye snowflake collage 2

For more cool snowflake ideas, check out my previous post: Cut Paper Snowflakes Designed on an iPad.

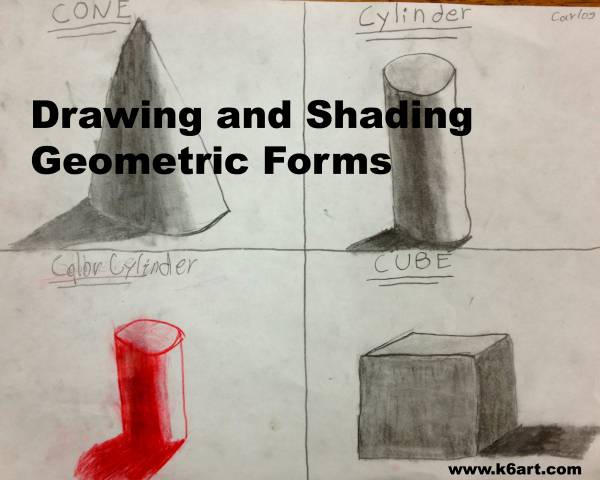
Drawing and Shading Geometric Forms

drawing and shading geometric forms

I have always wanted to teach students how to draw and shade spheres, cubes and other forms, but I lacked confidence. Then I found two great worksheets via Pinterest that made the lesson really successful.

Any shading lesson has to begin with a discussion of value. We looked at some black and white photographs and noticed the variety of grays, from very light to almost black.

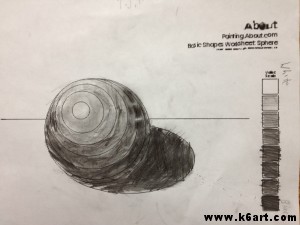
I gave each student a photocopy of a completed value scale and this handy value worksheet at About.com


11_step_value_scale

The sixth graders did part one – filling in the value scale on the right of the worksheet.

Next, we took a close look at a real sphere (in our case, a red rubber playground ball). I turned off the overhead lights and focused a single light source on our red rubber ball. We identified highlights and cast shadows, and saw how shadows gradually got lighter further out from the object.

Now the students did part two of the worksheet – roughly shading the sphere to match their new value scales.


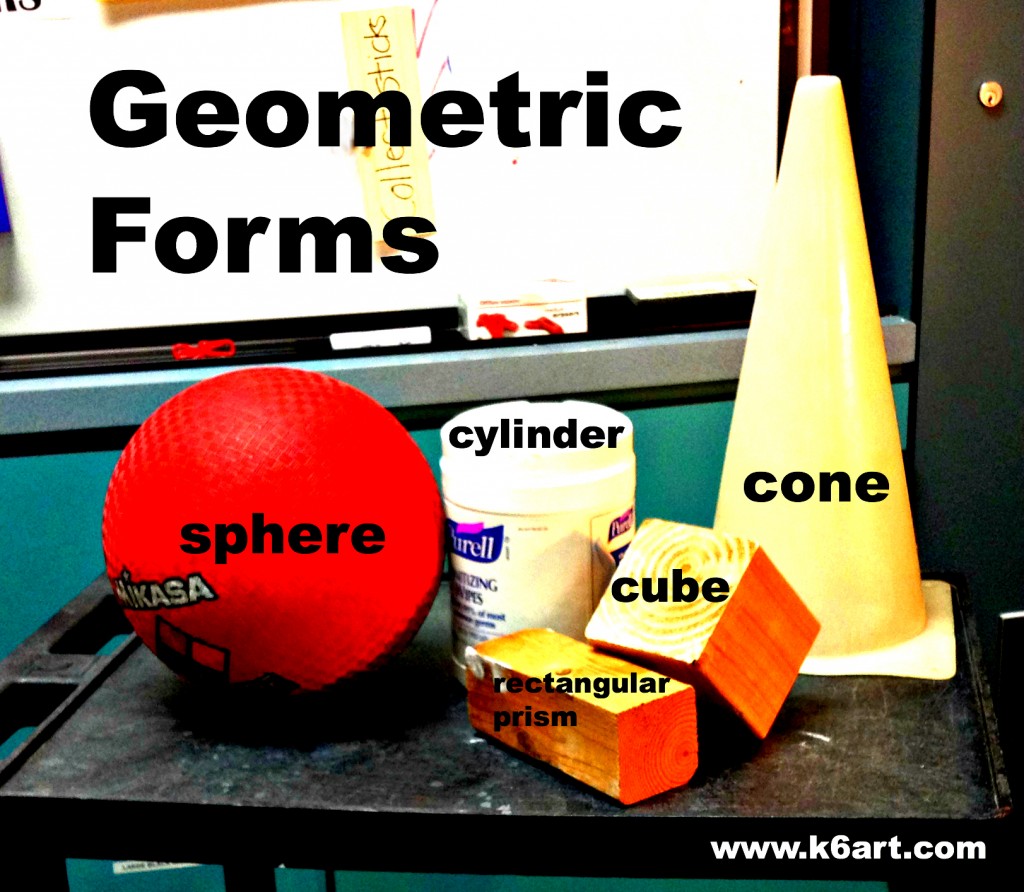
Next class, we looked at a variety of geometric forms.

geometric forms


The best thing I ever found on Pinterest may be this tutorial from Shawna Tenney at Imagine Art! I made a copy for each student.

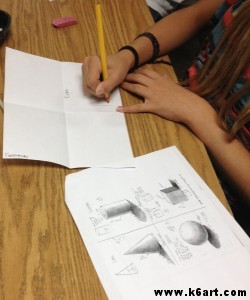
One by one, I lit each form with a desk lamp. We looked at highlights, cast shadows, and other light and dark areas. Then we drew the forms according to the tutorial.

This drawing tutorial worksheet really helped!

This drawing tutorial worksheet really helped!

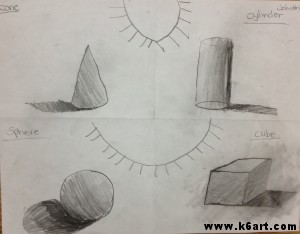
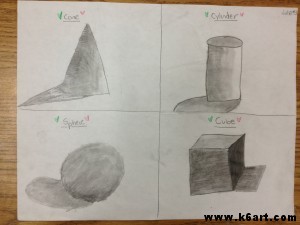
Students used paper stumps to blend the graphite into a smooth gradient. They loved the stumps!

drawing and shading forms


drawing and shading forms

drawing and shading geometric forms

Early finishers had the option of drawing one or more of the forms using colored pencil.

Very successful! Great job sixth graders! And thanks again, Pinterest!

 How do you teach value and shading?


Observational Drawing with Sixth Grade

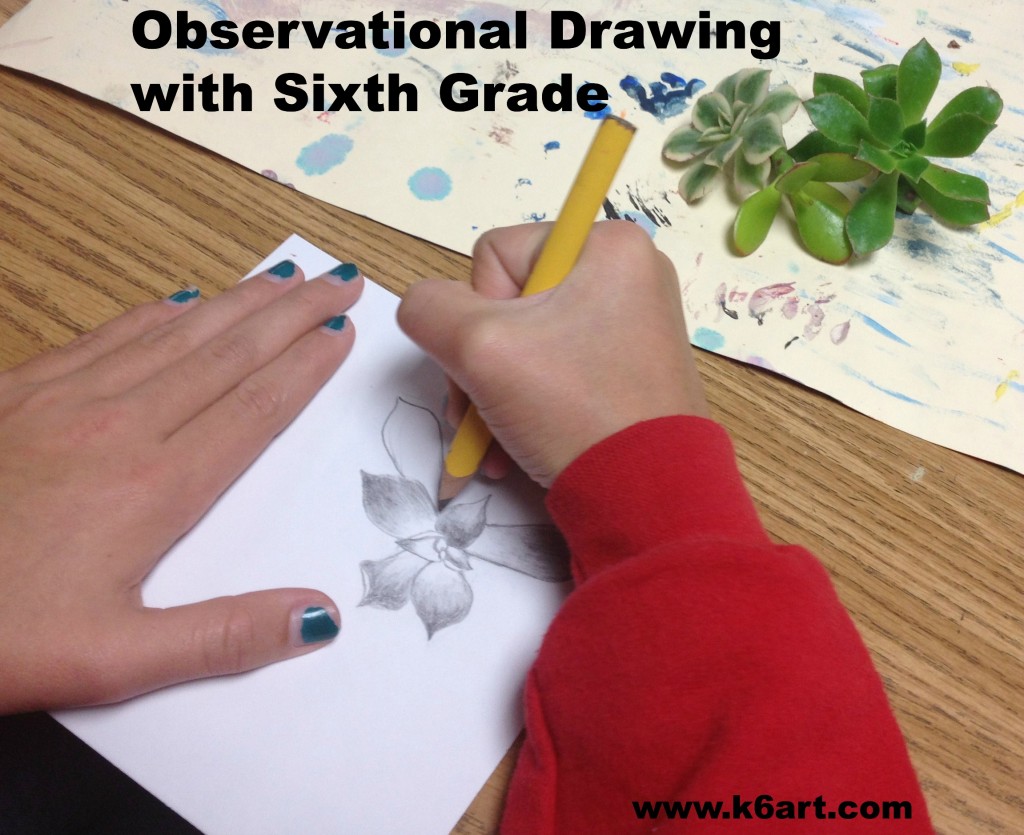
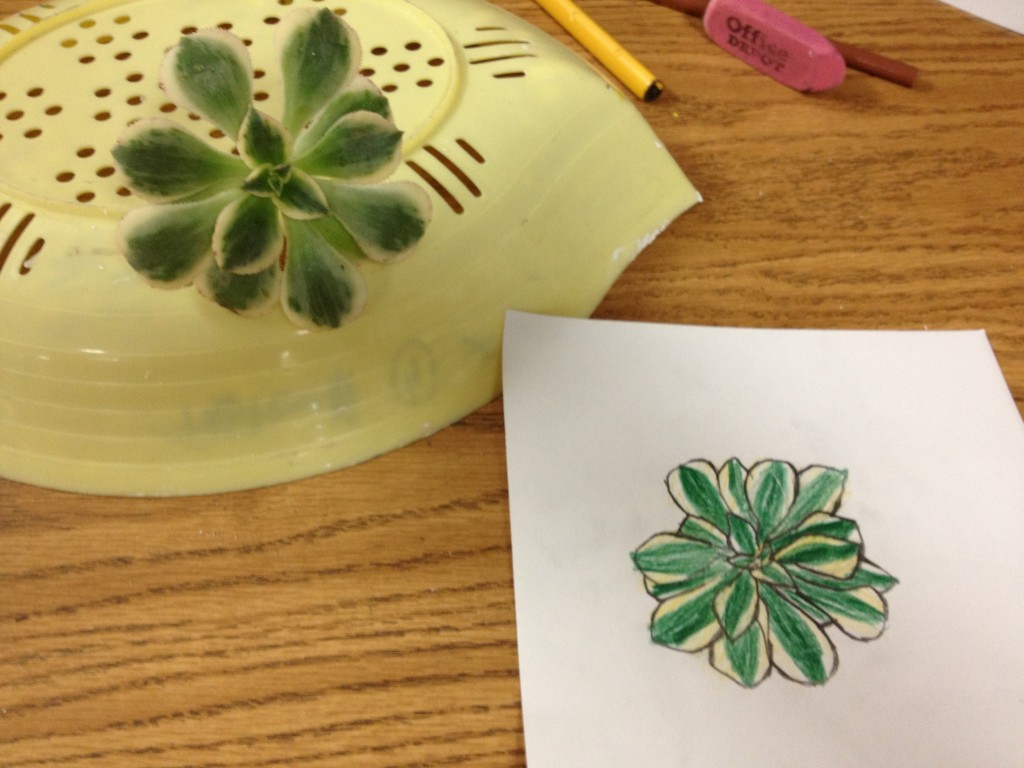
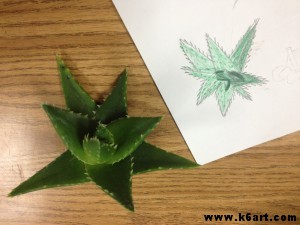
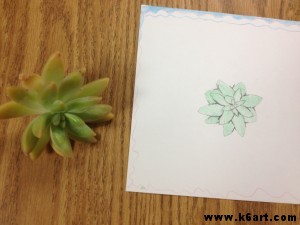
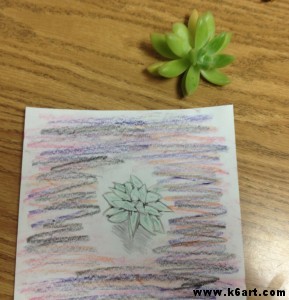
Sixth graders drew succulent plants from observation. I emphasized drawing what they observed, not drawing from imagination or what they think the plant should look like. They should focus on shape.

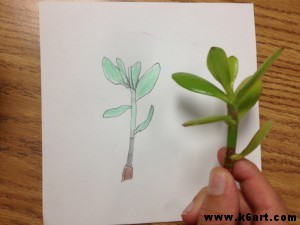
Sixth graders made observational drawings of fresh cut succulents.

They used pencil and colored pencil on 6″x6″ squares of white paper.

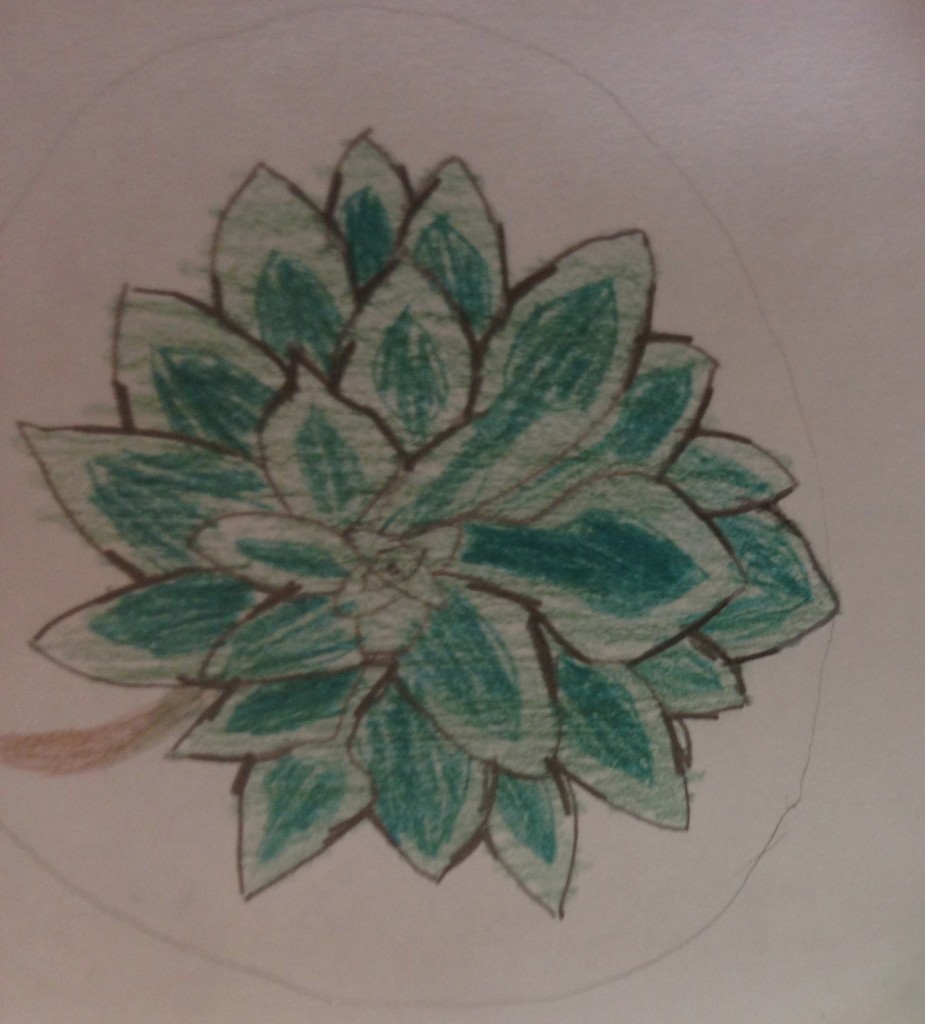
After the students had a basic drawing, I asked them to look at the areas where the leaves overlapped. Each overlap creates the letter ‘Y’. I asked them to darken all the ‘Ys’, and then taper the pencil lines.

Darken the ‘Ys’ formed where the leaves overlap.

It was quiet in the art room as the sixth graders concentrated on their drawings. Most students enjoyed this activity, some loved it, and no one complained.

Earlier this fall we studied value and drawing and shading forms (thank you Pinterest!)  and I am happy to say that these exercises have increased student confidence: several students who have stated they ‘can’t draw’ are now turning out drawings with pride.

This is one of those times I wish I had more than 40 minutes a week to teach each class. I would love to start every class with a quick observational draw.

Regarding our plant cuttings:

We have many varieties of fleshy-leaved succulents here in Southern California. Succulents are similar to cactus, but do not have needles. Succulent cuttings are great for observational drawing: the cuttings do not need water and do not wilt. In fact, if your students do not pull off the leaves they will look great in a week, without any water or soil!

Succulents are super-easy to grow from cuttings. After class, I poked all the cuttings into the ground. They root in about three weeks.

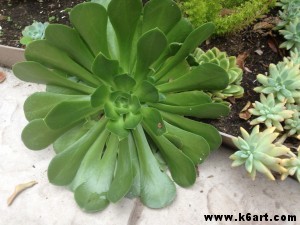
All the succulents were fresh cut the day of class from our school garden and my  San Diego backyard.

Succulents in my San Diego backyard.


Snowmen Snapshots

snowmen snapshots


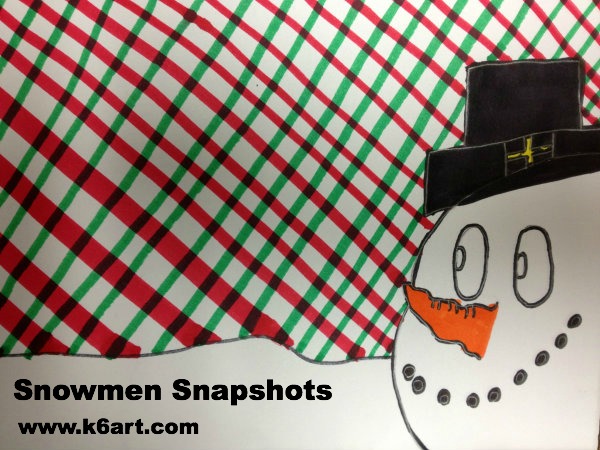
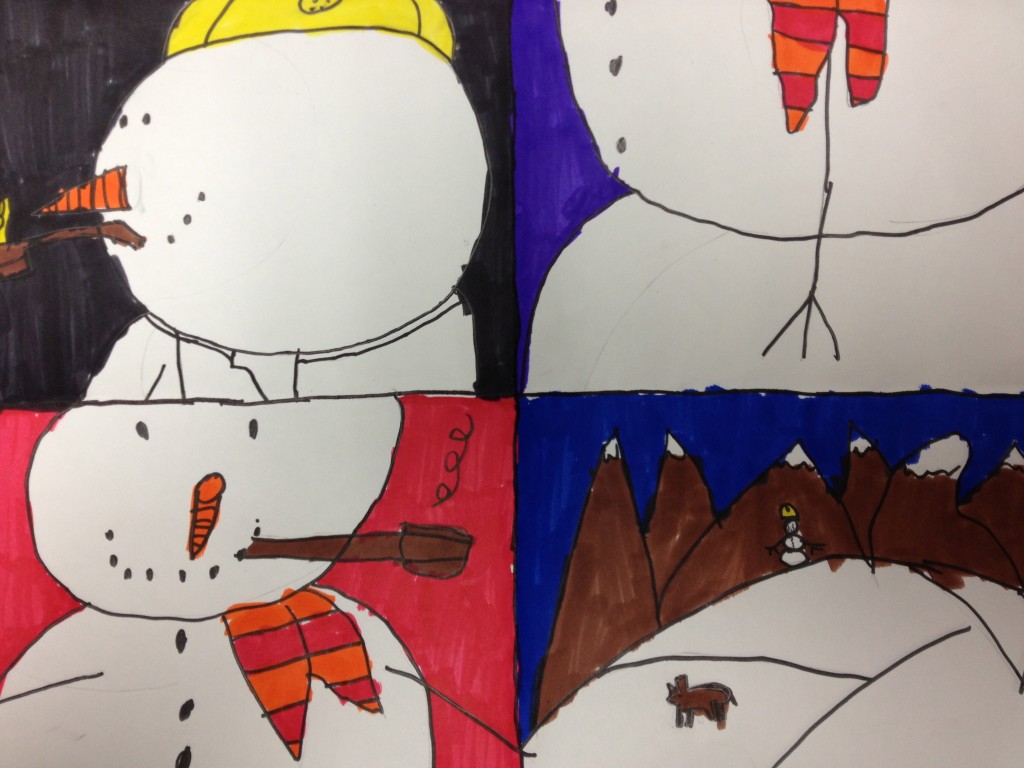
Third grade just finished their snowmen ‘snapshots’. I found this great lesson at Mrs. Knight’s Smartest Artists.

snowmen

Third graders drew snowmen from four different points-of-view. Allow three 40-minutes classes.

Materials:

  • sketch paper
  • pencils and erasers
  • white construction paper, 12″x18″
  • Sharpie
  • viewfinders
  • colored markers, thin-tip and chisel-tip

Day 1:

We looked at all the student examples at Mrs. Knights’ blog. Students learned some new photography vocabulary to describe point-of-view:

  • zoom in/close up
  • zoom out
  • profile/side view
  • 3/4 view
  • viewfinder
  • crop

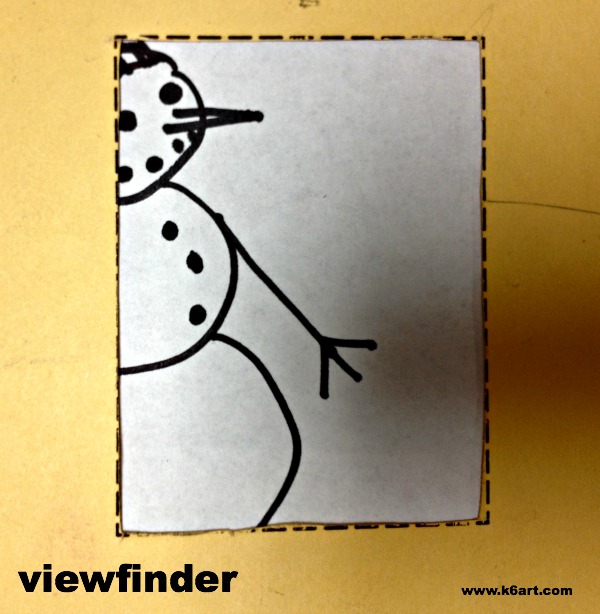
The third graders sketched their snowmen in all the points-of-view on a sheet of copy paper. Then they moved their viewfinders over the snowmen drawings to crop the picture.

snowman viewfinder

Days 2-3:

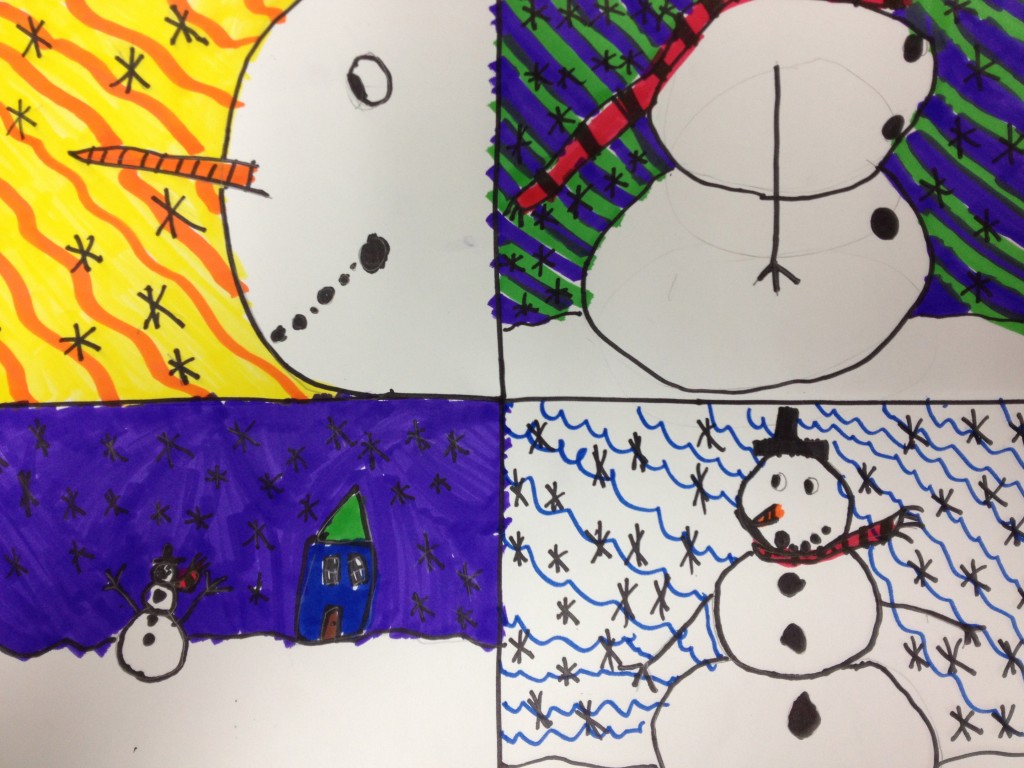
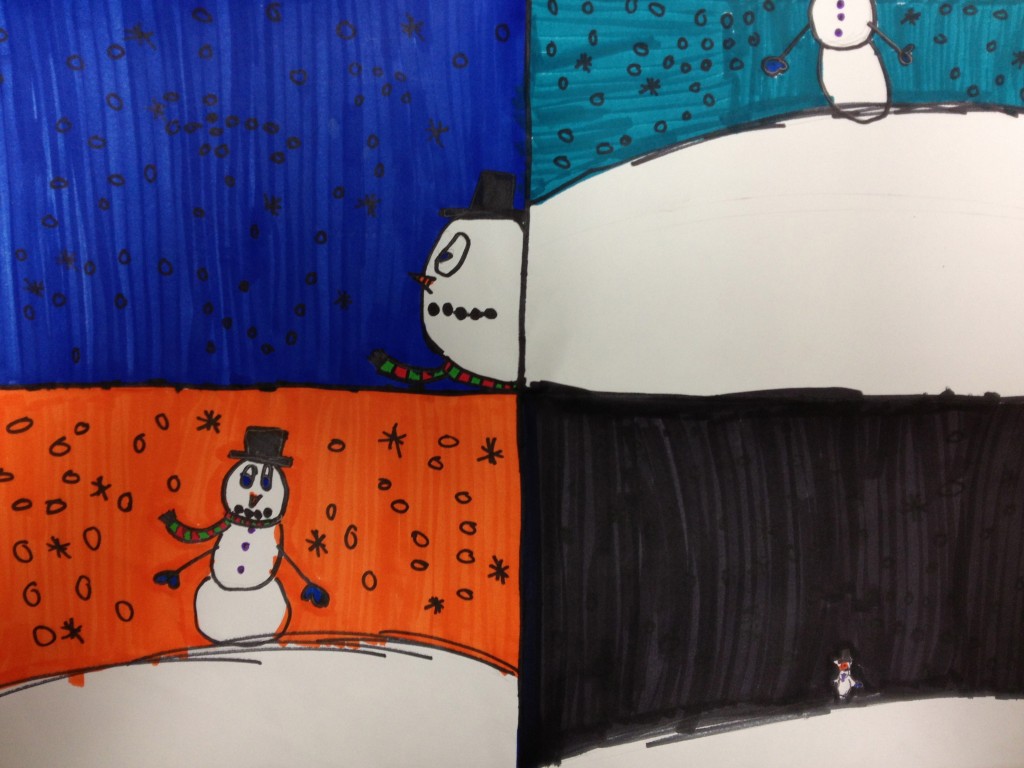
Students folded their white construction paper into quarters. Using pencil, they drew the snowmen from four different points-of-view, one in each quarter. They went over their lines with Sharpie, then erased.

Students had to pick a unique color  (or pattern) for each section. I modeled coloring with the markers, and emphasized neatness. This was a ‘no spaghetti’ (no scribbling) project. Some kids still need the reminder!

Third grade results:

snowmen snapshot

snowmen snapshots


This was a very successful project. I heard a couple of kids say they thought it was the best art project they ever did. Please check out Mrs. Knight’s fabulous post – her student examples are great.


Journey Through the City: Interactive Sculpture

Journey Through the City Interactive Sculpture

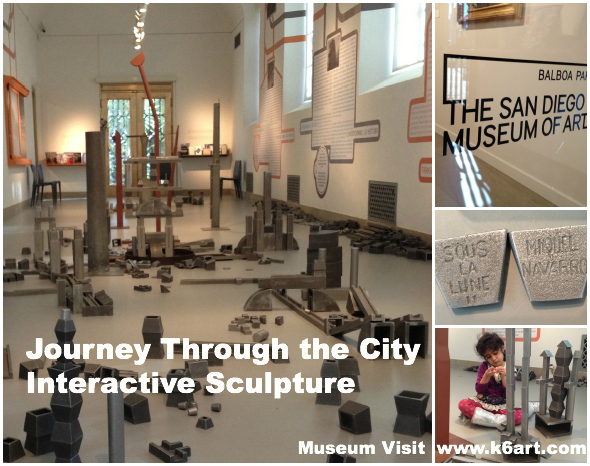
It’s winter break here in San Diego, and I celebrated with a trip to the San Diego Museum of Art. I enjoyed a FABULOUS, fun, free exhibit that will definitely appeal to children: Beneath the Moon II: Journey through the City by Miquel Navarro. It is an interactive sculpture/game/artwork made of 1000+ pieces of cast metal, ready to be assembled by visitors of all ages.

Navarro created this artwork in 1994 for the Pompidou Centre in Paris. Since then, it has toured the world, delighting children in Europe, Asia and Mexico. Here is a video of French school children enjoying Beneath the Moon.


Discussion:

What can you do in the art room to tie into Beneath the Moon II: Journey Through the City? You may want to start with a discussion. What is a city? What do we see in the city? We might see houses, factories, roads, trains, freeways, rivers, bridges or skyscrapers. Swimming pools and skate parks! Do cities stay the same forever or do they change?

Lesson Ideas:

If you visit:

The exhibit is open during regular Museum hours through April 30, 2013. There is no charge for this special exhibition, located in the new Welcome Gallery on the first floor. For docent-led school tours and group visits, click here.

The San Diego Museum of Art is located in beautiful Balboa Park, home to 15 major museums, the world-famous San Diego Zoo, theaters, gardens and much more.

A final tip: allot some time….YOUR KID WON’T WANT TO LEAVE!!!


NOTE TO SAN DIEGO COUNTY TEACHERS/ART TEACHERS, K-12

Would you like to see your students’ artworks exhibited at the San Diego Museum of Art? Young Art, the Museum’s exhibition of local student art, opens April 13, 2013.  The theme is ‘The Story of Me’. This is a juried exhibition.  Click here for more information. The deadline for submission is February 9, 2013.

Related Posts Plugin for WordPress, Blogger...