Art Room Opening Day Photos

First day of art.


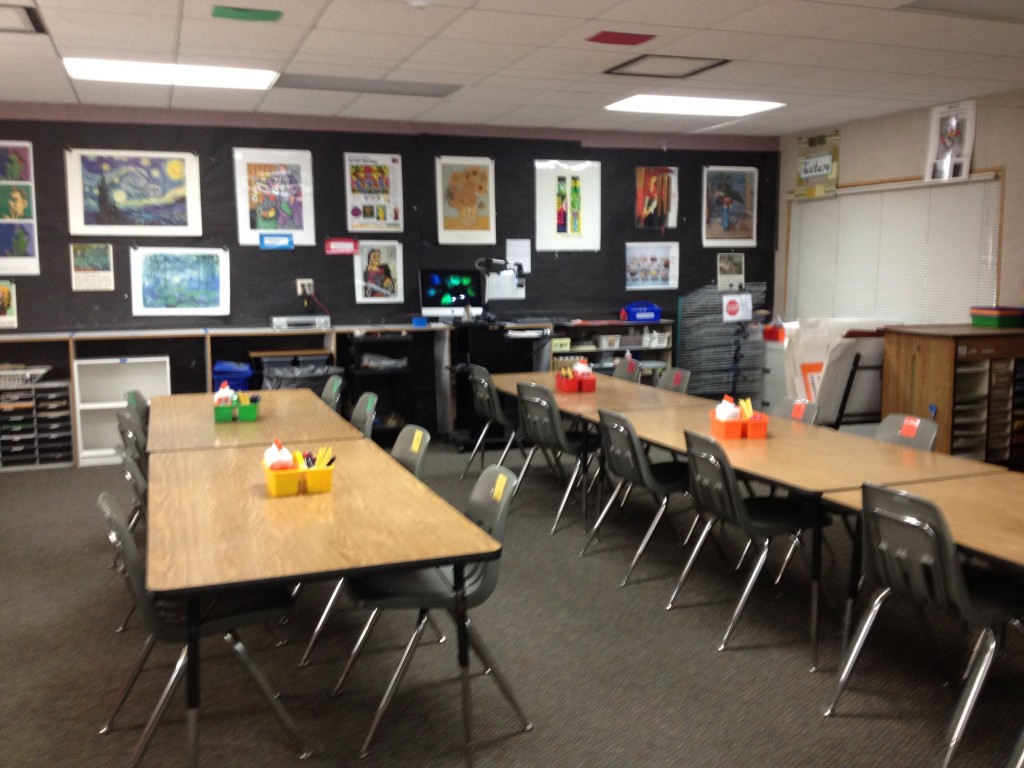
Welcome to a new year in the art room. This year my room looks completely different, from layout to bulletin boards to organization, thanks to all my fellow art teacher bloggers and my dear friend Pinterest.

Now every table, supply bucket, and chair is colored coded.  Chairs are numbered as well (more art room organization photos on this post).
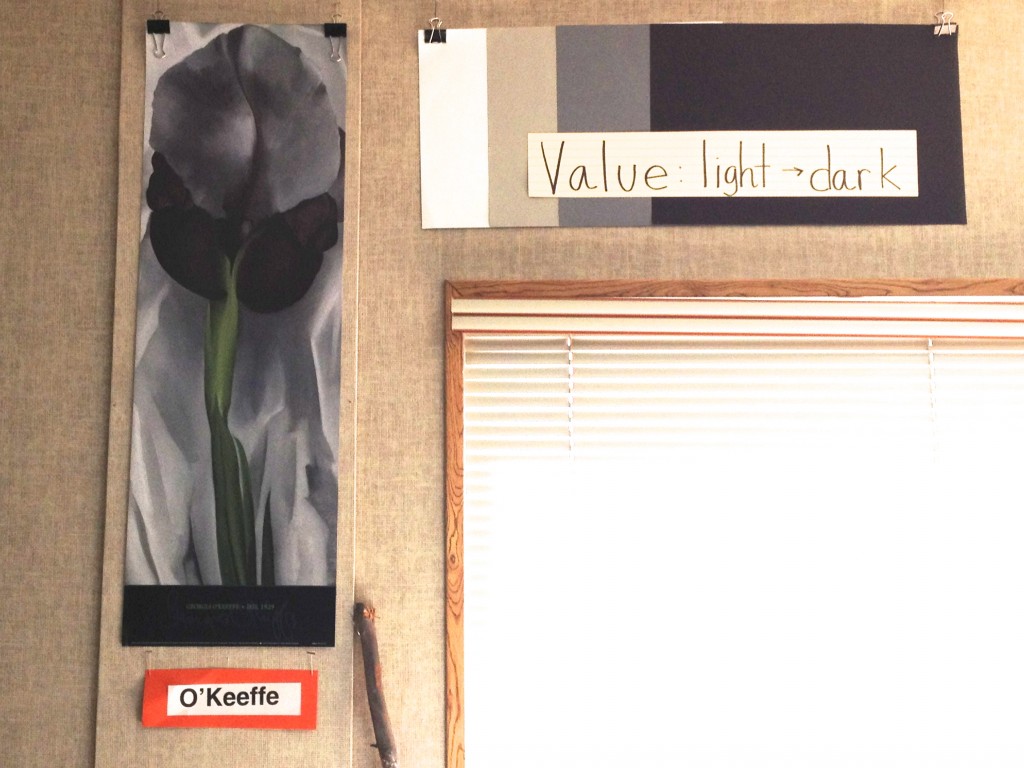
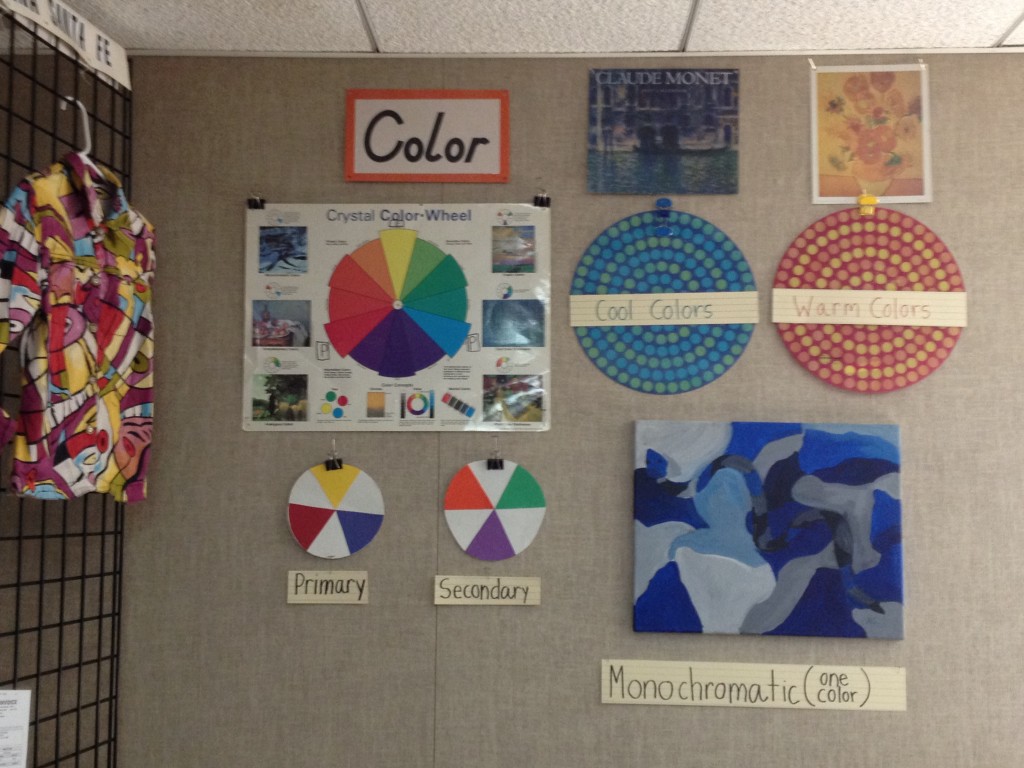
My value poster is made from construction paper in black, white and gray shades. Luckily, I had an O’Keeffe that matched!

Thanks to my colleague Nancy R. for the value poster idea.

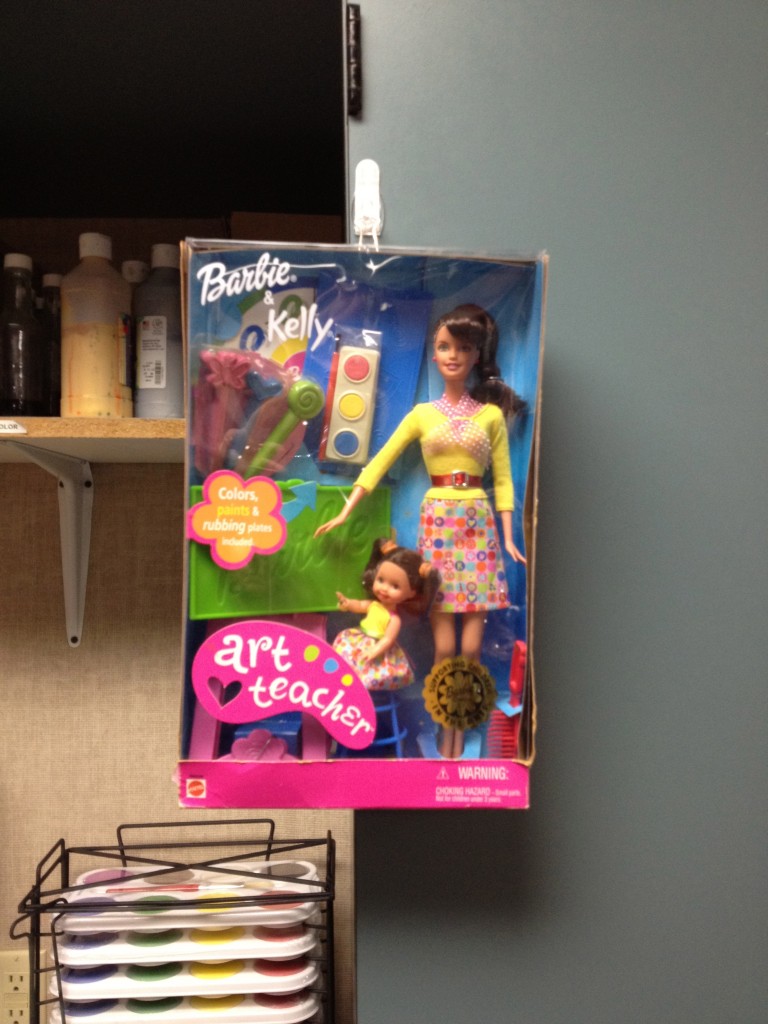
Art Teacher Barbie again reigns supreme over the art room.

Every year I tell my students my dad banned Barbie dolls from our house. He felt his three daughters would turn into ‘clothes horses’ if Barbies made it through the door. So Art Teacher Barbie is my very first Barbie doll. She called my name from the toy department at Wal-Mart my first year teaching, and since then we have never been apart.

p.s. In the background you can see my new tempera cake rack (from Blick or Amazon). Hoping that will seriously reduce my clean up time.

Best wishes for a successful school year! May your kiln never explode, and may your messes be manageable.

Rina

Peek Inside The Art Room

Art classes start Monday and I just put the finishing touches on my art room. I love all the art room photos everyone is putting online. Here are a few shots from room 13!

Organizing samples:

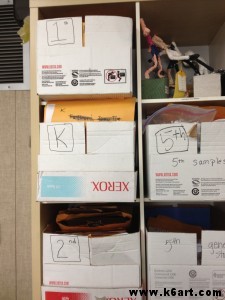
I don’t use my filing cabinet for all my sample art projects. I store samples in boxes, one per grade level. The boxes fit perfectly in my cubbies.

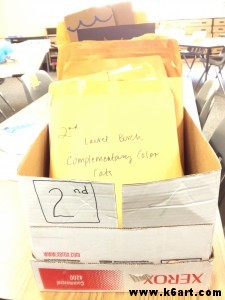
Within each box, I store samples in individual manilla envelopes (I got this idea from Deep Space Sparkle).

Although I label everything, I do not have sets of beautiful full-color labels. I don’t have plastic tubs for everything (yet) – I am reusing old copy paper boxes and used manila envelopes.

Storing bulky work in progress:

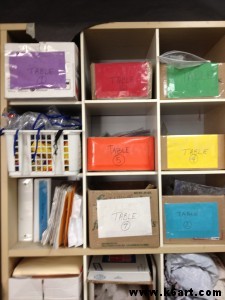
Our weavings and sculptures in progress are just too bulky for table folders and flat files. Projects are stored individually in labeled gallon size Ziploc bags, clipped together by table and stored in a color-coded table box.

Color-coded table boxes store bulky projects in progress.

Organizing student work:

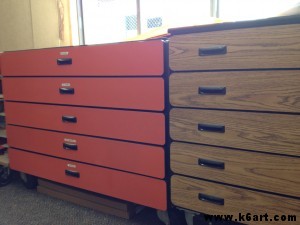
I have a ‘roly polies’ with one (labeled) flat drawer per class. They hold ALL the 2-D student art all school year until our spring art show. I store big boxes of watercolor paper underneath. I use the top of the cabinets as a place to dry our plaster masks and plaster sculptures.

We store student portfolios in the flat files. The are labeled with the name, grade, teacher. The student’s first initial goes in the upper right corner. This helps me find portfolios quickly.

Decorating cabinets:

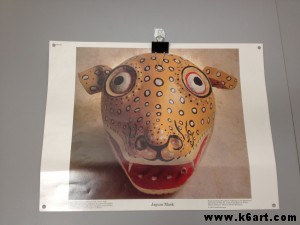
Do you want to hang art on your slick laminate cabinets? I use a system of medium clear Command hooks and binder clips. It is really easy to change out art.

Tiny, clear Command hook and binder clip allows you to hang posters on laminate.

 Scrap paper:

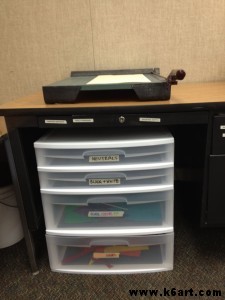
I store scrap paper under the paper cutter, sorted by color (thanks to The Art of Ed for this tip).

Scrap paper is sorted by color and stored under the paper cutter.


Encyclopedia:

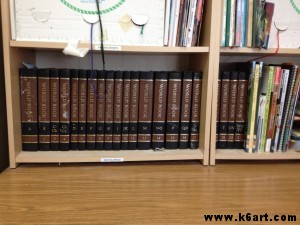
Even though my 1975 (!) childhood encyclopedia set is out of date, it has TONS of photos and illustrations perfect for reference. As a bonus, it teaches kids how to use reference books.

My childhood encyclopedia set has tons of reference photos.

More art room photos next time!

More art room organization tips on this post.

Art Room Organization Powered by Pinterest

Art classes begin in 10 days and I am on an organizational rampage in my art room. I have an art room organization board on Pinterest, and now I get to use all the art room organization tips I have been pinning all summer. I have implemented 12 so far!  Here they are:

1.organizing commonly used supplies into pencil boxes  (one per table)

2. Labeled table bins

3. Numbering and color coding all the students’ chairs from Princess Artypants blog

4. stop sign reminder for the drying rack from One Crayola Short blog

5. coating inside of glue bottle tip with vaseline to prevent clogs adapted from What the Teacher Wants blog

6. ‘who’s out’ restroom sign-out whiteboard next to the door

7. Clean-up bins, one per table

8. 3-drawer bin for organizing paper scraps by color group by The Art of Education

9. Restroom/water reminder in window from Mrs. Hansen’s Art Room blog

10. Job assignments by table group by Draw the Line At blog

11. “4S” line up poster by Katie Morris at Adventures of an Art Teacher blog

12. Paint stored above the sink via The Teaching Palette

It feels sooooo good to organize!

I’m loving Pinterest. I’ve got over 100 pins on my art room organization board so I have a long way to go, but this is going to make a huge difference.  Thanks to all the art teachers who put their tips online!

Are you on Pinterest? How has it helped you at work?

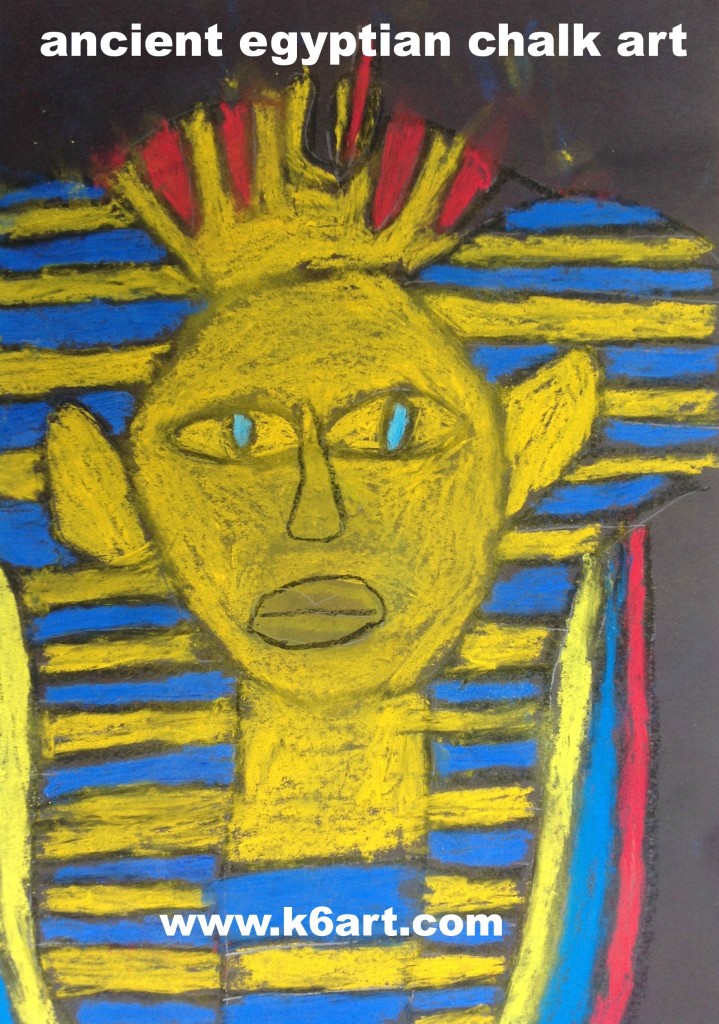
Ancient Egypt Chalk Art for Sixth Grade (and Pinterest bonus!)


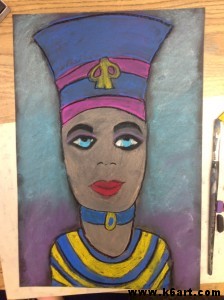
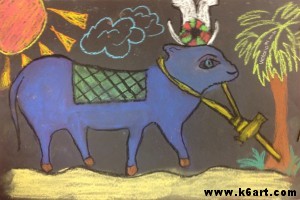
Do you study ancient Egypt at your school? Here is a colorful, successful art project inspired by the art of ancient Egypt.

Materials:

  • black construction paper, 12″x18″
  • pencils with eraser tip
  • chalk pastels
  • black oil pastel
  • reference photos
  • hairspray or other fixative
  • newspaper to cover tables

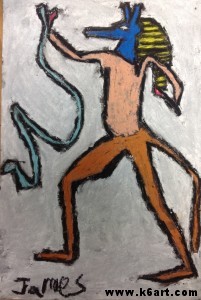
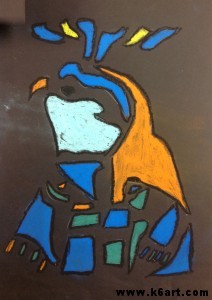
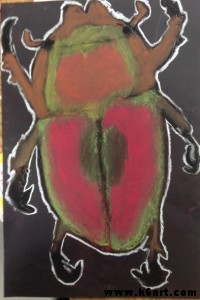
We looked at images from King Tut’s tomb, old issues of National Geographic magazine (I think they cover Egypt every year!), and reviewed images of the Egyptian gods.

Students were instructed to select a subject and draw it on the black paper. Encourage students to 1) draw  LARGE (fill the sheet) and 2) don’t add too many tiny details.

I model drawing with an eraser: draw layout lines on the black paper only using the eraser.  If you mess up, just wipe away the rubbings and try again.

After students draw with pencil, they should go over their pencil lines with black oil pastel. Color in the portraits with chalk pastel. As a final step, retrace the oil pastel lines a second time.

Spray with hairspray or other fixative to prevent smearing (note: this will dull colors somewhat).


This art project is adapted from the Arts Attack curriculum. In addition to my reference photos and the Arts Attack drawing aids, I offered three step-by-step handouts from the library book How to Draw Egypt’s Sights and Symbols (ISBN 978-0823966820).

Pinterest bonus: here are some ancient Egyptian pins that I have collected for next year:

You can’t go wrong! Kids LOVE ancient Egypt. Enjoy!

Andy Goldsworthy Art in the Garden

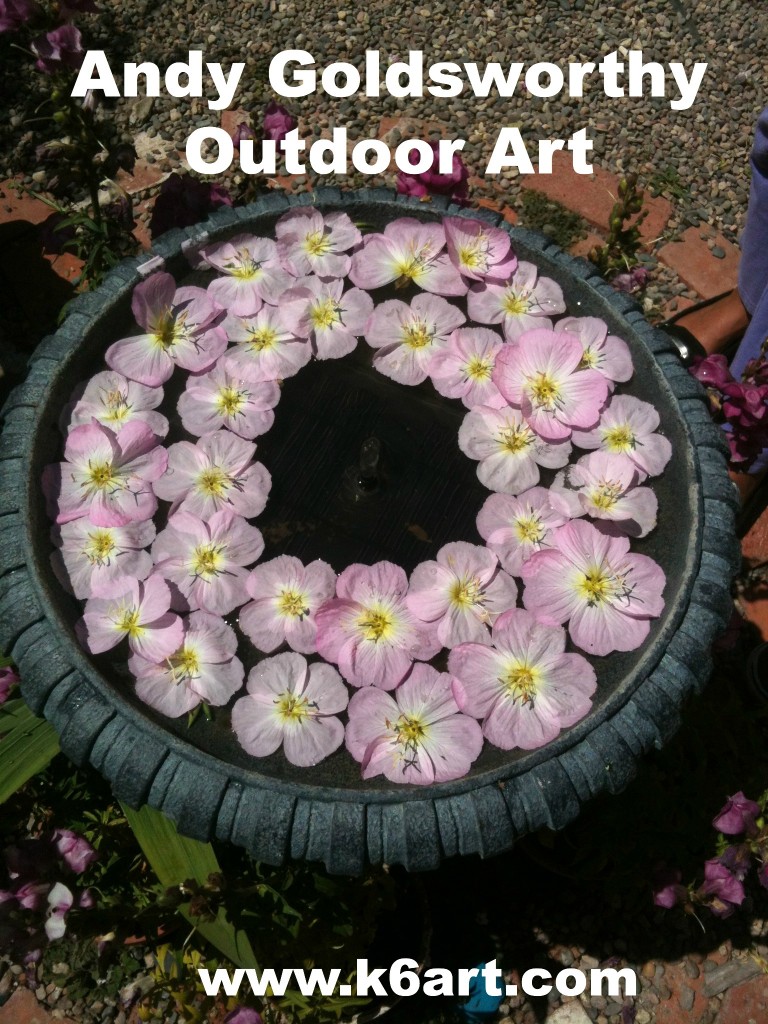
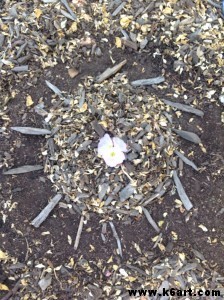
Famous artist Andy Goldsworthy is fascinating. Our 5th graders were amazed at an artist who creates  and photographs art made from gathered leaves, mud, twigs, ice or rocks.

We began by viewing brief videos of Andy Goldsworthy on YouTube.

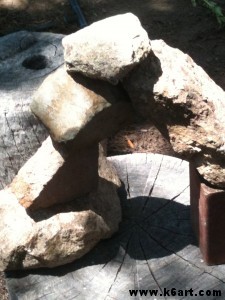
We discussed the repeating motifs in Mr. Goldsworthy’s work, including serpentine lines, spirals, and a circle with a hole in the center. We also looked at examples of stacked stone.

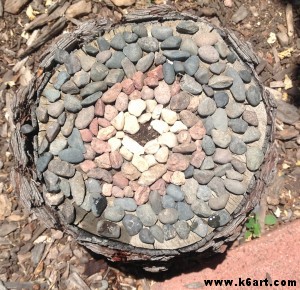
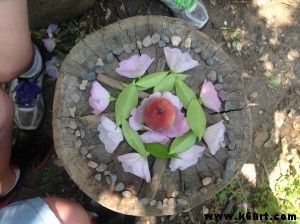
Students wend to the school garden and created temporary art works from materials found there.


A group of fifth graders worked together to make this dry-stacked rock arch.

Leaves arranged by color.

Early finishers made insect sculptures!


I took the photos initially, then turned over the camera to some early finishers who shot the rest of the photos.

Most students chose to work in pairs or groups for this project. Several said it was their favorite art project EVER! A few watched the YouTube videos again at home.

Next time you have good weather, consider an Andy Goldsworthy project.

Related Posts Plugin for WordPress, Blogger...