Calder Wire Sculpture Finale 2012

calder wire sculpture finale 2012

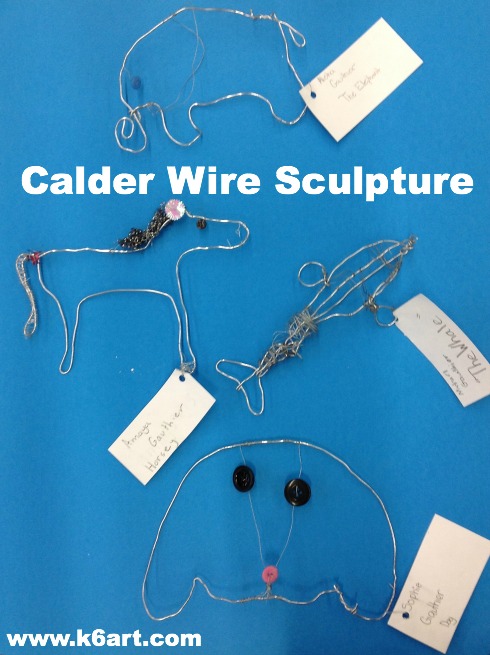
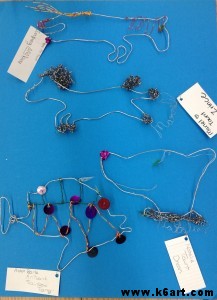
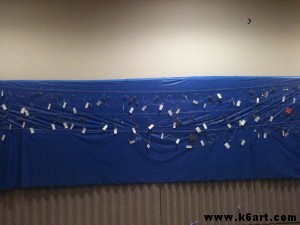
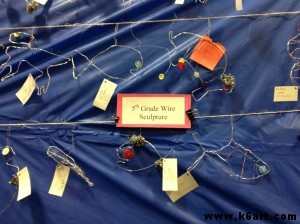
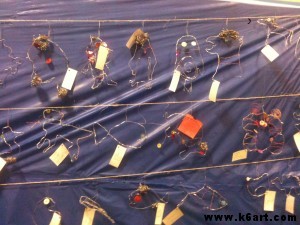
The 5th graders showed off their amazing wire sculptures at the art show last week.  We had about 70 – the biggest group to date. I want you to see some of the best examples, and how we displayed them.

Note: All our sculptures were made with 14 gauge Blick Armature and Sculpture WireClick here for project instructions.


Mariel (middle horse) and Natalie (dog) were able to sign their names in wire.

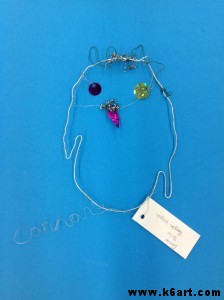
Connor was able to sign his name in wire.


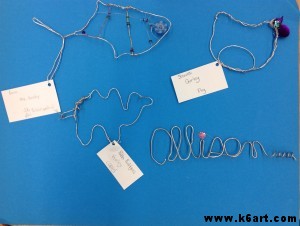
Fish, pig and camel. Early finishers made name art.

How to Display Wire Sculpture:

Our silver-colored sculptures look best against a solid, dark background. We hung blue vinyl table covering (from a roll) across a wall. We attached twine in front of the covering, and hung the sculptures using paper clips (opened to form an ‘S’ hook).

Completed wire sculpture display.

Great job fifth graders!!!

Kudos to the parent volunteers who helped out in the art room every week. We really appreciate your efforts.

Thanks to our fabulous art show chair and her husband for designing and installing this display. That was a lot of hard work!

Wire sculpture is so much fun, and it’s not messy. Learn about Alexander Calder, the famous (and fun!) artist whose work inspired this lesson. Want to know how? Check out my previous Calder wire sculpture and Calder wire portrait posts complete with PowerPoints. *NEW* Read two Calder books online for free!

Good luck!

I am an affiliate of Blick Art Materials.  I have been using Blick 14-gauge sculpture wire  for nine years and love it!

Note: post updated on 11/23/13.

Fancy ‘Gold’ Frame for Mother’s Day (or anytime)

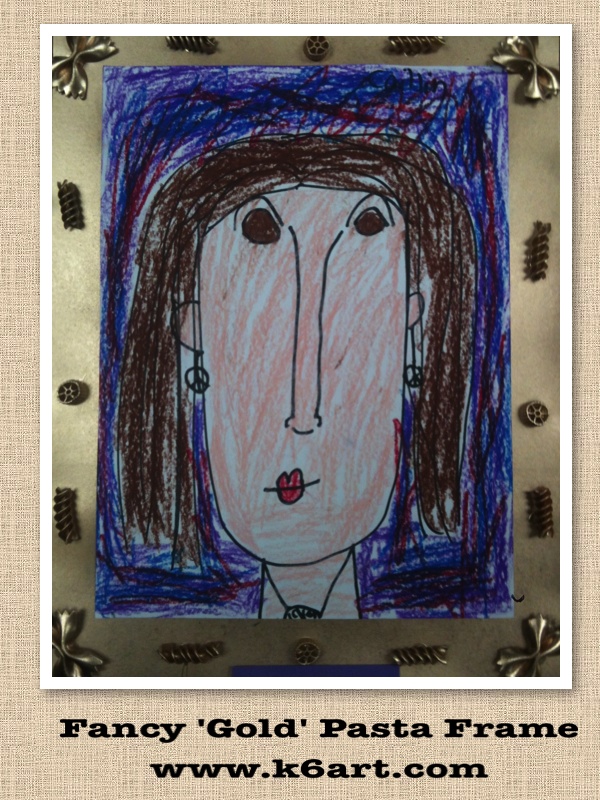
Looking for a fun and pretty Mother’s Day project for kindergarteners and first graders? First graders just put the finishing touches on their Mother’s Day project: a shiny gold frame made with pasta! Bonus for primary students: this project reinforces pattern lessons taught in the general ed. classroom. It’s two lessons in one.

20120428-081935.jpg

First graders use tag board, pasta and glue to create a picture frame. Look carefully at the pasta: can you see the A-B-C-B-A pattern?

Materials:
Tag board
White glue (Elmer’s)
Template cut to size of art you wish to frame
Dry pasta (we used four different shapes)
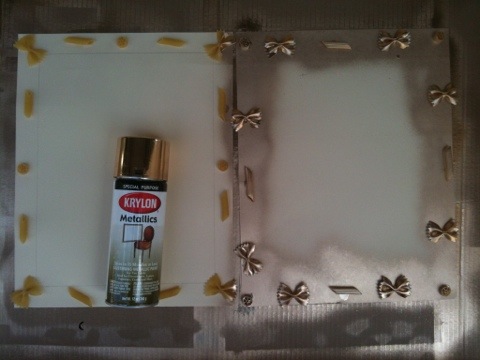
Gold spray paint

Prep:
Cut tag board to desired dimension. Center template on tag board and trace with pencil.

Lesson:
Students glue pasta on the outside edge of their tag board. Explain to students we can’t put pasta in the center of the frame because that is where the art will go.

Dry on drying rack. Be sure to dry in horizontal position ( you may even tell the kids to hold the art ‘flat’ as they carry it to the drying rack).

Option 1: create pattern with pasta. We alternated pasta to create an A-B-C-B-A pattern.

Option 2: student’s choice! So fun and unique.

Finishing the project:

Spray the pasta with gold paint. No need to paint the center of the frame. Spray outside!

Insert art and wait for the oohs and aahs!

The pasta/glue bond is quite strong, especially if you encourage kids to use a big dot of glue. In fact, the inspiration for this project came from my son’s kindergarten teacher. I have been carrying around that pasta frame holiday gift for over 10 years, and it is still intact 🙂

20120428-084436.jpg

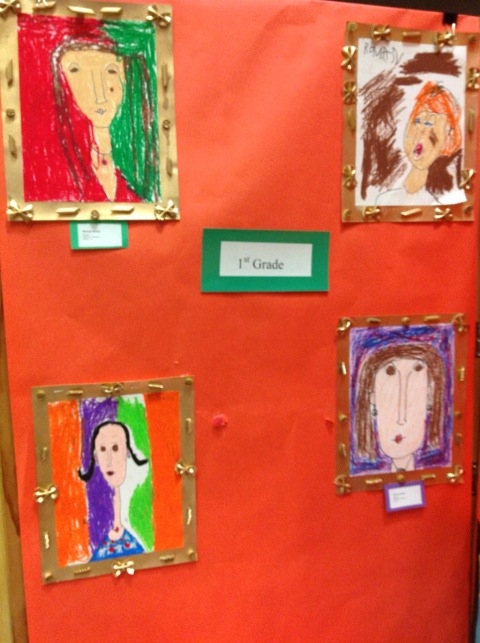
We added the Modigliani Mother’s Day portraits I wrote about in this post.

Art Show 2012

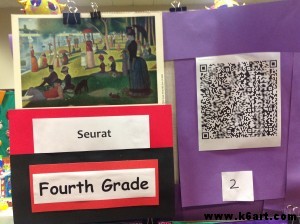
Kings of the QR code: Max and Arman, 4th graders, created all the QR codes for the 2012 art show.

Art show, 5:30-7:30 p.m. Wednesday, April 25. All day Thursday, April 26. Friday April 27, 8:30 a.m. – 10:00 a.m.


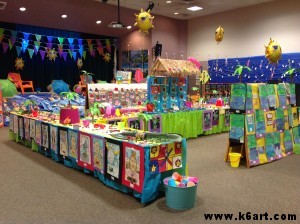
Thanks to all our fabulous artists!!!! You made such beautiful works of art this year!  Thanks also to our fabulous Art Show Chair, and all the art room, art show and student volunteers who helped make this show possible.  Thanks to the PTO for its continued support of art at our school.

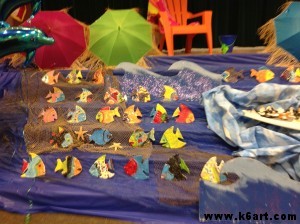
Sixth grade clay fish

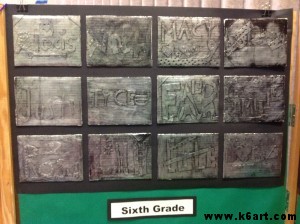
Foil name art reliefs

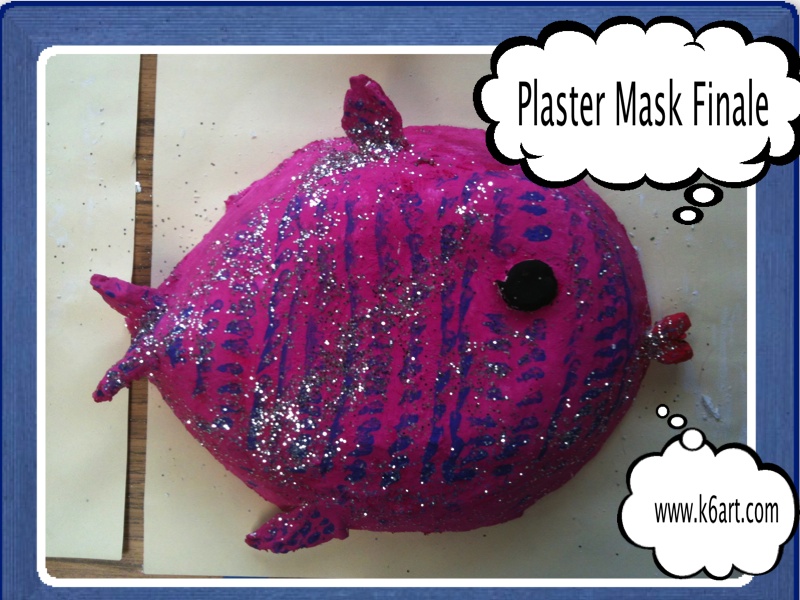
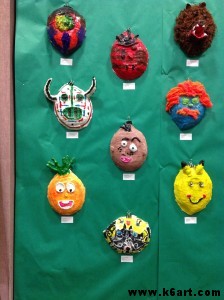
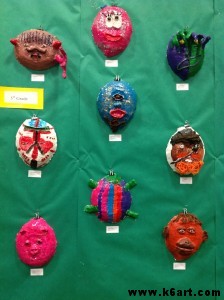
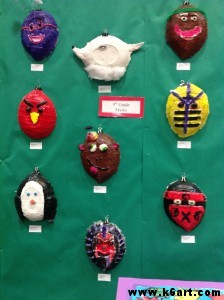
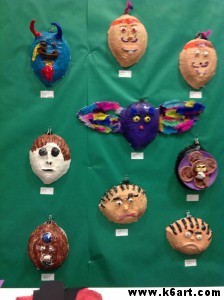
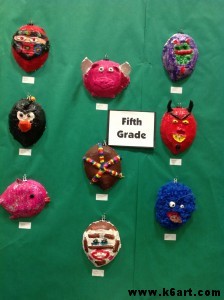
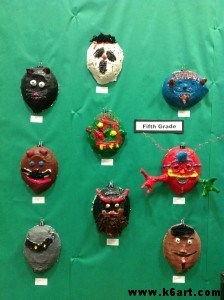
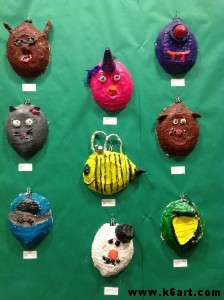
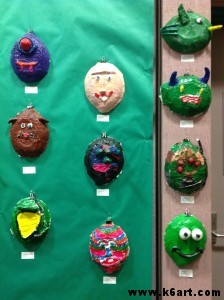
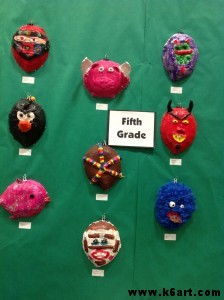
Plaster masks

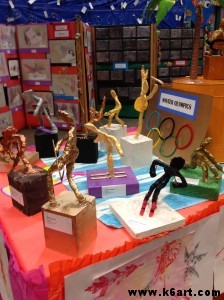
Fifth grade Sport trophies: winter olympics

Seurat Fourth grade QR code

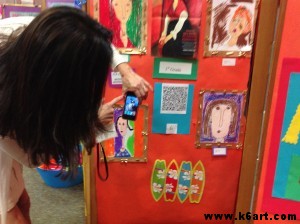
Teacher scans QR code to discover facts about a famous artist.

more photos on the way!


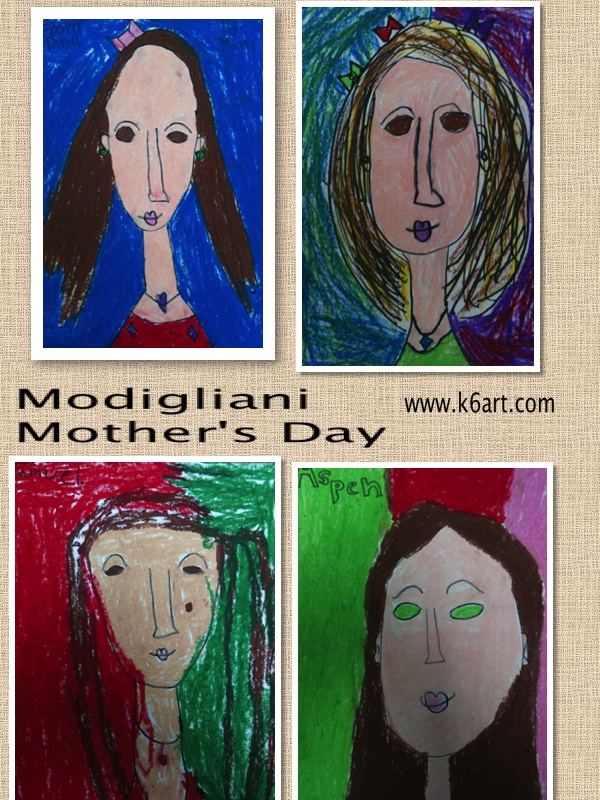
Modigliani Mother’s Day Portraits

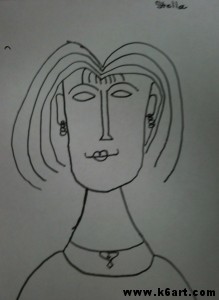
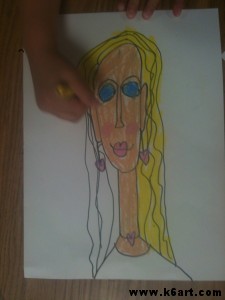
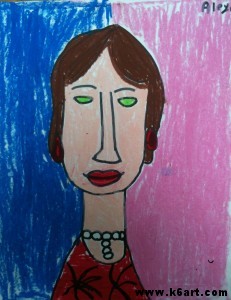
First grade students made Modigliani portraits with a twist! Instead of a self-portrait, we made portraits of our mothers. We began by viewing images of Modigliani’s portraits and talked about his distinct artistic style, specifically:

  • long neck
  • long, thin nose
  • blank, almond-shaped eyes
  • small, closed mouth

One of Modigliani's many portraits of Jeanne Hebuterne

I prepared this Modigliani PowerPoint, which you may find helpful.

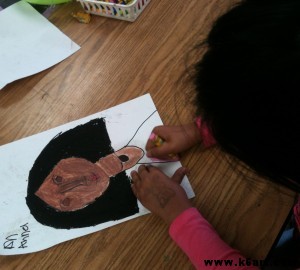
Students began the portrait using Sharpie on white paper, then colored with oil pastels. The portraits are distinguished by hair style and color, eye color, skin color and jewelry. After drawing and coloring their mothers, students made a simple solid background.

First graders make portraits of their mothers in the style of Modigliani. Allow 2-3 40-minute sessions.


I have been teaching this project for years and the mothers love it! The first grade teachers hang the framed portraits in their classrooms for the annual Mother’s Day Tea.

I adapted this lesson from a project in the book Drawing Faces (see illustration on cover). I think it is out of print. It is available used, or may be available at your library.

Related Posts Plugin for WordPress, Blogger...