Japanese Marbled Paper

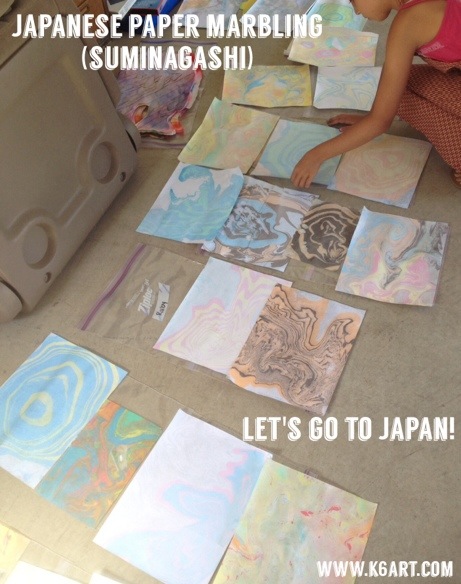
Looking for a fun printing project? Want to try a Japanese technique? We made suminagashi marbled paper mono prints at my Japan-themed art camp this summer. The project was easy and very successful. No two prints were alike, and my campers loved the process.

Please see the Blick video tutorial at the end of the post – it shows the entire process.

You will need a special marbling kit for this project. It costs about $15. You can use it to marble paper or fabric.


Aitoh Boku-Undo Suminagashi Marbling Kit – $14.98
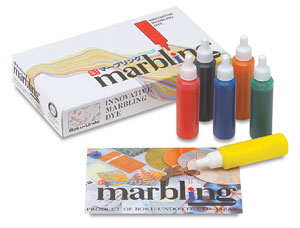
from: Blick Art Materials (note: this post contains affiliate links)

Materials

  • Basins for water
  • Suminagashi Marble Print kit (available at Amazonand Blick)
  • paper** to fit basins
  • small brushes
  • palette with wells
  • thread
  • newspaper to project tables and skim surface of water after printing
  • horizontal drying space
  • smocks or aprons

(**Note: The best paper has little sizing. I didn’t want to buy expensive paper for art camp. We experimented printing with different types of paper. We tried copy paper, recycled drawing paper, and thin Japanese calligraphy paper (ugh – too thin. It ripped).

We tried two types of printing: alternating concentric colors (I call them ‘tree rings’) prints, and float paper prints (intense colors).

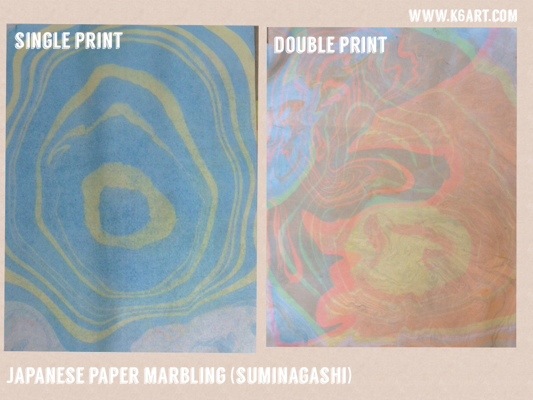
Concentric ‘tree rings’ prints

I was inspired by this EXCELLENT post from Julie Voight’s  Art for Small Hands blog. Julie has ALL the instructions and lovely student examples for creating the beautiful concentric prints. You will need the palette and tiny, thin paintbrushes for this. Dip the brush in dye, and barely touch the water with the brush tips. Alternate colors. (NOTE: SEE THE BLICK VIDEO AT THE END OF THE POST). This is a very neat process, and you only use a little bit of color (your $15 kit will last a very long time).

We created single and double prints.

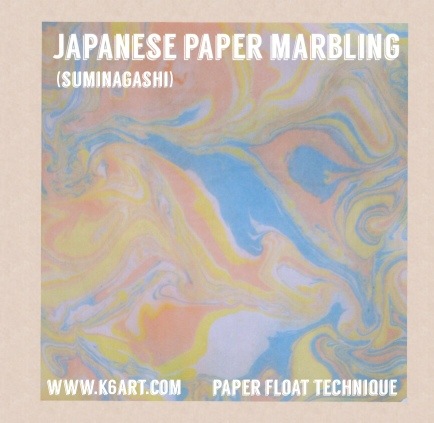
‘Float paper’ prints.

Bold! You need the reusable coated paper circles that come with the kit. You float the circles on the water, then aim drops of color at them straight out of the bottle.

To swirl and marble the ink, we experimented with blowing the floating ink, and dragging a single thread through it. We also tried second ‘ghost prints’ after our initial prints.

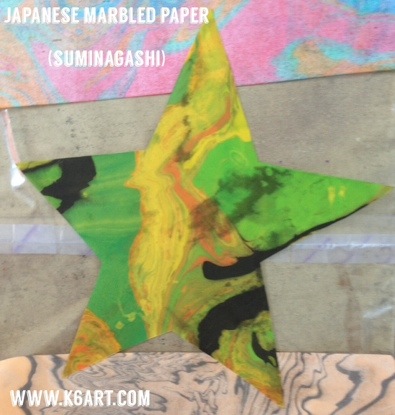
We also printed onto some yellow paper stars I had left over from another project. The colored background looks great!

This used more dye than the concentric ring project. It can be a messier option. The kids had to squeeze the dye straight from the bottle, then recap the colors and put them down. Soon there was bright color on the outside of the tubes. Next time I will arrange some sort of stand so the tubes can stay upright (and uncapped) for the printing process.

Video tutorial

Here is a great 10 minute tutorial from Blick.

Give suminagashi a try. It truly is a no-fail project.

Enjoy!

This project was part of my ‘Let’s Go To Japan’ art + cooking camp. Here are our other art and cooking projects:

Plus tons of kids books about Japan!

Thanks to Dahra and Ilana, our fabulous teenage helpers for all their assistance at camp.

Art + Cooking Camp Recipe: Japanese Cupcakes

20140716-095721.jpg

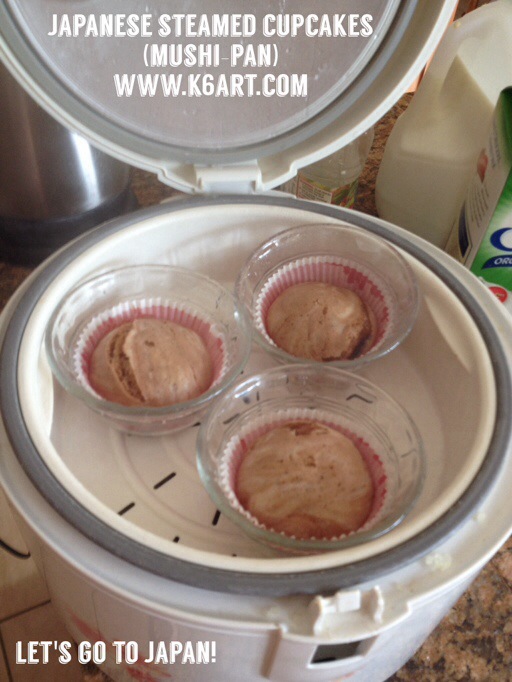
Japanese steamed cupcakes (mushi-pan) cook in the rice cooker or on the stove top.

We had so much fun at my Japanese art + cooking camp! Each day we made a different recipe. We had a lot of fun making a special type of Japanese cake called mushi-pan: steamed cakes prepared in your rice cooker or on your stove top. Mushi-pan are soft, fluffy and moist, and can be prepared in just 15 minutes from start to finish.

We made two recipes: apricot mushi-pan and frosted Nutella mushi-pan.

Apricot Steamed Cupcakes (mushi-pan)
Makes 10-12
Ingredients:

  • 1 cup all-purpose flour
  • 2 tsp. baking powder
  • 2 eggs
  • 4 Tbsp. milk
  • 8 Tbsp. sugar
  • 2 Tbsp. vegetable oil
  • 1/2 tsp vanilla extract
  • 2 heaping Tbsp. of apricot preserves

Equipment:

  • Rice cooker with steamer basket OR
  • Large frying pan with lid
  • Heat-proof Pyrex or Corning-Ware glass ramekins (I used 6 oz. Pyrex Clear Custard Cups)
  • paper cupcake liners

Instructions:

  • Fill rice cooker with water to depth of 2-3 inches. Turn on.

OR

  • Fill a large frying pan with water to 2/3 full and bring it to a boil (and turn off the heat if you are not ready yet)
  • Put a cupcake liner in each glass ramekin.
  • In a medium bowl, sift or whisk together the flour and baking powder combining well.
  • In a small bowl, combine egg, milk, sugar, and vegetable oil and whisk together.
  • Pour the egg mixture into the flour mixture and mix with a fork until smooth.
  • Add in the apricot preserves and stir to combine. You should still have chunks of preserved apricot visible even after stirring.
  • Spoon the mixture into the cupcake liners. Fill each liner approx. 1/3 to 1/2 full. Don’t overfill as these cakes rise!
  • Place the ramekins directly in the rice cooker steamer basket or in the skillet with the boiling water. Cover and cook for 8 minutes.
  • Uncover and test a cake with a bamboo skewer. The cakes are done if the skewer comes out clean. If the cakes are not done, recover and steam for two more minutes. Don’t over cook!

CAUTION: the steam is very hot and can burn you. Parental supervision is recommended.

  • When cool, remove the cakes from the ramekins. They should pop out of the cups easily. If not, you can run a butter knife around the edges to loosen.
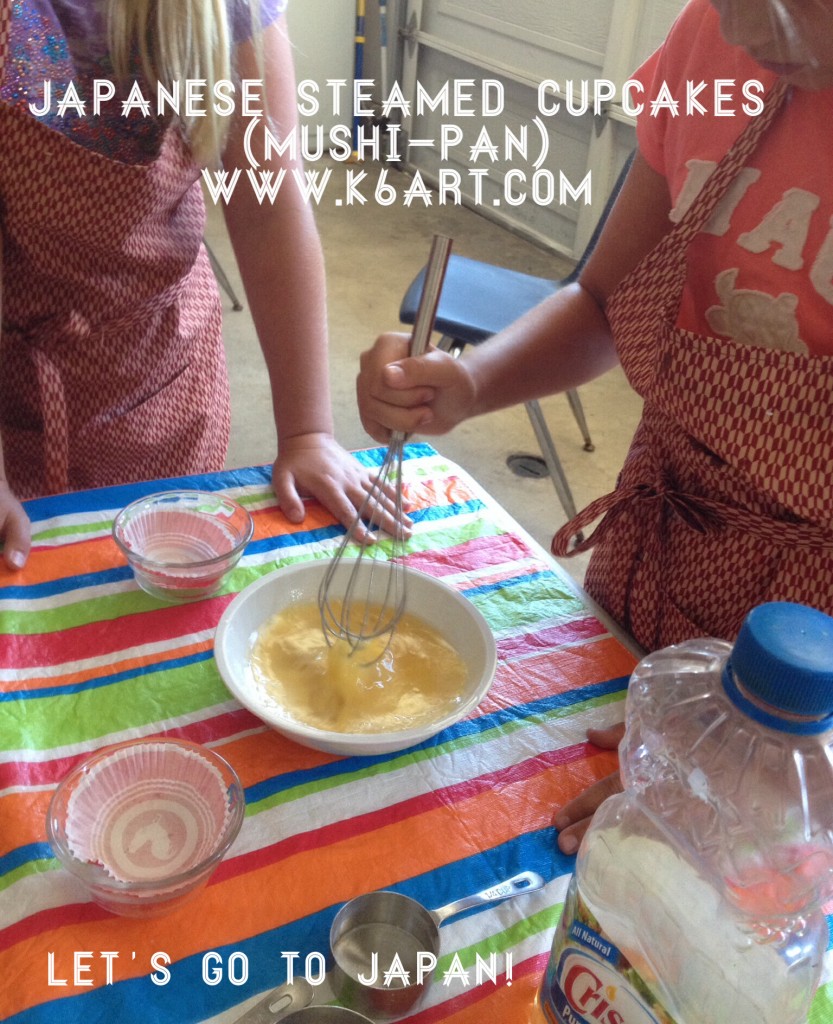
Kids prepare Japanese mushi-pan. Batter is spooned into paper lined glass ramekins, then steamed for 8 minutes.

Kids prepare Japanese mushi-pan. Batter is spooned into paper lined glass ramekins, then steamed for 8 minutes.


Frosted Nutella Steamed Cupcakes (mushi-pan)
I used the recipe from Magpies Recipe blog. . Click here for the recipe
We increased the sugar to 4 Tbsp./single batch, then frosted the cooled cupcakes with more Nutella.


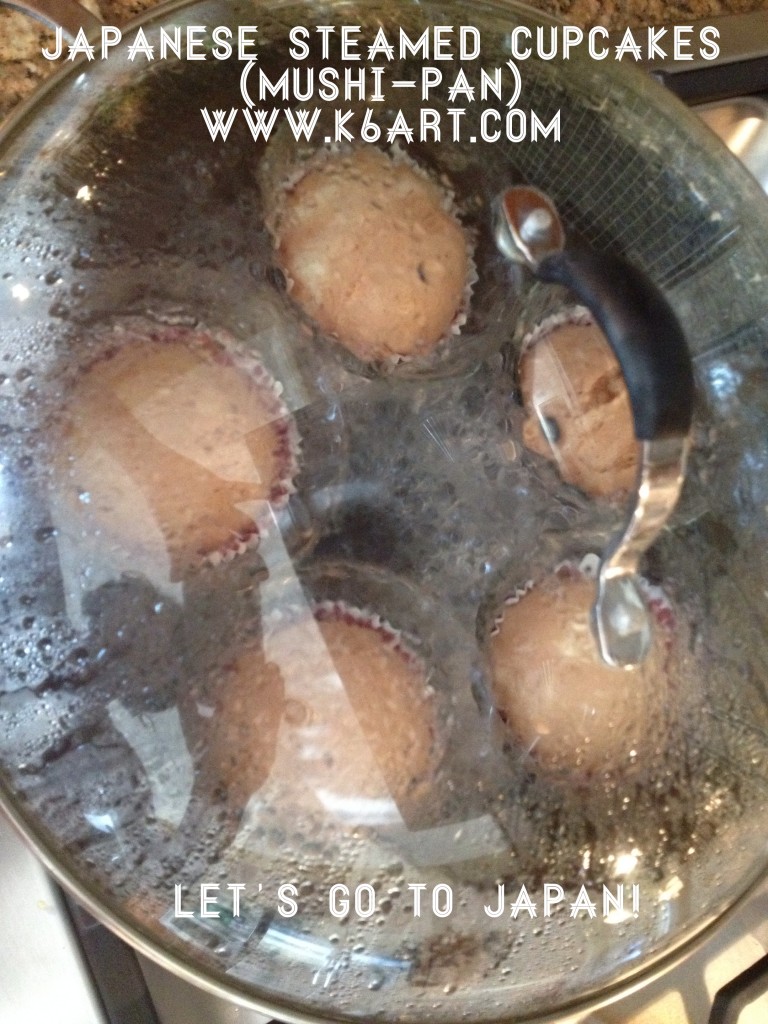
These Nutella-flavored Japanese mushi-pan cupcakes cook in only 8 minutes on the stove top.

These Nutella-flavored Japanese mushi-pan cupcakes cook in only 8 minutes on the stove top.

Results:

The campers loved both varieties of mushi-pan cupcakes. You should try them!

Want more help? Check out this cooking lesson from the Japan Society.

http://youtube.com/watch?v=14giDBtMPvg

Enjoy!

Do you like cooking with kids?

Japanese Gyotaku Fish Prints

20140714-215156.jpg

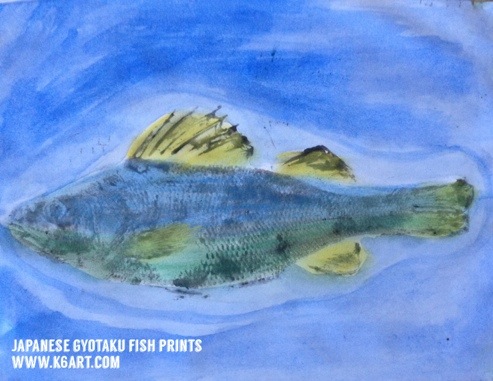
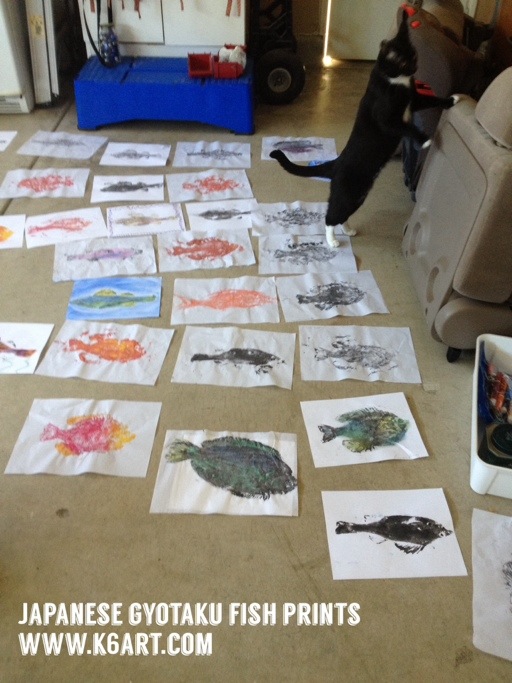
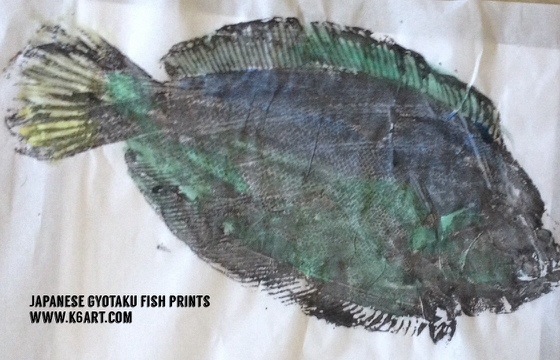
Gyotaku means ‘fish rubbing’ and is a printmaking technique traditionally used by Japanese fishermen to record their catches. It was the perfect project for my Japan-themed art camp.

We began by watching this brief video of Hawaiian gyotaku artist/fisherman Naoki.

The campers were really excited to start!

Materials:

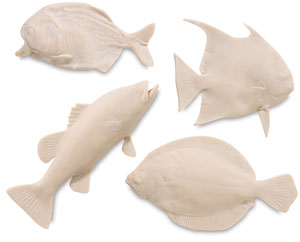
  • rubber Gyotaku Fish Printing Replicas (or fresh real whole fish).
  • black tempera cake, water and stiff brush
  • copy paper
  • paper towels
  • chalk pastels
  • watercolors

(note: this post contains compensated affiliate links. Which means if you buy the rubber fish, I get a small commission. The rubber fish rock, BTW. They last forever, and you can share them with other teachers).

Instructions

20140714-215533.jpg

We tried printing with thin Japanese paper and with copy paper. The thin paper wrinkled and copy paper stayed smooth. We also tried printing with liquid orange tempera.

Paint the fish with black tempera cake. Cover fish with copy paper and rub (don’t wiggle the paper!). Pull the print.
If the fine details (such as scales) don’t show, try Naoiki’s method: re-coat the fish and then pounce with a balled up paper towel to remove some paint. Cover with copy paper and take another print. Let dry.

Color the print with chalk pastels

In the video, Naoki hand-colors his gyotaku prints with watercolors. We used chalk pastels to add color to our fish. Campers blended the pastels with their hands or with tissues.
20140714-214632.jpg

I love how they turned out!

Campers also had the option of painting or decorating the negative spaces with watercolor. I really think they did a nice job.

The project was inspired by this post at the Fine Lines blog.

Enjoy!

This project was taught in my Japan-themed art + cooking camp. Each day we made an art project and a cooking project.


Gyotaku Fish Printing Replicas

from: Blick Art Materials

Art + Cooking Camp – Let’s Go to Japan!

20140712-123141.jpg

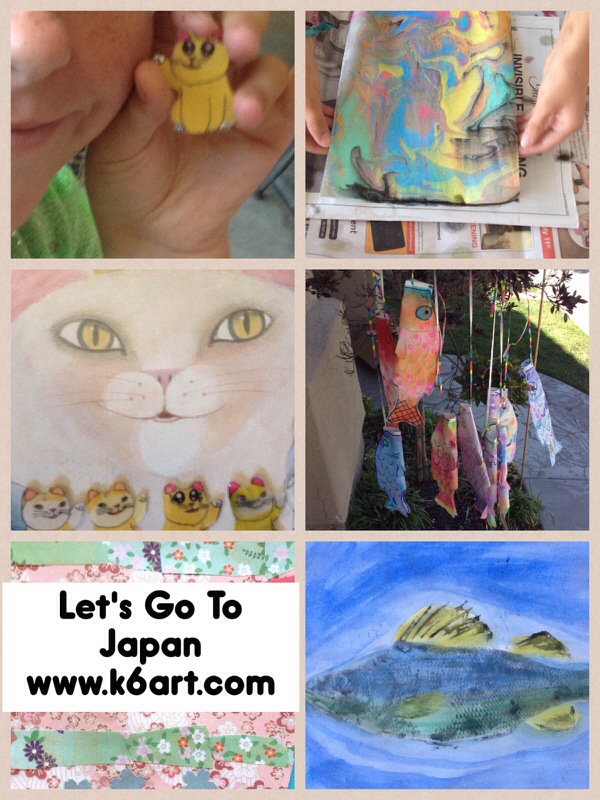
I just finished my annual art and cooking camp. This year’s theme was ‘Let’s Go to Japan’. We did lots of FUN art and cooking projects. All the campers were 9-11 years old.

Here’s a list of all the art and cooking projects we created:

Day one: koi fish kites (koi noburi) and bento box lunch
Day two: suminagashi prints and decorated rice balls bento
Day three: cloisonne collage and Japanese crepes
Day four: gyotaku fish prints and mushi-pan steamed cakes
Day five: Beckoning cat charms and ‘octopus’ bento

In addition, we read a lot of wonderful books about Japan, and practiced Japanese hiragana writing with brush pens.

I’ll be writing a bunch of posts with much more detail, including all the recipes! Check back this week to find out more.

Enjoy!

p.s. Want more art camp ideas? Check out my ‘Let’s Go to Paris’ art + cooking camp series from 2013. Click here to see more.

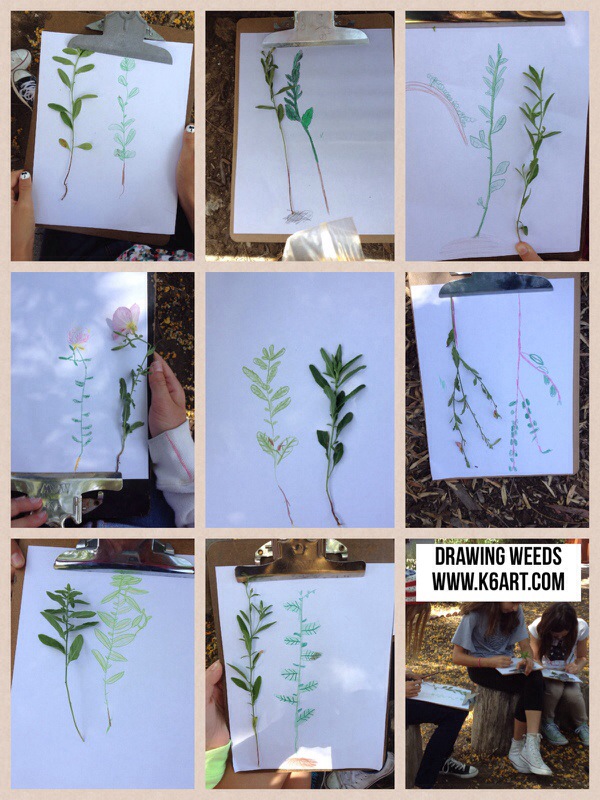
Drawing Weeds

20140602-164132.jpg

It’s the last week of art class and the weather is lovely. For their final project, the 5th and 6th graders did observational drawings of the weeds in our school garden.

Materials:
Clipboards
Copy paper
Colored pencils
Weeds

Each student picks one weed from the ground. They should try to keep the root intact. Weeds must be no longer than the paper.

Clip paper to board, then clip top of weed to the left side of the board (left-handed kids should clip weed on the right).

Draw a scale drawing of the weed.
Start with a long stem line. Mark leaf placement with short lines alone the stem line. Then draw the contour of the leaves. Look closely at the leaf veins and draw them. Add flowers and roots. Finally, draw irregularities such as bite marks.

What a fabulous way to end the art year. We practiced our drawing skills and weeded the garden path. Bonus!

Happy summer!

Enjoy!

\

Related Posts Plugin for WordPress, Blogger...