Story Stones: Art and Writing

story stones pin able

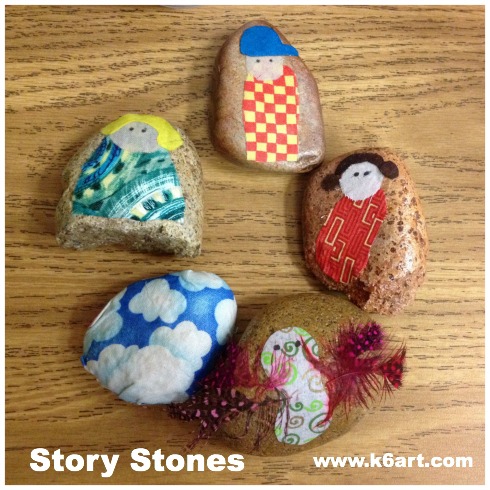
What are story stones? Story stones are smooth rocks decorated with an image of a person, animal or thing. They are used with children for play, therapy, and just to spark imaginative conversation and story telling.

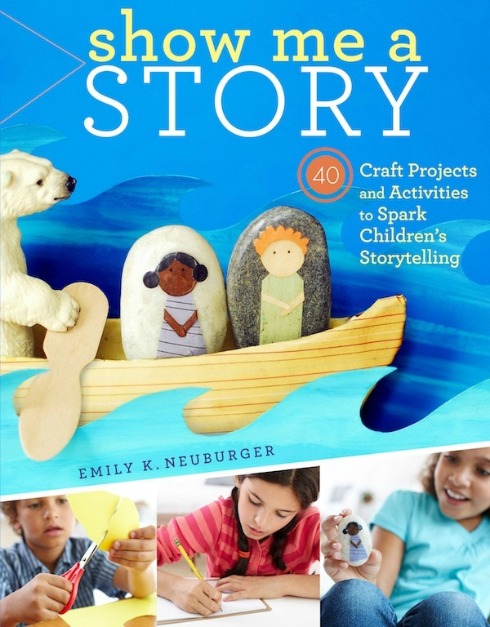
I recently attended a professional development workshop on the expressive arts. We learned how to make collage story stones, and then to use them in creative writing. The project was inspired by a project in ‘Show Me a Story: 40 Craft Projects and Activities to Spark Children’s Storytelling by Emily Neuburger. If you are being ‘encouraged’ to incorporate literacy activities in the art room (or vice versa, want to do arts integration in the general ed classroom), story stones may be right for you.

show me a story by Emily K. Neuberger

Materials:

  • river rocks, or other smooth stones with flat surfaces, large enough for collage
  • scissors
  • colored paper scraps
  • fabric scraps
  • embellishments such as ribbons and lace
  • Mod Podge (we used gloss finish)
  • brushes
  • Sharpies
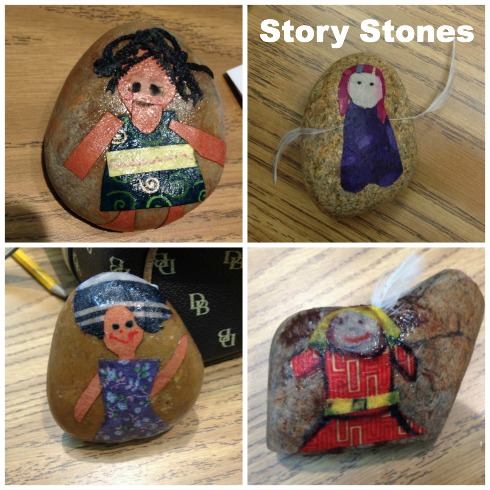
Teacher-created story stones.

Teacher-created story stones. Allow one hour to create stones.

Create the story stone:

Wash and dry the stones. Let each child select a stone. Create a collage of a person or animal, real or imagined, on the stone. Use brushed Mod Podge as glue. When the collage is glued down, brush on another coat of Mod Podge as sealer.

After the story stone as dried, add eyes and other facial features with Sharpie.

Optional: after the collage has dried, flip over the rock and create another character on the back.

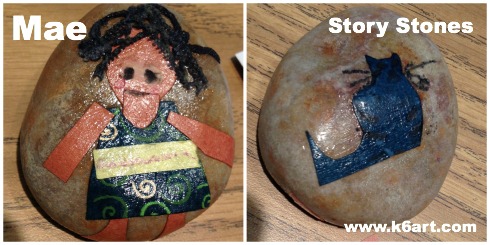
I created a story stone with main character Mae on the front and her cat on the back.

I created a story stone with main character Mae on the front and her cat on the back.

Activities: Art and Writing

Discuss elements of art in your story stone. For example, here are the elements in the Mae/cat stone:

  • Line: Spirals in the dress, belt is a horizontal line
  • Shape: body is made of geometric shapes
  • Color: neutral skin and rocks ; warm color belt pops out from cool color dress
  • Texture: hair is made of lace, stone is smooth
  • Form: rock is organic form, figure wraps around rock; art on both sides

Writing:

Exercise #1: Stone Story Starters. Look at your story stone and answer the following:

  • Who am I?
  • Where do I come from?
  • What do I like to do?
  • What do I like to eat?
  • How did I get here?
  • What is my name?
  • If I could speak, what would I say?

Here is my story, based on my stone:

I am an old lady from New York City. I like to sit on the steps, in the sun, with my cat in my lap.  I don’t like to shovel snow from my steps. I walk slowlyMy favorite things to eat are eggs and toast (my cat likes turkey cat food). I was born in the city and have lived here my whole life. My children moved away. I live in a brownstone in Brooklyn. My name is Mae. I like to be alone. I am not lonely.

Exercise #2: circle (or bold) words in your story that suggest feelings or appeal to the senses. Use them to create a poem. Add extra words if necessary.

I created a super-simple haiku:

Mae sits in the sun

Her cat purring in her lap

Snow long forgotten

Common Core Standard: CCSS.ELA – Literacy RL 1.7 Use illustrations and details in a story to describe its characters, setting or events.

There are so many ways to create story stones. A little research turned up hand painted stones on Etsy and stones made with paint, marker or stickers on Pinterest. You can collage illustrations or photos cut from a magazine or catalog.

I would love to create story stones with art club or at  summer camp. For those art teachers pressed for time (like me!) it would be interesting to create the story stones in the art room and let the students do the storytelling in the classroom.

Thanks to Amy Andrews and Talia Morales from Coast Music Therapy for presenting our professional development workshop, Expressive Arts in Special Education.

Enjoy!

Art + Cooking Camp: Degas, Sculpture and Chocolate Fondue

We had a fabulous time all week at my Paris-themed art and cooking camp. On the last day, we wrapped up our sculpture project and made yummy chocolate fondue.

20130723-173625.jpg
20130724-122304.jpg
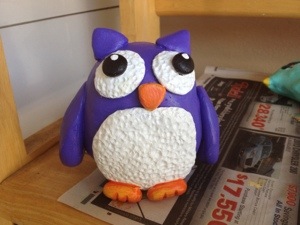
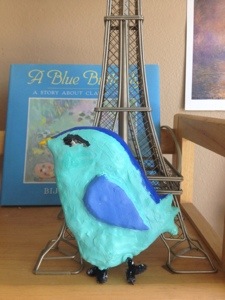
A couple of campers wanted to make animal sculptures. They used foil and plaster or white Sculpey polymer clay to create their creatures. Not so Parisian, but I love how they turned out.

20130723-174158.jpg

20130723-174222.jpg

20130723-174240.jpg
The recipe for chocolate fondue was the easiest of all our recipes this week: 8 oz. of chopped semi-sweet chocolate heated with 1/3 cup of half-and-half. Pound cake cubes, whole strawberries and sliced banana tasted delicious dipped in the warm chocolate.
So much fun!

Enjoy!


Let’s Go to Paris! Art + Cooking Camp
Day One: Crepes and Monet
Day Two: Madeleines and the Eiffel Tower
Day Three: Meringues and Degas
Day Four: Cherry Cake and Pointillism

Art + Cooking Camp: Cherry Cake and Pointillism


IMG_0839

Bonjour! Here is an update on Day Four of my Paris-themed art and cooking camp. Today we tried out pointillism and made cherry clafoutis.

Pointillism

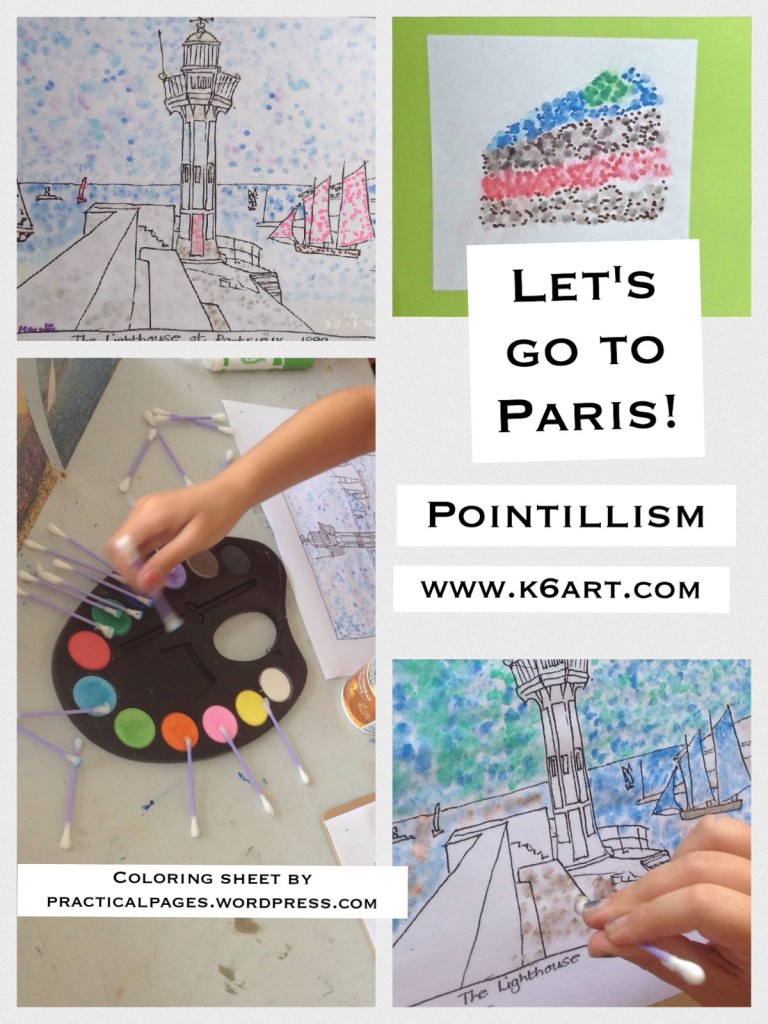
Pointillism is lots of fun for kids. They love the idea of creating art from dots of paint. We looked at pointillist artworks under extreme zoom at Google Art Project. Click here to see the extreme close up of Seurat’s ‘The Circus’ and click here to see Signac’s ‘The Port of St. Tropez’. For the art project, we did this fun Signac lesson with coloring sheet from the Practical Pages blog. The kids dotted their sheets using damp Q-Tips and pan watercolors. They filled in the tiniest areas with dots of colored marker.

One student made a pointillist cake! She lightly sketched her design in pencil, then filled in with dots of watercolor and marker. When it was dry, she erased the pencil lines.

(note: if you are looking for a whole class pointillism assignment, check out this Seurat mural project).

Cherry Clafoutis

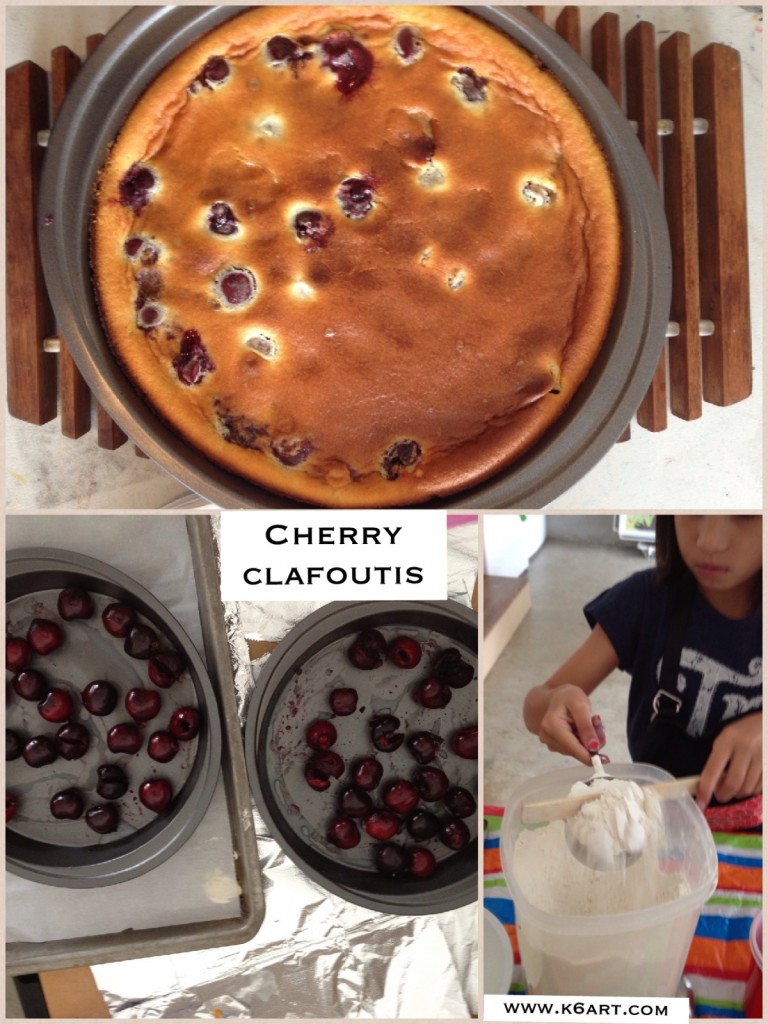
We made a cherry clafoutis – a lovely French summer dessert with a texture that is a cross between a cake and a custard. CLICK HERE FOR THE RECIPE. Surprise – the kids LOVED pitting fresh cherries!

IMG_0831

Coming up later this week: the last day of art and cooking camp. Chocolate fondue and the completed Degas sculptures!

Art + Cooking camp:

Au Revoir and Bon Appetit!

Enjoy!


Art + Cooking Camp: Meringues and Degas

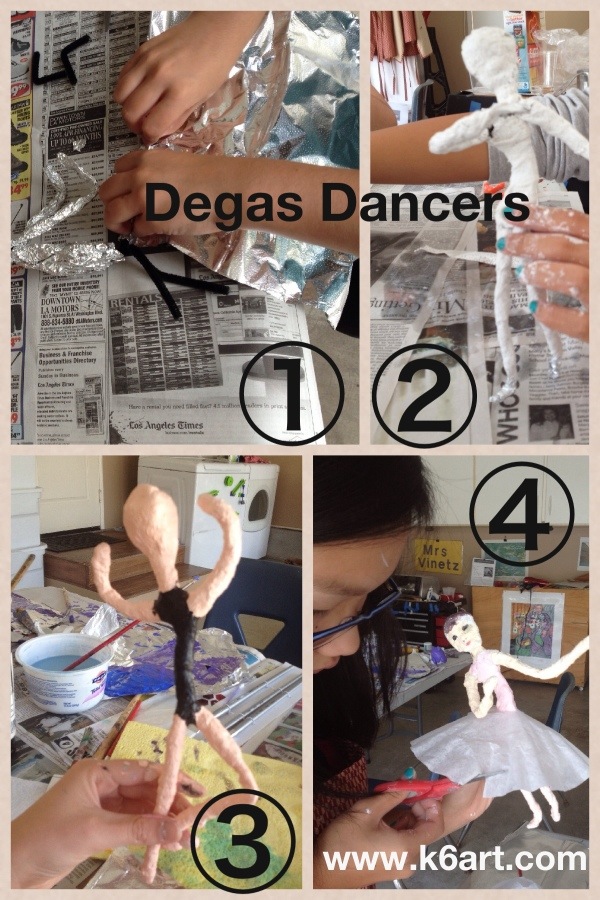
Today was Day Three of my Paris-themed art and cooking camp. We began by making meringues and ended by beginning our Degas-inspired sculptures.

Meringues:

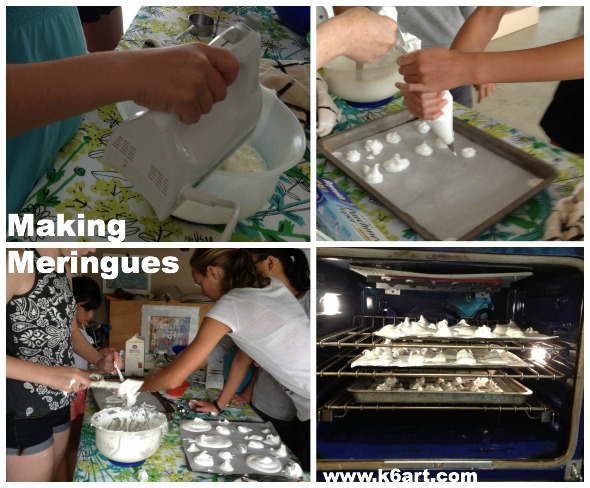
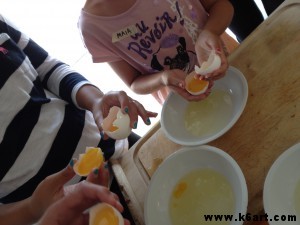
Meringues are really fun to make. CLICK HERE FOR THE RECIPE (AND VIDEO!). We had lots of practice separating eggs. Then we whipped those egg whites and sugar up, up, up into glossy peaks, and piped them onto the baking sheets using a pastry bag and a star tip. The kids had a lot of fun making ‘custom’ giant and mini meringues, and trying to make letter-shaped meringues.

making meringues

Unfortunately, meringues take forever to bake – at least two hours at 200 degrees F. Then they have to cool. So we won’t taste the completed meringues until tomorrow. Not the best choice for a three-hour AM camp. It was humid today – another meringue no-no. Oh well, at least we didn’t bake them on the last day of camp.

Degas-inspired Sculpture:

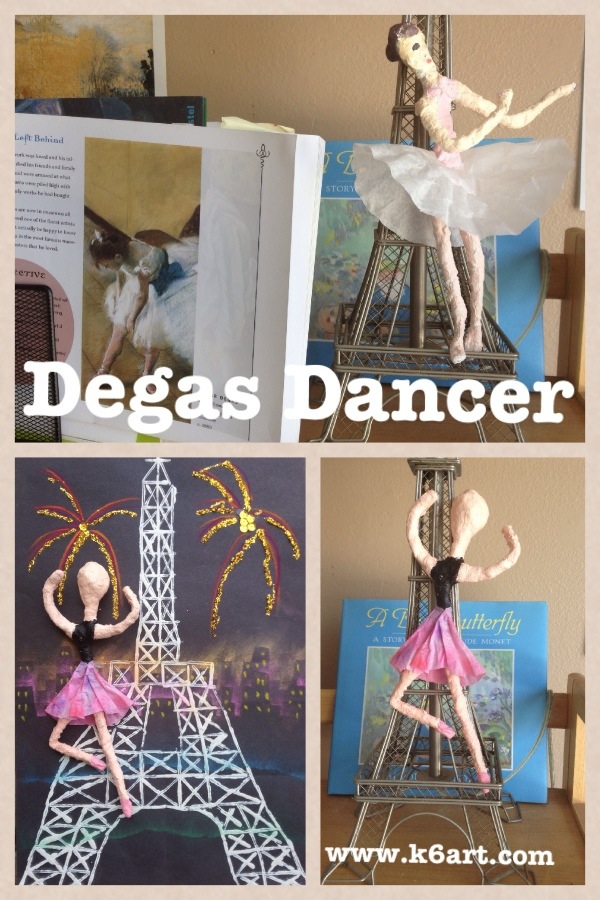
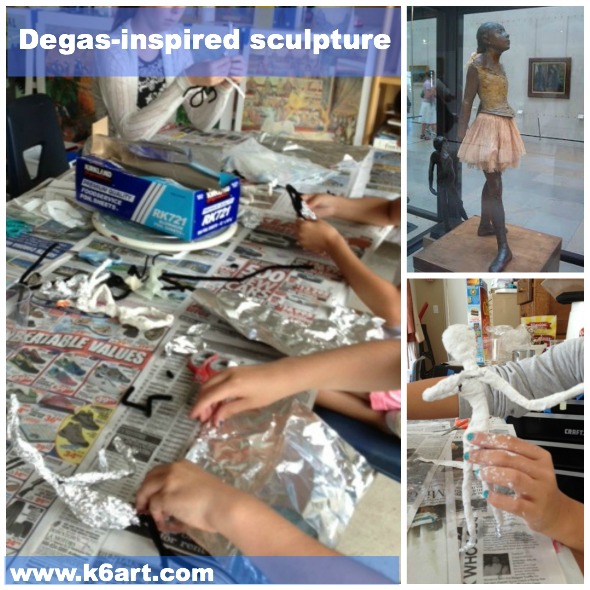
We talked about Degas. Degas was a French artist who is famous for creating snapshot-like pastel artworks of racehorses and ballet dancers. Unlike the other Impressionists, he did not focus on the quality of light, and created his work indoors (Actually, Degas did not consider himself an Impressionist). After his eyesight started to fail, he switched to sculpture. He initially sculpted his famous ‘Little Dancer Age 14’ in wax on a wire armature; it was later cast in bronze.

We created wire and foil armatures and covered them in plaster wrap. Some kids are creating dancers and some are creating animals. This took about an hour.


degas sculpture art campTomorrow we will make cherry clafouti and finish up our sculptures.

Enjoy (and bon appetit!)

Do you like to cook? Have you taught anyone to cook?

Art + Cooking Camp: Madeleines and the Eiffel Tower

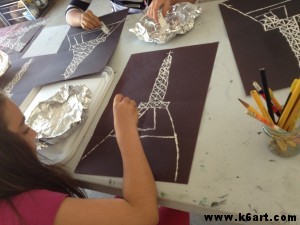
Today was Day Two of my Paris-themed art and cooking camp. We made lemon madeleines and began a ‘Printed Paris’ Eiffel Tower project.

Madeleines

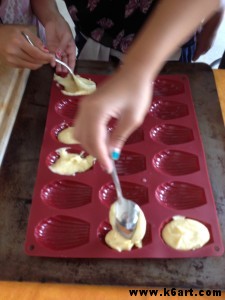
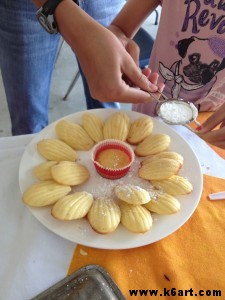
Our lemon madeleines were delicious. CLICK HERE FOR THE RECIPE. I bought my own silicone madeleine pan for this project. It worked perfectly – all the little cakes popped right out intact. The recipe made a lot of madeleines – we put the extra batter in cupcake papers and baked them up as little muffins. The kids doused them in powdered sugar. Really fun cooking project!

Separating eggs.

Separating eggs.

We used silicone madeleine molds.

We used silicone madeleine pans.

The little cakes popped out perfectly. Yum!

The little cakes popped out perfectly. Yum!

Printed Eiffel Towers

We started our printed Eiffel Towers.  The project was inspired by this fabulous post at the Cassie Stephens blog.

We used mat board scraps and white paint to print the Eiffel Tower.

We used mat board scraps and white paint to print the Eiffel Tower.

Tomorrow we will finish up the Eiffel Towers, make meringues, and start on our Degas project.

Enjoy!


Are you teaching art this summer?

Related Posts Plugin for WordPress, Blogger...