How to Make a Calder Mobile

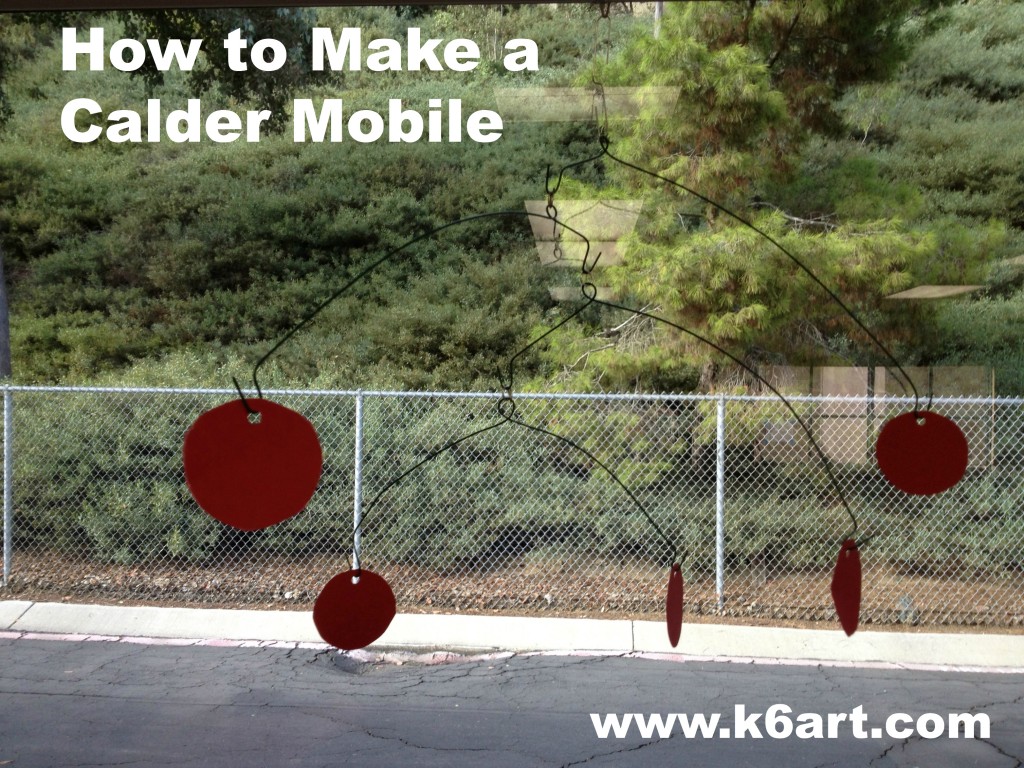
I love Alexander Calder! I teach a Calder wire project each year, but I have never successfully made a Calder-inspired mobile. Until now!

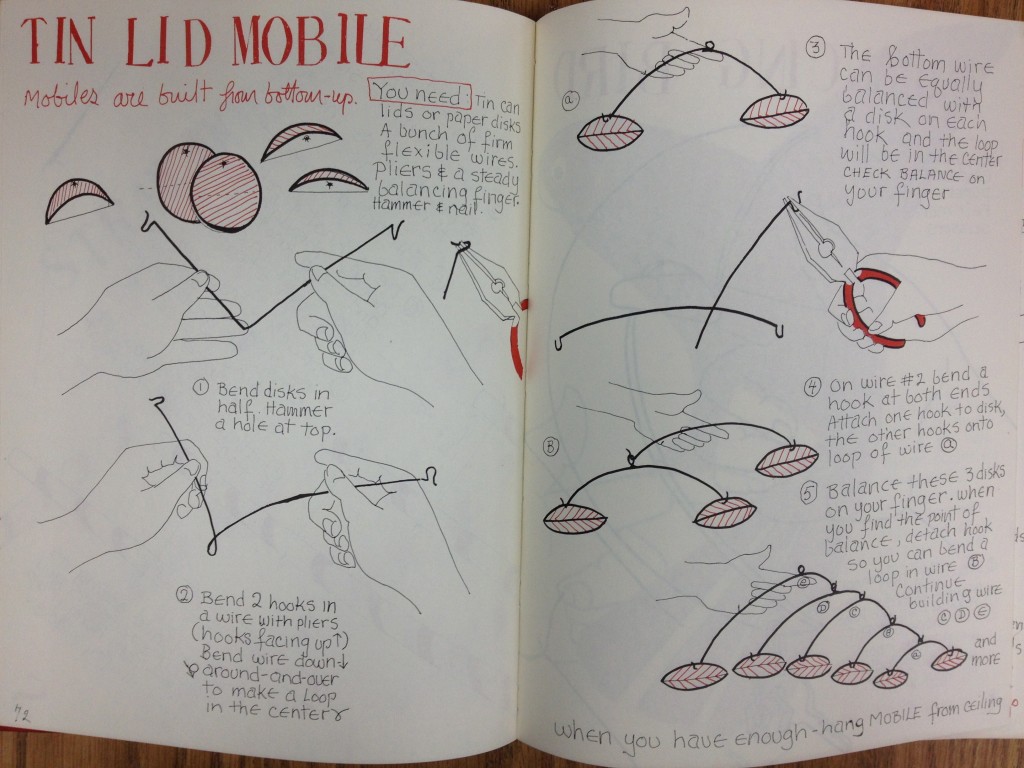
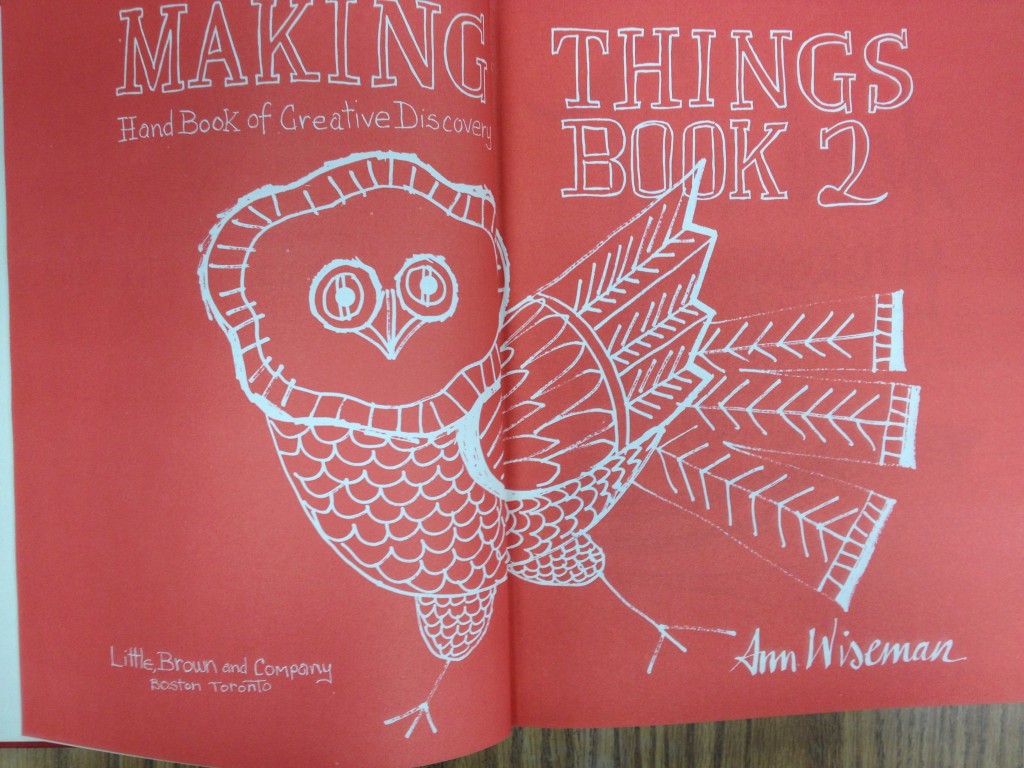
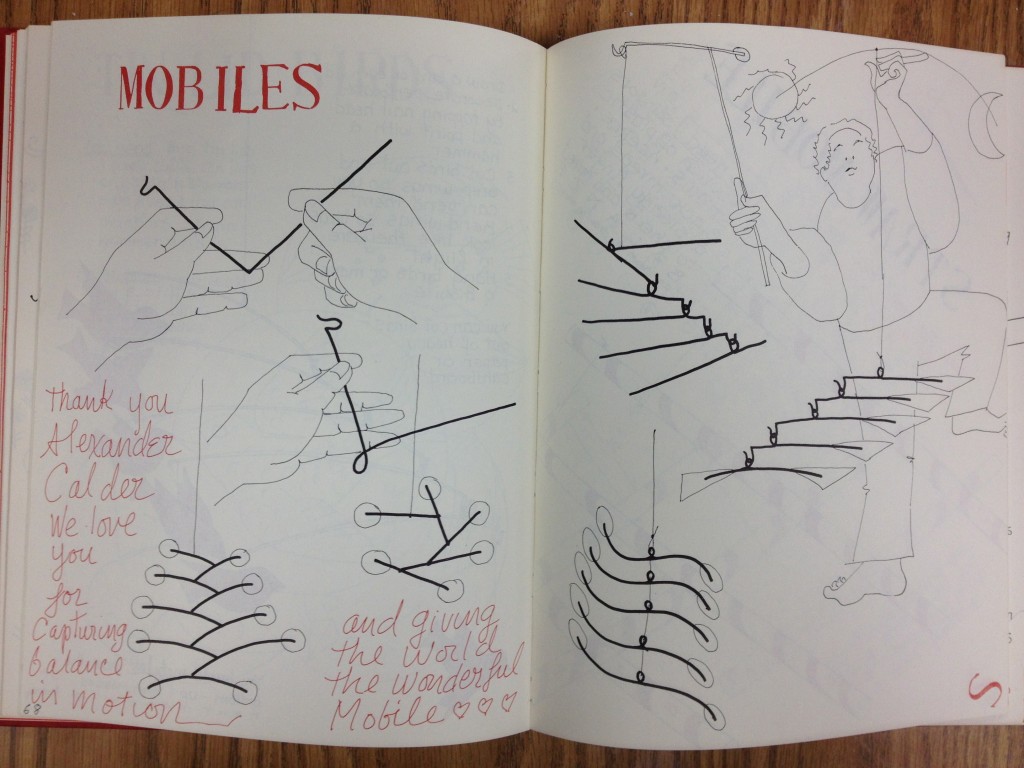
I recently received this 1975 edition of Making Things: Book 2. The Handbook of Creative Discovery by Ann Wiseman. Inside this gloriously illustrated book I found these  instructions for making Calder mobiles:

Making Things Book 2 – Handbook of Creative Discovery by Ann Wiseman. ISBN-10: 0316948519


Easy to follow step by step illustrations for a variety of mobiles


I decided to test it out with items I had on hand in the art room.

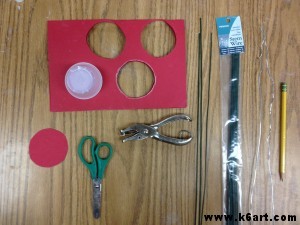
Materials for first mobile:

  • 18-inch pre-cut Stem Wire (AKA floral wire) 20 gauge
  • construction paper
  • scissors
  • hole punch
  • pliers (note: I didn’t have any pliers so I just did this with my hands)
  • AND A BALANCING FINGER 🙂


Materials for making a simple Calder-inspired mobile


Ms. Wiseman tells us mobiles are built from the bottom up. Aha!

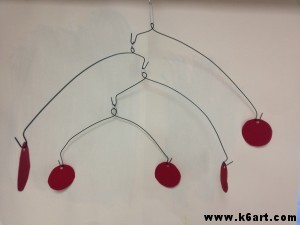
Success! A 4-tier mobile!

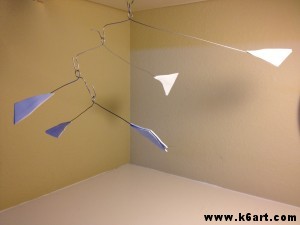
Now for my second mobile. I made this mobile using Ann Wiseman’s illustrations and Peel & Stick Foam Sheets.
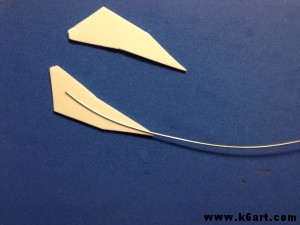
Calder-inspired mobile made with wire and self-adhesive craft foam.

To add interesting organic shapes, sandwich wires between matching pieces of self-adhesive craft foam.

If you choose to make these multiple tier wire mobiles, try it yourself first, be patient, and expect a lot trial and error. Balancing those wires is tricky and takes practice. I think these projects would be great for middle and high school students.

If you want to try this with a whole class of upper elementary students, I would keep it simple. Stick with one or two wires. Check out this project from Meet the Masters. I like how they have three degrees of difficulty and incorporate a stabile as a base.
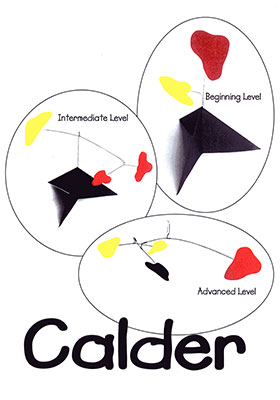
Illustration from Meet the Masters website.


Here are some more ideas for Calder mobiles for kids:

If you love Calder, you might like my previous Calder posts:

Enjoy!

Have you ever made a mobile with your students? 

———————————————————————————-

Note: This post contains affiliate links.

Note: post updated 12/30/13

Wire Name Art

Give your name art lesson a twist – literally! Our fifth grade students had a ball sculpting their names in wire.

Materials:

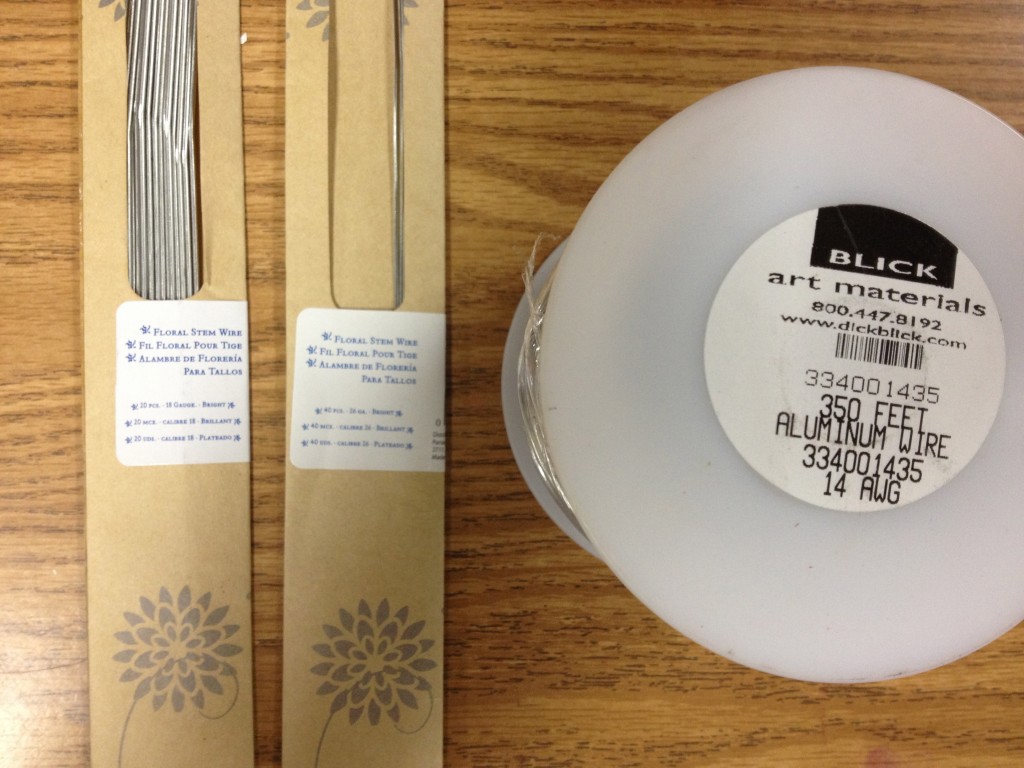
Pre-cut floral wire (AKA stem wire) and sculpture wire

Session one:

To practice, give each child a piece of paper, marker and an 18 inch piece of wire. Kids should write their first initial on the paper. They may print or use cursive. They they trace their written letter in wire.

100% of 10- and 11-year-old students could do this by the end of the first 40 minute session.

Session two:

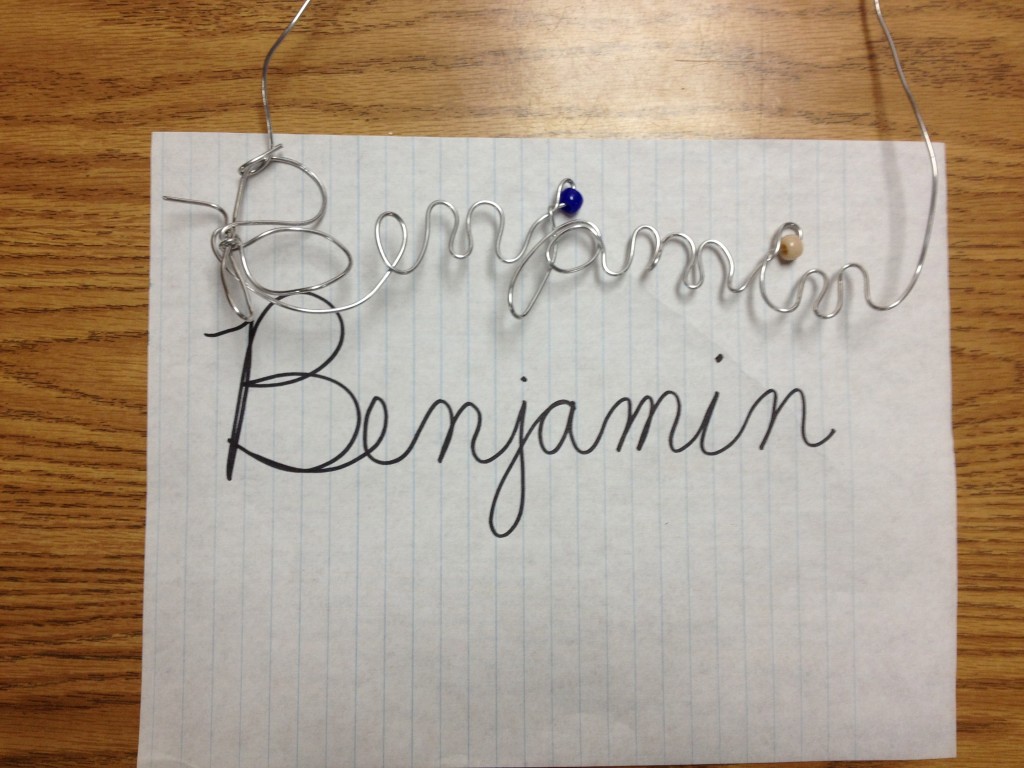
Give each child a piece of paper, marker and a 6 ft. length of sculpture wire. They should write out their first name in marker this time. They may print or use cursive, then trace their name in wire.

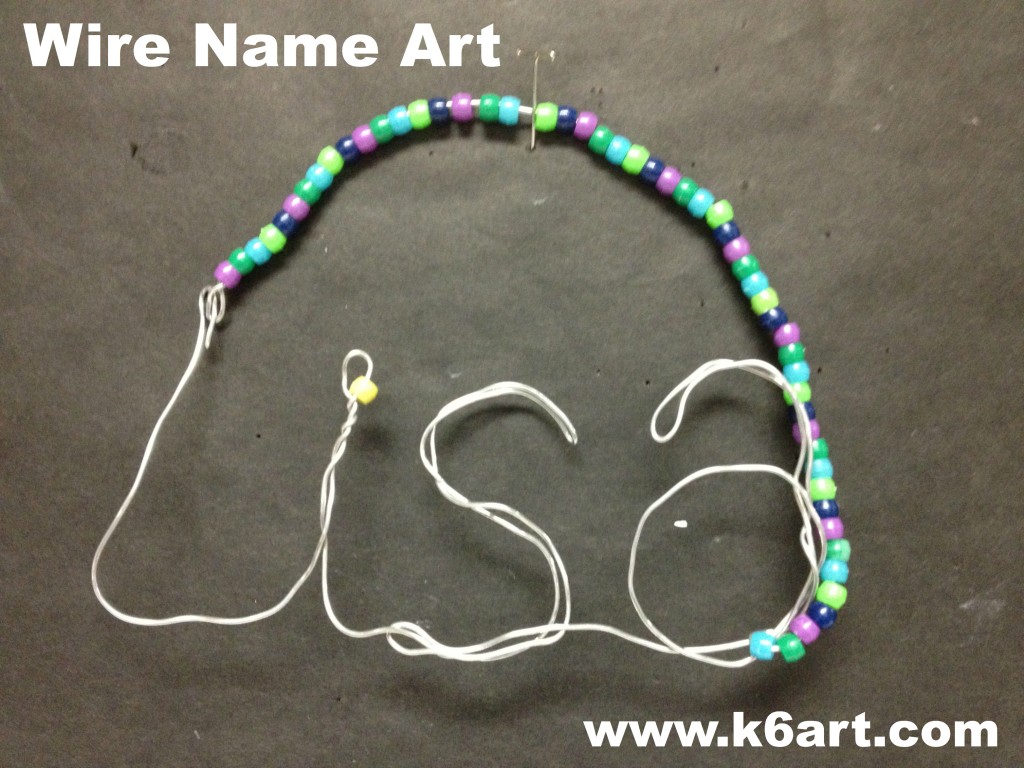
Write out name on paper, trace with sculpture wire (teacher example).

Did you notice? I added a single pony bead to dot each lower case ‘i’ and ‘j’.

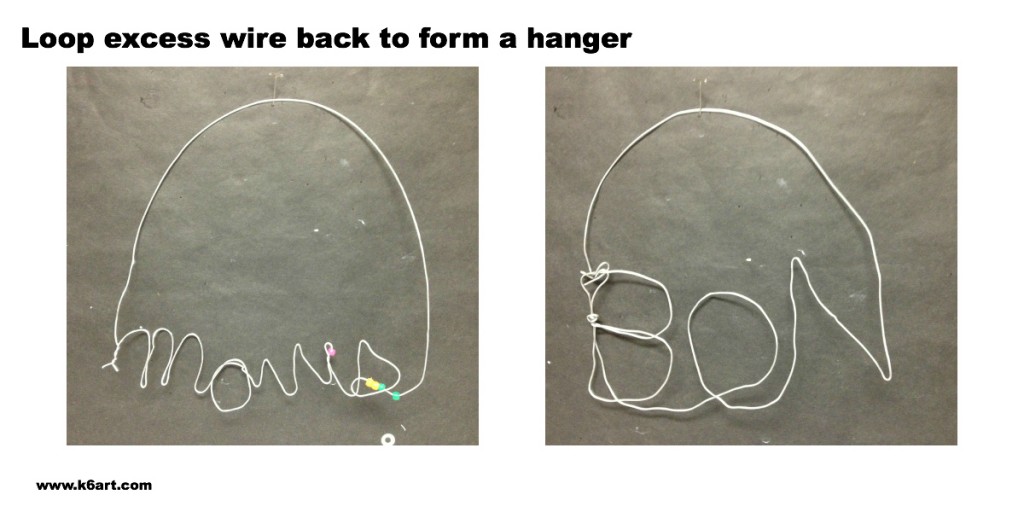
 There should be a lot of excess wire at the end of the wire name. Students should loop the excess wire back, and attach to the beginning of the name with a quick twist. Voila! Name art with hanger!

Approximately 85% of 10 and 11 year olds were able to make their names in wire. I would recommend struggling students create a larger, single initial.

Session three (optional):

Want to take it further? Offer pony beads, sequins, and super-fine wire (I use pre-cut 18 inch 26-gauge stem wire).

Students can string the hanger wire with pony beads. They can clip the excess wire with (kindergarten!!) scissors. They can thread a bead or sequin onto 26-gauge wire and tie a knot around it.

Some students created small sculptures to embellish their name art.

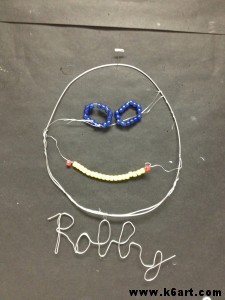
Robby suspended his name from his sculpture.


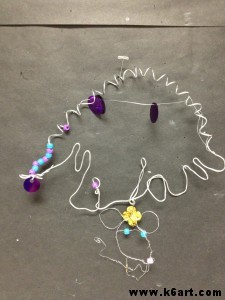
Milan made a tiny mouse.


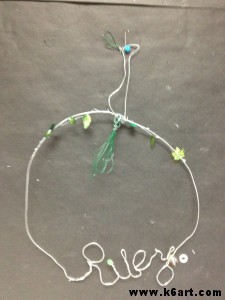
Riley perched a peacock on her name art.

How nice these will look on the students’ walls at home!

This would be a nice tie in to an Alexander Calder project. Check out my other Calder wire projects: wire sculpture and wire portraits.


Disclosure: I am an affiliate of Amazon and Blick Art Materials. I have been using Blick’s 14 gauge sculpture wire for 9 years and I love it!

Art Books to Read Online (for free!)

Did you know there are a lot of art books you can read online for free? The Guggenheim Museum has 65 art books online, including a 1964 catalog from my favorite sculptor, Alexander Calder.

While we are on the topic of Alexander Calder, how about a book for kids?

This book from wegivebooks.org works great with a laptop or computer/projector.

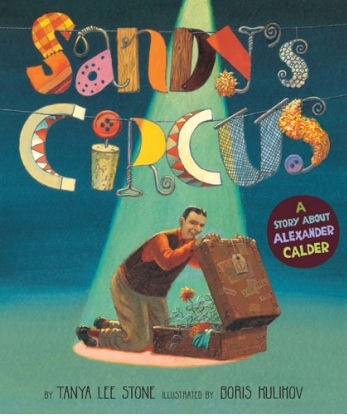
Sandy’s Circus by Tanya Lee Stone is for primary grade students and is available in full color from wegivebooks.org.

Picasso and Matisse are lots of fun for kids. Storylineonline.net has lots of books for kids, all read out loud, including When Pigasso met Mootisse by Nina Laden.

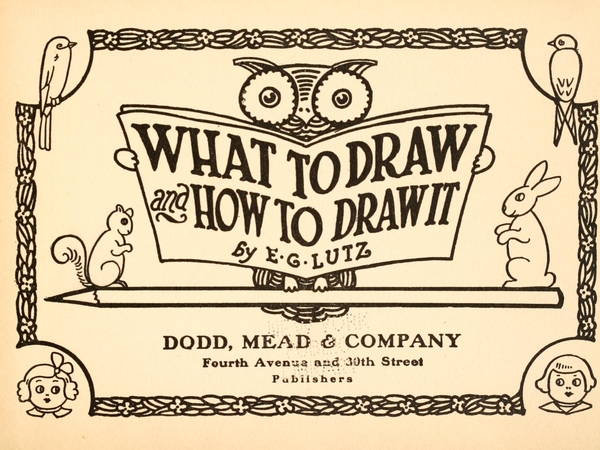
How about a cool, retro how-to-draw book? You can read What to Draw and How to Draw It online.  The second graders loved drawing owls using the illustrations in this book.

Enjoy!

p.s. I heard about all four books via Pinterest.

Want more art books to read online for free? Check out this post.

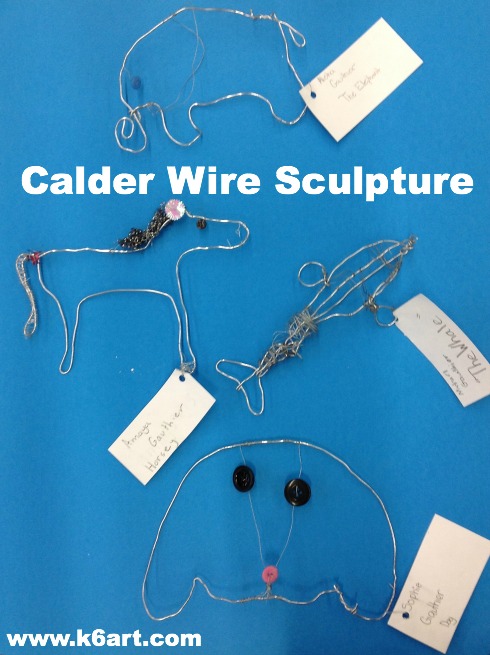
Calder Wire Sculpture Finale 2012

calder wire sculpture finale 2012

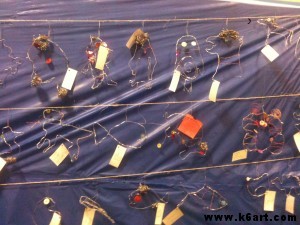
The 5th graders showed off their amazing wire sculptures at the art show last week.  We had about 70 – the biggest group to date. I want you to see some of the best examples, and how we displayed them.

Note: All our sculptures were made with 14 gauge Blick Armature and Sculpture WireClick here for project instructions.


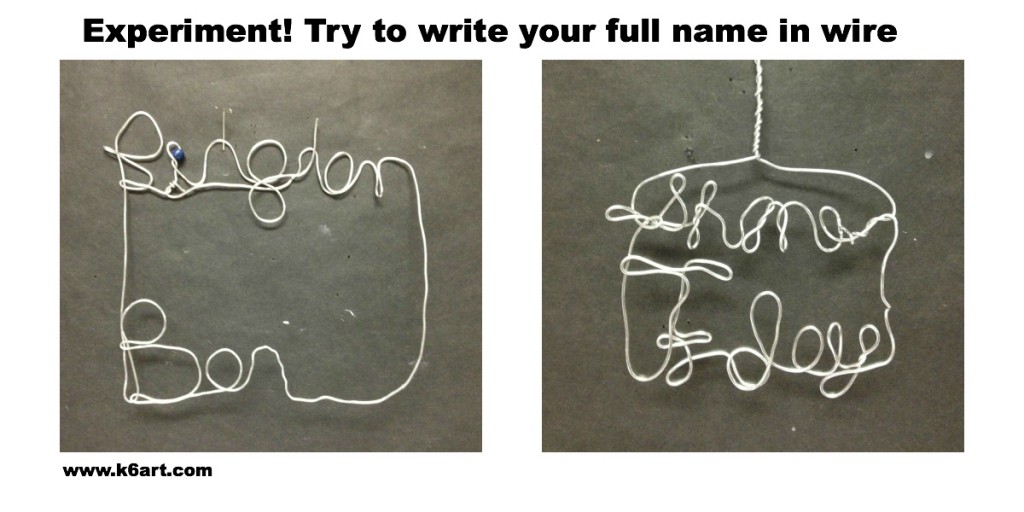
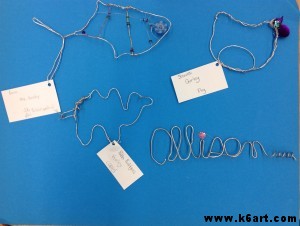
Mariel (middle horse) and Natalie (dog) were able to sign their names in wire.

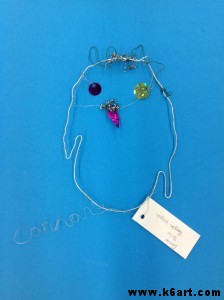
Connor was able to sign his name in wire.


Fish, pig and camel. Early finishers made name art.

How to Display Wire Sculpture:

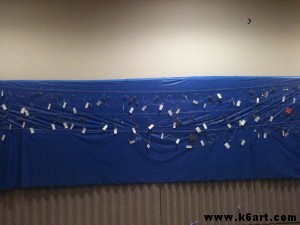
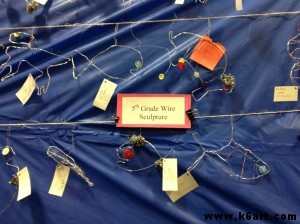
Our silver-colored sculptures look best against a solid, dark background. We hung blue vinyl table covering (from a roll) across a wall. We attached twine in front of the covering, and hung the sculptures using paper clips (opened to form an ‘S’ hook).

Completed wire sculpture display.

Great job fifth graders!!!

Kudos to the parent volunteers who helped out in the art room every week. We really appreciate your efforts.

Thanks to our fabulous art show chair and her husband for designing and installing this display. That was a lot of hard work!

Wire sculpture is so much fun, and it’s not messy. Learn about Alexander Calder, the famous (and fun!) artist whose work inspired this lesson. Want to know how? Check out my previous Calder wire sculpture and Calder wire portrait posts complete with PowerPoints. *NEW* Read two Calder books online for free!

Good luck!

I am an affiliate of Blick Art Materials.  I have been using Blick 14-gauge sculpture wire  for nine years and love it!

Note: post updated on 11/23/13.

Calder Wire Portraits


calder wire portraits

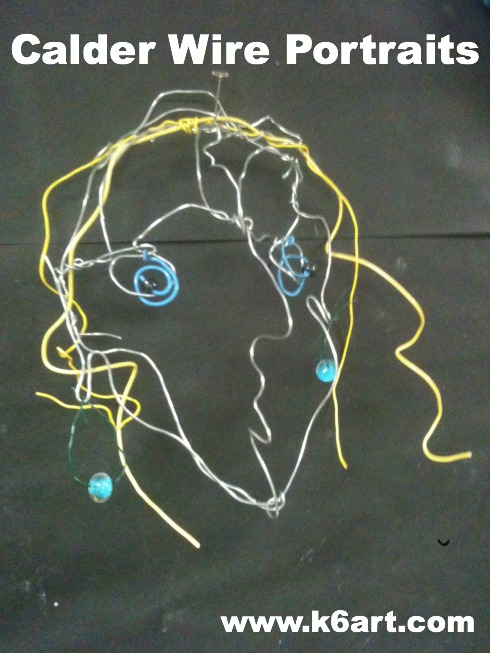
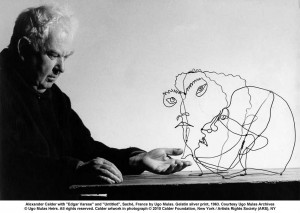
Alexander Calder was an amazing, original, sculptor with a great sense of humor. Our 5th graders had a lot of fun making Calder-inspired wire portraits.

5th grade students made 3D wire portraits in the manner of Alexander Calder. Allow three 40-minute sessions.

Materials

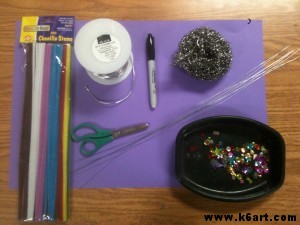
Basic wire sculpture supplies. All wires and decorations can be cut with kindergarten scissors.

  • two 4 ft. pieces of wire (cut from spool of 14-gauge Blick Sculpture Wire) (note: compensated affiliate links)
  • pre-cut floral wire, (AKA ‘stem wire’) in bright aluminum, 26-gauge for wiring on embellishments (I call this fine and flexible wire ‘sewing wire’ because it is fine enough to pass through a sequin)
  • soft colored wires, such as Twisteez, pipe cleaners, or electrical wire (be sure it is easy to cut)
  • embellishments: stainless steel pot scrubbers (can cut into smaller pieces, for beard), pony beads, sequins or buttons (for eyes and earrings)
  • scissors
  • copy paper or other thin paper
  • Sharpie marker
  • optional: gallon-size Ziploc storage bag if more than one session is required.

Day one:

Discuss Alexander Calder. I made a Calder wire portrait Powerpoint you may find helpful.

  • Pass out paper and markers.
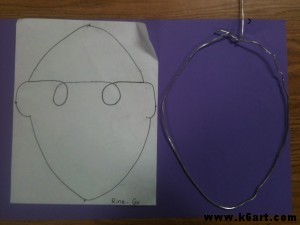
  • Draw a front view of the face. Make a simple contour and touch all four sides of the paper.
  • Turn paper over: the black lines from the first side should be visible!
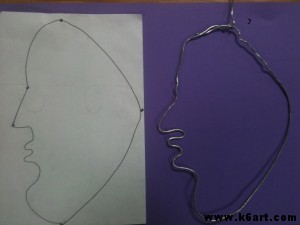
  • Now draw a simple profile of a face, including nose and lips. The profile should touch the top, bottom and one side of the paper.

Put sketch in labeled storage bag.

Sketch: front

Flip sketch over. Draw profile view (note front view is barely visible)


Day two:

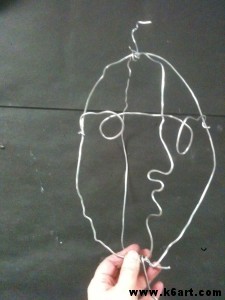
Pass out bags, markers, and two 4 ft. lengths of 14-gauge Sculpture Wire per student. Students should turn sketch to the front view. Bend one wire around oval sketch. Overlap ends and wrap to secure.

Trace front view with wire

Flip the sketch to the reverse. Place end of second wire at top of profile and bend wire to follow sketch. Overlap ends and wrap to secure. You may have excess wire – do not cut this off yet.


Trace profile in wire.

Put sketch + wires in labeled storage bag.

Day three:

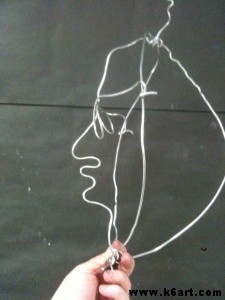
Remove wire portrait pieces from bag and insert the front view through the profile. Secure at joints at top and bottom of face using pre-cut wire and any excess wire. Give students a short piece of wire for ‘glasses’. Add ‘C’ shaped wire ears if desired (or bend out ears from face wires).


Insert the profile into the front view and secure. Add a short wire for eyes.


Side view of assembled wire portrait. Ready to embellish with pipe cleaners, beads, pot scrubbers and sequins.


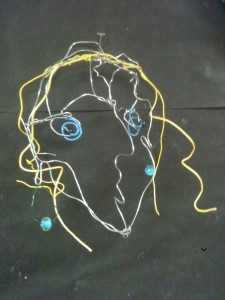
Colored wire (or pipe cleaners) make fun hair and eyes.

Display:

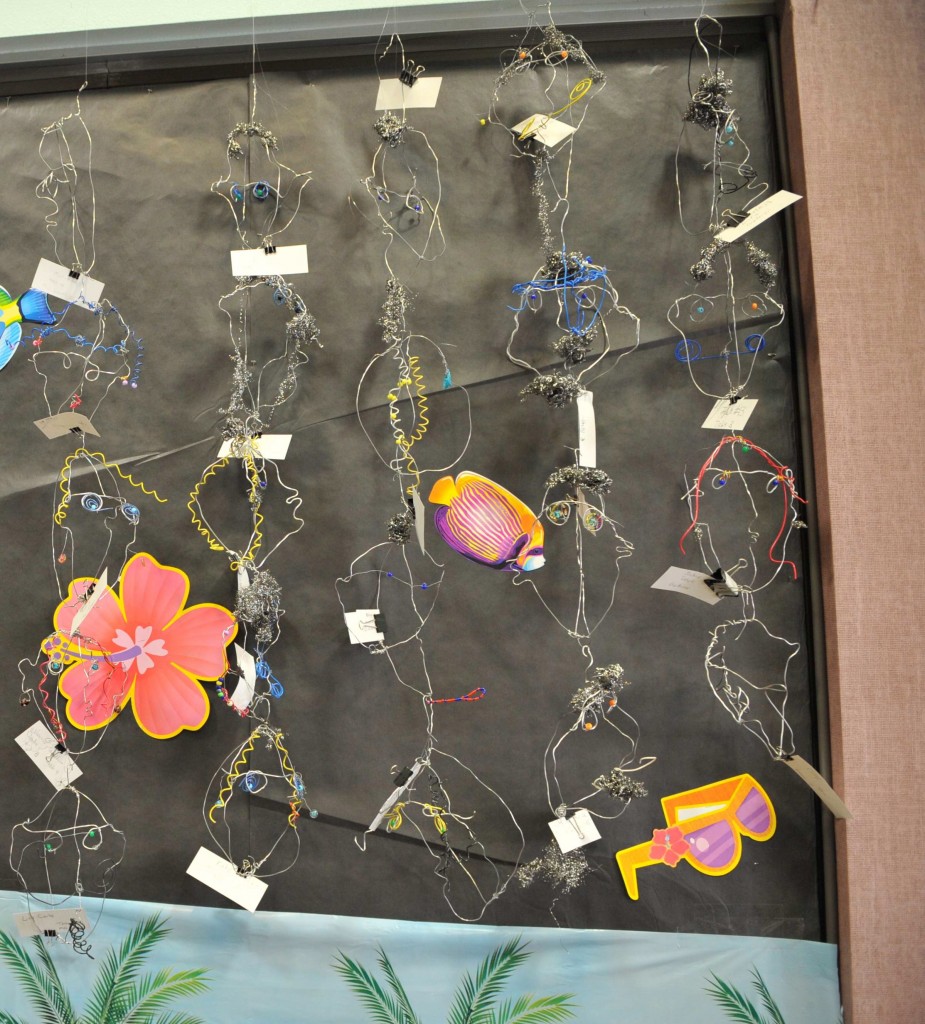
Suspend from ceiling with string or fishing line, or link faces together with paper clip ‘S’ hooks for a giant mobile.


Calder-inspired wire portraits hang in chains at school art show.

Helpful links:

Good all-purpose introductory video movie on Calder.

Here is a link to a past Calder portrait exhibition at the National Portrait Gallery.

The wire sculpture method for this project was inspired by the armature in this Dick Blick video lesson plan.


I absolutely LOVE Calder’s art, and I think your students will too. Check out my other Calder posts:

Good luck!  If you try this project and post it online, please link back to this post. 🙂

Enjoy!

Do you have a favorite Calder project?

NOTE: POST UPDATED: 11/25/13
Related Posts Plugin for WordPress, Blogger...