Art + Cooking Camp: Crepes and Monet

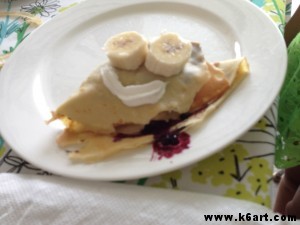
What fun!  I just finished Day One of my Paris-themed art and cooking camp.  Today we made Banana-Nutella crepes on a real Parisian crepe griddle. We ended the morning with Impressionistic ‘mini-Monets’, created with chalk pastels and Shrinky Dinks shrinkable plastic.

Crepes

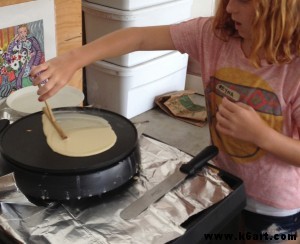
We started out by watching a YouTube video of a real Parisian crepe vendor. Then we mixed up the batter, all the while talking about how to measure out and combine the ingredients. CLICK HERE FOR THE RECIPE! I swear by my CucinaPro electric Crepe Maker for that real Parisian street food experience (note: compensated affiliate link).

Reyna tries her hand at crepe-making

R. tries her hand at crepe-making

Smile!

Smile!

‘Mini-Monets’

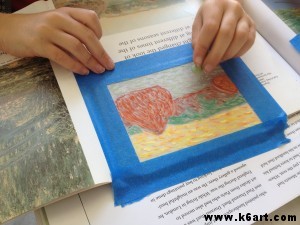
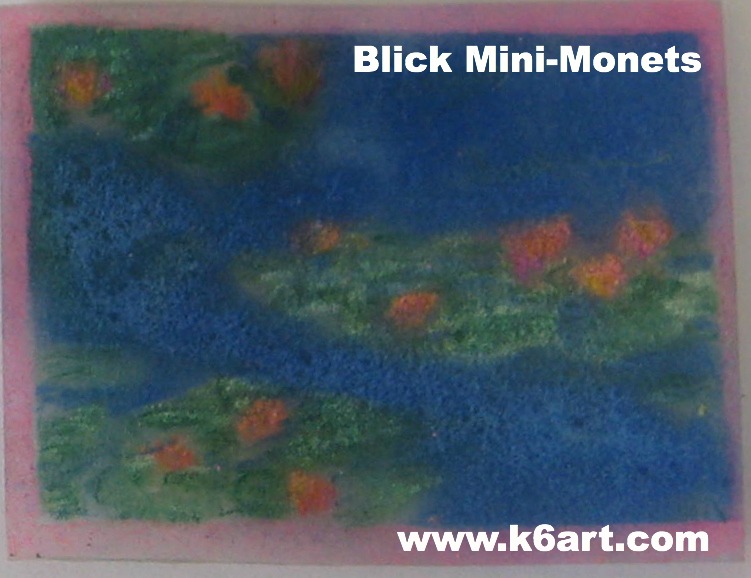
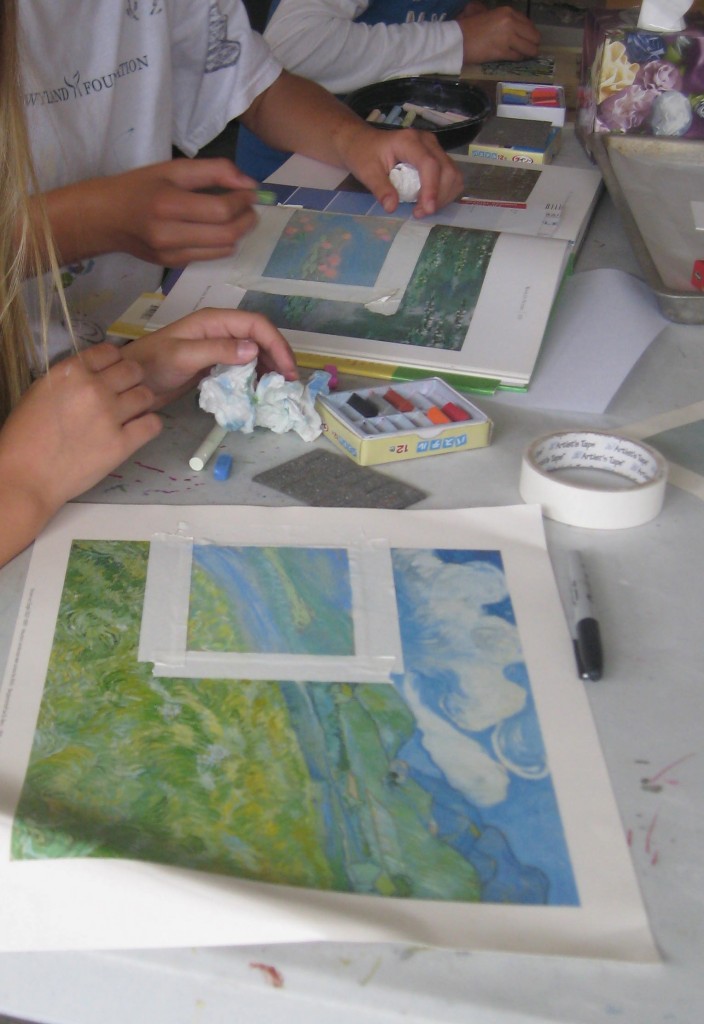
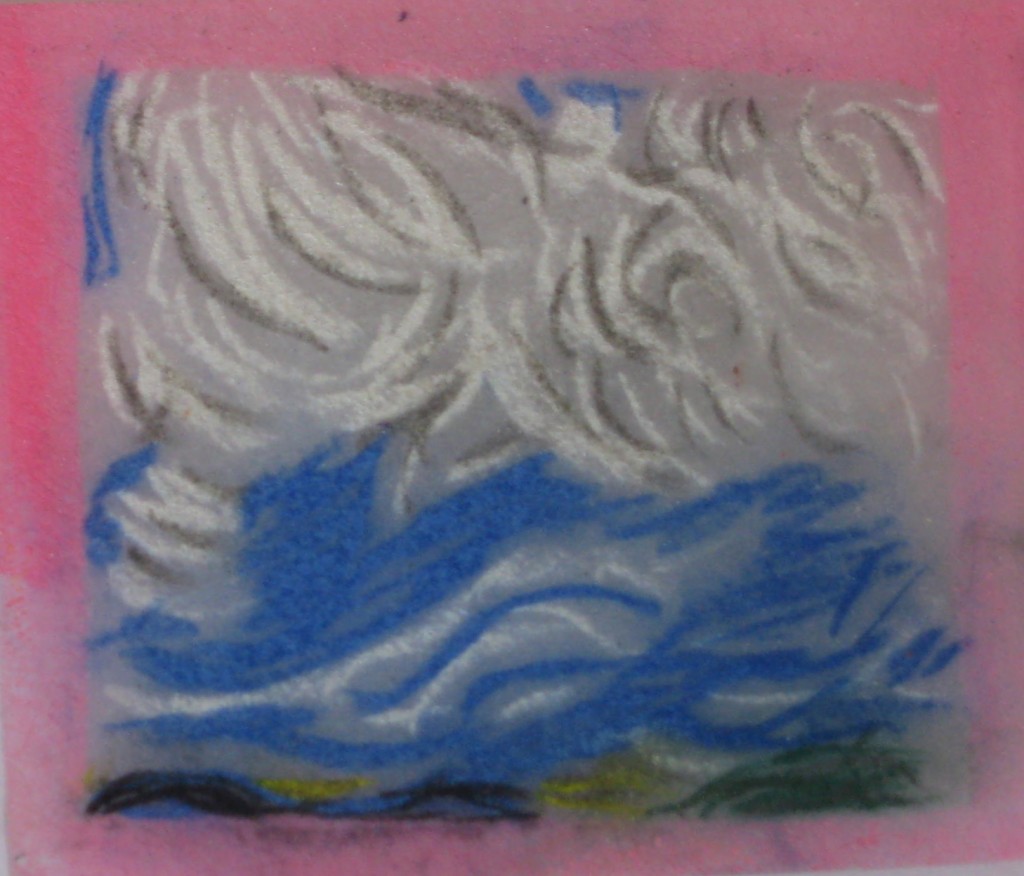
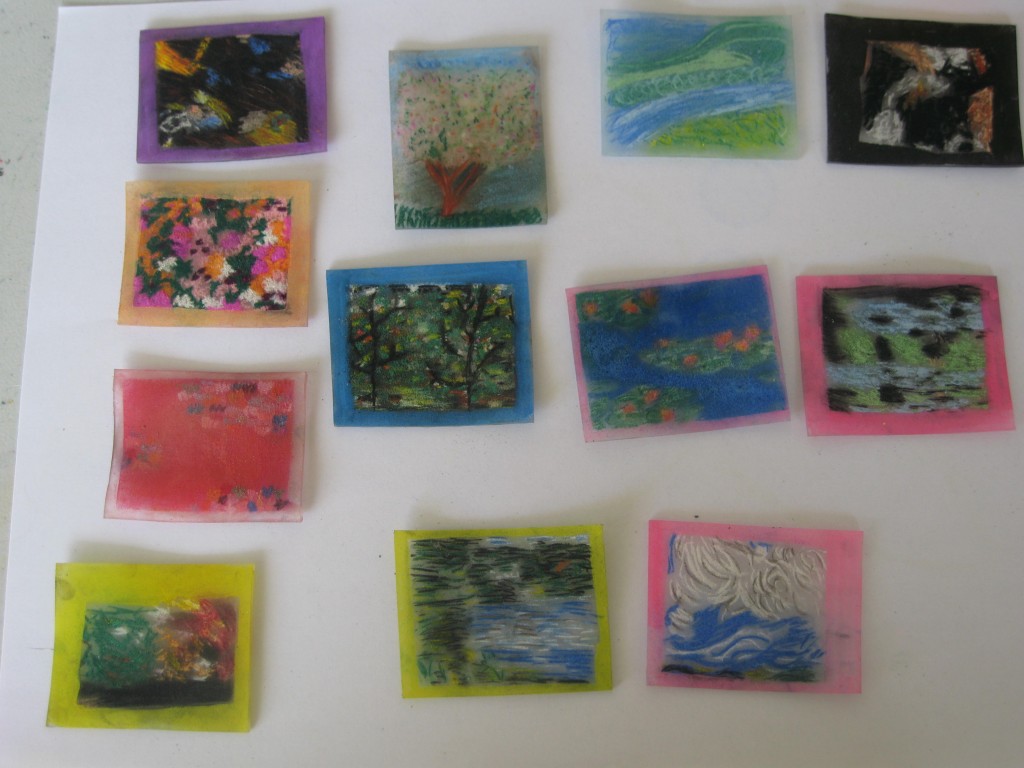
The ‘mini-Monet’ lesson from Blick is really fun and successful. You tape frosted Shrinky Dinks over an Impressionistic artwork, then trace over the brushwork using short strokes of chalk pastel. Shrink in a toaster oven and Voila!. We had 45 minutes for art – some kids made two pieces during that short time. Click here to see more examples.

Paige recreates Monet's haystacks in chalk pastel.

P. recreates Monet’s haystacks in chalk pastel.

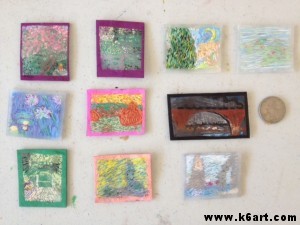
Completed 'mini-Monets'. Not much taller than a quarter!

Completed ‘mini-Monets’. Not much taller than a quarter!

Tomorrow is Eiffel Tower day. Stay tuned for more photos later this week.


Enjoy!

(Note: this post contains compensated affiliate links)

Chalk Pastels: To Spray or Not to Spray?

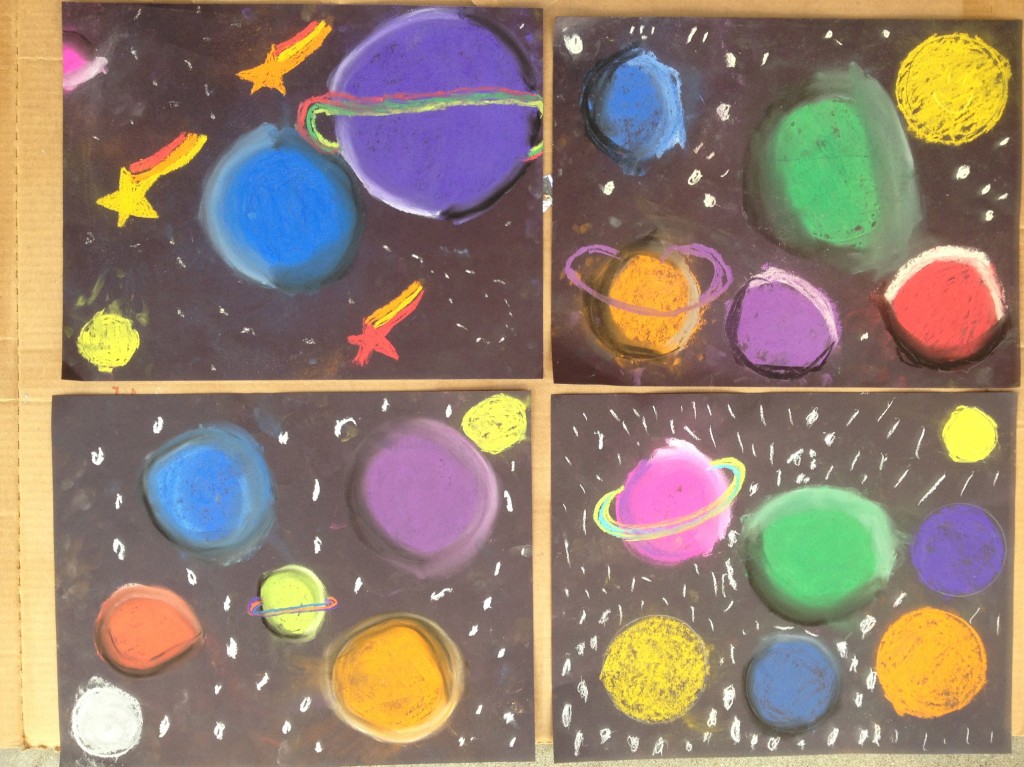
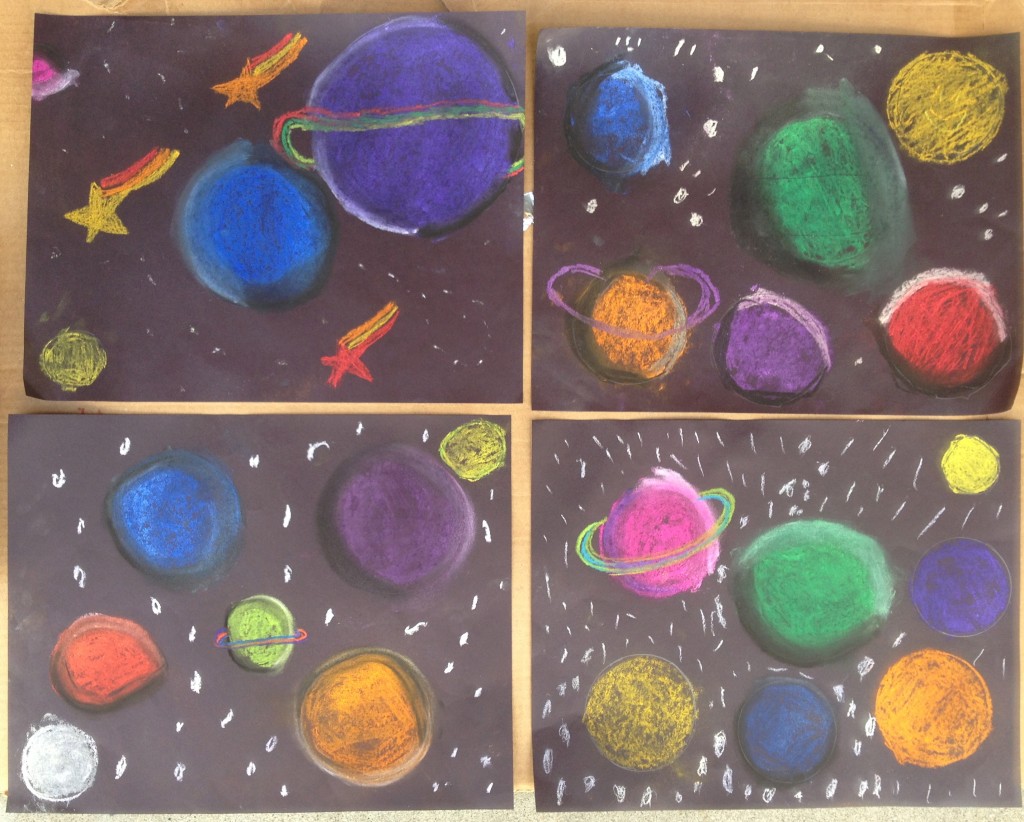
I love the look of chalk pastels on black paper. Here are our  chalk pastel planets from this post on Art Projects for Kids. Gorgeous colors, but so messy. I sprayed them with hair spray.

Chalk pastel planets before fixative

Chalk pastel planets after fixative spray

Yep! They are significantly dulled down. Hair spray is cheap, fixes the pastel and doesn’t smell like a toxic chemical. But…I wish I could maintain those bright colors. I know some teachers skip the spray and store the art between sheets of paper. Any suggestions?

Do you spray your students’ pastel artworks?

Can you recommend a good fixative for chalk pastel?

Mini Monet Impressionist Art

Do you love impressionism? Want to create memorable artworks? Try this Mini-Monet lesson plan from the Blick website. It even has an instructional video!

I adjusted the materials list from the Blick website. Here is what I used:

  • Shrinky Dinks shrink plastic, Frosted Ruff ‘n’ Ready, size 8″x10″, cut into quarters (tip: cut it on the paper cutter)
  • chalk pastels and spray fixative OR
  • colored pencils
  • easily removable masking tape, such as artists tape
  • color photos of impressionist art from books, notecards and calendars
  • oven or toaster oven and oven mitts
  • baking sheet
  • fine-tip gold pen (optional)
Tape the Shrinky Dink, rough side up, over a section of the impressionist book or note card. Trace image onto Shrinky Dink. Use short strokes to mimic Monet’s and other impressionists’ style.

Students tape shrink film over impressionist art, then trace with pastel or colored pencil.

Bake in the oven according to directions on the Shrinky Dink package. Shrinky Dinks shrink when baked, starting at 4″x5″ before baking and about 2″x1.5″ after. When baking Shrinky Dinks, do not remove from oven until the plastic ‘comes up’ (folds and shrinks) and ‘comes down’ (flattens). Count to 30, then remove.

After tracing, remove tape and bake plastic in oven. Here is one after shrinking.

Kids are going to want to watch this!  If you are doing this in a small group setting, let them watch the shrinking process through the oven window.

Completed Mini Monets

If you use chalk pastels, you will need to spray them with a fixative AFTER BAKING (hair spray is fine). If you don’t, they more likely to smear. You do not need to spray if you used colored pencil.

As a finishing touch, color the thickened edges of the shrunken artwork with gold marker.

Add a magnet, pin back, display as a group or on mini-easels.

This project would look great with Van Gogh’s artwork. Students will like tracing his short brushstrokes with pastel or colored pencil.

Do you have a favorite impressionism project? Leave a comment!


Chalk Pastel Stencils Part 2: Collage

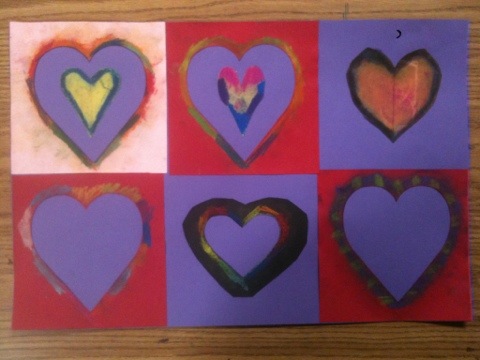
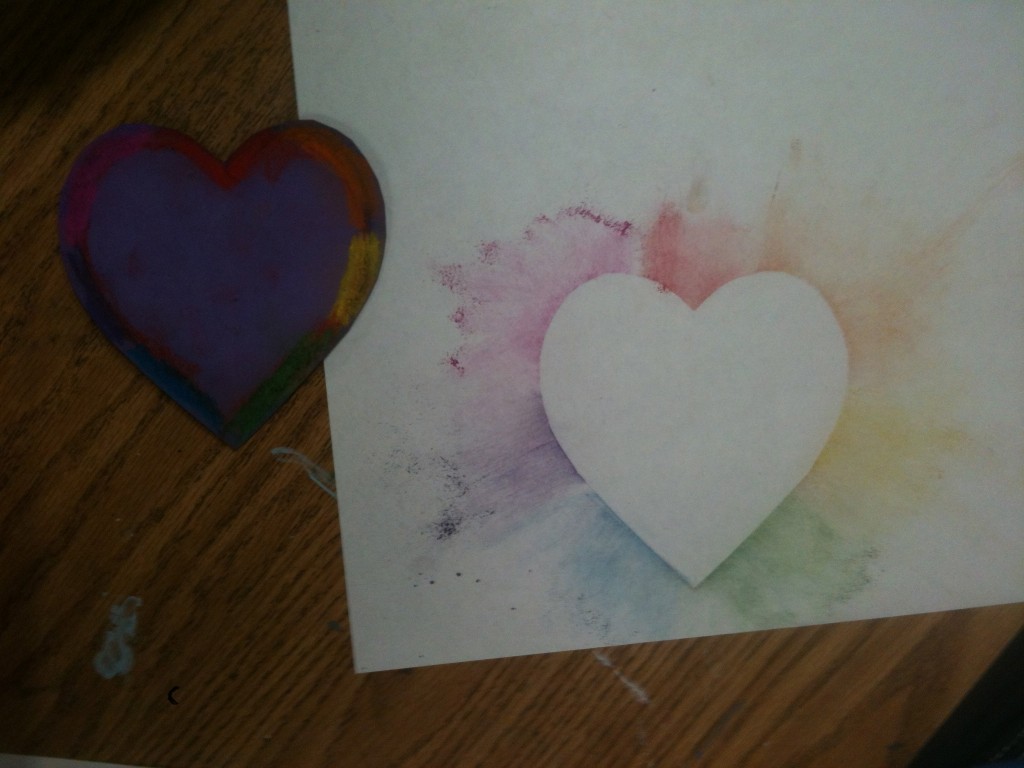
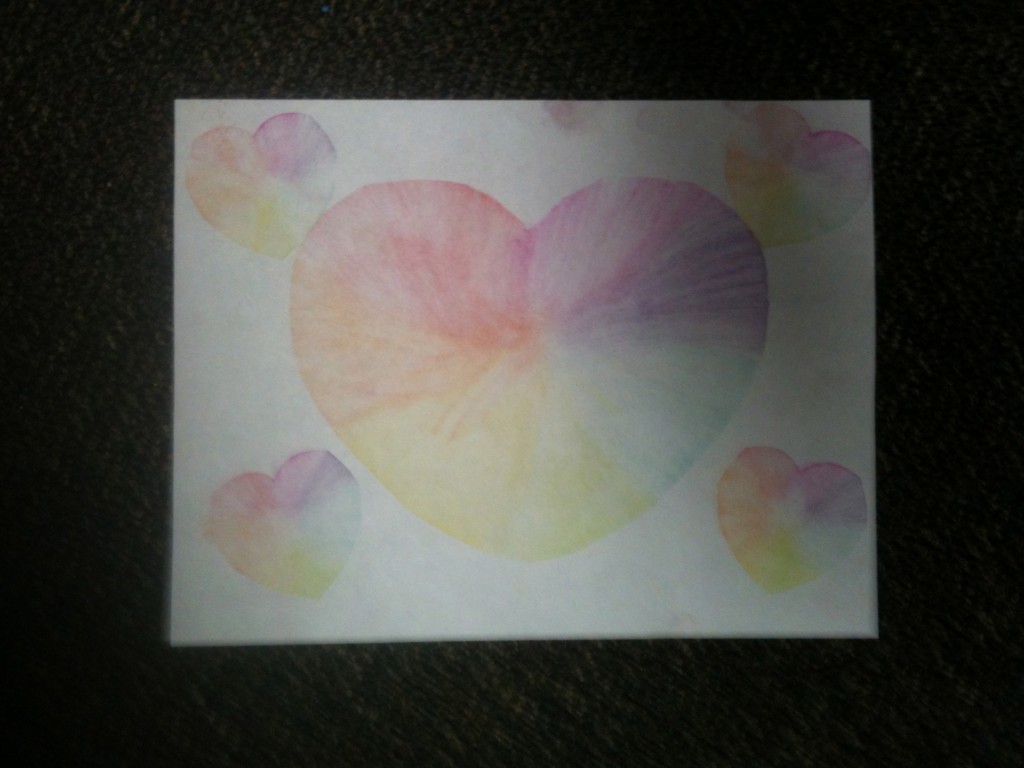
After creating chalk pastel stencil art with multiple classes last week I had a lot of colorful used stencils. I sprayed them with fixative (Aqua Net unscented hairspray) and glued them to construction paper.


20120213-210318.jpg

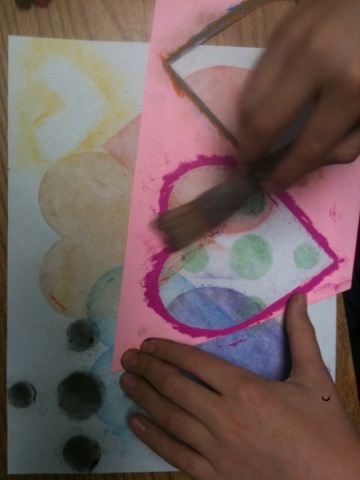
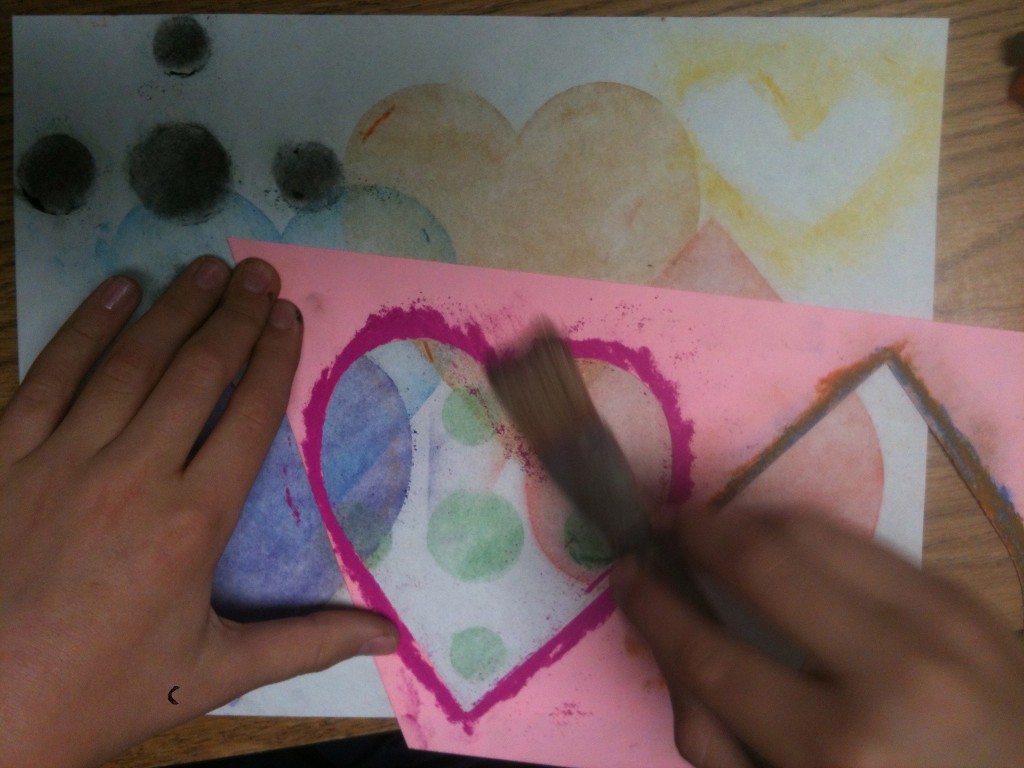
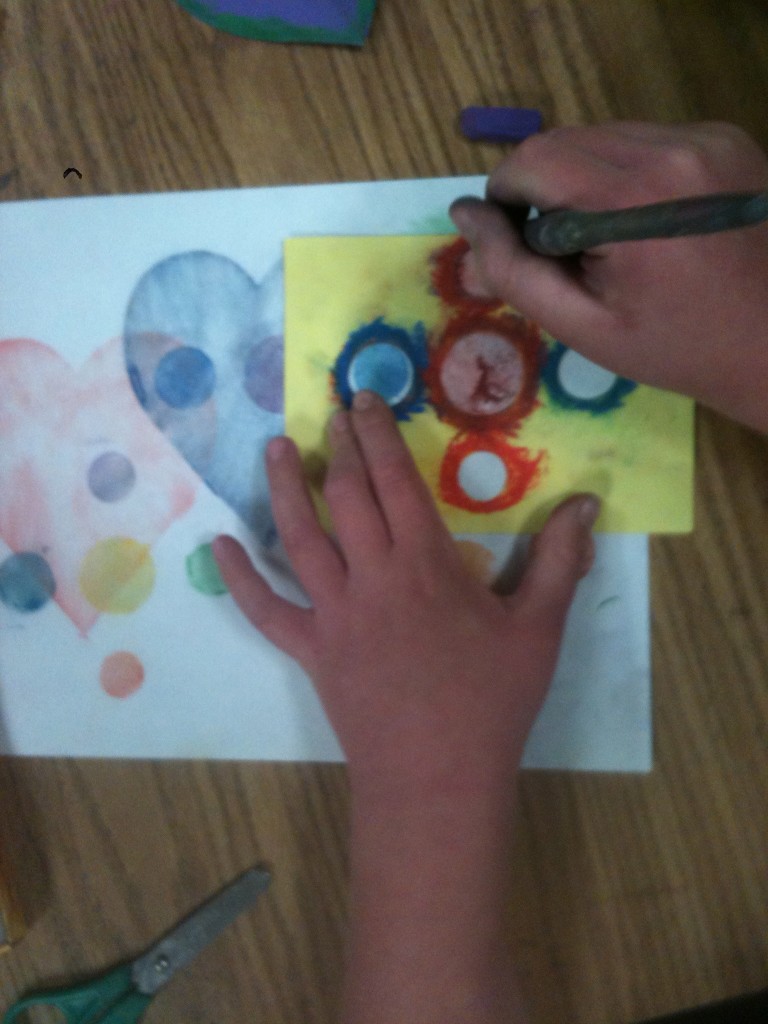
Students outlines stencil opening with chalk pastel and brushes color inward.

20120213-210401.jpg

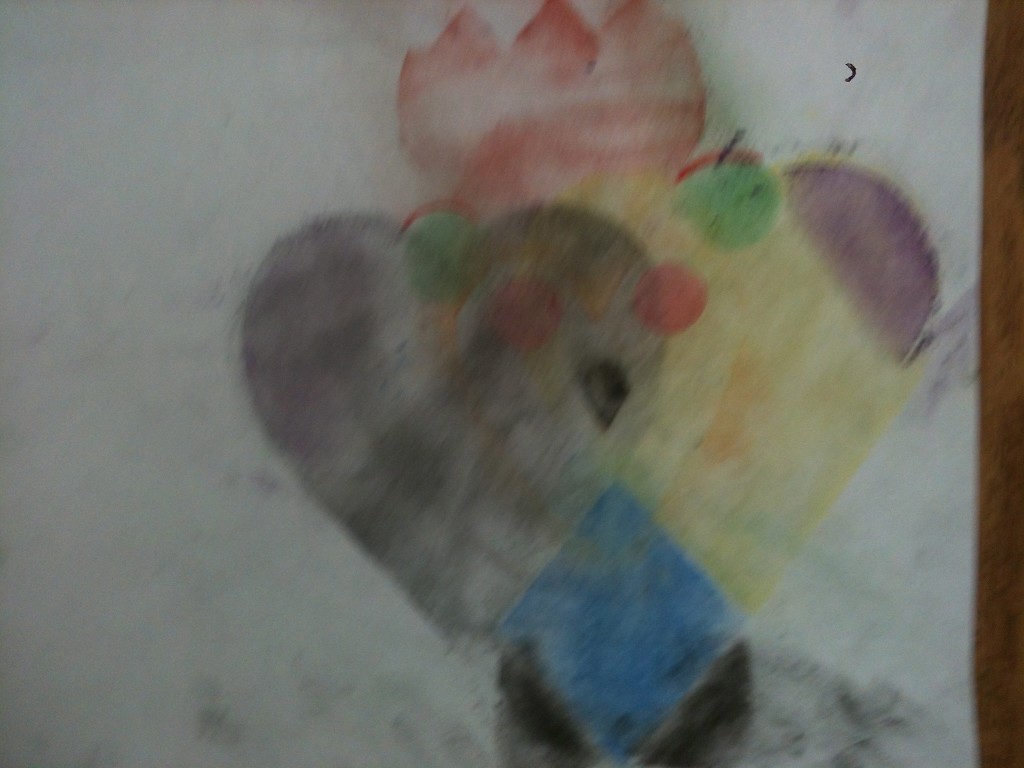
Used die-cut and hand-cut stencils make another kind of Valentine.


Which is more beautiful- stencil art or used stencil art? I can’t decide…Happy Valentine’s Day!

Chalk Pastel Stencils – Quick, Easy and Beautiful

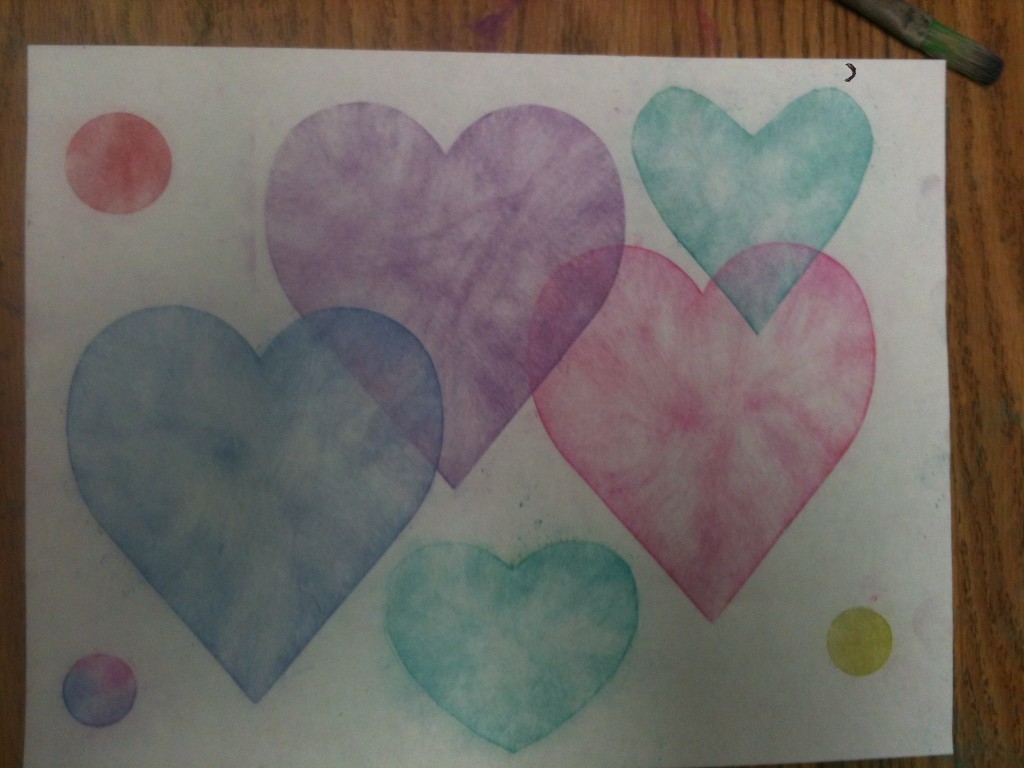
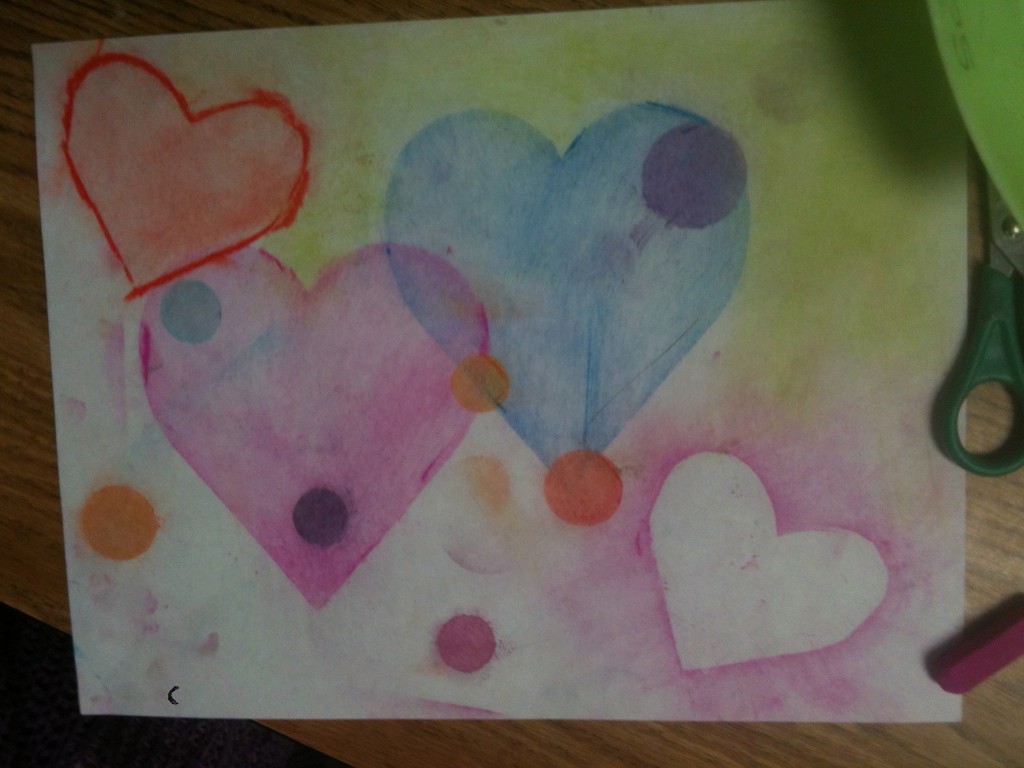
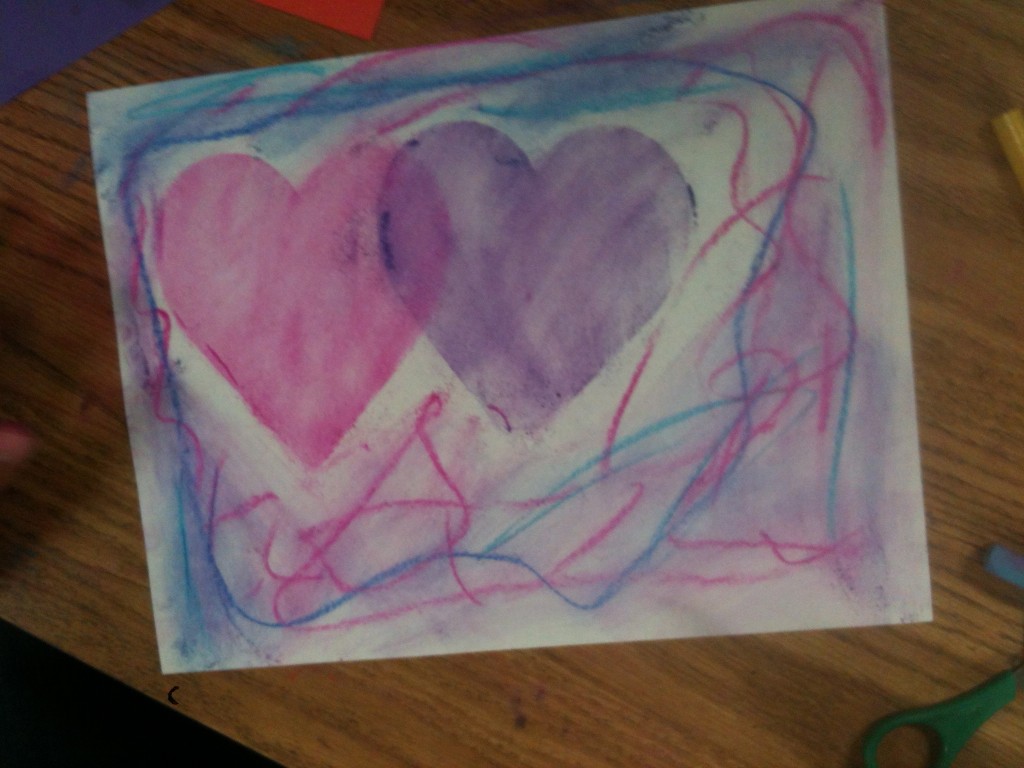
5th graders used chalk pastels and cut paper stencils to make overlapping hearts.

These beautiful chalk pastel stencils take only one 40 minute session!

Materials:

  • Chalk Pastels
  • Stiff brush (we use our old tempera brushes)
  • scissors
  • construction paper for background (we used white 9″x12″)
  • construction paper cut approx. 4″x6″ for making stencils
  • optional: ready-made stencils

Instructions:

Fold the small rectangle in half. Draw a half heart on the fold and cut out.

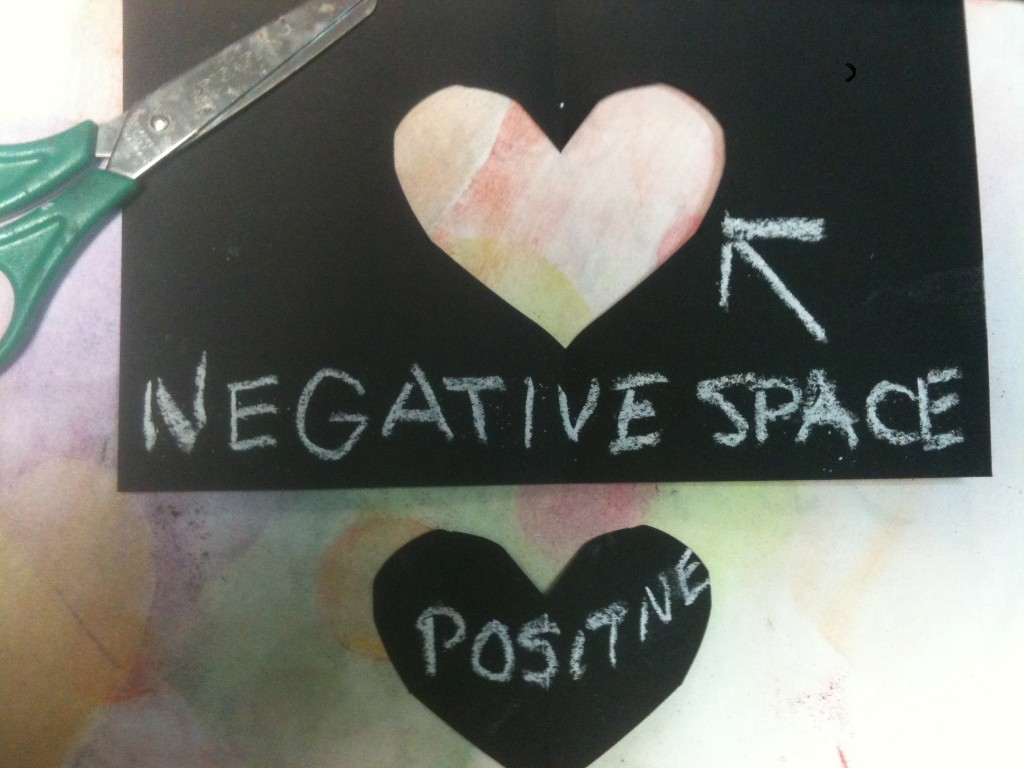
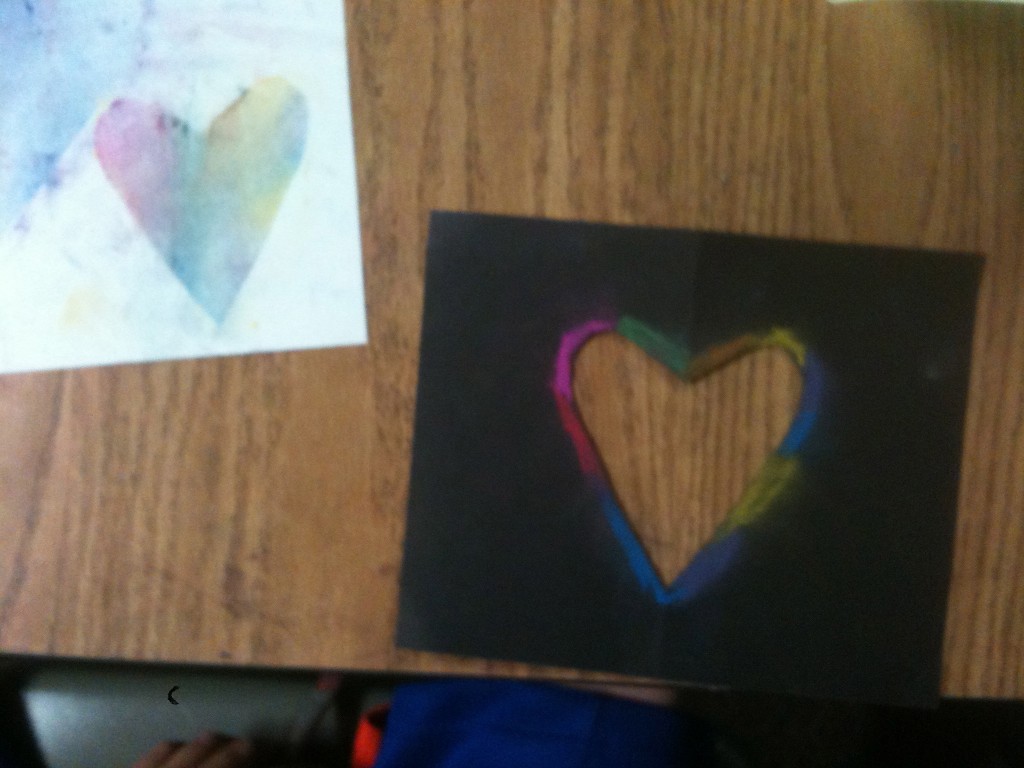
Students can use both the positive and negative shapes from homemade stencils.


Color around the edges of the cut out 'window'.


Now take the stiff brush and brush the colored pastel into the stencil ‘window’.

These pink hearts 'stencils' were made on the school die-cut machine.


Lift up the stencil. Students will ooh and aah if they have never tried this process before! Now shift the stencil and repeat the process.  Encourage students to overlap.

Now take the positive shape and color the edge with pastel. Place on the background paper, and brush the color outward onto the paper.

Positive shape can be used as a stencil.


Nice composition and color.


We reused our die-cut stencils for three classes. We just colored and colored again around the edges. Tell the students to relax – it’s going to look beautiful.

Students can also color the background.


Another stencil made on the school die-cut machine.

This student used his stencils to make a bird.

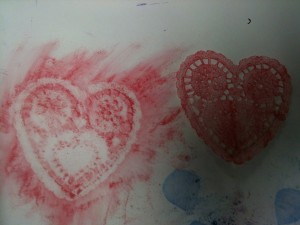
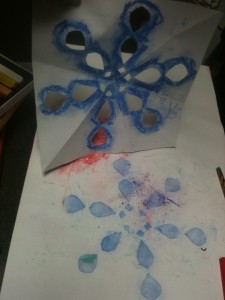
This method would be very interesting with cut paper snowflakes or doilies.

Experiment with doilies.

Try a homemade snowflake stencil.


Minimize the mess: ask students to tap their excess chalk pastel dust onto a piece of newspaper.

What to do with all those used colorful stencils? Try this used stencil collage project. Double the art fun!

This method came from the San Diego Museum of Art  2010 Educator’s Art Fair. The lesson can easily be adapted for all grades K-6.

Related Posts Plugin for WordPress, Blogger...