Easy Chihuly ‘Bellagio’ Ceiling

bellagio ceiling collage


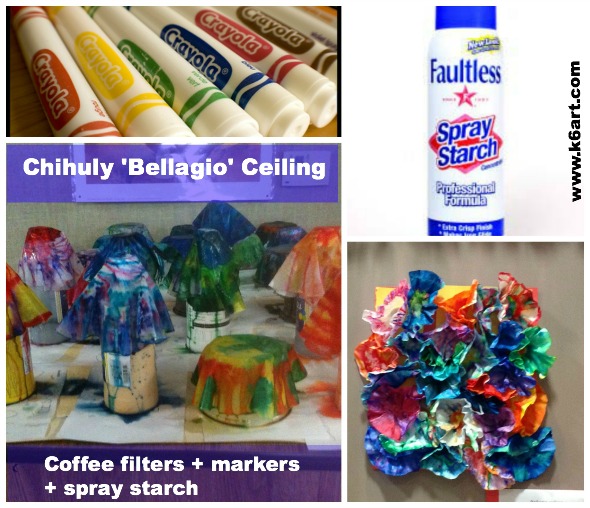
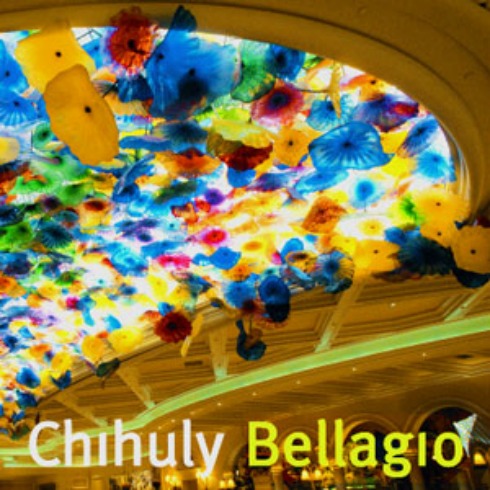
Dale Chihuly is an American artist known for his fanciful, organic-shaped glass sculptures. Here is a group art project inspired by Chihuly’s ceiling installation at the Bellagio in Las Vegas. Our project turned out so well I installed it on my art room ceiling!


Chihuly bellagio


Materials:

  • basket-type coffee filters, various sizes
  • watercolor markers (such as Crayola)
  • spray starch
  • assorted plastic cups and bottles for drying
  • newspaper or other table covering to protect drying surface
  • tag board
  • hole punch
  • hot glue

The Art Project:

Students colored their coffee filters with Crayola markers. We did a quick review of the color wheel before coloring: students should select analogous colors, or use warm or cool color combinations. Avoid complementary color choices – the colors will muddy when sprayed.

Students DO NOT have to color every inch of the coffee filter! Leave some white space – the colors will run together when sprayed with starch.

Spray and Assemble:

Cover a table with newspaper. Set up old plastic tubs, bottles, etc. Invert coffee filter over the tubs and spray with spray starch. The colors will run and blend. Let dry over night.

Hot glue the flat bottoms of the dry coffee filters to a sheet of tag board.  I punched holes around the edge of the tag board, and used T-pins to pin the artwork into my acoustic ceiling tiles.

(Guess what? My ‘Bellagio’ ceiling didn’t set off the motion sensor alarm. Hurray!)

This project was inspired by one of the many projects in the Chihuly unit from Nashville public schools.

More Chihuly Resources:

The Children’s Museum of Indianapolis has an extensive virtual glassblowing interactive for kids.

Watch a variety of Chihuly videos on Yahoo Screen.

Check out my earlier post for a 30-minute group art chandelier.

Enjoy!


Tie Dye Snowflakes

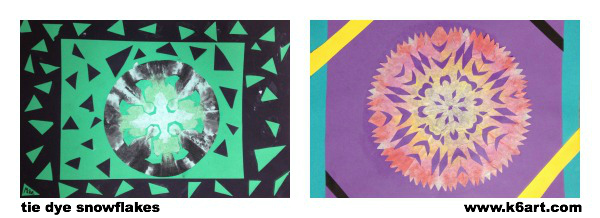
tie dye snowflake collage 3

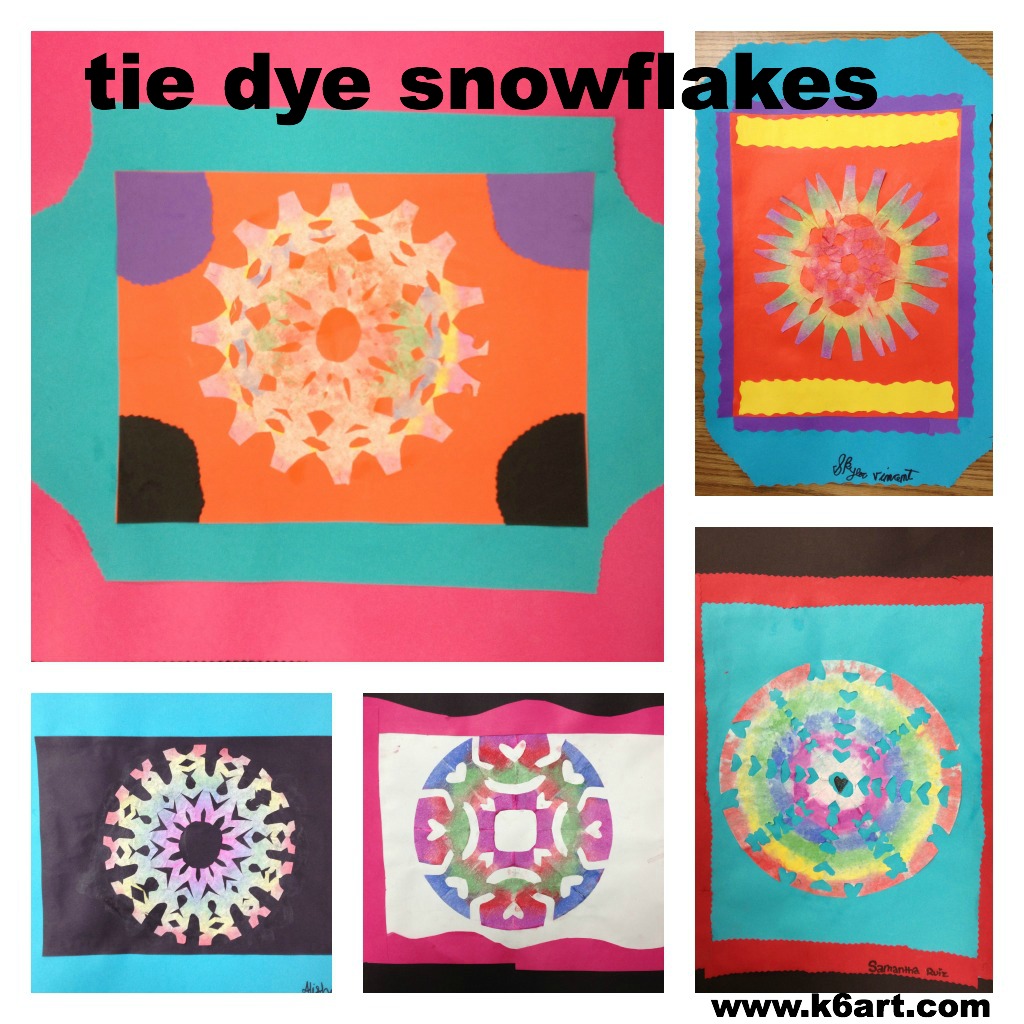
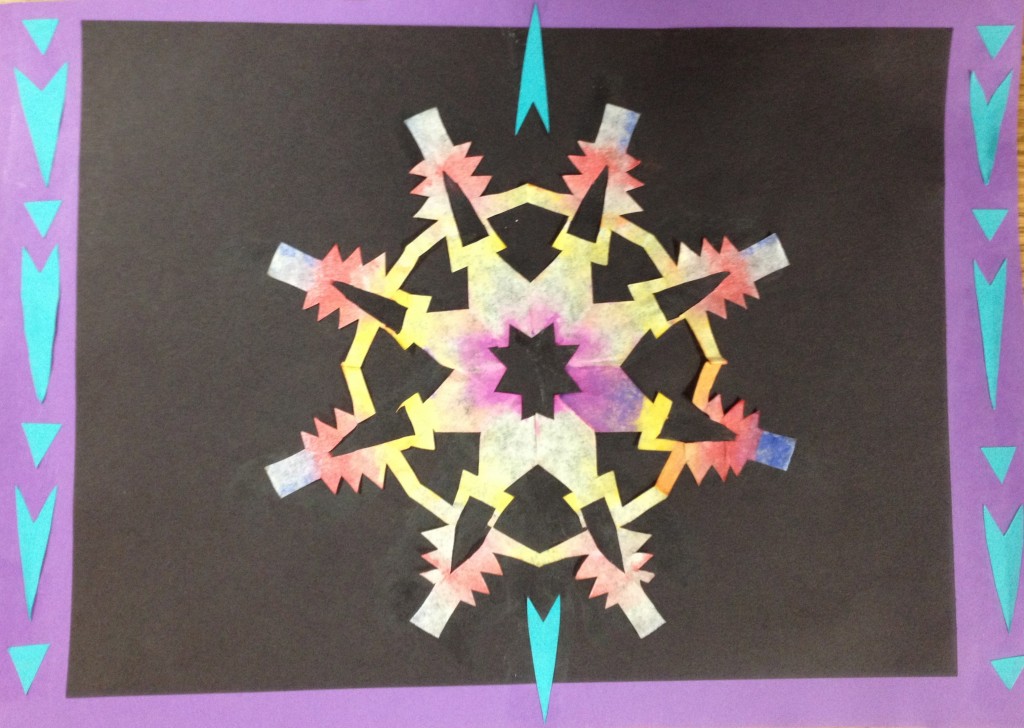
Give your snowflake project a colorful twist – ‘tie dye’ them! Sixth grade just finished their tie dye snowflake collages, made with coffee filters and painted with tempera cakes. This lesson was inspired by this post at A Faithful Attempt blog.

Sixth graders cut and paint coffee filter snowflakes, then use them in a collage. Allow two 40-minute classes.

Sixth graders cut and paint coffee filter snowflakes, then use them in a collage. Allow two 40-minute classes.

Day 1:

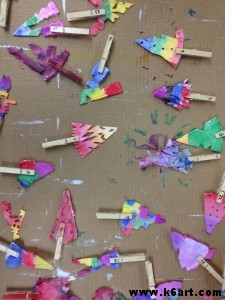
We began by viewing all the excellent student examples on the Faithful Attempt blog. Next, we folded our coffee filter rounds and cut our snowflakes using this method. NOTE: DO NOT OPEN THE PAPERS AT THIS TIME! Students painted their folded snowflakes with tempera cakes, then clipped on a numbered clothespin.

Students were allowed to make multiple snowflakes, so long as the folded flakes could fit stacked up in a single clothespin. One student was able to fit three painted snowflakes in a single clothespin. I let the papers dry on a sheet of cardboard.

Label each snowflake with a numbered clothespin.

Label each snowflake with a numbered clothespin. If you have multiple classes, use a different colored number for each class.

Day 2:

The sixth graders carefully opened their papers. THEY LOVED THE RESULTS! They mounted the snowflakes on construction paper using glue stick (tip – glue down the center first and carefully work your way out to the edges).

I was going to stop the project at that point, when someone asked me if she could double-mat their work. Then someone asked me if he could make a decorative border. I pulled out the ‘fancy’ scissors and the scrap paper bin, and gave them free rein. Our snowflake project turned into a collage project!

Sixth grade results:

tie dye snowflake collage 1tie dye snowflake collage 2

For more cool snowflake ideas, check out my previous post: Cut Paper Snowflakes Designed on an iPad.

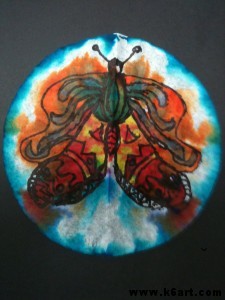
‘Tie-Dye’ Butterfly

It’s spring! Time for a butterfly art project. How about a lesson that delivers perfect symmetry, color and fun in only one 40-minute session?

Materials:

  • round (basket) coffee filter paper, white (available at the dollar store)
  • Sharpies
  • watercolor markers (we used Crayolas)
  • pencils
  • spray bottle of water

Instructions:

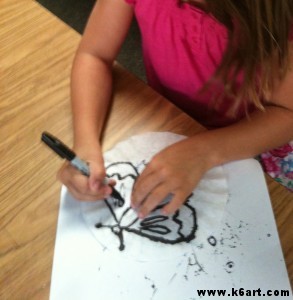
  1. flatten coffee filter
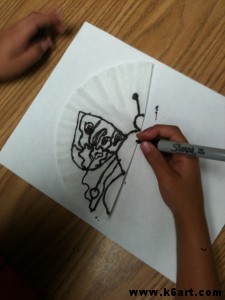
  2. fold filter in half.
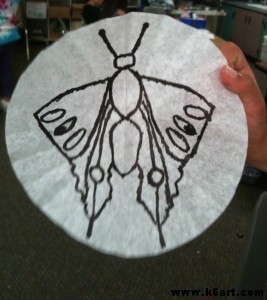
  3. use sharpie to draw 1/2 a butterfly on the folded paper.
  4. Trace over all the Sharpie lines again (this helps transfer ink to the other half of the filter paper).
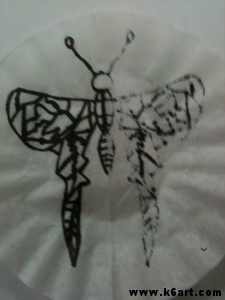
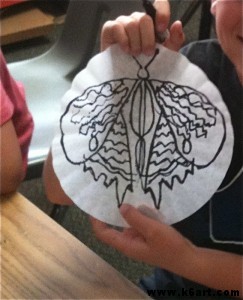
  5. Open the paper. 
  6. Retrace all the faint lines with Sharpie.
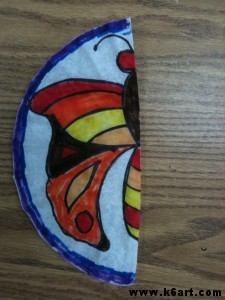
  7. Re-fold the paper into its original position.
  8. Color the folded paper using watercolor markers. We used warm and neutral colors for the butterfly, and cool colors for a band around the edge of the paper.
  9. Place folded filter paper on drying rack, colored side facing up.
  10. Spray with water. I try to saturate the paper (note: put some newspaper on the floor under your drying rack to catch the colored drips).
  11. Let dry before removing from rack.

I love the faux tie-dye effect created by the diffused color. I also love the round format. Bonus: coffee filters are available at the dollar store! So this project costs a couple of cents.

Second graders use Sharpie and crayola marker to make symmetric butterflies. Allow one 40 minute session.

Inspiration for the Sharpie/coffee filter/watercolor marker method goes to Kati Oetken at ARTASTIC!

More coffee filter art experiments on this post.

Japanese Design Surprise

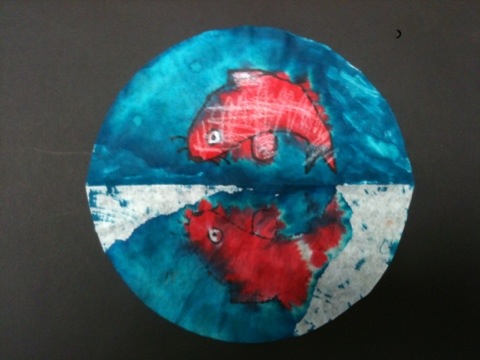
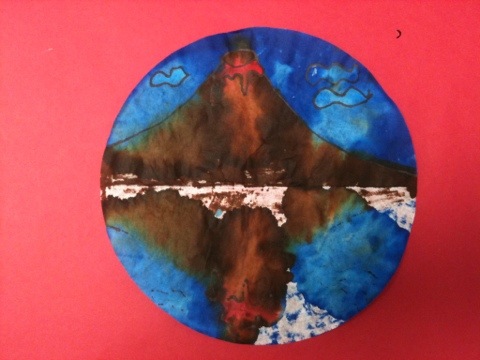
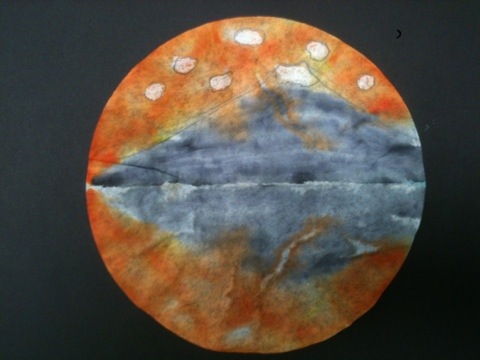
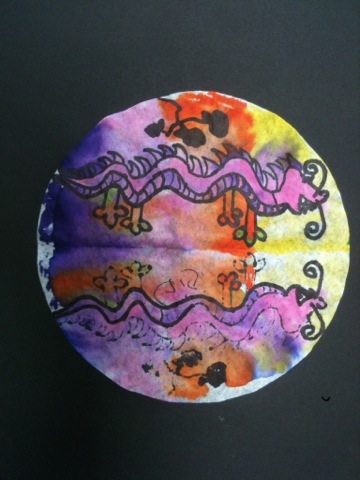
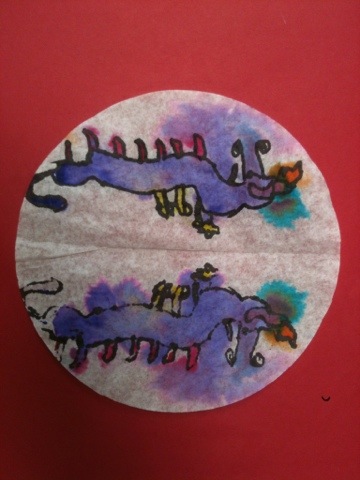
Don’t you just love a beautiful surprise? The third grade made Japanese fans from this post on ARTASTIC! . So much fun! After they dried, I opened the folded paper and discovered these:

20120412-164051.jpg

20120412-164232.jpg

20120412-164248.jpg

20120412-164302.jpg

20120412-164331.jpg

This happy accident occurred because the students
1) completely colored 1/2 the round with watercolor marker
2) probably sprayed a lot of water on the folded filter paper (I let the kids spray their own papers. Not only that – I had a 3rd grader supervise the spraying process!)
3) used white crayon selectively as a resist for clouds, snow and fish scales
4) used new (wet!) sharpies for the black lines

I’m thinking symmetry or reflection project for next year.

Check out all the instructions on Kati Oetken’s ARTASTIC! Blog.

Have you had a beautiful surprise result? Do tell!

Related Posts Plugin for WordPress, Blogger...