Tear Monsters for Kindergarten and First Grade


tear monsters for kindergarten and first grade

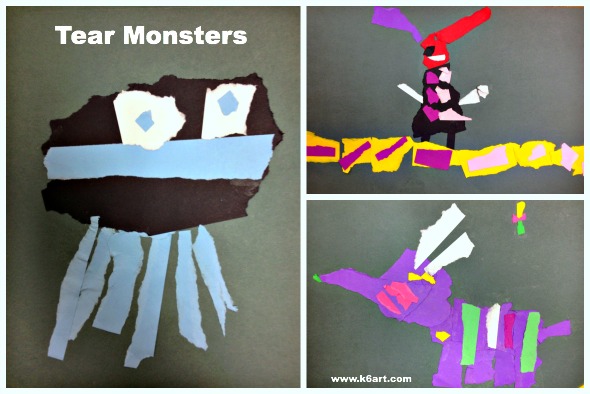
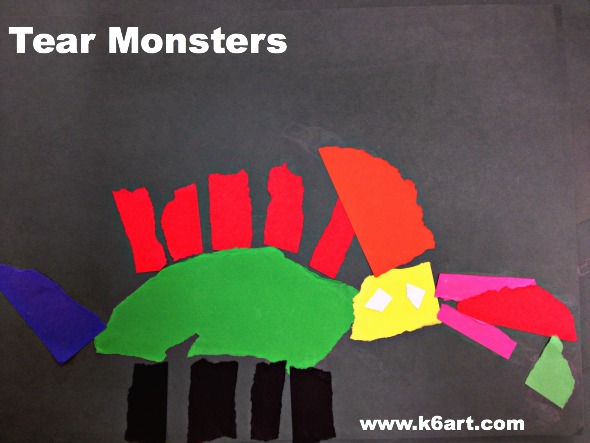
Here is a project I did in the late spring with the kindergarteners. It was a fun way to use up all my colored paper scraps. The kids loved it!

Materials

  • black construction paper, 12″x18″
  • colored scraps of construction paper
  • glue sticks

Art Project

Talk about monsters. What body parts do they have? Claws, fangs, wings?  What else?  Do monsters have to be scary? Or can they be friendly?

Model Tearing

Model the correct way to tear: ask students to hold up a small rectangle of paper, and pinch the paper with both hands. Now put the hands together. Make a short tear in the paper, then another and another, always keeping the hands together.

Tear, Arrange and Glue

Students can begin by tearing a larger shape for the monster’s body.  The ragged edges look like monster fur! Keep tearing the larger pieces such as neck and head. Arrange these pieces on the paper. Students can rearrange until they find a composition they like.

Glue down the large pieces. Now add the small details – stripes, claws, eyes, etc.

Encourage kids to share scraps. Don’t let them throw away anything! Others can use the scraps for their monsters.

tear monsters

I love how each monster is unique. Friendly, funny, scary, weird…each one has their own personality.

Enjoy!


P.S. Want to organize and manage all those paper scraps? Click here and here and here for helpful ideas via Pinterest.

Map Collage Self Portraits

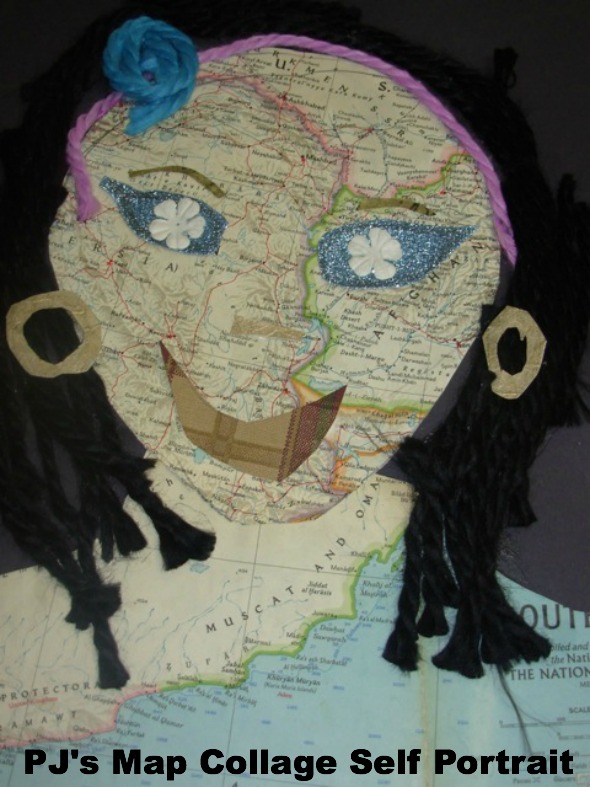
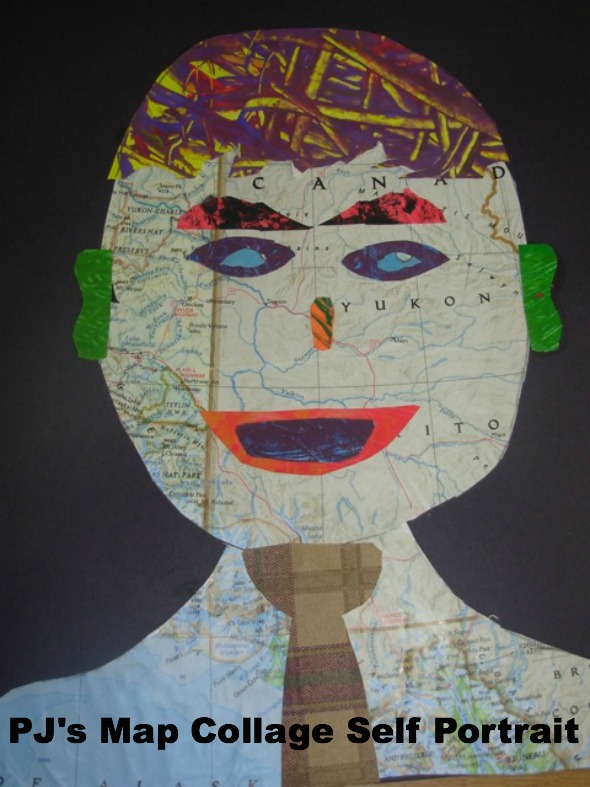
Looking for a fresh self-portrait project? Check out these map collage self portraits shared by PJ, art teacher extraordinaire at Carmel Creek school.

Map Collage self portrait 2

PJ got free maps from the used book sale at her local library  – most were old National Geographic maps. Students just picked an interesting portion of the map to cut up. They did not use a template, so the whole thing took 5 or 6 40-minute classes.  PJ provided painted paper and wallpaper for facial features. Some students braided the yarn, used more sequins etc.

PJs Map Collage Self Portrait

A little more about PJ: she teaches art grades K-4, and is a veteran art teacher in our district. PJ’s school has unique challenges: she has the district’s largest school and has the most multi-cultural student mix. Over a dozen languages are spoken by the students at her school! In addition to teaching art classes and doing recess duty, she teaches reading in the morning. She is absolutely unflappable, a real jewel in our district. Her students ARE SO LUCKY to have her as an art teacher: she brings creativity and enthusiasm to school with her every day. I am SO lucky to have her as a colleague.

Enjoy!

Four New Art Project Ideas for Grades K-6

Looking for new art project ideas? Here are four new (to me) art project ideas from my fabulous creative colleagues, Kelly and Nancy.

Kelly’s ‘Stained Glass’

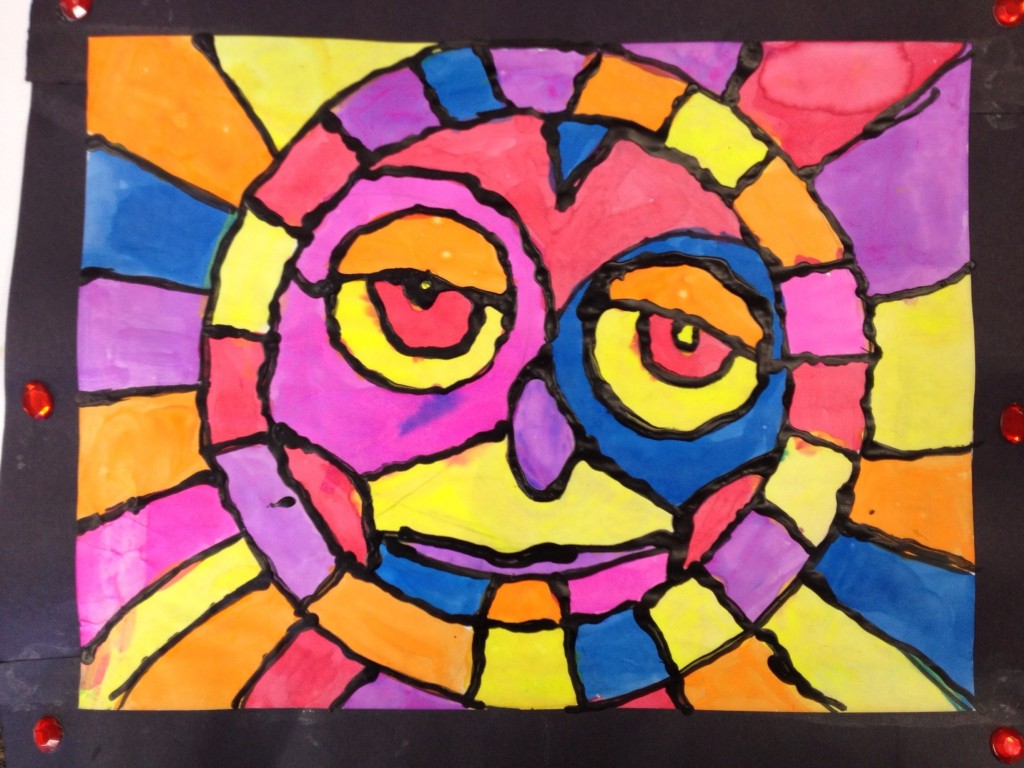
'stained glass' sun

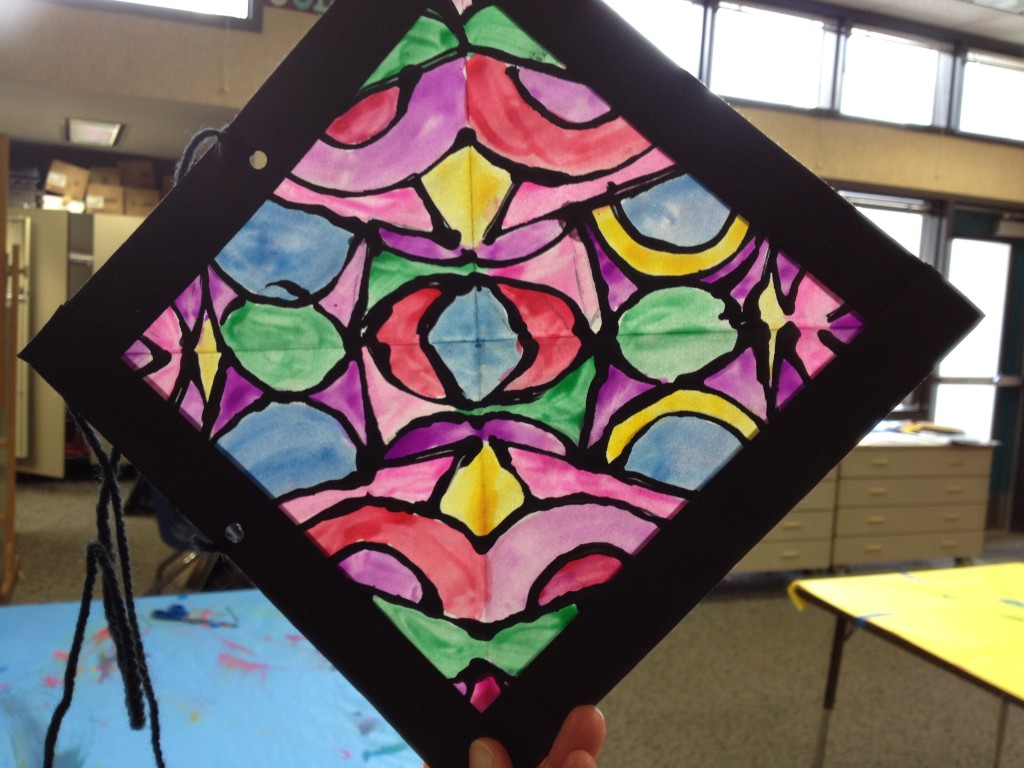
Kelly’s ‘stained glass’ sun made with watercolors and black glue.

Kelly from Skyline School brought these beautiful ‘stained glass windows’ made with fluorescent liquid watercolor and black glue. As a final step, her students rubbed their artwork with baby oil and a cotton ball to make the paper translucent. Primary grades used a paper plate tracer to make the sun. Upper elementary made the geometric window (note: upper grade students used carbon paper to transfer their symmetric designs).

'Stained Glass' window 2

Kelly’s ‘Stained Glass Window’ made with watercolor and black glue.

A New Twist on Monet

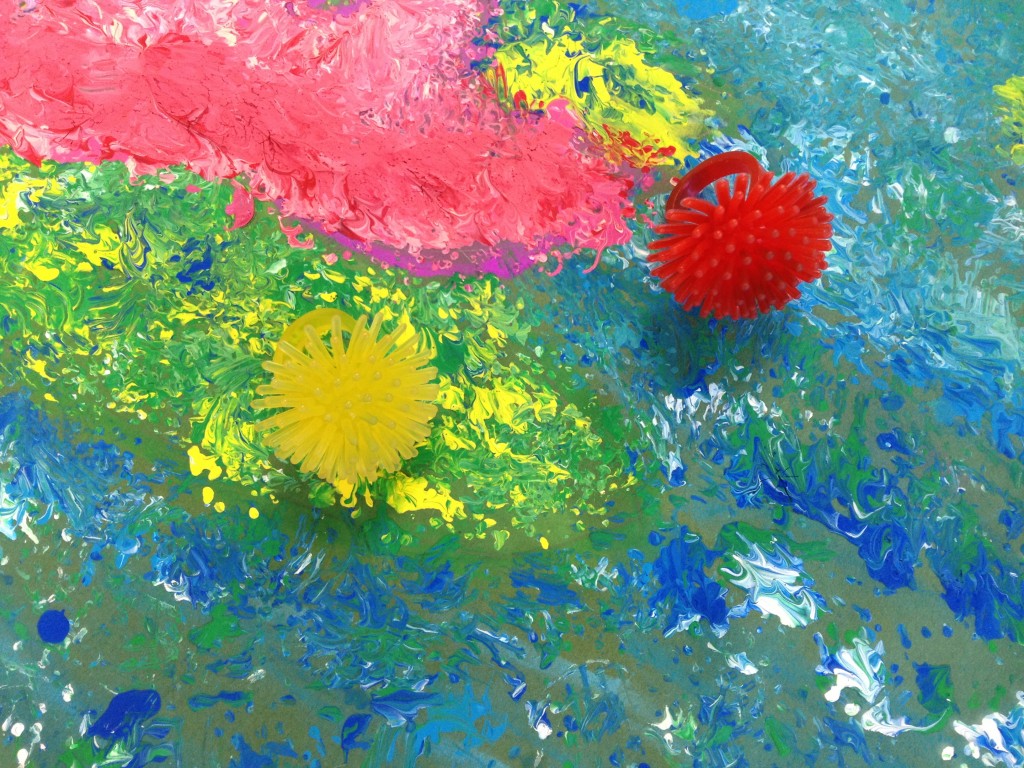
Kelly also brought these Monet water-lily paintings. Please zoom in on this painting – the paint texture is so interesting. Kelly didn’t offer a brush – her students applied paint with novelty rings purchased at Oriental Trading. These rings look like little sea urchins. If you try this, Kelly recommends pinching the ring instead of wearing it on her finger. Needless to say, her students LOVED this project!

Monet water lilies painted with novelty ring

Kelly’ s students painted their Monet-inspired art with a ring from Oriental Trading.

30-Minute Color Mixing

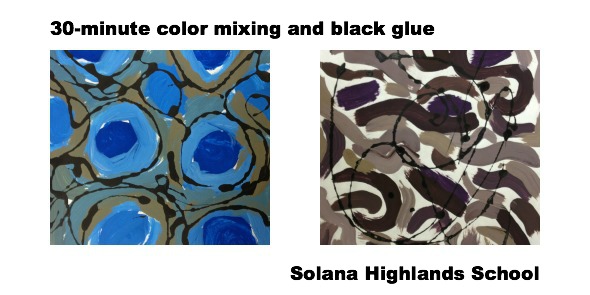
Nancy  teaches art at Solana Highlands School. She brought a color mixing project. Students used two colors plus black and white. After tinting, shading and creating a neutral, they drizzled black glue over the top. I love how much variety her students achieved. Some of these abstract compositions look like animal patterns. LOVE! Even more impressive: Nancy only has 30 minutes with her students. She does a lot of stations and table rotations to fit her projects in the tight time frame.

30-minute color mixing and black glue

Kindergarten Paper Quilts

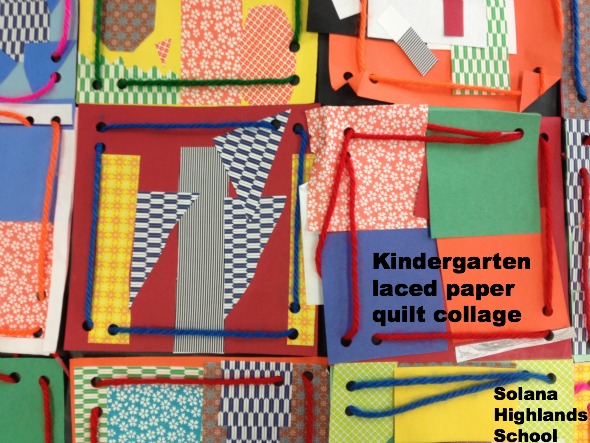
Nancy did these paper quilt squares with the kindergarten. The kindergarteners start with a 6″ square of paper. They collage first, then Nancy adds holes with a three-hole punch. Next class, the kindergartener lace the holes. Nancy glues the squares together into a quilt.

kindergarten laced paper quilt collage


As always, I am FLOORED by my colleagues creativity. They always have interesting, challenging, beautiful projects – and they teach them so well. Thanks to Nancy and Kelly for sharing your ideas.


Enjoy!


Blue Dog Gets Dressed Up

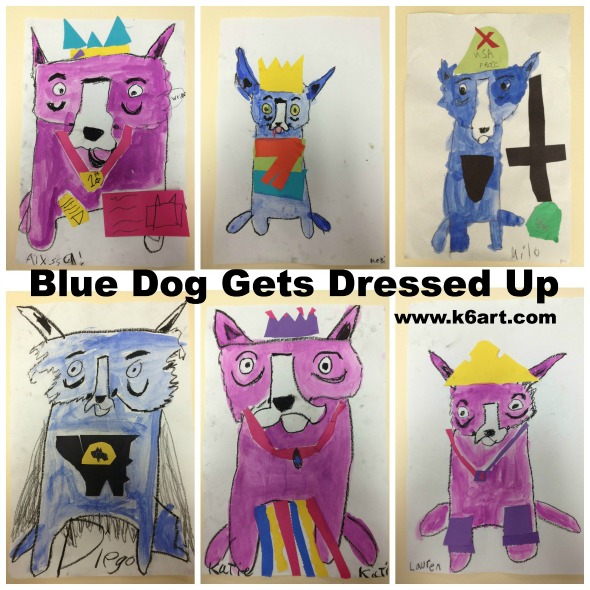
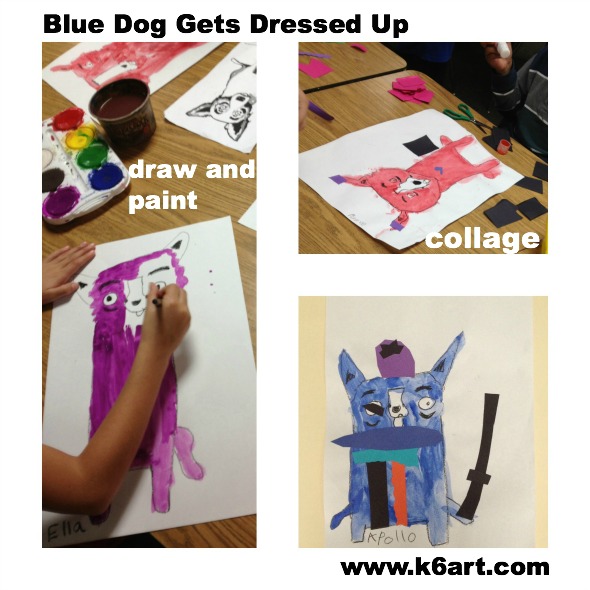
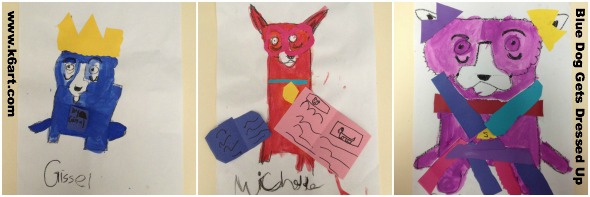
blue dog gets dressed up 2Our first graders learned about artist George Rodrigue’s Blue Dog. They had a fabulous time creating their own blue (or green or magenta) dogs and dressing them up in paper collage. The George Rodrigue Foundation website has every resource you could possibly need.  I downloaded the Blue Dog PowerPoint slideshow, and learned the Blue Dog was inspired by Rodrigue’s late dog, Tiffany. The PowerPoint  has lots of  ‘dressed up’ Blue Dog paintings, including a secret agent dog, hula dog and motorcycle dog. Of course the first graders LOVED that! I also showed students the first few minutes of this video from CBS Sunday Morning.

Now on to the art project!

Materials

  • white sulphite drawing paper – 12″ x 18″ (or other white paper that is strong enough for painting)
  • black crayons
  • tempera cakes
  • water cups and brushes
  • glue sticks
  • scissors
  • colored construction paper scraps

Day 1: Students watched Blue Dog PowerPoint, then did a directed draw of the blue dog using black crayon. Next they painted the dog in a single solid color using tempera cakes. Amazingly, this took only 40 minutes thanks to the easy-to-handle tempera cakes.

Day 2: Students decorated their dogs using scrap paper and glue stick. blue dog 123   blue dog pin ableThis was a popular and super successful project with easy clean up. I will definitely repeat next year.

Enjoy!


Bonus: FREE Blue Dog app on the iTunes store!

Blue Dog Books You Might Like:

Notan for Fifth and Sixth Grades

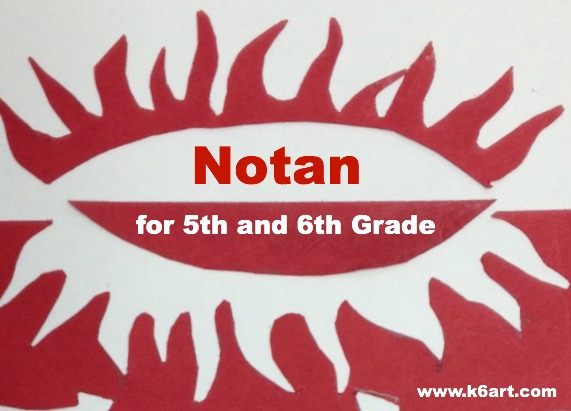
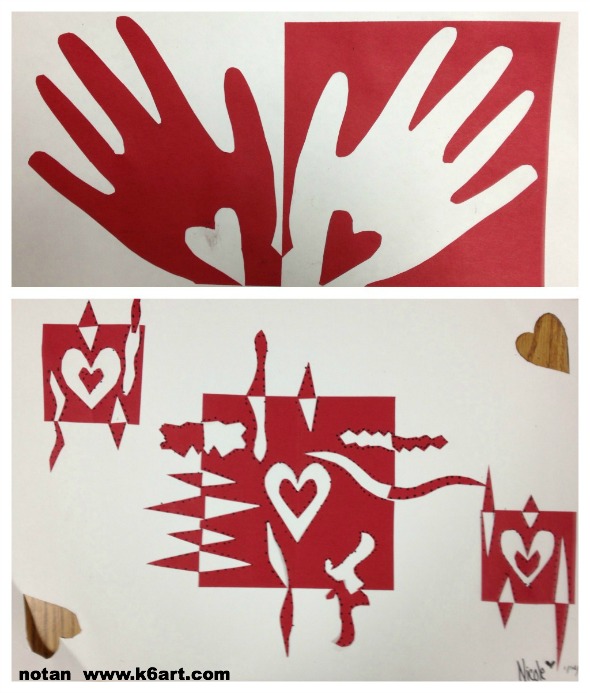
notan for 5th and 6th gradesOur 5th and 6th grade students did a quick 40-minute cut paper notan collage project. Our inspiration came from these beautiful notan artworks at the MiniMatisse blog. If you are unfamiliar with notan, it is a Japanese design concept of dark and light. Notan cut paper projects are great for teaching a lot of concepts including contrast, positive and negative space, symmetry, and geometric vs. organic shapes.

This was the very first time I taught notan. I found two really good resources that gave me confidence: 1) a great video that shows the notan process and 2) a great illustration showing single and double cuts.

Each student started) with a 6″ square of red construction paper and a white format (background) paper . The minimum assignment was to make four single cuts – one cut from each of the square’s sides. Double cuts were optional (about half the students tried them). Cut pieces could be geometric (hearts were popular) and/or organic shapes.

Our students really liked this project. Some made Valentines and wanted to take them home immediately. I think they turned out great. I also think that their second attempts will be even better. Definitely a project to repeat!

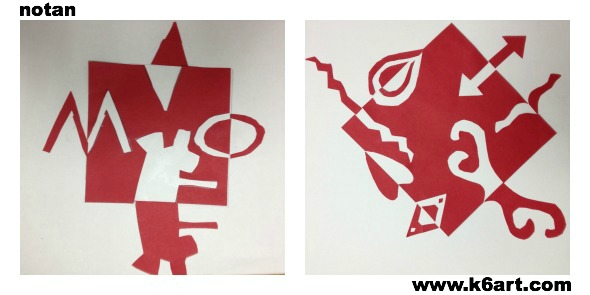
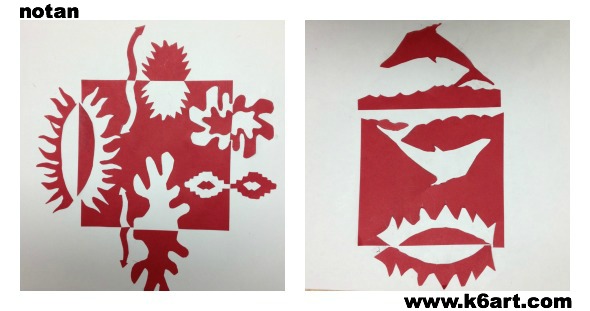
Fifth and Sixth Grade Results:

more notan

notan valentines

notan names

The next two designs contain cut pieces that were rotated incorrectly. But you know what? I consider the artworks successful. They are beautiful designs, even if they don’t fully fulfill the assignment. They still illustrate the concept of positive and negative space although they are in places asymmetric.

not notan

Although we did these red paper notans in honor of Valentine’s Day, they will look great displayed as a group any time of year.

I would LOVE to find an iPad app or interactive website that illustrates notan. If anyone knows of one, please leave a comment!!

Enjoy!

Have you even tried notan with your students?

Do you have any tips to share?


Related Posts Plugin for WordPress, Blogger...