Newspaper City Collage for Kindergarten

newspaper city collage for kindergarten

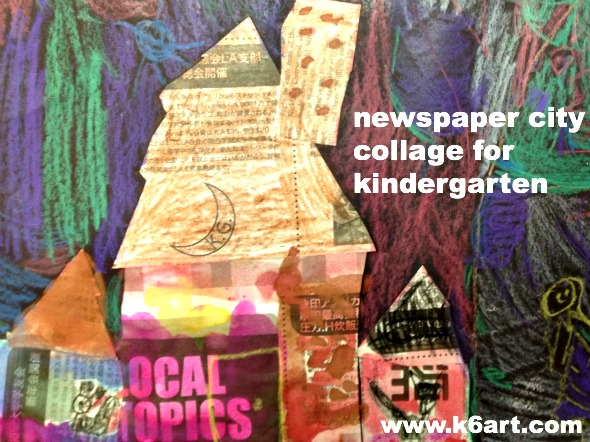
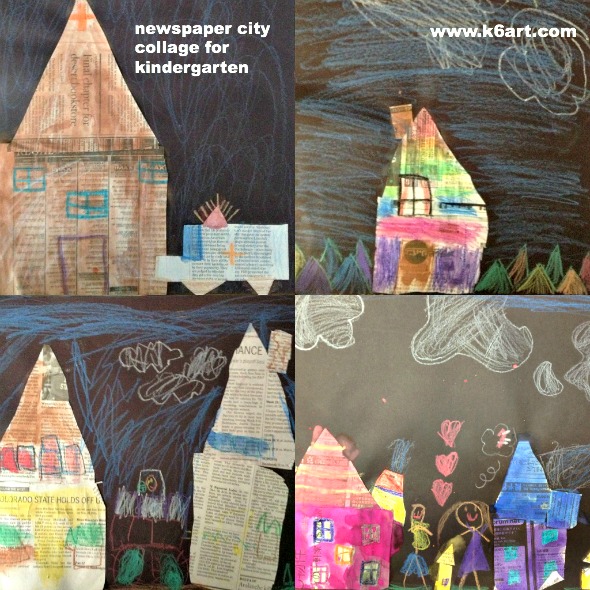
Are you looking for a fun collage project for kindergarten? This newspaper city collage project engages students with a discussion about their city, then lets them use their cutting, gluing, coloring and painting skills.

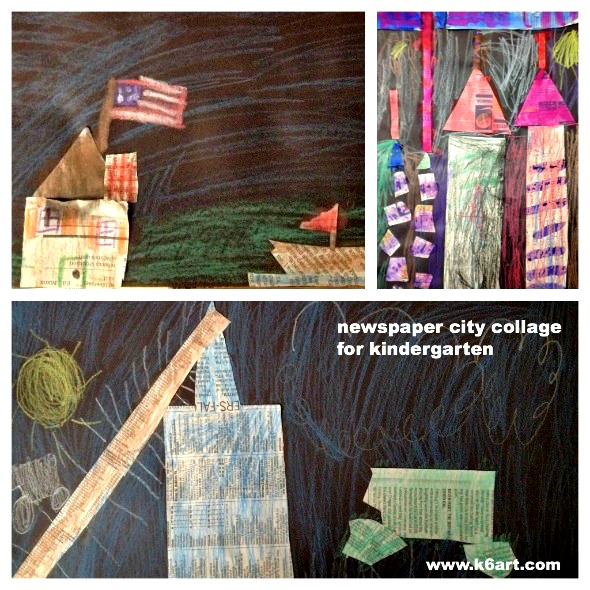
When asked, “What do you see in a city?” kindergarteners named all sorts of things:  houses, roads, tall apartment buildings, garages, and even boats in San Diego harbor. One girl talked about her recent trip to the city hospital, another about what she saw on vacation in New York City.

Materials:

  • black construction paper
  • newspaper
  • scissors
  • glue stick
  • construction paper crayons, plus black crayon
  • watercolor set

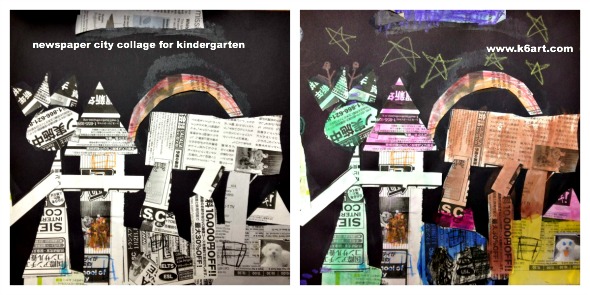
Day 1: Cut and glue newspapers. Emphasize shape: squares, circles, triangles, rectangles etc. Add details with crayon.

Day 2: Paint with watercolor.
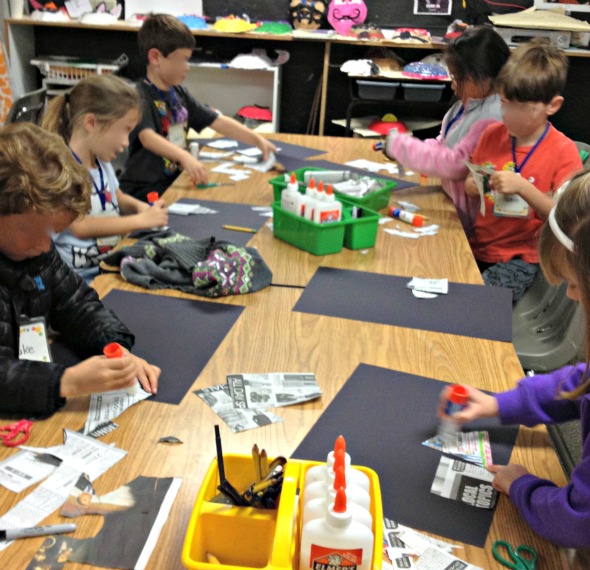
newspaper city collage assembly

Kindergarteners make cut paper city collages from newspaper, then color with crayon and watercolor. Allow two 40-minute classes.

Aren’t they wonderful?

newspaper city collage 1

newspaper city collage +

newspaper city collage 2

New York City collage before and after crayons and watercolor. Do you see the Statue of Liberty?


As much as the kinders enjoyed the project, I would do things a little differently next time:

  • Use smaller black construction paper . Students had difficulty filling the 12″x18″ paper we used within the class time frame. So this class took three 40 minute classes – I want to shorten it to two.
  • Skip the front page of the newspaper!  It took extra time to eliminate inappropriate ads and articles. Next time I will try the white pages of a phone book, classified ads or financial/stock listings.

This lesson was inspired by this lesson by CCE Art Happenings.

Do you have a favorite collage project for kindergarten?

Tie Dye Snowflakes

tie dye snowflake collage 3

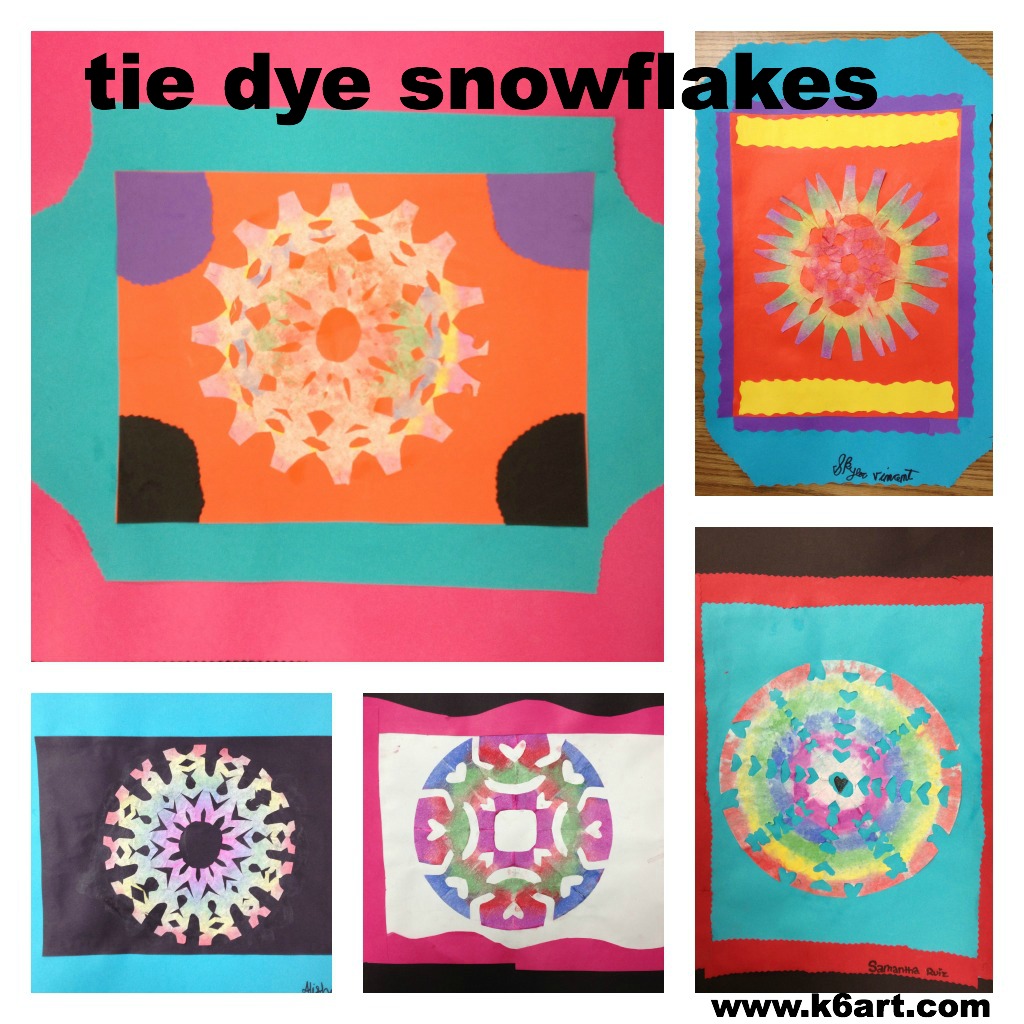
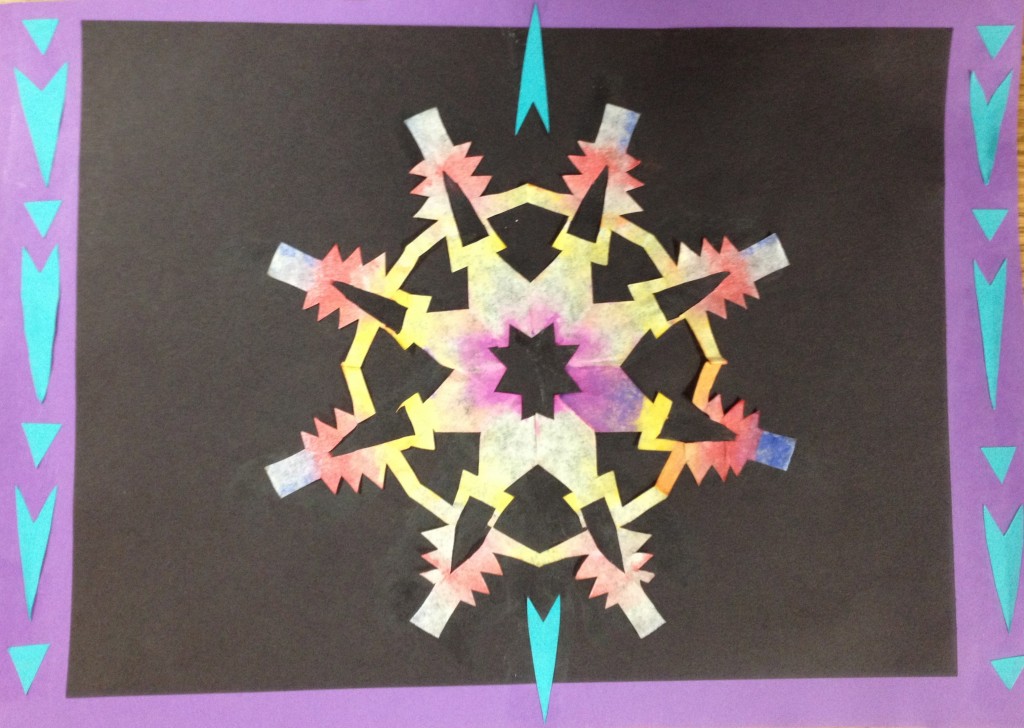
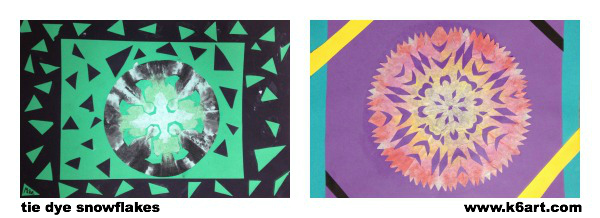
Give your snowflake project a colorful twist – ‘tie dye’ them! Sixth grade just finished their tie dye snowflake collages, made with coffee filters and painted with tempera cakes. This lesson was inspired by this post at A Faithful Attempt blog.

Sixth graders cut and paint coffee filter snowflakes, then use them in a collage. Allow two 40-minute classes.

Sixth graders cut and paint coffee filter snowflakes, then use them in a collage. Allow two 40-minute classes.

Day 1:

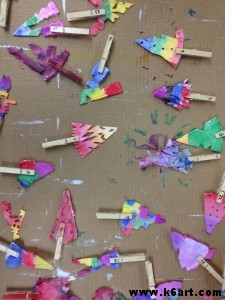
We began by viewing all the excellent student examples on the Faithful Attempt blog. Next, we folded our coffee filter rounds and cut our snowflakes using this method. NOTE: DO NOT OPEN THE PAPERS AT THIS TIME! Students painted their folded snowflakes with tempera cakes, then clipped on a numbered clothespin.

Students were allowed to make multiple snowflakes, so long as the folded flakes could fit stacked up in a single clothespin. One student was able to fit three painted snowflakes in a single clothespin. I let the papers dry on a sheet of cardboard.

Label each snowflake with a numbered clothespin.

Label each snowflake with a numbered clothespin. If you have multiple classes, use a different colored number for each class.

Day 2:

The sixth graders carefully opened their papers. THEY LOVED THE RESULTS! They mounted the snowflakes on construction paper using glue stick (tip – glue down the center first and carefully work your way out to the edges).

I was going to stop the project at that point, when someone asked me if she could double-mat their work. Then someone asked me if he could make a decorative border. I pulled out the ‘fancy’ scissors and the scrap paper bin, and gave them free rein. Our snowflake project turned into a collage project!

Sixth grade results:

tie dye snowflake collage 1tie dye snowflake collage 2

For more cool snowflake ideas, check out my previous post: Cut Paper Snowflakes Designed on an iPad.

Leaf ‘Collage’ + Photography

Want to try a leaf collage project? Want your leaves to stay fresh and bright forever? Skip the glue/wax paper/laminator and try a camera instead!

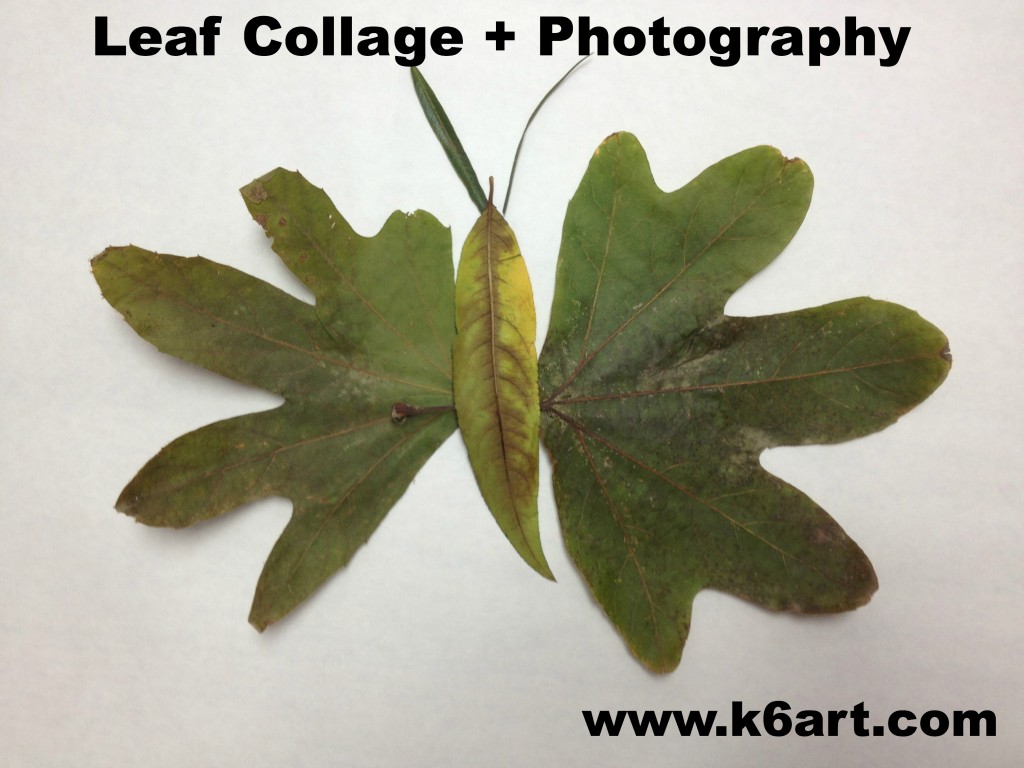
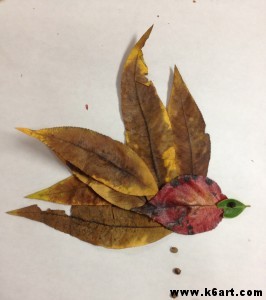
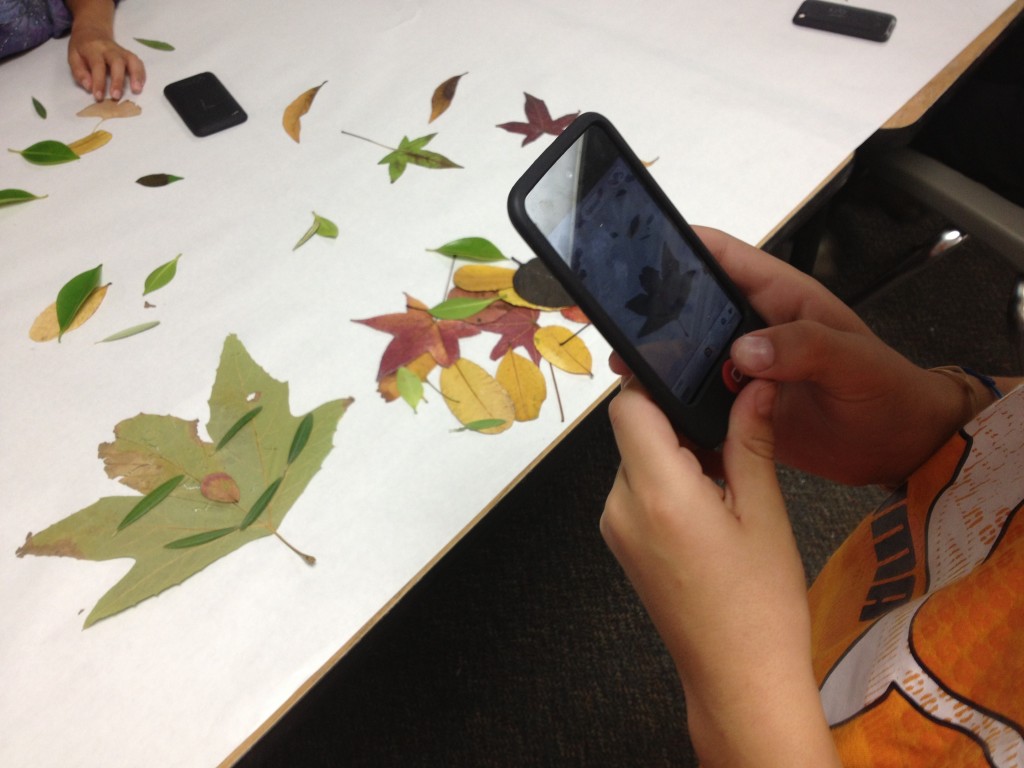
Third graders arranged leaves into animal shapes, then photographed their art. Allow one 40-minute class for this ‘collage’ lesson.

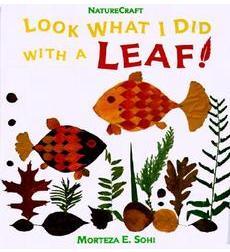
Third graders just completed their leaf collages, inspired by the book Look What I Did with a Leaf! by Morteza E. Sohi.

In the book, M. Sohi arranged leaves on a white background to create fanciful animals, then photographed them. Click here to see more examples.

To prepare for this lesson, you need to gather a variety of leaves and flatten them. I placed the leaves between the pages of an old phone book. Plan to do this at least a couple of days in advance so the leaves will be really flat. You can also ask kids to bring in leaves from home

On the day of class, cover tables with white paper to create a backdrop and spread out the leaves.

Cover tables with white paper to create a unified backdrop for the collages.

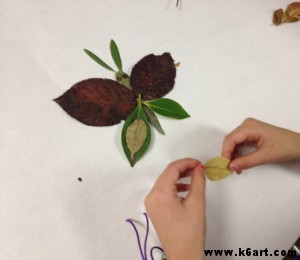
Students arranged the leaves to resemble animals.  Butterflies were very popular!

Student arranges a leaf butterfly.

We used camera-equipped iPods to photograph our artworks. Our third grade is 1:1 iPod Touch so each child was able to take photos of their own creations.

Students used camera-equipped iPods to photograph their collages.

Students then rearranged their leaves and repeated the process. Most of our third graders made 3-5 animals during the 40 minute class.

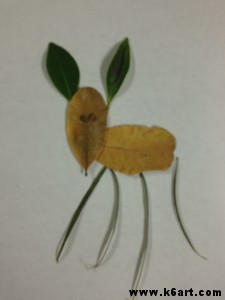
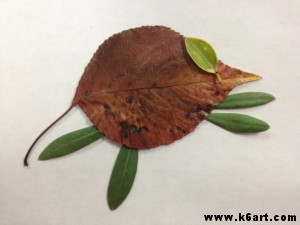
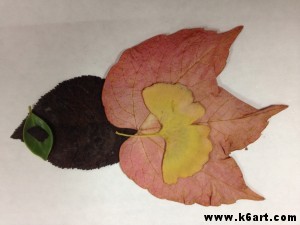
Third Grade Student Work:

Ashley’s alligator


Deer


Mouse

Fish

One of the benefits of this method is that students can re-use and share leaves. Remind your students not to crumble the leaves, and you can reuse them for multiple classes. Students can work alone, in pairs or in groups – there is no argument over who takes the work home because everyone can have a digital copy of the work.

Next class we will learn to rotate and crop our photos, and how to email them.

Display options:

  • Upload to Artsonia
  • Email the images home, or put them up on the class wiki
  • Create a large class poster of all the images for the art show
  • Students can write a paragraph about their animals, or illustrate a story.

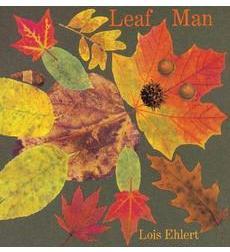
For further inspiration, check out the book Leaf Man by Lois Ehlert. The artist used real fallen leaves to create her illustrations.


iPad Alphabet Photography for Fourth Grade

Armed with camera-equipped iPads and iPods, our fourth graders spread out in our school garden in search of alphabet letters. Each student was assigned a letter to photograph.

Letter O

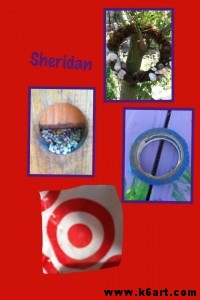
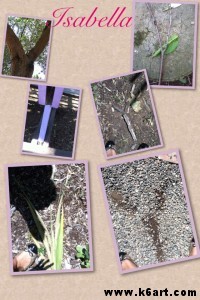
It was interesting to see how they completed the assignment: some students found letters in the branches of trees, some created letters from stones and twigs. Some poured water on the pavement to draw their letter. If they were absolutely stumped (get it?) , I let them use a letter from the garden signs. I asked students to take 5-10 photos of their letter.

I am happy to report the fourth graders LOVED looking for letters. They were completely engaged, and helped each other.  I heard a lot of shouts of “I found a T! Who has T?”

This week, students used their devices and the Pic Collage app to turn their best photos into a photo collage. I asked them to zoom in so that we could really see the letter – aim for making a letter so clear a kindergartener could recognize it. They emailed me their files and we reviewed them as a class.

Great work fourth graders!

Our fourth graders are in a pilot 1:1 iPad program, and it is a huge success. The goal is to turn all the photos into a free digital book downloadable through Apple’s iBooks store.

Inspiration for this project came from www.alphabetphotography.com.

UPDATE: see the completed whole-alphabet collages in this post.