Shadow Puppets on the Overhead Projector

Shadow puppets on the overhead projector

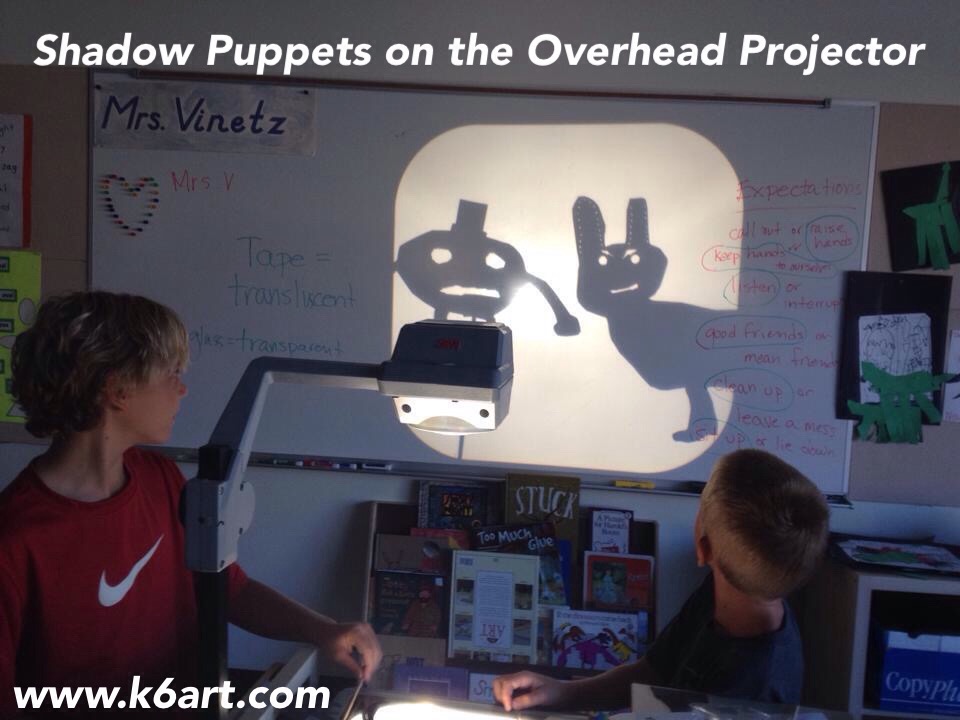
Our fifth graders just completed a shadow puppet unit. We had a lot of fun creating shadow puppets and performing with them on our old overhead projector.  If you’ve got one (or more) of these old projectors at school, grab them! Your students will have a blast making shadow puppets.

Materials:

  • overhead projector
  • tagboard or construction paper
  • pencils/erasers
  • scissors
  • bamboo skewers
  • tape
  • decorative punches
  • push pins
  • wax paper
  • overhead transparencies
  • colored Sharpie permanent markers

Create a puppet:

Draw a character on tagboard or paper. Encourage kids to make puppets with interesting silhouettes. Cut out. Use the punches to add a decorative edge. Students can also cut out slits or interesting shapes within the puppets. They can also pierce the puppets with a push pin to make tiny dots of light (look carefully at the octopus below to see this effect). Tape on a bamboo skewer and you are ready to go!


Students created shadow puppets from black paper and bamboo skewers

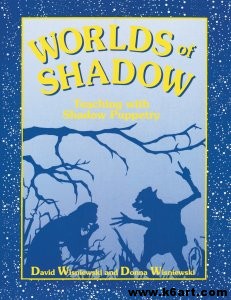
You can learn to create a shadow puppet show step-by-step in the book Worlds of Shadow: Teaching with Shadow Puppetry. The book has great direction for making puppets with movable joints as well.

Worlds of Shadow

Worlds of Shadow

Backdrops:

Wax paper:

We used wax paper as a backdrop. It makes a smokey, translucent shadow when placed on the overhead projector. We used cut wax paper to make ocean waves and torn wax paper to make mountain tops.

Overhead transparencies + colored Sharpie:

Students made a lot of beautiful backdrops on transparencies. Here is a brief video that shows the vibrant color:

http://youtu.be/nEPpR5EmBEk

I wrote about part one of our shadow puppet unit in this post.

I learned how to create shadow puppets from Baltimore art teacher Grace Hulse – you can see Grace’s shadow puppet Prezi and video in this post.

Enjoy!

30-Minute Chihuly Chandelier

30 minute chihuly chandelier

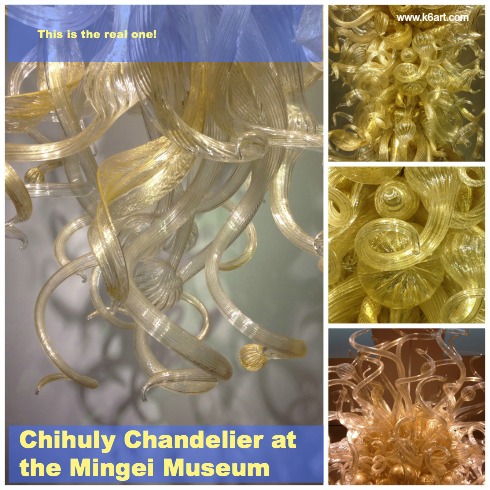
Dale Chihuly makes fantastic, organic-shaped glass sculptures.  They are in collections all over the world. This summer I saw the Chihuly chandelier at San Diego’s Mingei International Museum and participated in a group art project taught by art educator Jackie Hwang.

Mingei Museum Chihuly Chandelier

Materials:

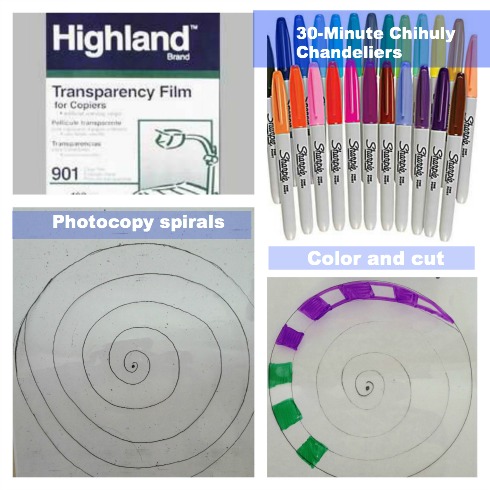
  • Overhead transparencies (like these  – make sure they are made for photocopiers)
  • photocopier
  • colored permanent markers (colored Sharpies or Art Color permanent markers)
  • scissors
  • pipe cleaners for assembling chandelier
  • UPDATE: single-hole punch
  • UPDATE: OPTIONAL rubbing alcohol and cotton balls

spiral acetate chihuly

Prep:

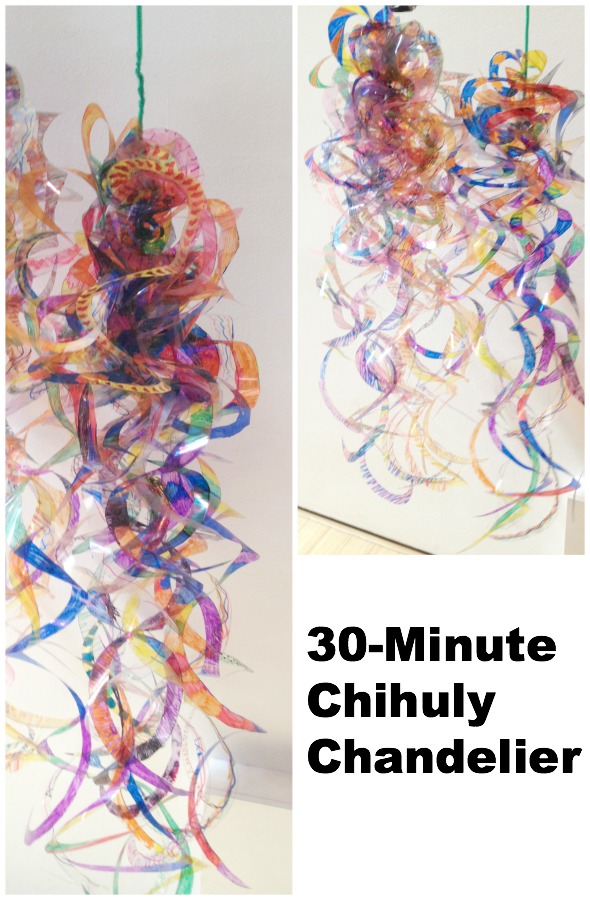
Jackie photocopied a spiral onto overhead transparencies. She made two sizes of spirals – a full sheet size, and a half sheet size containing two spirals.

The Art Project:

Families colored the spirals and cut them out, then turned them in to Jackie for assembly. Coloring time depended on the complexity of the design (but took FAR less than 30 minutes).

Assembly:

UPDATE: carefully punch each spiral on the tiny dot at the center of each spiral.

UPDATE: OPTIONAL: You may experiment with smearing the spirals with a cotton ball lightly dampened with rubbing alcohol. This will cause the colored sharpie to smear and blend. It’s a different look, and it takes extra time. Totally optional!

Jackie created the chandelier form using a mix of the large and small spirals. She used a couple of pipe cleaners to suspend the spiral clusters.

Jackie’s project is perfect for grades K-6. It would be super for art teachers on a cart, or art teachers that teach at multiple schools. You could fit the photocopied transparencies and all the other materials you need for this project in a tote bag.

Here is a 4-minute video of Dale Chihuly from the CBS morning show

Special Notice for San Diego Teachers and Parents:

  • Teachers: Do you want to take your class to the Mingei Museum? The Mingei provides free admission for all K-12th grade tours as long as they’re scheduled in advance.
  • Parents: The Mingei is free to San Diego county residents and military the third Tuesday of the month. Monthly Family Sundays offer admission and fun activities for just $5/family. Go to www.mingei.org for more details.

Coming up in the next post: two more Chihuly-inspired projects.

What’s your favorite Chihuly project?

Embossed Foil Name Art

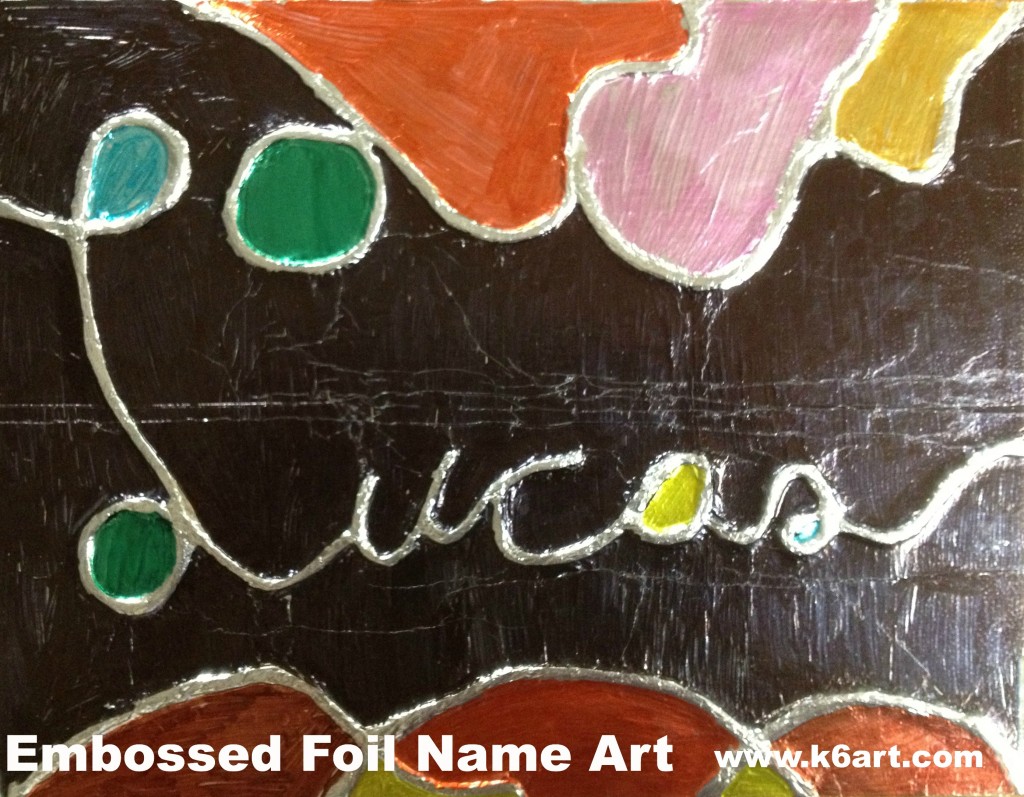
Sixth grade just finished their sparkling foil name art projects.

Materials:

  • cardboard
  • yarn
  • scissors
  • white glue (such as Elmer’s)
  • foil (I love Pre cut foil sheets >)
  • Sharpies or other permanent marker, black and colored
  • spray glue
  • small squares of felt
  • q-tips
  • pencil/erasers
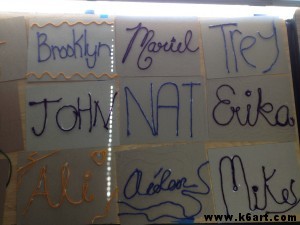
Students began by writing their names in pencil on cardboard. They traced their names in glue, then yarn.

Students write their names in glue and yarn.

Next they added decorative glue/yarn lines. I sprayed the plates with spray glue and slapped on a piece of pre-cut foil.

Students carefully polished the foil with felt squares. This helps the foil adhere to the cardboard and smooths the foil. A q-tip is good for polishing tight areas. Finally, they got to the best part: coloring in with jewel-tone colored Sharpies. Black sharpie looks good too! Remind students to avoid coloring the raised yarn lines.

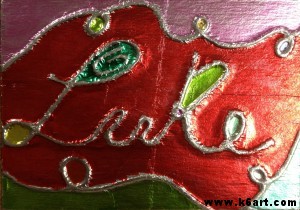
Caroline

;

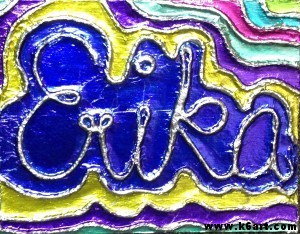
Erika

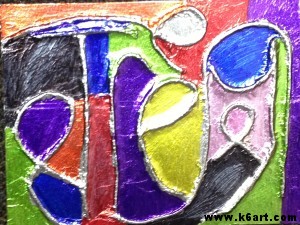
Trey

This project was inspired by this post at Fine Lines and this post at We Heart Art.

Related Posts Plugin for WordPress, Blogger...