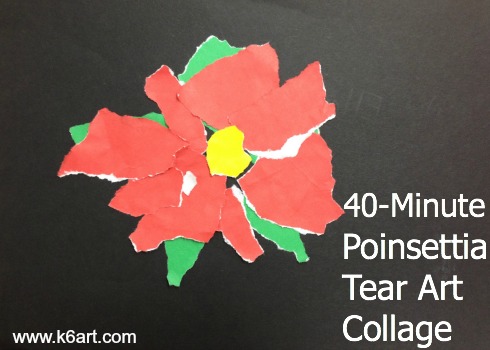
40-Minute Poinsettia Tear Art Collage

40-minute poinsettia tear art collage

Do you want to create a poinsettia art project with little prep or clean up, in less than one hour? Try this fun tear art collage project.

Materials:

  • colored construction paper, 9″x12″, one per student
  • red paper,  6″x9″, one per student
  • green paper, 6″x9″, one per student
  • yellow paper, 6″x9″, one per table
  • glue sticks

If possible, get some live poinsettias. I borrowed some from my colleagues and returned them at the end of the day.

Discussion:

We started off with a few poinsettia facts: the red ‘flower’ is called a bract. The bract is made of red leaves, NOT petals. Poinsettias are native to Mexico, where they are known as Noche Buena (‘Christmas Eve’).

Next students looked carefully at the poinsettias. We noticed the shape of the leaves, and had a quick review of organic vs. geometric shapes. We also noticed the red leaves were centered around a cluster of yellow dots. The red bract overlapped the green leaves. I pointed out that green and red are complementary colors.
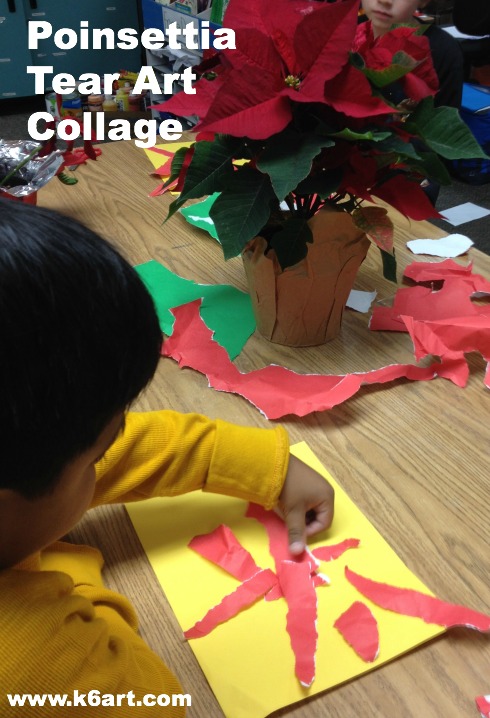
Students observe poinsettias and create a collage using red and green paper.  Allow one 40-minute class.

Students observe poinsettias and create a collage using red and green paper. Allow one 40-minute class.

Creating the collage:

I modeled tearing. Students created odd numbers of red and green leaves, arranged them, then glued them to the 9″x12″ construction paper using a glue stick. We found out it was easier to glue the green leaves first. Students could place the red leaves over or in-between the green leaves. As a final touch, students could tear a few dots of yellow paper and glue them to the center of their paper poinsettias.

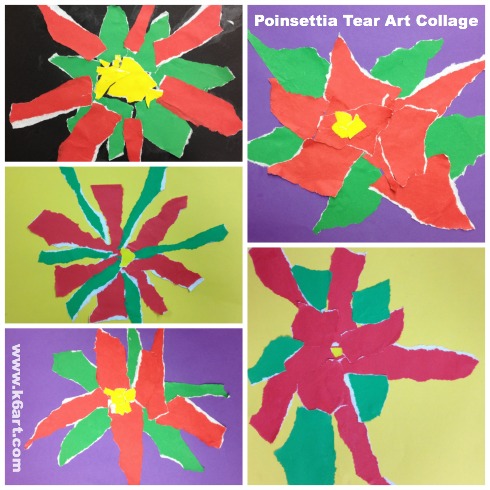
Second grade results:

Poinsettia tear art gallery - 2nd grade

Because we had live poinsettias on the tables, I encouraged students to hold up their torn shapes to the real leaves for comparison. They really enjoyed observing real plants, much more than working from a picture or from my example.

If you look carefully at our collages, you will see a white torn edge on the red and green papers. We used Fadeless Art Paper– it is colored on one side and white on the other.

I would love to use this technique to create a Van Gogh-inspired vase of sunflowers!

Enjoy!

Do you have a favorite tear art project?

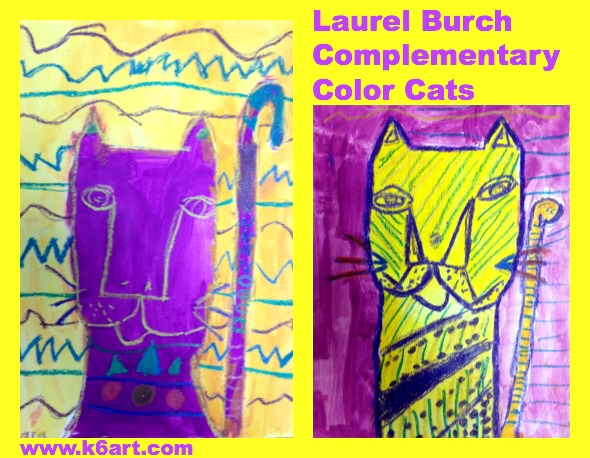
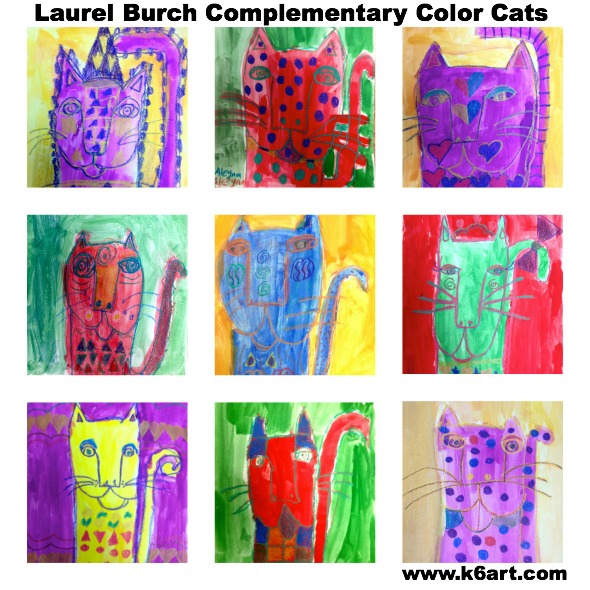
Laurel Burch Complementary Color Cats

complementary color laurel burch cats

This Laurel Burch-inspired cat art project covers complementary colors, pattern and negative space. Tempera cakes and construction paper crayons are all you need for this project – quick, easy and neat!

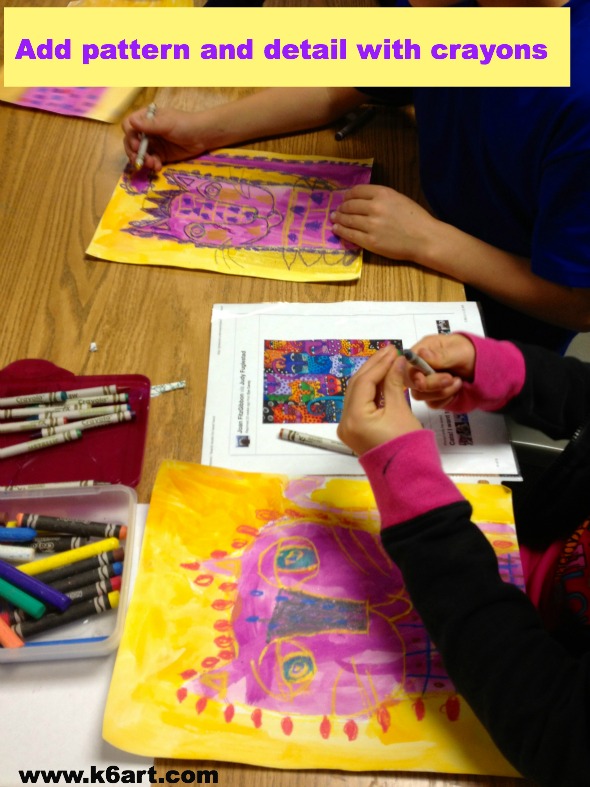
Second graders learn about the complementary colors, then draw and paint a cat in the style of Laurel Burch. When dry, they add pattern and detail with a variety of crayons. Allow two 40-minute classes.

Second graders learn about the complementary colors, then draw and paint a cat in the style of Laurel Burch. Allow two 40-minute classes.

Meet Laurel Burch

Laurel Burch. Photo source: laurelburch.com

Laurel Burch. Photo source:

Laurel Burch was a self-taught  jewelry designer and painter. She was extremely successful despite serious illness. The Laurel Burch website has every resource you could want, including a great biography video and ‘fantastic feline’ slide show. We took a close look at the cat illustrations, and noticed the simple shapes, lines and patterns.

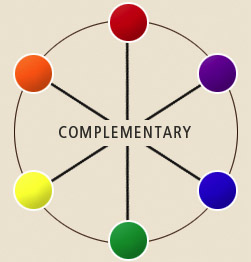
complementary color wheel

The Complementary Colors

I displayed the color wheel and we discussed the complementary colors (see this post). The complementary colors are directly across from each other on the color wheel.

There are three complement pairs: red/green; purple/yellow; and orange/blue. When two complements are displayed together, the colors contrast and ‘pop’.


The Art Project

Materials:

  • white sulphite drawing paper, 9″ x 12″ (or other white paper strong enough for painting)
  • primary and secondary color tempera cakes
  • brushes
  • water
  • examples of Laurel Burch cat illustrations
  • construction paper crayons
  • optional: metallic crayons

(note: this post contains compensated affiliate links)

Day 1: Draw and Paint the Cat

  1. Choose a complementary color pair.
  2. Draw the cat using a single construction paper crayon.
  3. Add eyes and other facial features, but do not add pattern or other detail.
  4. Paint the inside of the cat one of the complementary colors.
  5. Paint the negative space (background) in the other complementary color.
  6. Let dry.

Day 2: Decorate the Cat

  1. Hand out examples of Laurel Burch cat illustrations and construction paper crayons.
  2. Look at the patterns and other details on the cats and in the negative space (background).
  3. Do a quick review of the complementary colors.  Ask “What color is your cat? Find a crayon that is a complement of the cat color”.
  4. Retrace the cat’s original lines with that crayon.
  5. Use all the colors of construction paper crayons to color in the eyes, add designs and patterns. .
  6. Optional: add a little sparkle with metallic crayons.

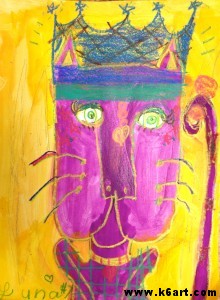
color Laurel Burch paintings with crayons

 Second Grade Results:

Laurel Burch Complementary Color Cats gallery

I just love the way the complementary colors pop against each other. I also love how the opaque construction paper crayons pop atop the tempera paint!

I used tempera cakes and construction paper crayons because they were quick to set up and clean up. You could easily substitute regular tempera and oil pastels, or watercolor and regular crayons.

No matter what materials you use, this is a fun and successful project your students will really like.


Enjoy!


Human Color Wheel Helps Teach Complementary Colors

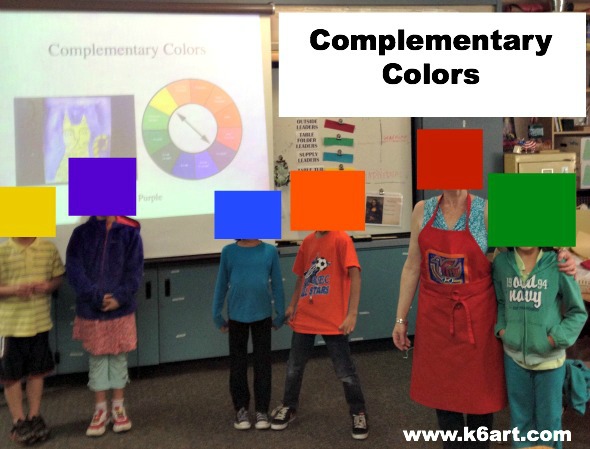
complementary color clothes


We learn about the complementary colors in second grade. This year I noticed a lot of my students were wearing solid color clothing in the primary and secondary colors. I had the kids pose with their complementary color partner. This was a lot of fun, and a great kinestetic learning aid. Just think – they could arrange themselves into cool and warm color groups, analogous, etc. Wouldn’t that be fun to do outside on a beautiful day?

Enjoy!

Do you incorporate movement into your lessons?

Related Posts Plugin for WordPress, Blogger...