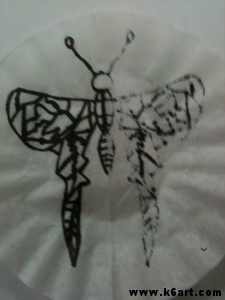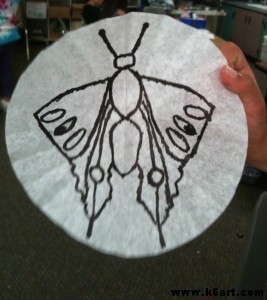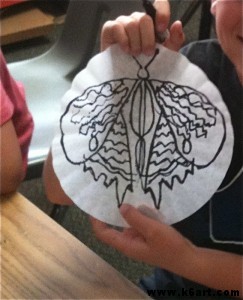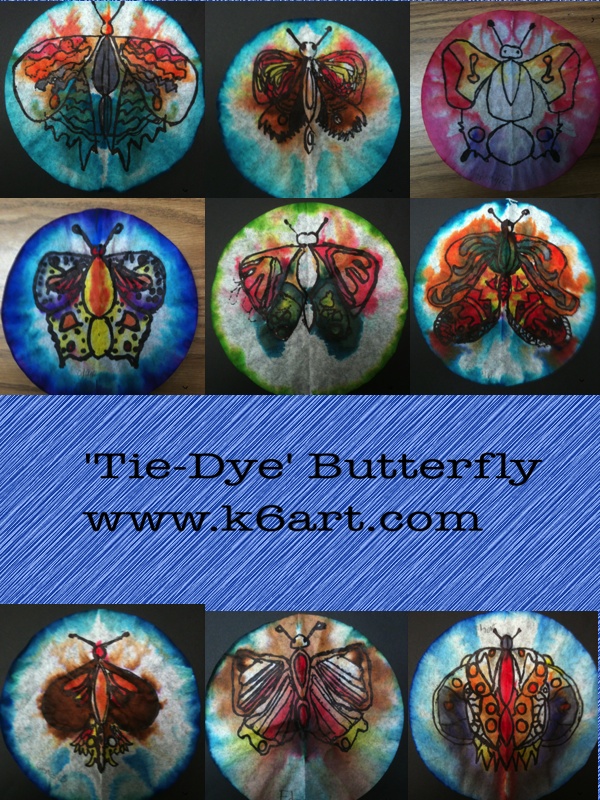
‘Tie-Dye’ Butterfly

It’s spring! Time for a butterfly art project. How about a lesson that delivers perfect symmetry, color and fun in only one 40-minute session?

Materials:

  • round (basket) coffee filter paper, white (available at the dollar store)
  • Sharpies
  • watercolor markers (we used Crayolas)
  • pencils
  • spray bottle of water

Instructions:

  1. flatten coffee filter
  2. fold filter in half.
  3. use sharpie to draw 1/2 a butterfly on the folded paper.
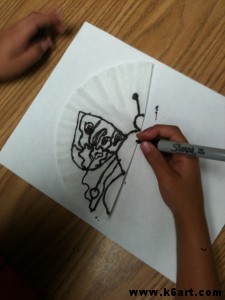
  4. Trace over all the Sharpie lines again (this helps transfer ink to the other half of the filter paper).
  5. Open the paper. 
  6. Retrace all the faint lines with Sharpie.
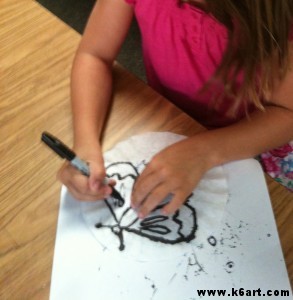
  7. Re-fold the paper into its original position.
  8. Color the folded paper using watercolor markers. We used warm and neutral colors for the butterfly, and cool colors for a band around the edge of the paper.
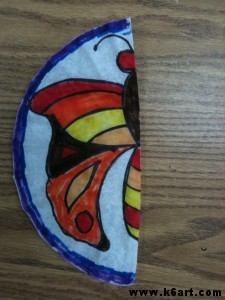
  9. Place folded filter paper on drying rack, colored side facing up.
  10. Spray with water. I try to saturate the paper (note: put some newspaper on the floor under your drying rack to catch the colored drips).
  11. Let dry before removing from rack.

I love the faux tie-dye effect created by the diffused color. I also love the round format. Bonus: coffee filters are available at the dollar store! So this project costs a couple of cents.
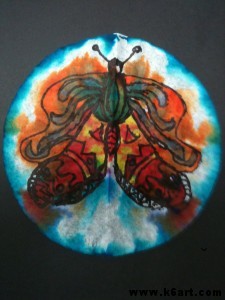
Second graders use Sharpie and crayola marker to make symmetric butterflies. Allow one 40 minute session.

Inspiration for the Sharpie/coffee filter/watercolor marker method goes to Kati Oetken at ARTASTIC!

More coffee filter art experiments on this post.

Plaster wrap masks for 5th grade

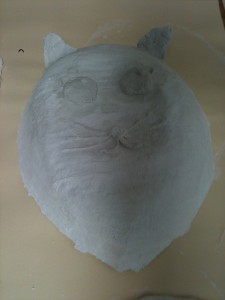
Cat mask under construction

Oh boy!  One of the most anticipated projects of the year is under way. And one of my biggest logistical challenges is under way as well.

The 5th graders are making plaster wrap masks.

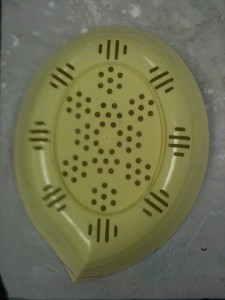
We are using Pacon plaster wrap in the 20 lb. box. We started with a dollar store bowl as the armature, and wrapped it in foil.  Next, we applied four layers of wet plaster wrap. Now we are adding the facial features.

I used to make papier-mache masks on a balloon armature, but this year a student has a latex allergy so balloons are out. A blessing in disguise! Plaster wrap dries quickly. It is only week 3 and most students have a good start on their faces.

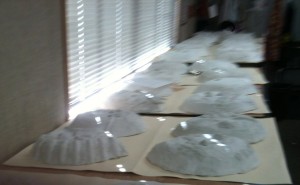
We have 75 students in three 5th grade classes. We are using up every free inch of my horizontal drying space to accommodate the masks week to week!

Here are some logistical tips:

*Use pre-cut foil to cover the armature. Don’t waste your time cutting foil! I get mine at Costco.

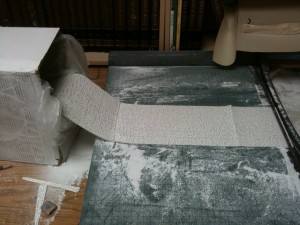
*Cut the plaster strips on the paper cutter. Double up the thickness and go twice as fast.

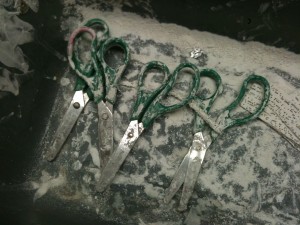
*Use a dedicated set of ‘plaster scissors’. Don’t bother scraping off the plaster. Use same set every year.

*Use a different color armature for each class.

*Tape off a dedicated drying area for each class.

*Use a big pitcher or watering can to refill the dipping bowls (we use old Cool Whip tubs for dipping bowls).

*Don’t you dare let the kids dump the dipping bowls down the sink at the end of class! Use a 5 gallon bucket and let the sediment settle before pouring off water.

Update: The plaster mask project continues in part two of this series.

Drying masks. Each class/table has a dedicated drying area to speed prep.

Your scissors will get yucky. Use a separate set for this project.


Dollar store bowl makes a nice armature

Cut plaster wrap on paper cutter.

Related Posts Plugin for WordPress, Blogger...