Second Grade Super Hero Portraits

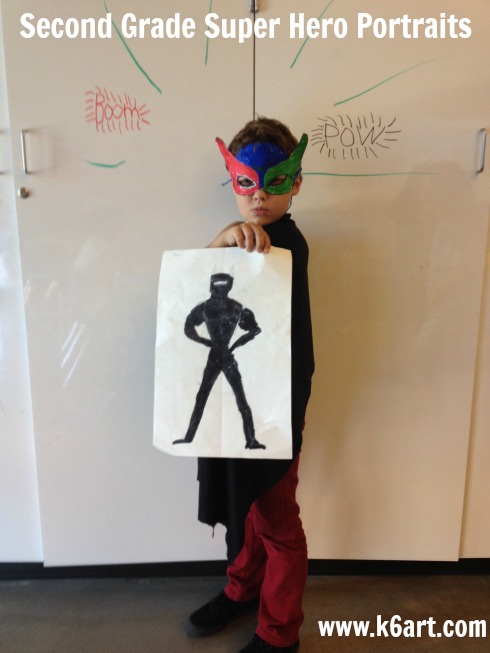
Jack's super hero self portrait

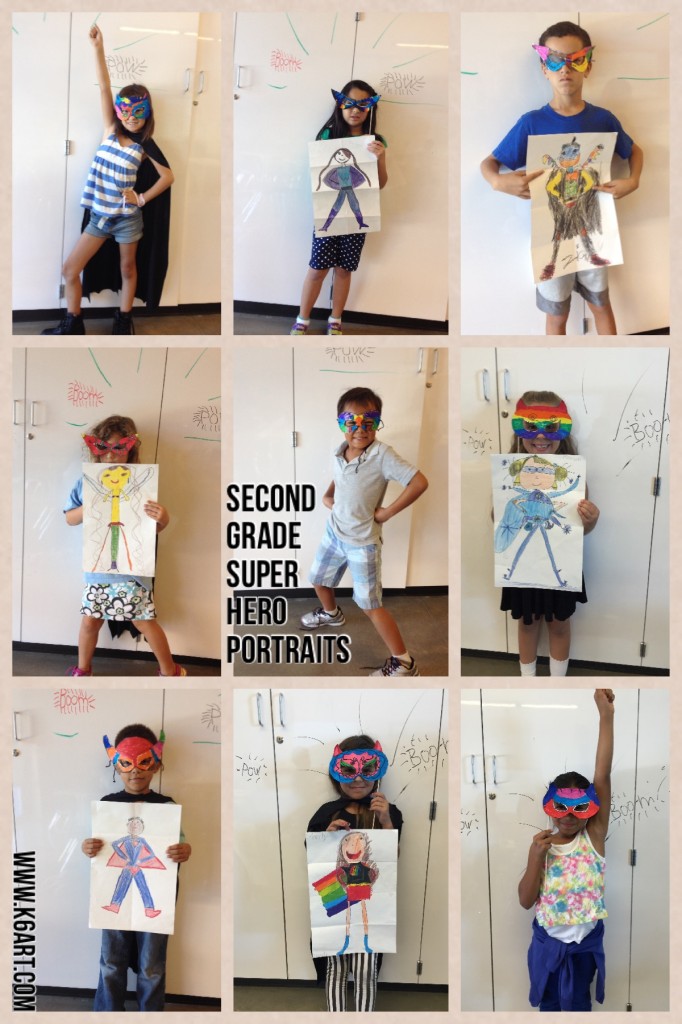
What child doesn’t want to have super powers? Our second graders just completed a two-part super hero self portrait project. First, they drew themselves as a superhero. Next, they created a super hero mask and photographed each other in super poses.

Students added boots, gloves, belts, masks, capes, tights, and more to their self portraits.

Students added boots, gloves, belts, masks, capes, tights, and more to their self portraits.

Draw yourself as a superhero

 Materials

  • Crayola Color Sticks or colored pencils
  • extra fine Sharpie
  • pencils/erasers
  • copy paper (for initial sketches)
  • 12″x18″ drawing paper
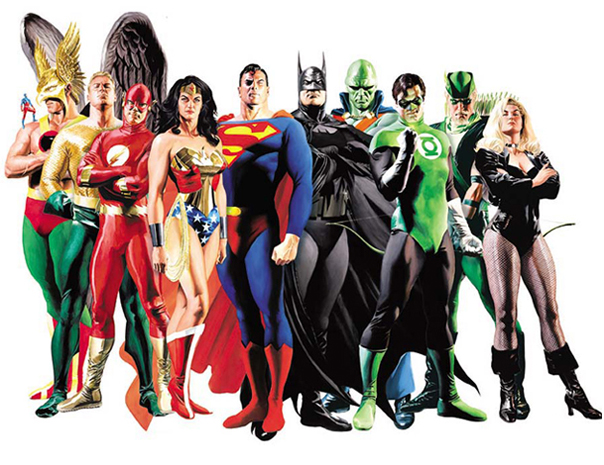
  • reference photos of superheroes

I used a paper folding technique to encourage students to fill the entire page. We first folded the papers the long way (‘hot dog’) to create a line of symmetry. Then we folded them the short way (‘hamburger’) to create a waist line. We opened the papers, the made another fold from the short edge to the waist line. We used copy paper for initial sketches and drawing paper for the final.

Students drew themselves in a strong stance. They added boots, gloves, masks, capes, and belts. Each student added a special logo on the chest. Some added special tools. They colored with color sticks and colored pencils, then outlined in Sharpie.

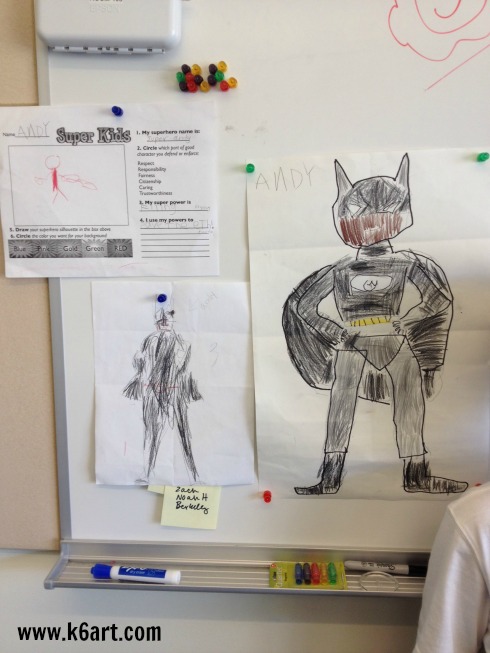
andy's 3 drafts

Andy created three drafts of his super hero.

Paper masks

We used the free downloadable mask templates from partysimplicity.com. Students colored them with marker. We cut them out and backed them with black construction paper so they would be strong enough to wear. Kids had the option of punching the masks and attaching yarn ties, or just taping on a bamboo skewer as a holder.

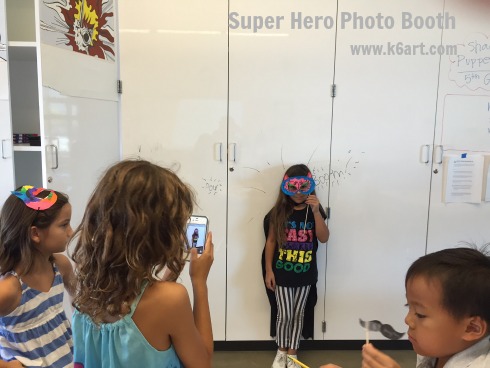
Students photograph each other as super heroes.

Students photograph each other as super heroes.

Photo booth

Students worked collaboratively to create photo booths. Each had a sign-up list and a waiting area.  One student was the photographer, another dressed kids in the cape, others made sure everything ran smoothly. We used an iPod and an iPhone, but you could use any digital camera.

Second grade results (by student photographers)

Second Grade Super Hero Portraits

Click here and here to see more examples from prior years.

We did this project in conjunction with the second grade classroom teachers as part of a unit on being courageous and taking risks.

Enjoy!

What’s your favorite self-portrait project?

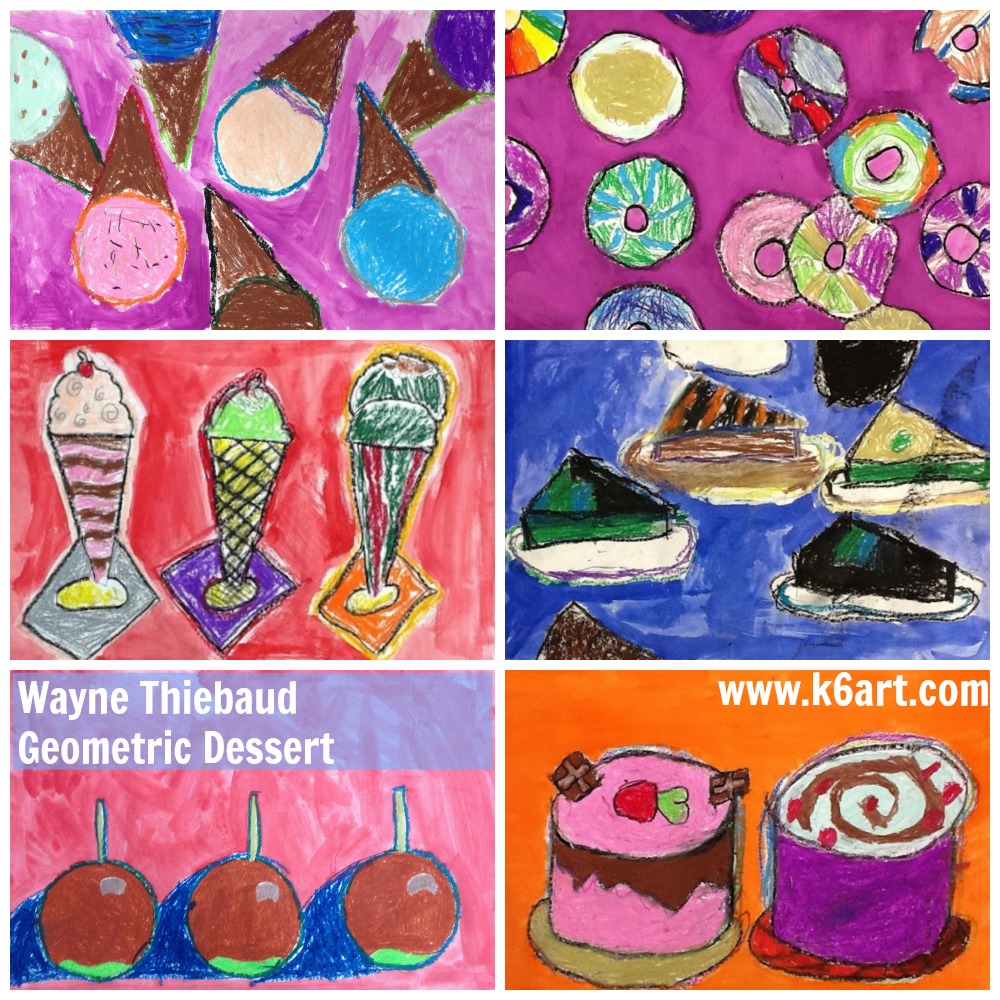
Wayne Thiebaud: Geometric Desserts

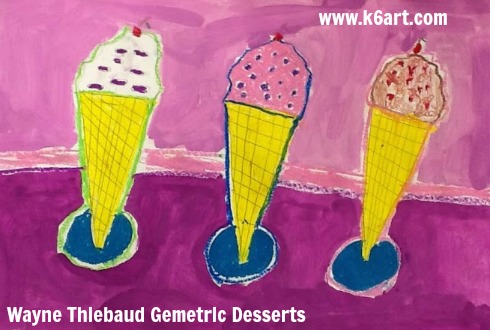
Wayne Thiebaud Geometric Desserts

Who loves dessert? Everyone, including second graders. Each year I teach a Wayne Thiebaud-inspired dessert lesson. This year we created compositions focusing on repetition of geometric forms.

Dessert Geometry (and Common Core connections)

Studying Thiebaud's art is an opportunity to incorporate geometry into your lessons. Try and time your lessons to tie into to the math lesson in the general ed. classroom.

Studying Thiebaud’s art is an opportunity to incorporate geometry into your lessons. Try and time your lessons to tie into to the math lesson in the general ed. classroom.

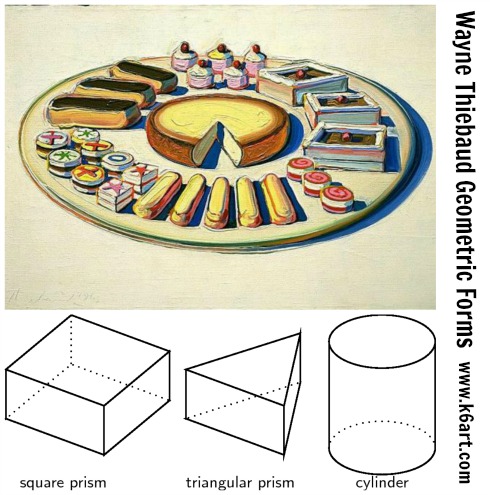
We looked at images of Wayne Thiebaud’s dessert art, and identified shapes and forms. Here are some of the forms we identified:

  • Sphere:  gum balls, scoops of ice cream
  • Right Triangular Prism: pie wedges, cake wedges
  • Square Prism: petit four (see above image)
  • Cylinder: layer cake
  • Rectangular Prism: Jolly Ranchers candy!!! (OK, Thiebaud didn’t paint Jolly Ranchers. A student came up with that one) 🙂

The second grade was studying 3D forms, so I timed the art lesson just after this concept was introduced in the general ed classroom. Click here for the second grade common core geometry standards.  You can also review the first grade common core geometry standards.

Here is a one-minute video I made featuring the geometric forms in Thiebaud’s art:

The Art Project

Materials:

  • light cardboard tracers: triangle, ellipse, circle, rectangle
  • pencils/erasers
  • white paper, 12″x18″
  • oil pastels
  • tempera cakes/water/brushes

Use teacher-made or student-made tracers (we used both). Students traced their templates with a pencil onto the paper. The composition were encouraged to fill the paper with a single type of dessert in a variety of flavors. It was OK to have the dessert coming off the page, and it was also OK to overlap.

(Note: I know some art teachers disapprove of tracers; I think the use of them in this project reinforces the tie-in to geometry and repetition).

Students then colored their desserts with oil pastels, adding details such as sprinkles, cherries, and chocolate swirls. They outlined the desserts with oil pastels. Finally, they painted the background with a single color of tempera cake.

Second Grade results:

Second graders used circle, triangle, and ellipse tracers as a starting point for these artworks.

Second graders used circle, triangle, and ellipse tracers as a starting point for these artworks.

If your administration asks if you incorporate math (or STEM/STEAM) in your lesson plans, teach this one and happily reply ‘yes’. After all, shape and form are elements of art. This art project reinforces geometry in a fun way.

Additional Resources:

I wrote about these other Thiebaud projects on the blog:

The lesson was inspired by this lesson from the Parent Art Docents website.


Enjoy!


Have you ever incorporated math into an art lesson?

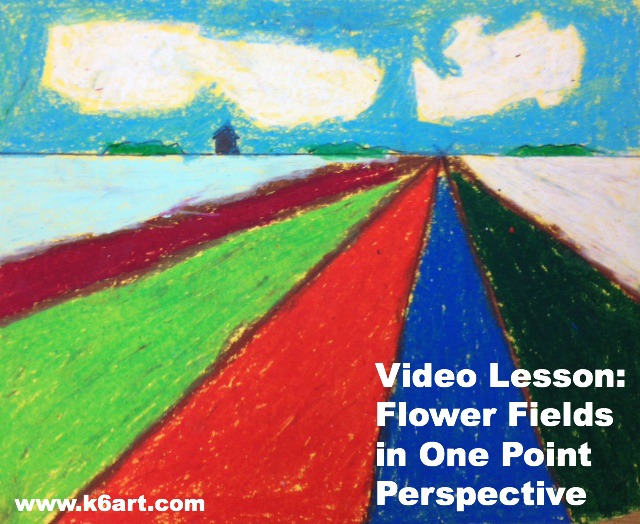
Video Lesson: Flower Fields in One-Point Perspective

flower fields in one point perspective

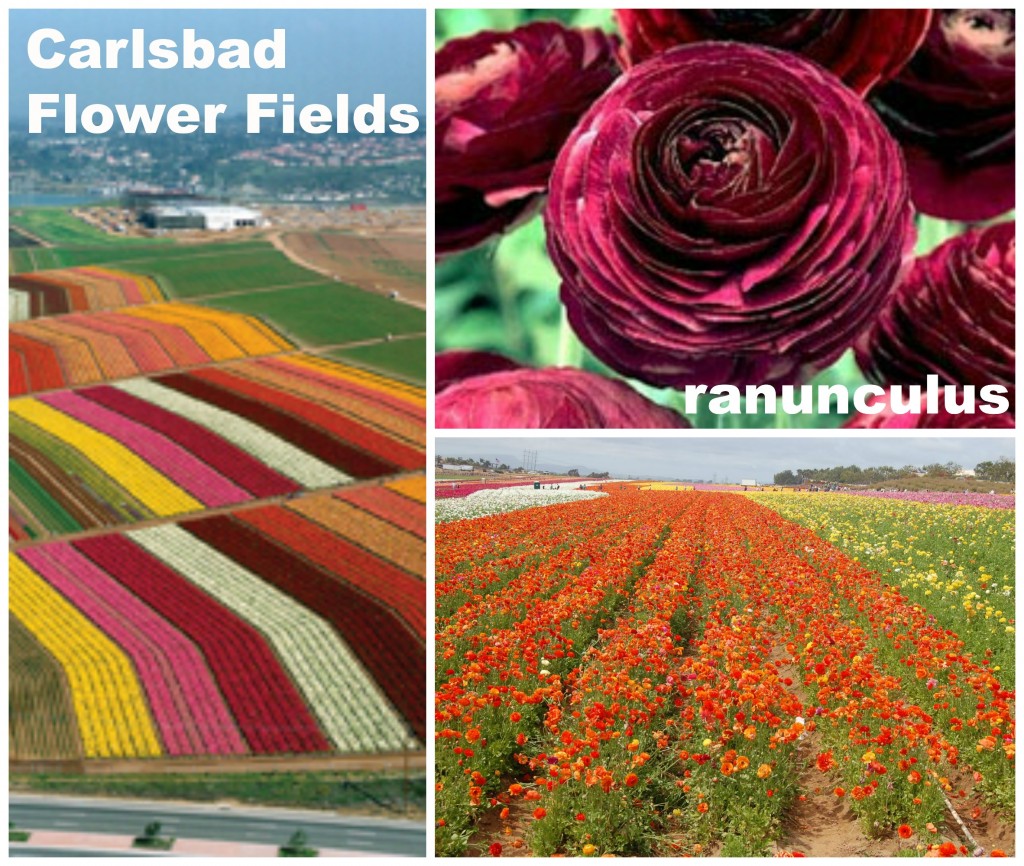
Spring is here. This month the beautiful Flower Fields in Carlsbad, California burst into bloom.

Flower Fields in Carlsbad, CA. Photo sources: bloomingbulbs.com;

Flower Fields in Carlsbad, CA. Photo sources: bloomingbulbs.com;

The fields are filled with colorful ranunculus flowers. Each spring families throughout San Diego trek to the Flower Fields to admire their beauty. This outing is very popular – a show of hands revealed almost all my 5th and 6th graders had visited the Flower Fields.

We drew the flower fields in one-point perspective to create an illusion of depth. We used colored 9″x12″ construction paper, rulers, pencils and erasers and oil pastels. In this 13 minute video, I demonstrate drawing the horizon line, vanishing point, and orthogonals to create the illusion of depth.

https://www.youtube.com/watch?v=gJ7NYjGPY0c

Thanks to Hope Knight at Mrs. Knight’s Smartest Artists for this lesson. For similar lessons using markers check out this post on A Faithful Attempt and this post on Kids Artists.

Enjoy!

The Magic Pear: Easy Drawing Project for Kindergarten

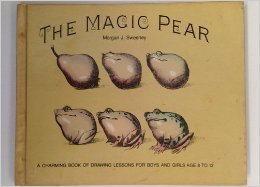
The Magic Pear by Morgan Sweeney

The Magic Pear by Morgan Sweeney

If you want an easy art lesson or sub plan that kindergarteners will LOVE, try The Magic Pear.

The Magic Pear by Morgan Sweeney has 12 step-by-step drawing lessons, all beginning with the basic pear shape.

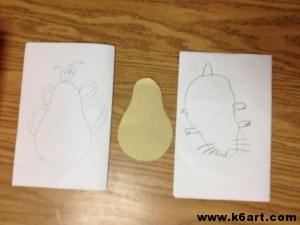
First of all, I cut a set of pear tracers. It took 20 minutes to make 30 tagboard tracers (tip: I was able to stack my tagboard and cut three pears at a time).

When the kindergarteners arrived, I gave each student a Magic Pear tracer, a piece of copy paper and a pencil.

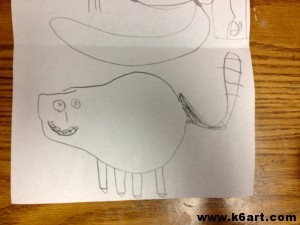
Kindergarteners used the Magic Pear tracer for directed draws, and as a basis for their own drawings.

Kindergarteners used the Magic Pear tracer for directed drawing, and as a basis for their own drawings.


The Magic Horse

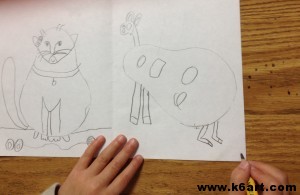
The Magic Cat and the Magic Horse

We folded the copy paper. They traced the Magic Pear, then added features in a directed draw. Together we made a cat and a mouse. Then the students created their own art using the Magic Pear. The kindergarteners created a total four Magic Pear drawings, one on each page of their little books.

Kindergarten Magic Pear drawing

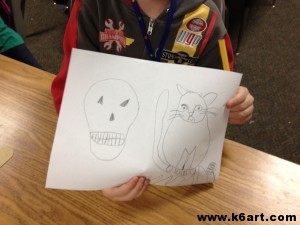
Imaginative! The Magic Skull!

Imaginative! The Magic Skull!

All ready to color with crayons!

You really don’t need the book to do this art lesson. Just make up some Magic Pear tracers and come up with your own drawing activity. Trust me, the kindergarteners will love it!

Enjoy!


Related Posts Plugin for WordPress, Blogger...