Eiffel Tower Line Drawings

marz paris pinable

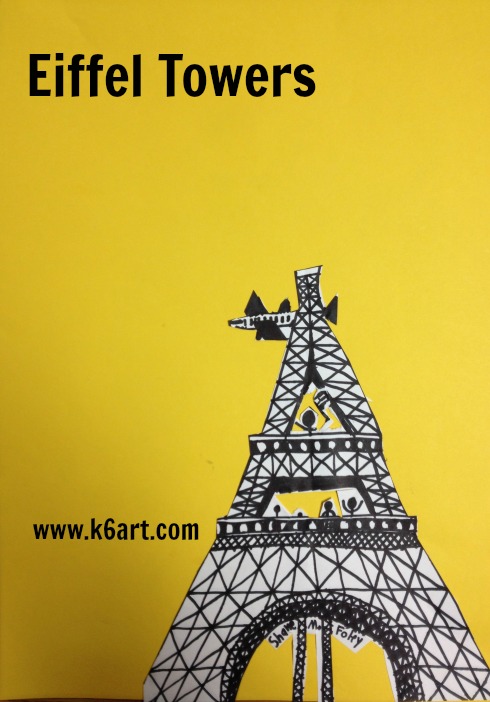
Guess what? The Eiffel tower is not hard to draw. Our sixth graders drew the Eiffel tower, then created a Paris scene in the style of American artist Marz Jr.

The Art of Marz Jr.

We looked at the Marz Jr. website and noticed that many of his illustrations feature detailed black line drawings of famous architecture, such as the White House, the Brooklyn Bridge, and the New York Stock Exchange.

The focal point is often black line on white, contrasted against a simpler black line drawing on a brightly colored background.


Marz Jr.'s illustration of the New York Stock Exchange.

Marz Jr.’s illustration of the New York Stock Exchange.

Materials:

  • white paper (we used copy paper)
  • Sharpies
  • construction paper, 12″x18″ – yellow, orange or light green
  • scissors
  • glue sticks
  • reference photos of the Eiffel Tower and Paris

Day 1: Drawing the Eiffel Tower:

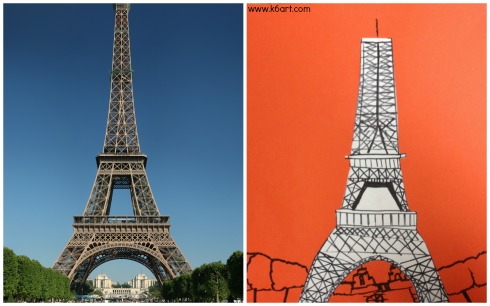
We began by looking at this close-up photo of the Eiffel Tower. I asked the students to look closely at the metal work, beginning at the bottom of the tower. The entire tower is made of metal ‘X’s!

They lightly folded copy paper vertically (‘hot dog’) to create a line of symmetry, then used Sharpie for the directed draw. We drew from the bottom up, starting with the ‘rainbow’ arch, to the first viewing platform, to the ‘legs’, to the second viewing platform, and then up to the top. X, X, X, X……..


marz paris 4

Day 2: Create Paris Scene, Cut and Collage

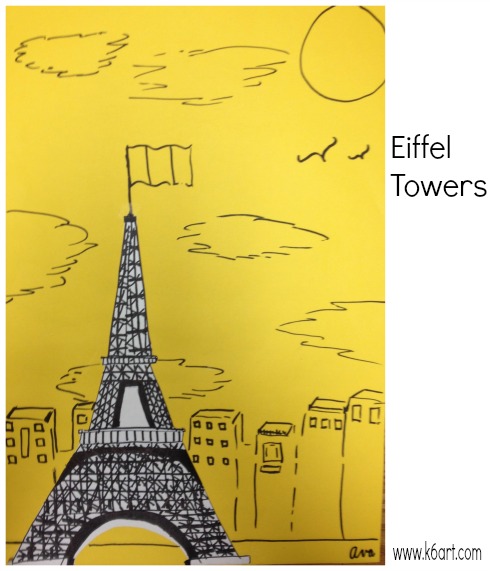
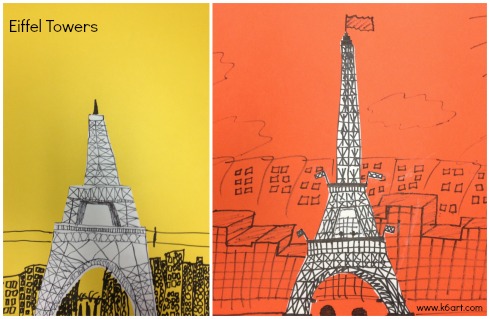
Using iPads, students looked at Google images of Paris. They used Sharpie to draw simple background scenes on colored construction paper, then cut out their Eiffel Towers and glued them on with glue stick.

marz paris 2


marz paris 3

The project took two 40-minute classes. It was a very successful project with no prep and minimal clean up.

The project was inspired by Marz Jr. projects in this post on the shine brite zamorano blog and this post at Deep Space Sparkle.

If you are really into Paris, check out my series of Paris-themed art (and cooking!) projects from art camp last summer. And definitely check out Cassie Stephens’ Paris unit on her elementary art blog.

Enjoy!

Mayflower Drawing Video from Shoo Rayner

shoo rayner mayflowerHave you seen the free how-to-draw videos from Shoo Rayner? He just posted a Mayflower drawing video which would be great for middle and high school. I love how he shows the whole drawing process, from a light pencil sketch to a finished pen drawing.

Shoo has lots of other fabulous drawing videos. If you have students who love to draw (and parents who allow them to access YouTube), please let them know about these fabulous videos. They will stay very busy over the winter break!

Enjoy!

www.dickblick.com

Colorful Chameleons

colorful watercolor chameleons


Kids love chameleons! They change color almost like magic. Our second graders just finished a very successful watercolor chameleon project.

Materials:

Day 1: Draw your chameleon

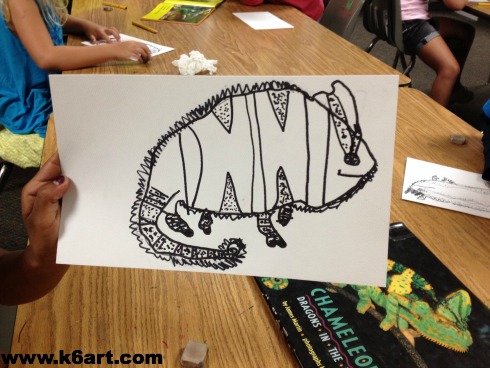
We watched the ‘Super Chameleon’ video on YouTube. The kids were amazed to see the chameleon change colors over and over. Then we took a close look at the chameleon books from our school’s media center. Next it was on to a directed draw. I modeled the basic contour of the chameleon’s head, body, tail and legs. Kids started in pencil, then outlined in Sharpie. They were free to use Sharpie to add their own details (stripes, patterns, dots, spikes) based on their reference photos.

chameleon drawing


Day 2: Color your chameleon

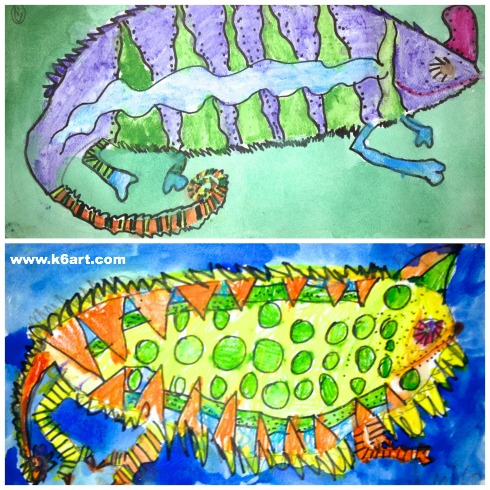
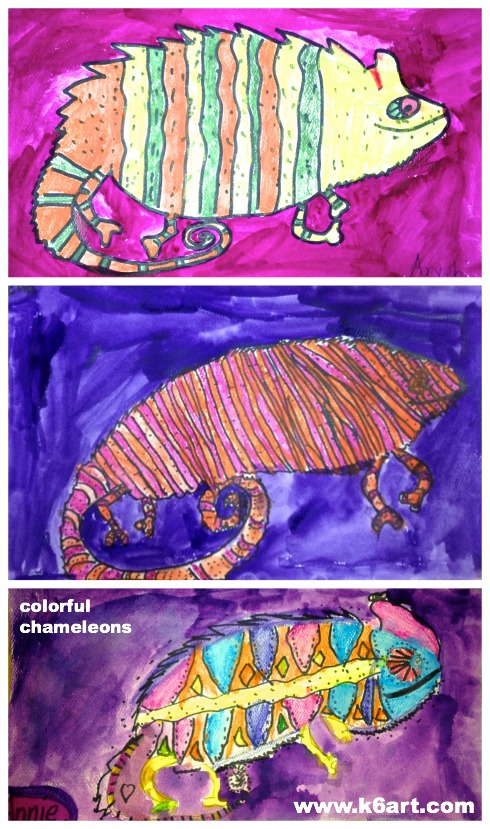
Kids used watercolor pencils dipped in water to color in the chameleons. The watercolor pencils were great for coloring in all the stripes and little spaces. The colors turned out really vibrant! The final step was to paint the background a single color using pan watercolors.

I encouraged everyone to stick to an analogous color scheme for their chameleons. Some kids did, some didn’t, but they all turned out beautiful.  After all, a chameleon can be any color.

blue and green chameleons

three watercolor chameleons

http://www.youtube.com/watch?v=KMT1FLzEn9I

We tried a similar chameleon project last year using Crayola markers: click here to see more results.

Overall this was a popular, super successful project with minimal prep and clean up. It was my first watercolor pencil project, but it won’t be my last.

Enjoy!

Here are two of the books we used for our lesson 

No-Mess Kindergarten Line Art


No-Mess Kindergarten Line Art

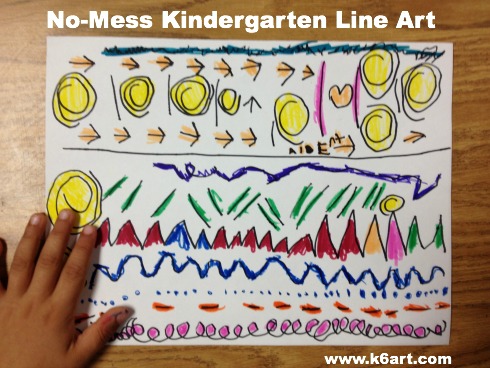
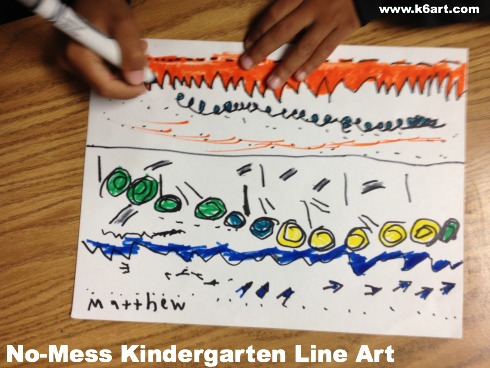
Are you looking for a nice line art project for your kindergarteners? Check out this project from Marcia Beckett at Art is Basic.

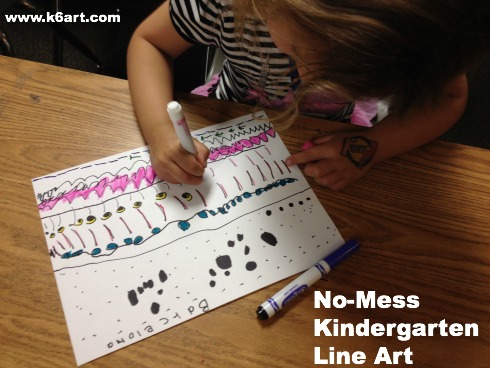
It is a great project. On the first day, our students watched a brief video about different kinds of lines. Then they used black marker to make a variety of lines on their papers.

On day 2, the students colored in and around their lines with Crayola markers. We had a few minutes to spare at the end of class, so we did a ‘line hunt’ in the classroom. The kids were delighted to find the horizontal lines everywhere, including the wires of my drying rack and my window blinds!

No-Mess Kindergarten Line Art 3

No-Mess Kindergarten Line Art 2

Here is my kindergarten line movie playlist on YouTube.  (note: two of these movies are silent!)

Enjoy!

Don’t Let the Pigeon….

Don't Let the Pigeon Drive the Bus art project for first grade

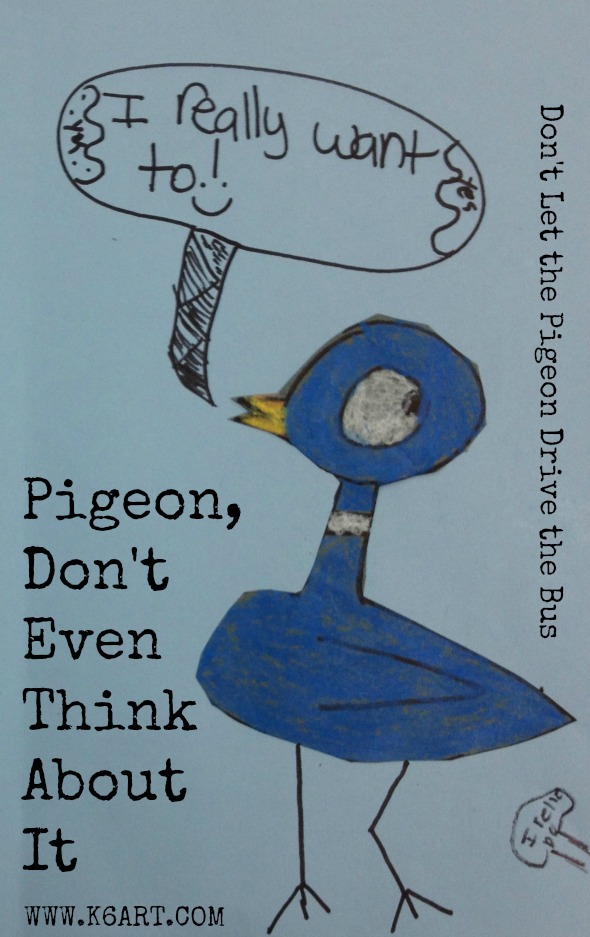
Our first graders love Mo Willem’s books Don’t Let the Pigeon Drive the Bus! and The Pigeon Wants a Puppy. In both books, the pigeon asks repeatedly for something he’s too young to handle. Of course little kids like this book – it’s the story of their lives!

After reading the stories, we brainstormed all the things the pigeon should NOT do. Every idea was hilarious – the pigeon shouldn’t do karate, use the oven, use the iPad, feed the beta fish or drive Santa’s sleigh.

First graders did a directed draw of the pigeon, focusing on simple shapes. On a separate piece of copy paper, then drew a picture of the pigeon acting out those bad choices.

Materials:

  • 9″x12″ gray construction paper
  • yellow and white Construction Paper Crayons
  • Sharpie
  • 12″x18″ construction paper for background
  • scissors
  • glue sticks
  • copy paper, 8.5″x11″
  • crayons or markers

Day 1: Read books. Discuss the pigeon. Pass out copy paper. Use your crayons or markers to draw something the pigeon should not be doing.

Day 2: Draw pigeon on gray construction paper using Sharpie and construction paper crayons.

Now cut out the pigeon. Glue the pigeon and drawing to a large piece of colored construction paper. Use Sharpie to draw legs on the paper.

First grade results:

Don't let the pigeon use the pizza app on the iPad.

Don’t let the pigeon use the pizza app on the iPad.

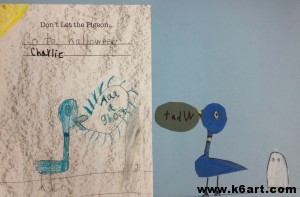
Don't let the pigeon go to halloween ('Aah! a ghost!').

Don’t let the pigeon go to halloween (‘Aaa! a ghost!’).

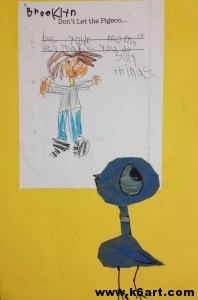
Don't let the pigeon be your mom or he will make you do silly things.

Don’t let the pigeon be your mom or she will make you do silly things.

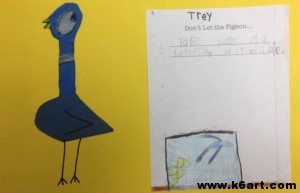
Don't let the pigeon take care of a beta fish or it will die.

Don’t let the pigeon take care of a beta fish or it will die.

This project was a hit with my students last year – click here to see more examples.

Enjoy!

Related Posts Plugin for WordPress, Blogger...