Paul Klee Cats

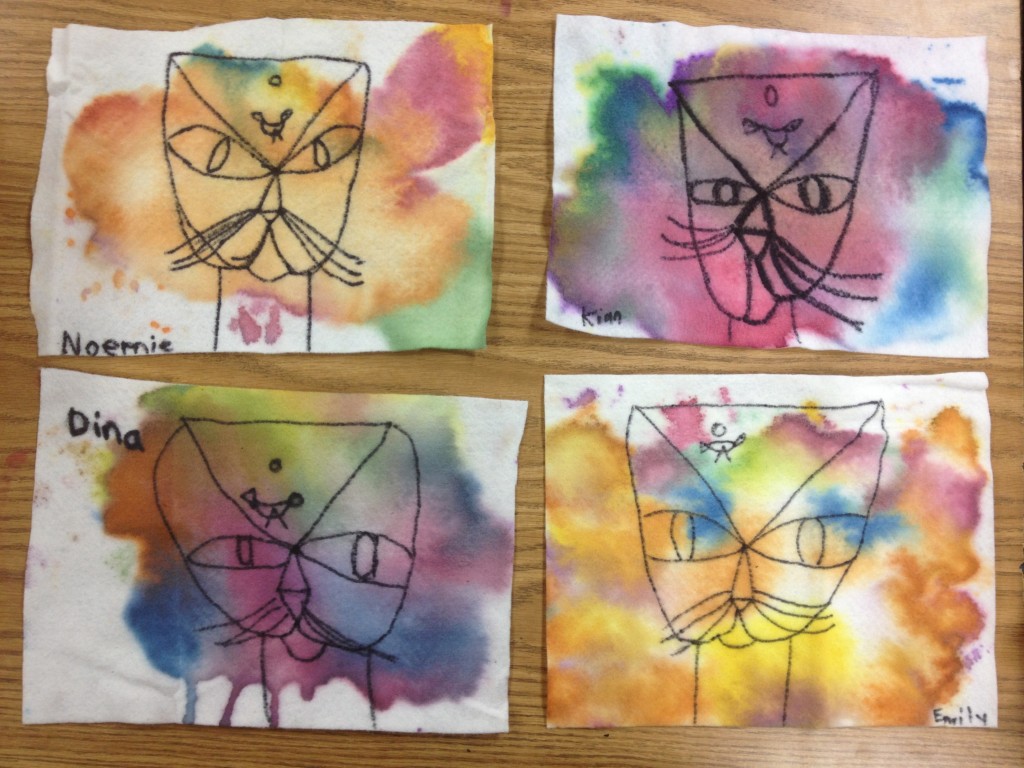
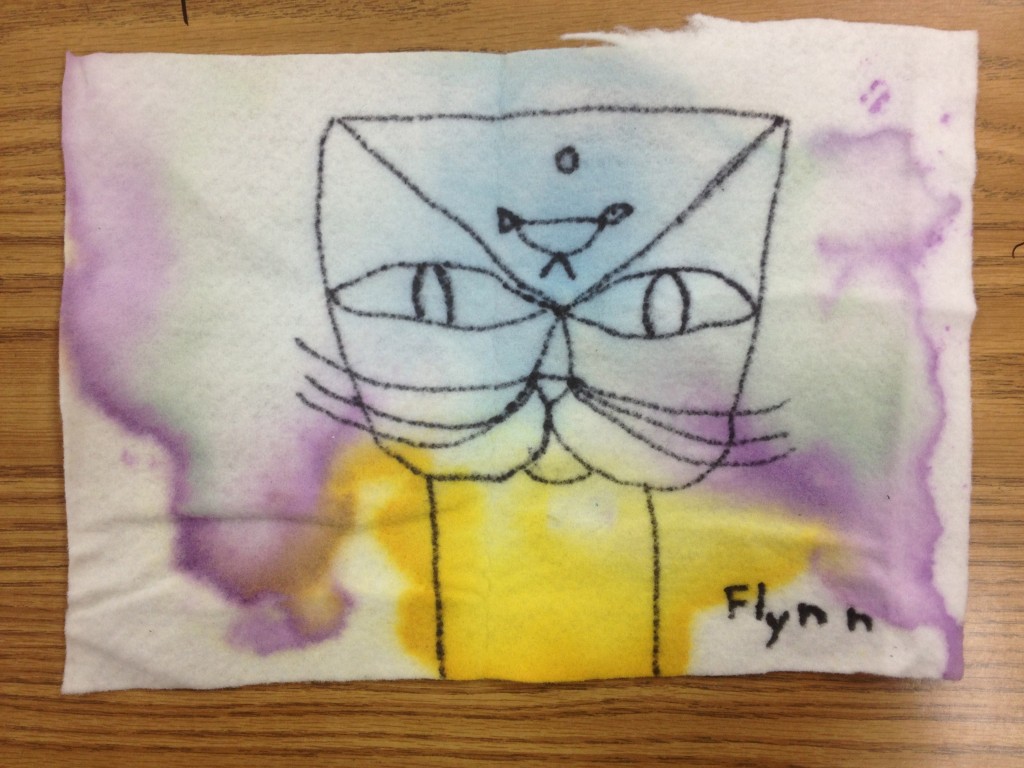
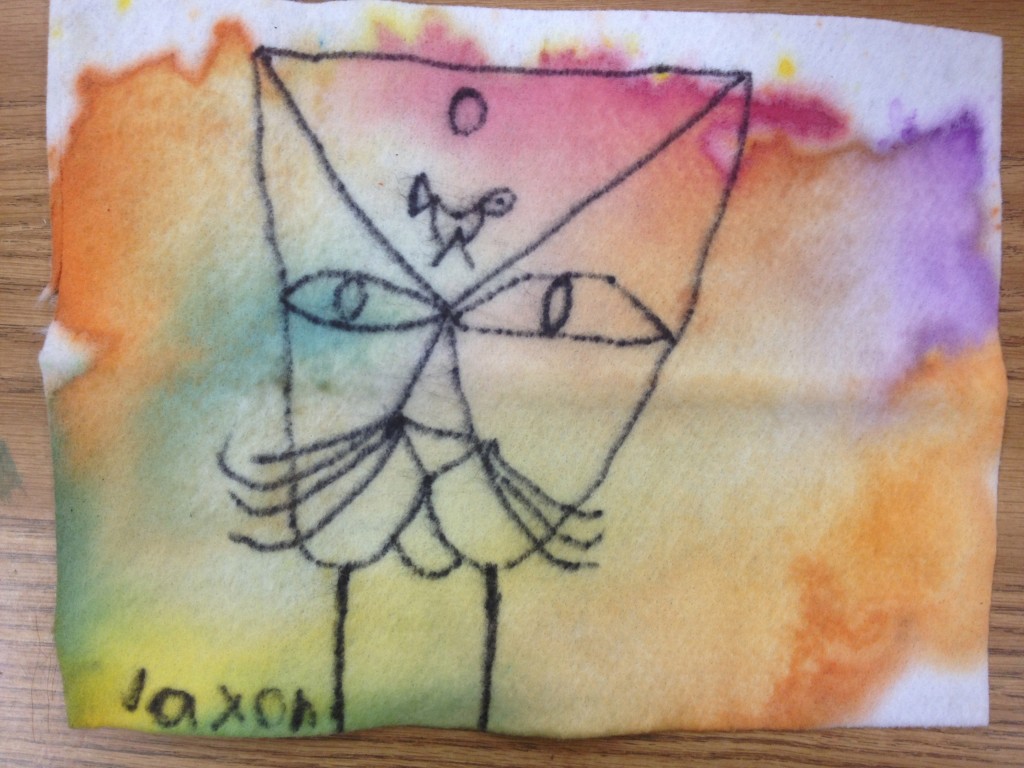
This week the second grade made Paul Klee cat paintings ON FELT!!
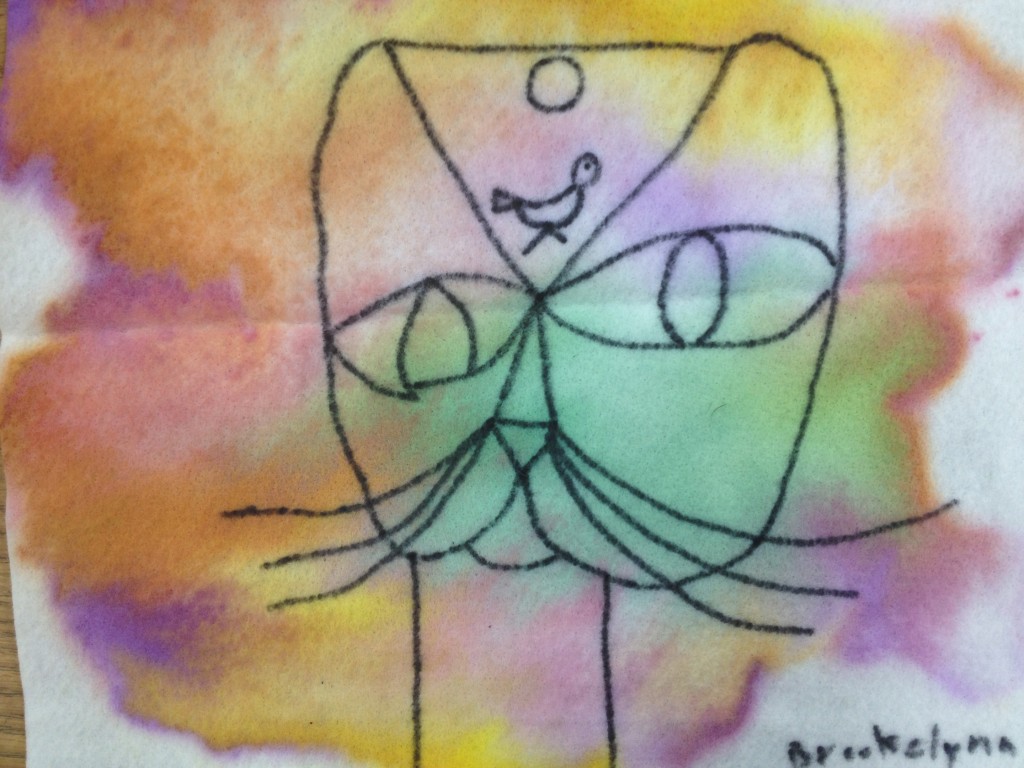
Second graders made Paul Klee cat paintings using white felt and liquid watercolors. Allow one hour.

The lesson plan is adapted from this post on The Art Annex blog.

We started out by watching this brief video on YouTube:

We used only three materials: white felt (9″x12″), black Sharpie and liquid watercolor, plus spray bottles of water.

I did a directed draw of the cat, focusing its lines and simple shapes. Students drew directly on the felt with their sharpies. Then we painted the cat by dabbing on liquid watercolor. The final step: spraying the felt with water so the colors could bleed and blend.

I dried the art on large sheets of cardboard.

Just in case you are wondering….I did this with just 12 students AND a volunteer. Students got to spray their own art. If I did this with a large class, I would probably assign the spraying to s few responsible students.

This is the second project in our Paul Klee unit. You might also like our Paul Klee abstract name art lesson, inspired by Klee’s Castle and Sun.

 Do you have a favorite Paul Klee lesson plan?

Playground Name Art

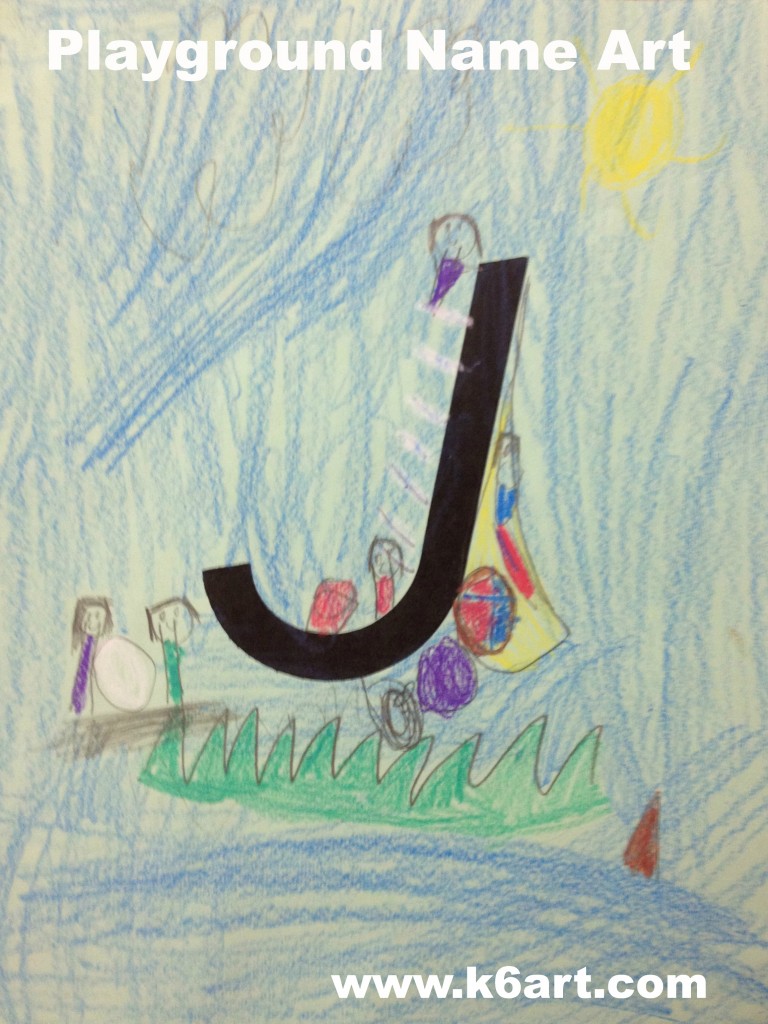
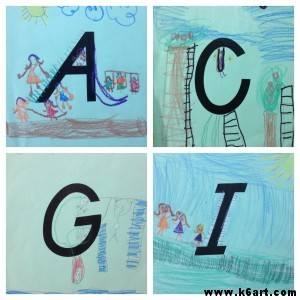
Looking for a fun kindergarten project? Try this simple but engaging playground name art project based on the student’s first initial.

Kindergarteners make playground drawings incorporating their first initial. Allow one 40-minute period.

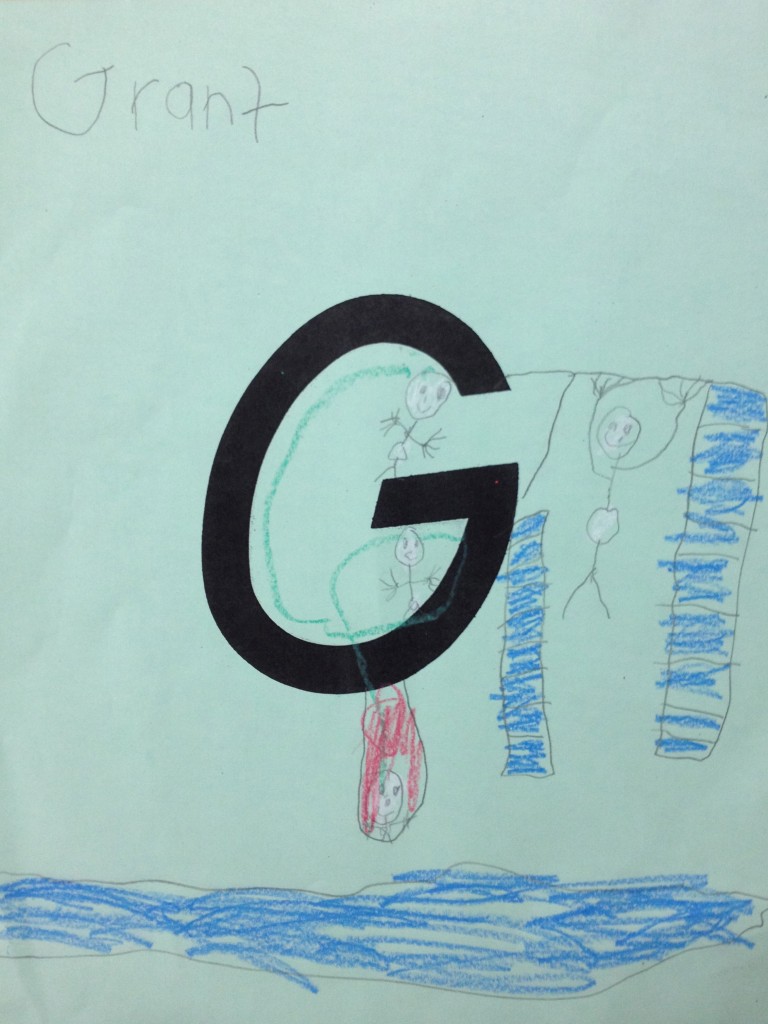
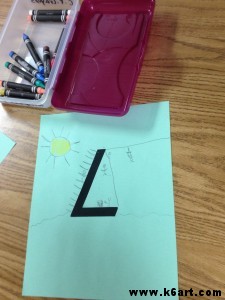
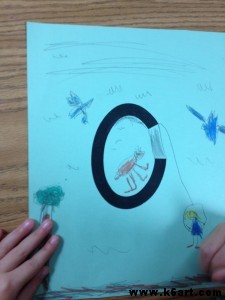
Students turned their first initials into playground equipment.

We talked about all the things we see on the kindergarten playground: ladders, swings, slides, sand, balls, jump ropes, hula hoops, monkey bars etc.

Then we talked about all the extra things we might see on the best playground in the world. Students wanted zip lines, trampolines, water slides, forts and mini trains.

Each child received a paper with a photocopied initial (letters were made on school die-cut machine). They drew with pencil and colored with construction paper crayons.

This kindergartener has a horse in her playground.


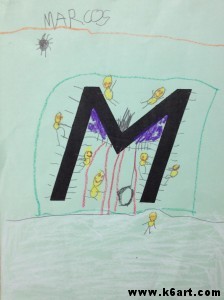
M for Marcos

This project was inspired by this post on the Art Cart blog.

This would be a nice kindergarten sub plan.

Do you have a favorite name art project for the beginning of the year?

Ancient Egypt Chalk Art for Sixth Grade (and Pinterest bonus!)


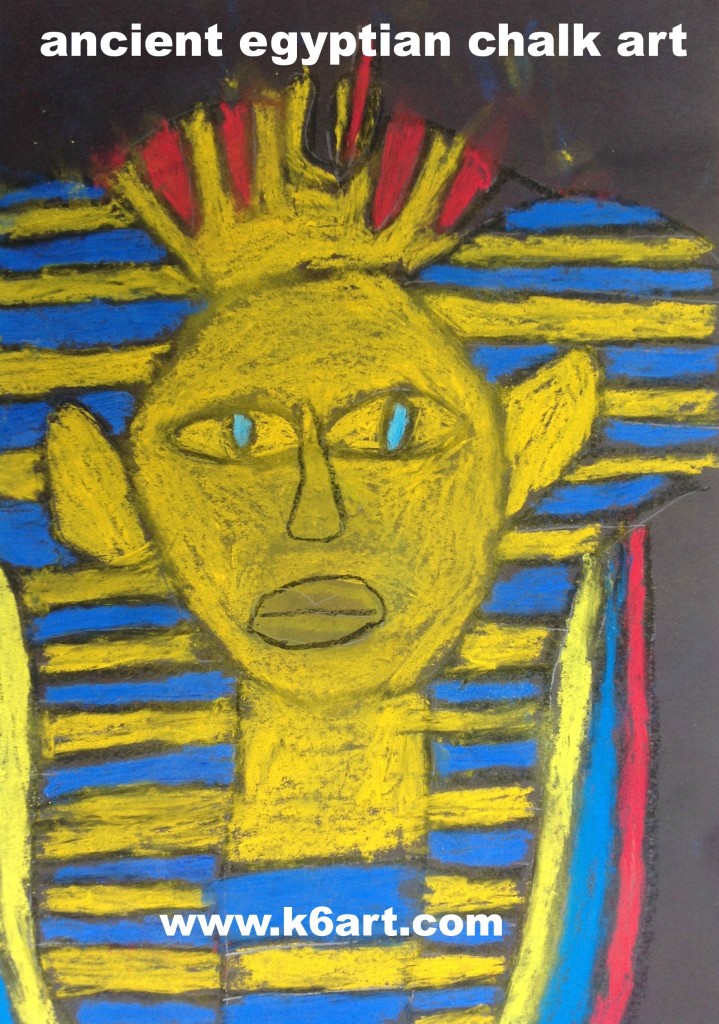
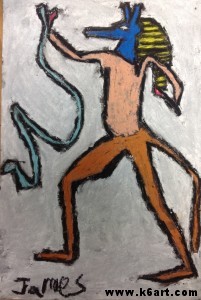
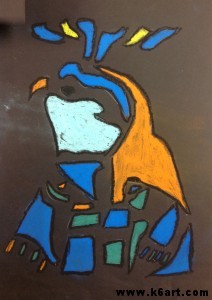
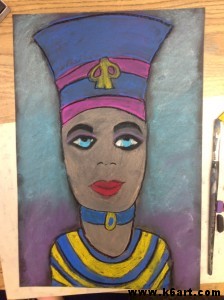
Do you study ancient Egypt at your school? Here is a colorful, successful art project inspired by the art of ancient Egypt.

Materials:

  • black construction paper, 12″x18″
  • pencils with eraser tip
  • chalk pastels
  • black oil pastel
  • reference photos
  • hairspray or other fixative
  • newspaper to cover tables

We looked at images from King Tut’s tomb, old issues of National Geographic magazine (I think they cover Egypt every year!), and reviewed images of the Egyptian gods.

Students were instructed to select a subject and draw it on the black paper. Encourage students to 1) draw  LARGE (fill the sheet) and 2) don’t add too many tiny details.

I model drawing with an eraser: draw layout lines on the black paper only using the eraser.  If you mess up, just wipe away the rubbings and try again.

After students draw with pencil, they should go over their pencil lines with black oil pastel. Color in the portraits with chalk pastel. As a final step, retrace the oil pastel lines a second time.

Spray with hairspray or other fixative to prevent smearing (note: this will dull colors somewhat).


This art project is adapted from the Arts Attack curriculum. In addition to my reference photos and the Arts Attack drawing aids, I offered three step-by-step handouts from the library book How to Draw Egypt’s Sights and Symbols (ISBN 978-0823966820).

Pinterest bonus: here are some ancient Egyptian pins that I have collected for next year:

You can’t go wrong! Kids LOVE ancient Egypt. Enjoy!

Thiebaud “Cakes” Mural (and more!)

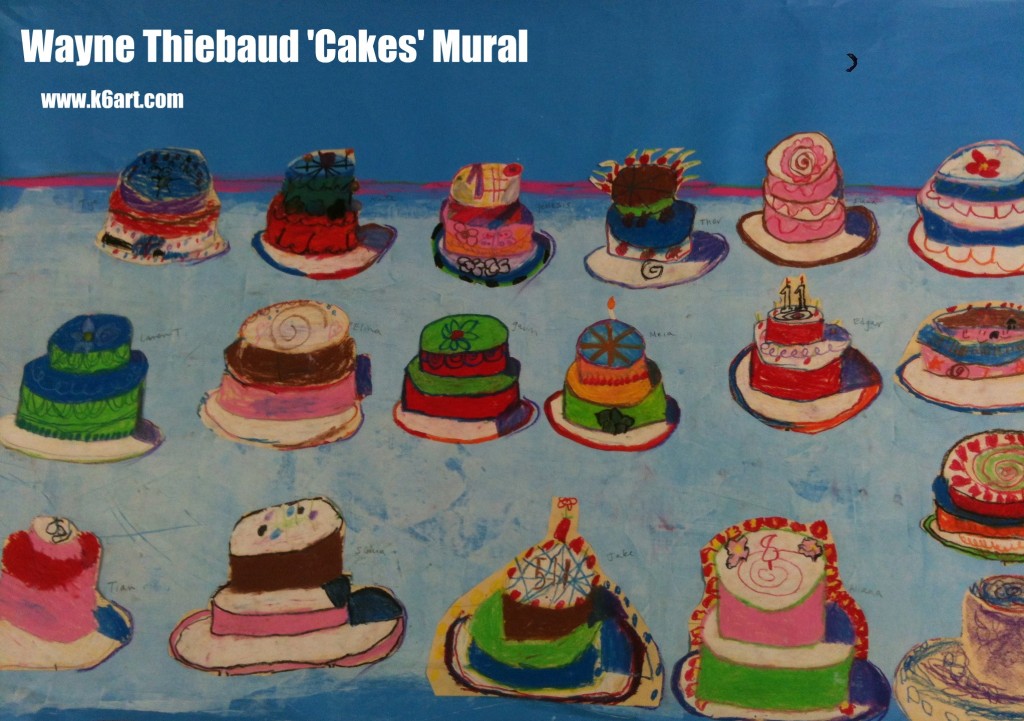
This is a universal truth:  kids love dessert.  Second grade recently completed their Wayne Thiebaud group art mural based on Thiebaud’s famous artwork, “Cakes”.

We began with my Wayne Thiebaud Powerpoint. We discussed repetition of simple shapes, variety, use of thick paint, horizon line and shadow. This year we also discussed halation – the vibrant lines of color Thiebaud uses to outline his work. If you are unfamiliar with halation read this excellent Thiebaud post on Art for Small Hands.

Next we watched a great 7-minute long Thiebaud video from CBS this Morning.  Here is the link.

Materials:

  • Drawing paper, 9″x12″
  • pencil and eraser
  • oil pastels
  • scissors
  • glue stick
  • bulletin board paper (allow 5 foot length for 22 students)
  • tempera

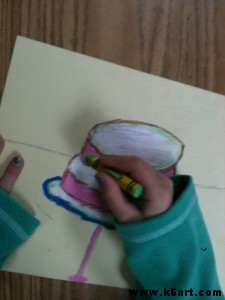
Students drew the basic cylinder cake first in pencil, then in oil pastel. We outlined in bright colors.  Because we were making a mural, for consistency students added purple shadows on the right side of their art.

The kids had a fabulous time ‘decorating’ their cakes, again with oil pastel. We had a ‘no words’ rule, but numbers were OK.

Students outline their cakes with vibrant colors

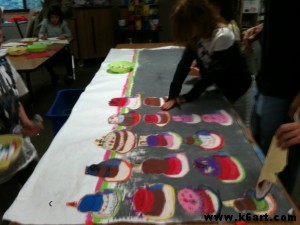
Students cut out their cakes and covered the backs with glue stick.  I arranged the cakes on painted bulletin board roll paper.

Assembling the mural

I made two murals: a 9 foot mural for 45 cakes, and a 5 foot mural for 22 cakes.  Next year I will make one 5-foot mural per class as the big one was beautiful but too unwieldy.

After the art show I will cut apart the mural. The second graders will trim and mount their cakes onto 12″x18″construction paper.

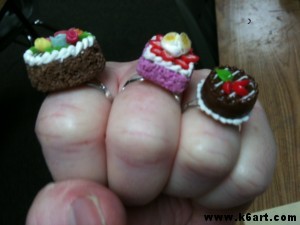
The perfect jewelry for any Thiebaud lesson 🙂

Have fun!

P.S. Want to try a digital Thibaud art activity? Try the National Gallery of Art’s

Thiebaud ‘cake maker’ interactive

UPDATE: NEW! Click here for my new lesson, Wayne Thiebaud Geometric Desserts. New video and Common Core connections.


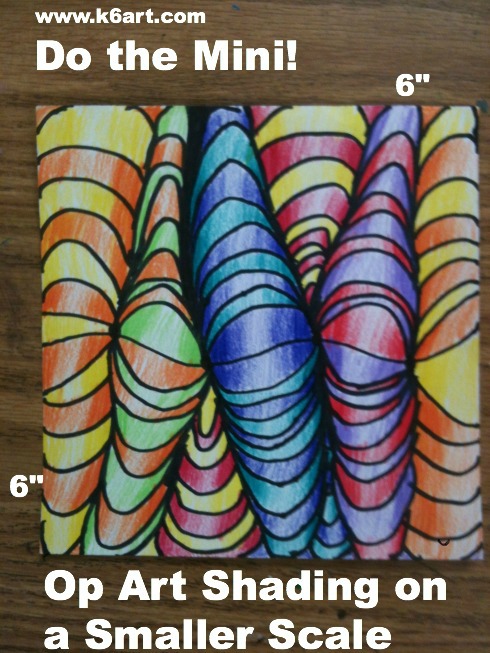
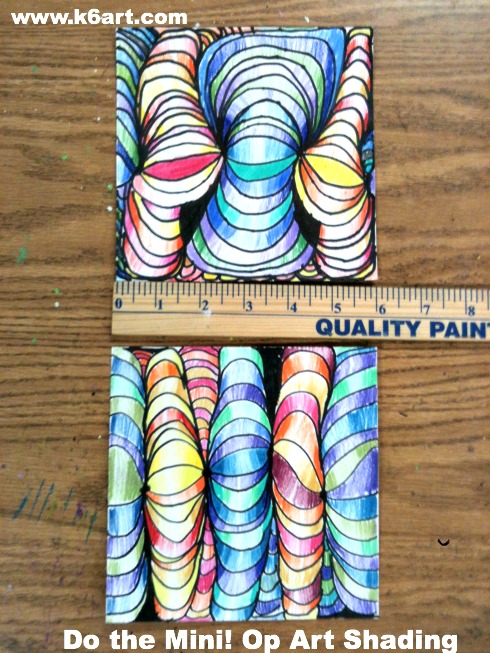
Do the Mini! Op-Art Line Shading Lesson on a Smaller Scale

do the mini! op art shading

This Bridget Riley-inspired colored pencil op-art line shading lesson is extremely popular. I first saw it on Art With Mr. E., then on Teach Kids Art, and finally a post on Artisan Des Arts with a teaching video (wow!). If you are unfamiliar with this project please start out by visiting these excellent blog posts.

My small contribution to all this awesomeness is …small. Last year I tried this project with 5th grade using 9″x12″ white paper. Well, it took a long time…too long. The full size project took at least 4 classes and many students lost interest.

I decided to try a smaller format. At Mr. E’s suggestion I went down to a 6″x6″ square. SUCCESS! The 4th graders were able to complete the 6″x6″ project in 2-3 40-minute sessions. They were very proud of their artworks.

For detailed instructions, please view the teaching video in the link above. However, for the mini 6″ version of this project, start with 4 dots on the wavy line

Give it a try in any format.

More Bridget Riley op-art resources

Bridget Riley 6 Op Art Shading project

Enjoy!

Related Posts Plugin for WordPress, Blogger...