Want to introduce your students to texture? Try a texture collage project.
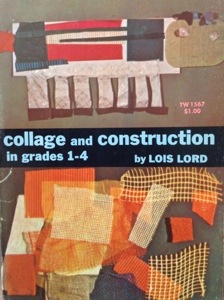
I found great instructions in the book Collage and Construction in Grades 1-4 by master art teacher/author Lois Lord. You’ll need large paper for the background format, glue, stapler and scissors, plus ‘materials of contrasting texture’:
Rough textured materials include corrugated cardboard, burlap…used sandpaper, wood shavings, egg-crate dividers, excelsior, and orange, onion and potato sacks.
Contrasting soft -textured material include pieces of fabric such as velvet; scraps of fur; cotton; bits of sponge; and feathers…
Materials with smooth textures include shiny metallic papers bought or salvaged from Christmas wrappings, chewing gum, and other packets.
–Collage and Construction in Grades 1-4, p.10.
Lucky you – you get to actually watch Ms. Lord teach this collage lesson. Please enjoy ‘Collage: Exploring Texture’, filmed back in 1961.
http://vimeo.com/33304500
Not only to I love Ms. Lord’s teaching style, I love how she organized her collage supplies by texture and how she distributed the supplies. I wish she had been my teacher! Although this film was produced back in 1961, it is still inspiring.
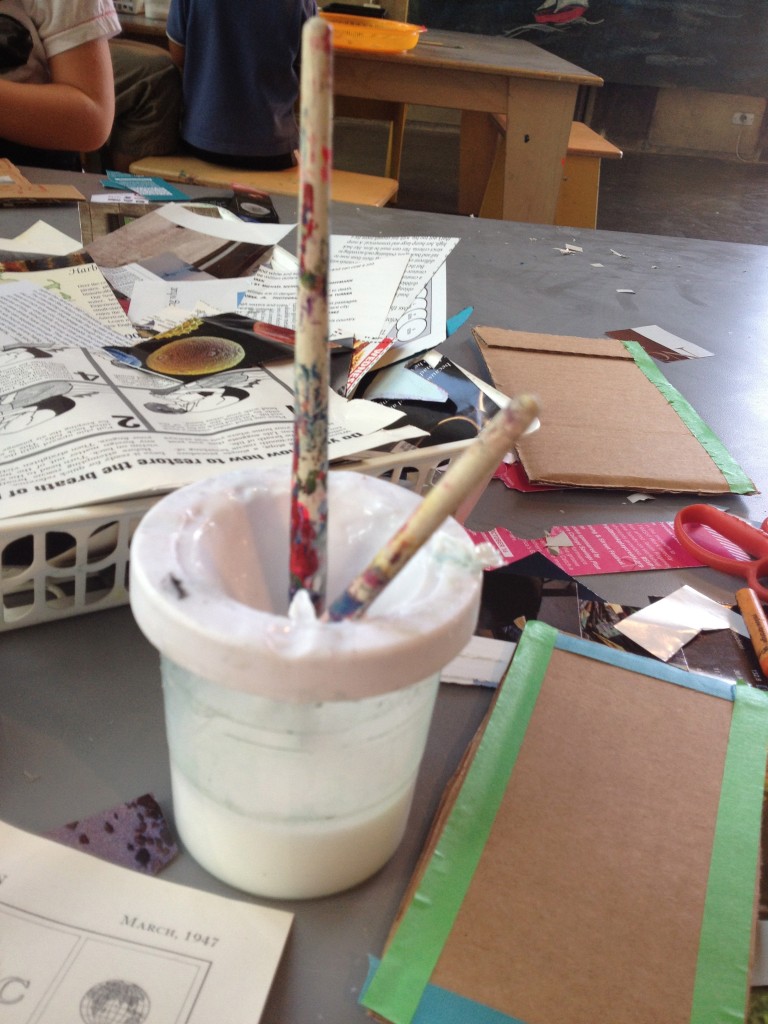
You may have noticed Ms. Lord’s students used jars of liquid paste applied with a brush. It reminded me of this no-spill paint cup filled with glue at the collage station at San Diego’s New Children’s Museum. The cups come with lids so you can cap them up at night. You will need to soak the brushes in water after use. (note: this may be a good use for the brushes that come with your pan watercolor sets). Want more glue options? Click here and here to see other glue cups in the classroom.
Thanks to Wendy Apfel for sharing this excellent video on Vimeo.
Enjoy!
Happy Throwback Thursday! Stop by next Thursday to see what I’ve discovered in my vintage art education collection.


